- Version Info: Elasticsearch 8.12.0 / Kibana: 8.12.0
Elasticsearch 버전8 이후부터는 노드에 보안 기능을 적용하는 xpack.security.enabled 옵션이 디폴트로 true로 설정된다. 따라서 공식문서(Install Elasticsearch with Docker) 역시 HTTPS 프로토콜을 통해 인증서 기반으로 Elasticsearch 노드와 통신하는 방법을 소개한다.
그러나 이러한 방식은 로컬 환경에서 개발하기에는 불편한 점이 많다. 따라서 해당 secure 옵션 없이 노드를 실행하고, GUI툴인 Kibana와 연동하는 방법을 정리했다.
기존의 Elasticsearch 실행 방식
Elasticsearch 실행
먼저 Elasticsearch 노드와 Kibana를 연동해야하기 때문에 도커 네트워크를 생성한다. 이 과정이 없으면 두 개의 컨테이너 간 통신이 불가하다.
docker network create elastic그 후 아래와 같이 Elasticsearch 도커 이미지를 pull하고 실행한다.
docker pull docker.elastic.co/elasticsearch/elasticsearch:8.12.0
docker run --name es01 --net elastic -p 9200:9200 -d docker.elastic.co/elasticsearch/elasticsearch:8.12.0
그 다음 curl 명령어로 노드가 잘 실행되고 있는지 확인해본다.
HTTP Request
curl http://localhost:9200HTTP request를 보냈을 때는 서버로부터 응답이 없다고 반환된다.
curl: (52) Empty reply from server실제 서버 내부 로그를 살펴보면 아래와 같은 메세지를 확인할 수 있다. HTTPS request가 아닌, HTTP 요청이 들어왔기 때문에 커넥션을 종료했다는 것을 알 수 있다.
received plaintext http traffic on an https channel, closing connectionHTTPS Request
그렇다면 아래와 같이 HTTPS request를 보내면 어떨까?
curl https://localhost:9200curl에 인증서 정보가 존재하지 않기 때문에 마찬가지로 secure connection을 생성할 수 없다는 응답을 반환한다.
self signed certificate in certificate chain
More details here: https://curl.se/docs/sslcerts.html

curl failed to verify the legitimacy of the server and therefore could not
establish a secure connection to it. To learn more about this situation and
how to fix it, please visit the web page mentioned above.
따라서 적절한 응답을 받기 위해서는 아래와 같은 과정을 거쳐야한다.
우선, 해당 노드를 맨 처음 실행했을 때 생성된 password를 환경변수에 저장해준다.
export ELASTIC_PASSWORD="generated_password"그 후 SSL 인증서(http_ca.crt)를 컨테이너로부터 로컬 머신에 카피해서 저장해준다.
docker cp es01:/usr/share/elasticsearch/config/certs/http_ca.crt .그리고나서 아래와 같이 인증서, password 정보와 함께 curl명령어를 다시 실행한다.
curl --cacert http_ca.crt -u elastic:$ELASTIC_PASSWORD https://localhost:9200그러면 아래와 같이 서버로부터 응답이 잘 오는 것을 확인할 수 있다.
{
  "name" : "28d1308fb9db",
  "cluster_name" : "docker-cluster",
  "cluster_uuid" : "9RCDnLanS5OqmXyVdatUzw",
  "version" : {
    "number" : "8.12.0",
    "build_flavor" : "default",
    "build_type" : "docker",
    "build_hash" : "1665f706fd9354802c02146c1e6b5c0fbcddfbc9",
    "build_date" : "2024-01-11T10:05:27.953830042Z",
    "build_snapshot" : false,
    "lucene_version" : "9.9.1",
    "minimum_wire_compatibility_version" : "7.17.0",
    "minimum_index_compatibility_version" : "7.0.0"
  },
  "tagline" : "You Know, for Search"
}
Kibana 실행
Kibana 연동 과정은 다음과 같다. 앞서 생성한 es01 컨테이너와 동일한 elastic 네트워크에 컨테이너를 실행해준다.
docker pull docker.elastic.co/kibana/kibana:8.12.0
docker run --name kib01 --net elastic -p 5601:5601 -d docker.elastic.co/kibana/kibana:8.12.0
그러면 콘솔에 아래와 같이 Kibana에 접속할 수 있는 URL을 알려주는데, 해당 URL로 접속한다.
2024-01-28 14:25:30 [2024-01-28T05:25:30.798+00:00][INFO ][root] Holding setup until preboot stage is completed.
2024-01-28 14:25:30
2024-01-28 14:25:30
2024-01-28 14:25:30 i Kibana has not been configured.
2024-01-28 14:25:30
2024-01-28 14:25:30 Go to http://0.0.0.0:5601/?code=337056 to get started.
2024-01-28 14:25:30
2024-01-28 14:25:30 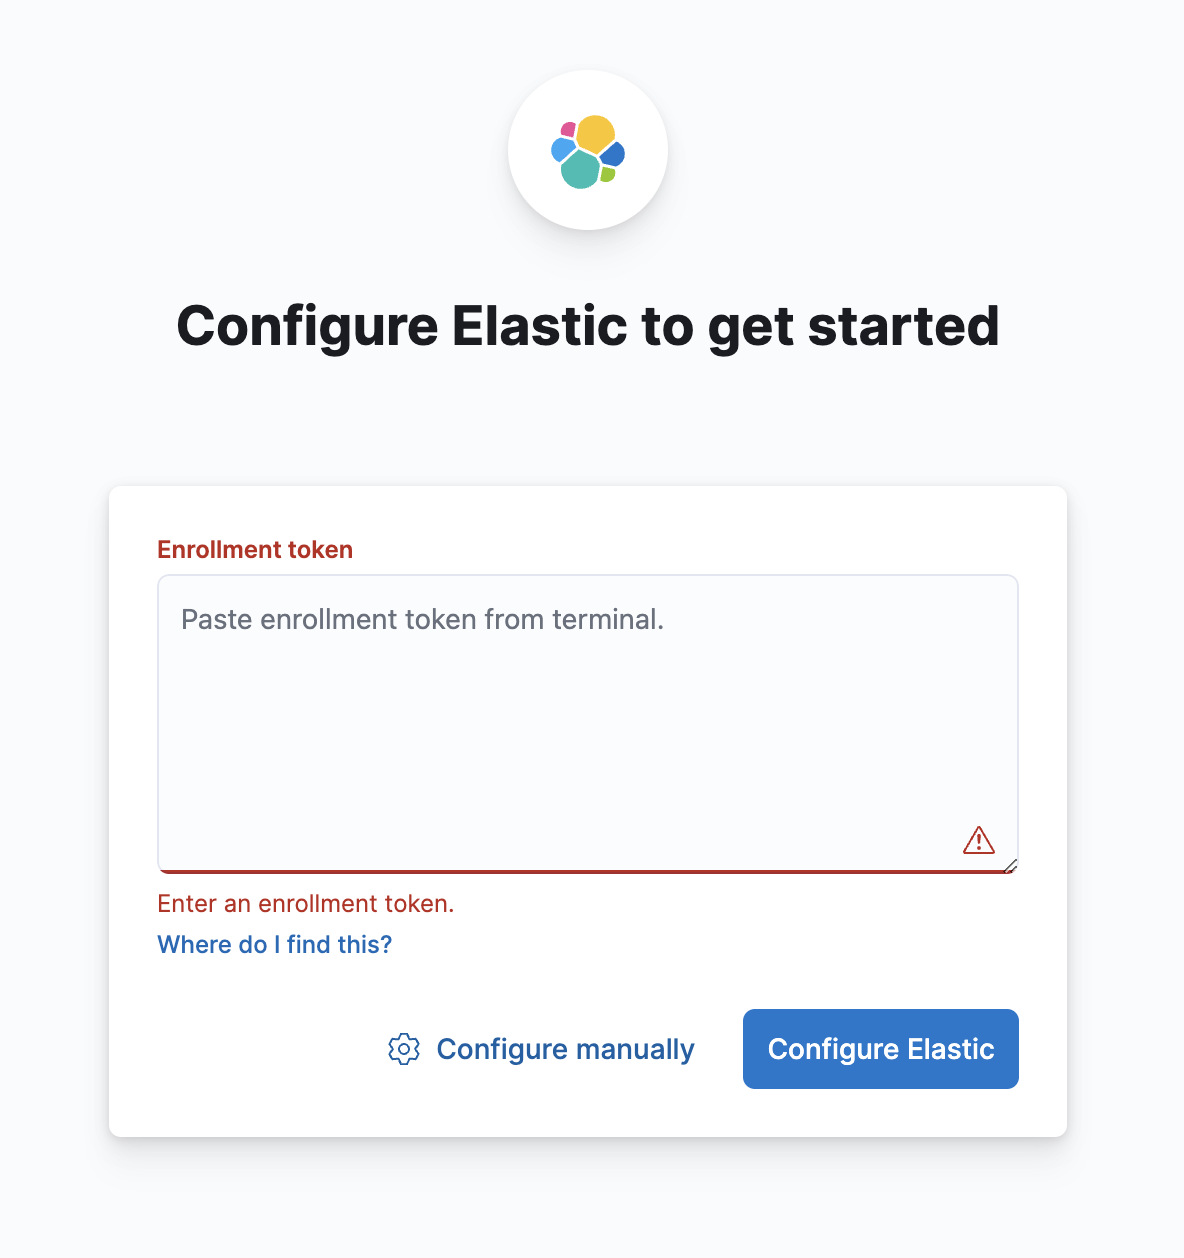
그러면 이렇게 Enrollment token을 입력할 수 있는 창이 나오고, Elasticsearch 최초 실행시 생성된 토큰을 입력해주면 된다. 참고로 해당 토큰의 유효기간은 30분이고, 만료 시 재생성 가능하다.
이러한 방식은 프로덕션 환경에서는 필수적이겠지만, 로컬에서 개발하는데는 불편함이 많다. 개인적으로는 환경을 세팅하는 과정에서 토큰이 만료되어 재발급해야하거나 요청을 보낼 때마다 인증서 정보가 필요한 것에 불편함을 많이 느꼈다.
따라서 다음과 같이 보안 설정 없이 환경을 세팅했다.
Elasticsearch 보안 설정 없이 실행하기
Elasticsearch 실행
우선 도커 컨테이너를 실행하는 과정은 동일하다.
docker network create elastic
docker pull docker.elastic.co/elasticsearch/elasticsearch:8.12.0
docker run --name es01 --net elastic -p 9200:9200 -d docker.elastic.co/elasticsearch/elasticsearch:8.12.0
docker pull docker.elastic.co/kibana/kibana:8.12.0
docker run --name kib01 --net elastic -p 5601:5601 -d docker.elastic.co/kibana/kibana:8.12.0
그 후 es01 컨테이너의 /usr/share/elasticsearch/config/elasticsearch.yml 파일을 다음과 같이 수정해준다.
-
기존 파일
cluster.name: "docker-cluster" network.host: 0.0.0.0 #----------------------- BEGIN SECURITY AUTO CONFIGURATION ----------------------- # # The following settings, TLS certificates, and keys have been automatically # generated to configure Elasticsearch security features on 28-01-2024 04:49:14 # # -------------------------------------------------------------------------------- # Enable security features xpack.security.enabled: true xpack.security.enrollment.enabled: true # Enable encryption for HTTP API client connections, such as Kibana, Logstash, and Agents xpack.security.http.ssl: enabled: true keystore.path: certs/http.p12 # Enable encryption and mutual authentication between cluster nodes xpack.security.transport.ssl: enabled: true verification_mode: certificate keystore.path: certs/transport.p12 truststore.path: certs/transport.p12 # Create a new cluster with the current node only # Additional nodes can still join the cluster later cluster.initial_master_nodes: ["2f3e1c9d7b06"] #----------------------- END SECURITY AUTO CONFIGURATION ------------------------- -
수정한 파일
cluster.name: "docker-cluster"
network.host: 0.0.0.0
discovery.type: "single-node"
xpack.security.enabled: false
xpack.security.http.ssl.enabled: false
xpack.security.transport.ssl.enabled: false

path:
  data: /usr/share/elasticsearch/data
  logs: /usr/share/elasticsearch/logs
security 관련 옵션들을
false로 설정해주었다. 그 후 컨테이너를 재실행한다.
그리고나서 다시 아래와 같이 HTTP request를 보내본다.
curl http://localhost:9200그러면 보안 설정없이도 적절한 응답이 반환되는 것을 확인할 수 있다.
{
  "name" : "28d1308fb9db",
  "cluster_name" : "docker-cluster",
  "cluster_uuid" : "9RCDnLanS5OqmXyVdatUzw",
  "version" : {
    "number" : "8.12.0",
    "build_flavor" : "default",
    "build_type" : "docker",
    "build_hash" : "1665f706fd9354802c02146c1e6b5c0fbcddfbc9",
    "build_date" : "2024-01-11T10:05:27.953830042Z",
    "build_snapshot" : false,
    "lucene_version" : "9.9.1",
    "minimum_wire_compatibility_version" : "7.17.0",
    "minimum_index_compatibility_version" : "7.0.0"
  },
  "tagline" : "You Know, for Search"
}
Kibana 실행
Kibana 역시 마찬가지이다.
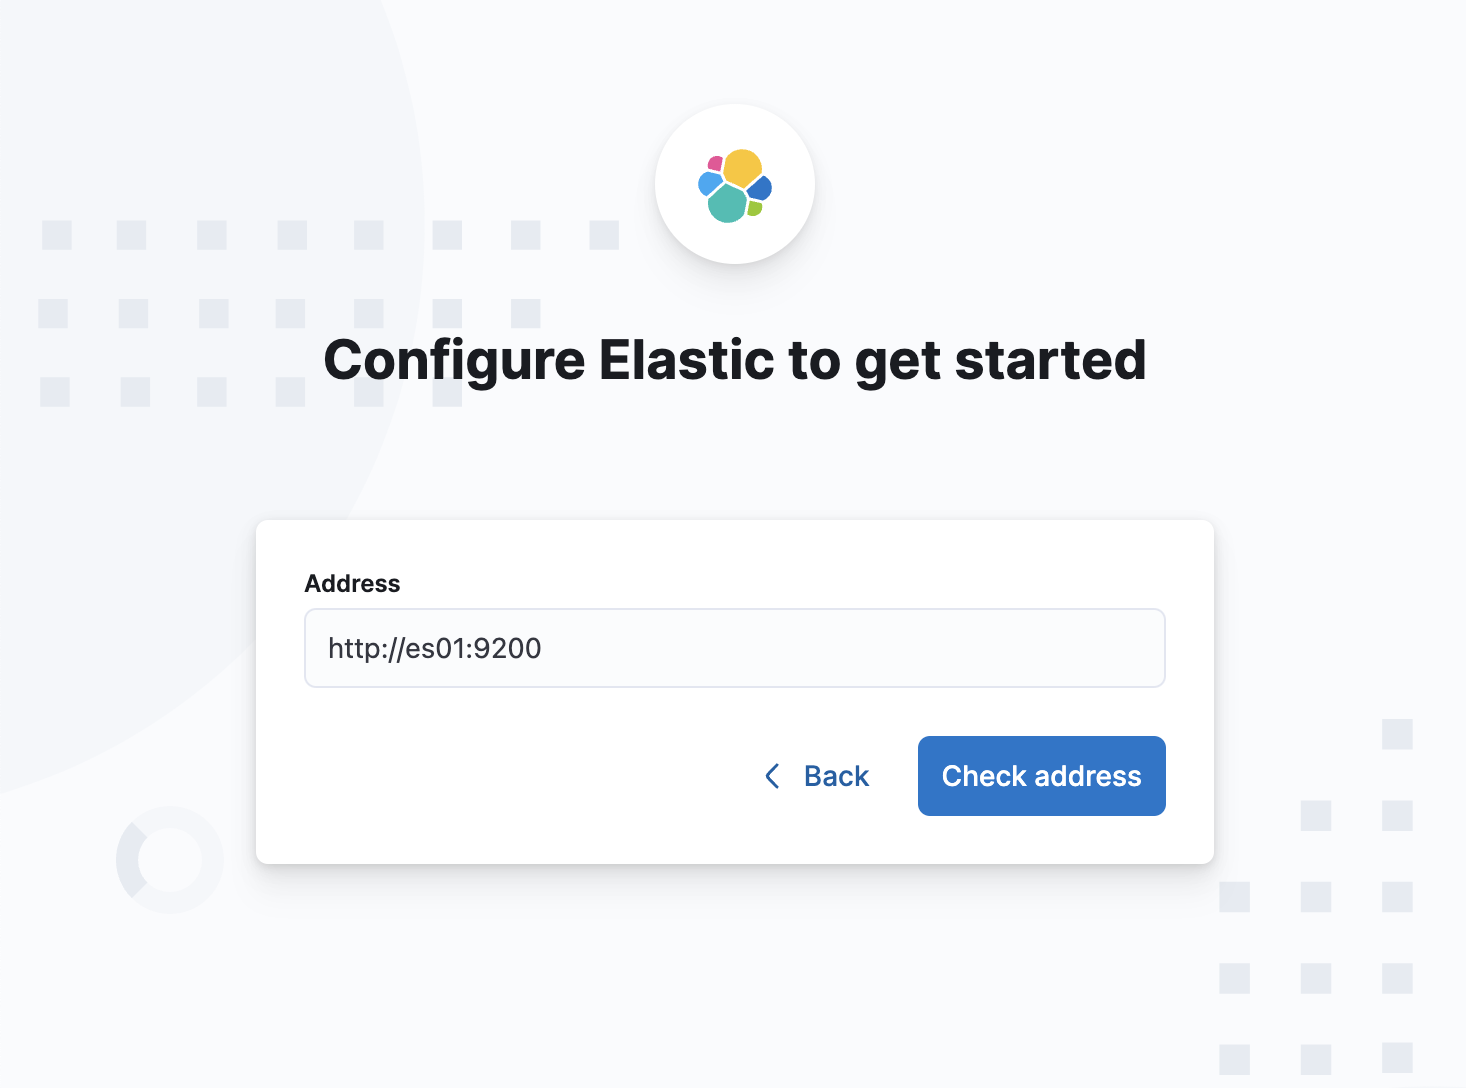
콘솔에 나오는 URL로 접속 후, Configure manually를 클릭한다.
그리고 나서 http://es01:9200을 입력 후 Check address ➝ Configure Elastic을 눌러주면
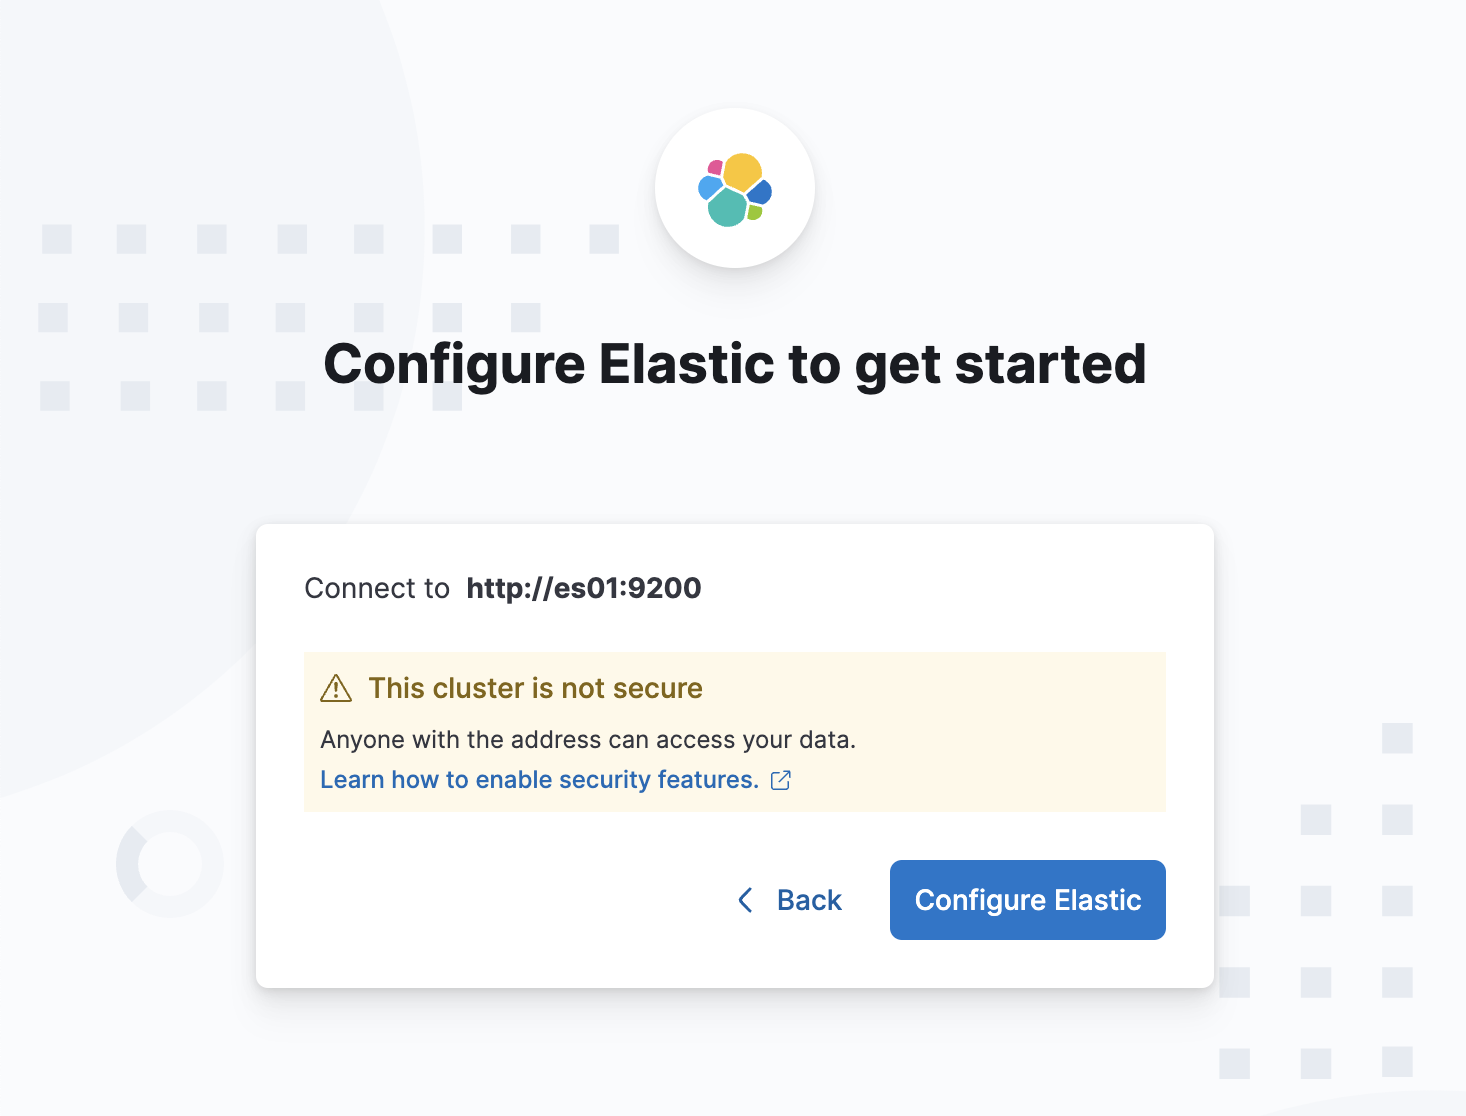
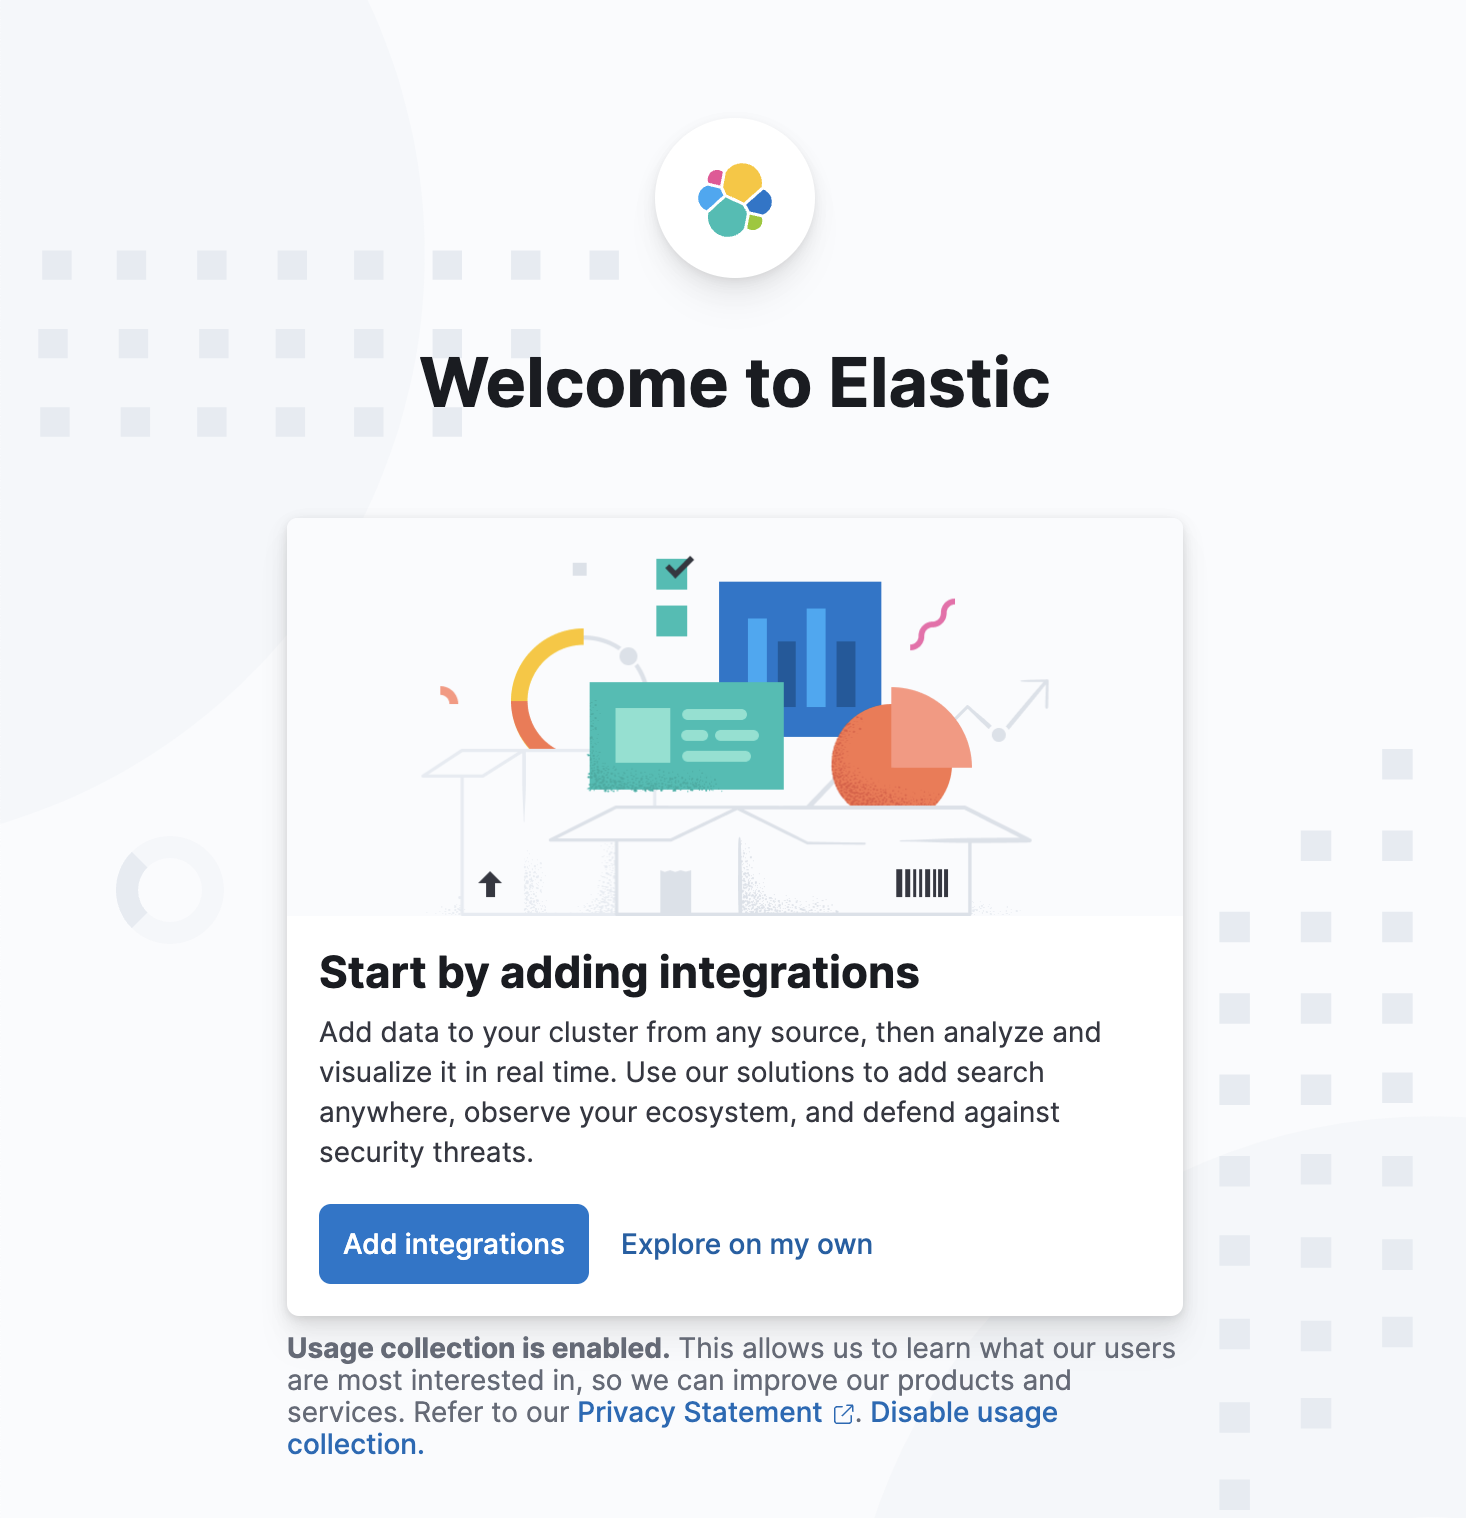
다음과 같이 성공적으로 접속할 수 있다.
참고로 http://es01:9200이 아닌 http://localhost:9200으로 접속하면 아래와 같이 에러가 나는데, 이는 도커 네트워크와 관련이 있다.
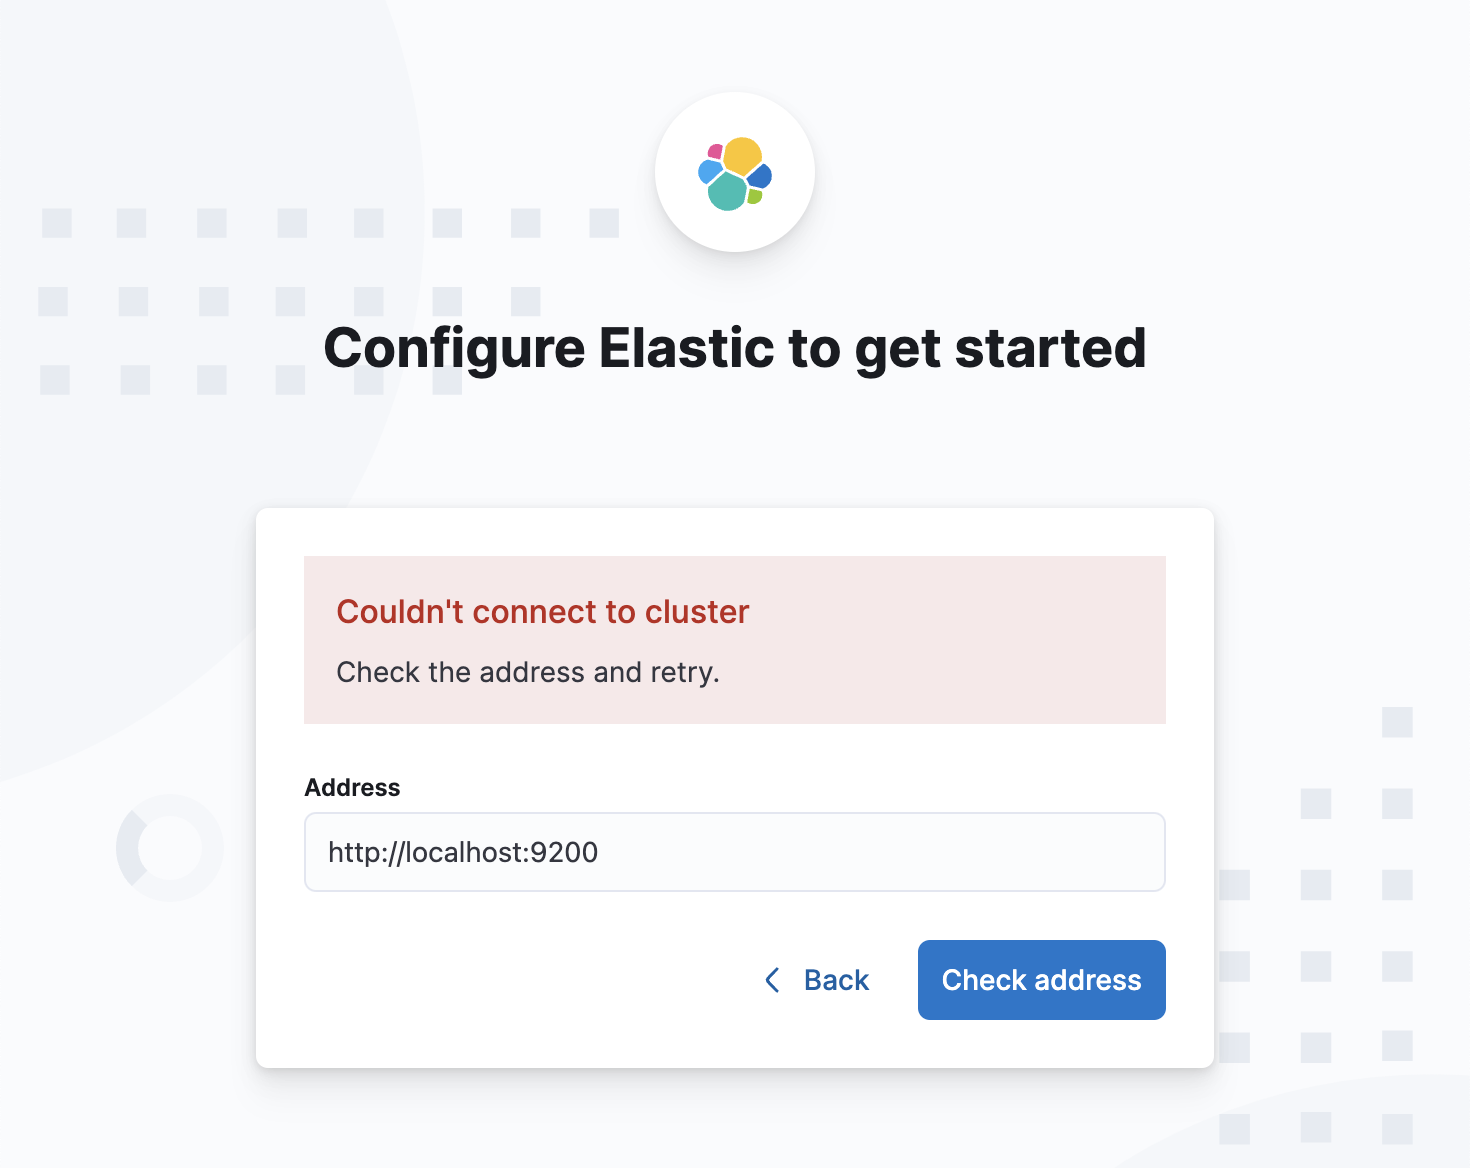
도커는 컨테이너는 기본적으로 격리된 환경에서 돌아가기 때문에, localhost를 사용하면 해당 컨테이너의 자체적인 localhost를 뜻한다. 따라서 같은 네트워크로 연결된 경우 컨테이너 이름을 사용하는 방식으로 통신이 가능하다.
References
Security settings in Elasticsearch
Install Elasticsearch with Docker