postgreSQL 셋업
postgreSQL을 설치하고 접속하는 과정을 정리한다.
postgreSQL 설치하기
- https://www.postgresql.org/download/
- postgreSQL 사이트에 접속하여 운영체제에 맞는 installer를 설치한다.
- linux의 경우 터미널에서 설치할 수 있다.
	sudo apt-get update
	sudo apt-get install postgresql postgresql-contrib
postgreSQL 접속 (Window)
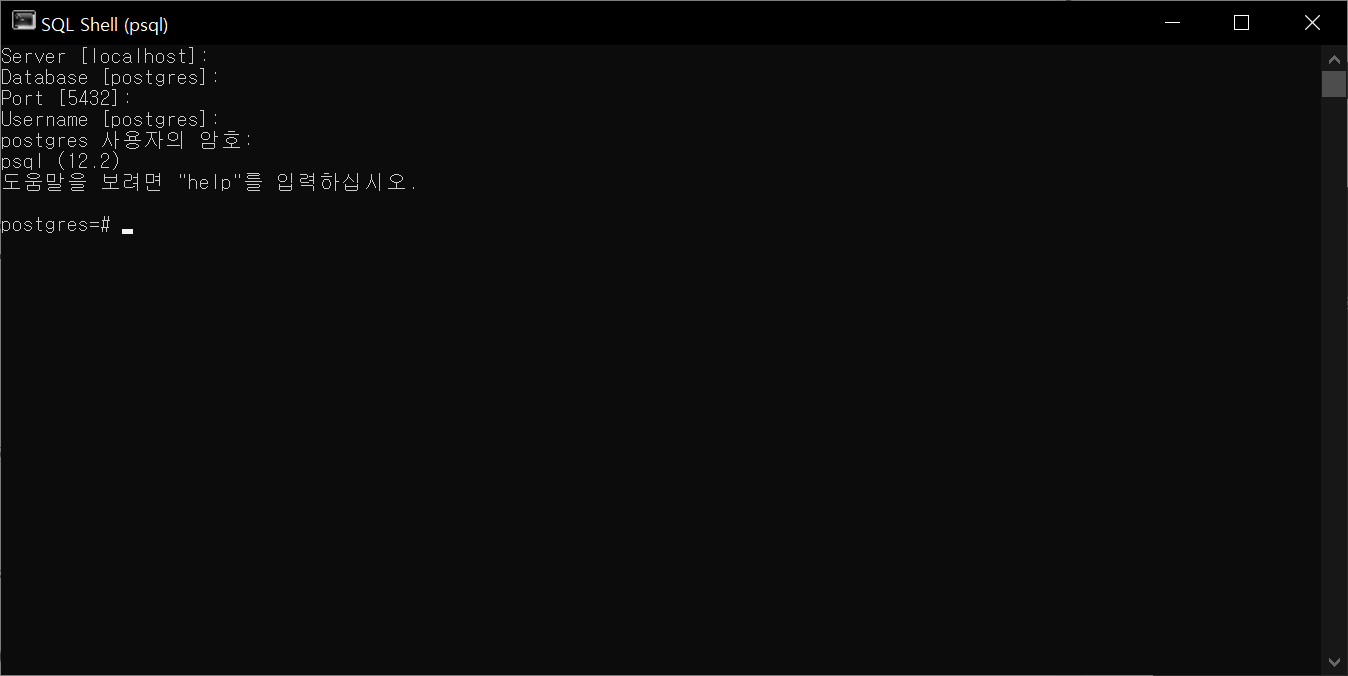
- postgreSQL 데이터베이스 서버에 접속하기 위해서는 psql이나 pgAdmin과 같은 응용프로그램을 사용한다.
- window에서는 SQL Shell (psql)을 사용한다.
- 엔터를 누른 뒤 암호를 입력하라고 나오면 설치시 등록했던 비밀번호를 입력하면 된다.
postgreSQL 접속(Linux)
- postgresql을 설치하면 postgres라는 계정이 생성된다.
- postgres계정은 postgreSQL을 관리하는 계정이다. 다음과 같이 postgres계정으로 변경할 수 있다.
sudo -i -u postgres- postgres 계정으로 변경 후 psql을 입력하여 postgresql로 접속할 수 있다.
$ psql
psql (12.9 (Ubuntu 12.9-0ubuntu0.20.04.1))
Type "help" for help.

postgres=# - postgreSQL에서 나가기 위해서
\p명령어를 사용하여 나갈 수 있다. - sudo 계정으로 postgreSQL에 접속하려면 아래와 같이 입력한다.
$ sudo -u postgres psql
psql (12.9 (Ubuntu 12.9-0ubuntu0.20.04.1))
Type "help" for help.

postgres=#
postgreSQL 사용
- 아래 명령어를 통해 postgres계정으로 새로운 postgreSQL계정을 생성할 수 있다.
커맨드를 입력하면 추가할 계정과 superuser인지를 묻는다.
$ sudo -i -u postgres
$ createuser --interactive
Enter name of role to add: jun
Shall the new role be a superuser? (y/n) y- Database를 생성하기 위해서는 createdb명령어를 사용한다.
createdb testdb- postgreSQL에서는 데이터베이스명과 동일한 linux 유저계정이 필요하다.
sudo adduser testdb- postgreSQL의 데이터베이스명과 postgres user명, Linux 유저 계정이 동일하게 존재하여야 한다.
- testdb계정으로 testdb 데이터베이스에 접속하려면 아래와 같이 입력한다.
$ sudo -u testdb psql -d testdb
psql (12.9 (Ubuntu 12.9-0ubuntu0.20.04.1))
Type "help" for help.

testdb=#- 접속 후 현재 정보를 확인하고 싶다면
\conninfo명령으로 확인할 수 있다.

hi