주피터 접속
https://3.34.134.110:8888/terminals/1
기존 도커 삭제하기
root@ip-172-31-42-206:~# docker rm -f docker ps -a -q
아파치와 php5.6 설치하기
root@ip-172-31-42-206:~# cd /home/ubuntu/example
root@ip-172-31-42-206:~/example# sudo vi Dockerfile
FROM ubuntu:18.04
MAINTAINER Myeongsim <msi753@naver.com>

# avoiding user interaction with tzdata
ENV DEBIAN_FRONTEND=noninteractive

RUN apt-get update
RUN apt-get install -y apache2 # Install Apache web server (Only 'yes')
RUN apt-get install -y software-properties-common
RUN add-apt-repository ppa:ondrej/php # For Installing PHP 5.6
RUN apt-get update
RUN apt-get install -y php5.6

EXPOSE 80

CMD ["apachectl", "-D", "FOREGROUND"] # D represenets Deamon
root@ip-172-31-42-206:~/example# docker build -t example .
사용하지 않는 컨테이너와 이미지 삭제
root@ip-172-31-42-206:~/example# docker ps -a
root@ip-172-31-42-206:~/example# docker rm -f 컨테이너아이디
root@ip-172-31-42-206:~/example# docker images
root@ip-172-31-42-206:~/example# docker rmi -f 이미지아이디
볼륨 마운트
왼쪽은 도커 이미지 오른쪽은 php 경로
root@ip-172-31-42-206:~/example# docker run -p 80:80 -v /home/ubuntu/example/html:/var/www/html example
터미널 하나 더 띄우고
경로를 이동한 후
해당 경로에서 작업하면 컨테이너 내부에 있는 php 소스코드와 연결이 된다.
root@ip-172-31-42-206:~/example# cd /home/ubuntu/example/html
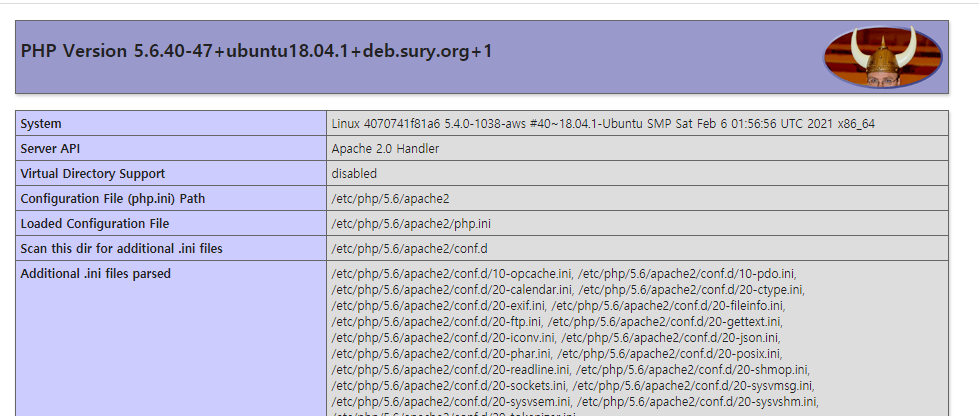
root@ip-172-31-42-206:~/example/html# sudo vi index.php
<?php phpinfo() ?>컨테이너만 하나 더 생성
81번 포트로 동일한 컨테이너를 하나 더 생성하고
root@ip-172-31-42-206:~/example/html# docker run -p 81:80 -v /home/ubuntu/example/html:/var/www/html example
방화벽을 열어주면 (인바운드 규칙 추가)
사용자 지정 TCP TCP 81 0.0.0.0/0
하나의 서버 내에서 여러 개의 웹 서버 사용이 가능하다
http://3.34.134.110:81