
카카오톡 로그인 구현하기
연습이기 때문에 보안쪽은 따로 신경쓰지 않았다.
프론트 : [http://127.0.0.1:5500]_javascript
백 : [http://localhost:3000]_express
이외 : axios, cors
1. Kakao Developers 애플리케이션 등록
- 로그인 후 애플리케이션을 추가 해준다.
- 대시보드 / 설정 - 카카오 로그인 상태를 ON으로 바꿔준다.
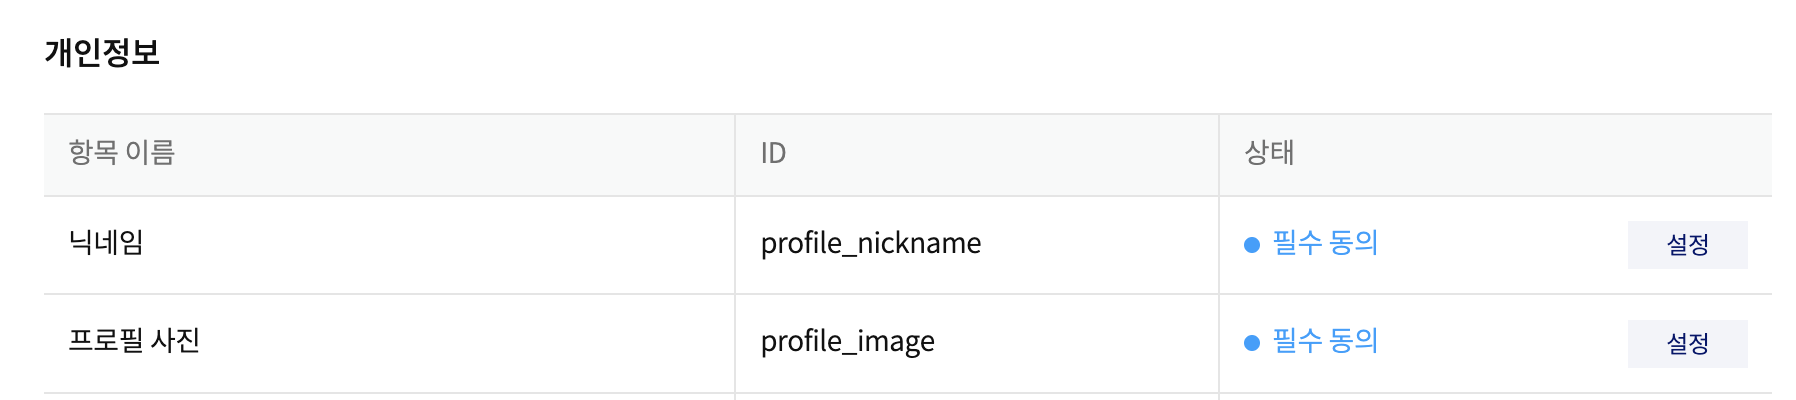
- 제품설정 / 동의항목 / 개인정보에서 필요한 항목을 설정해준다.
(나는 닉네임, 프로필 사진 2개의 항목을 필수동의 상태로 변경해주었다.)
2. App Key
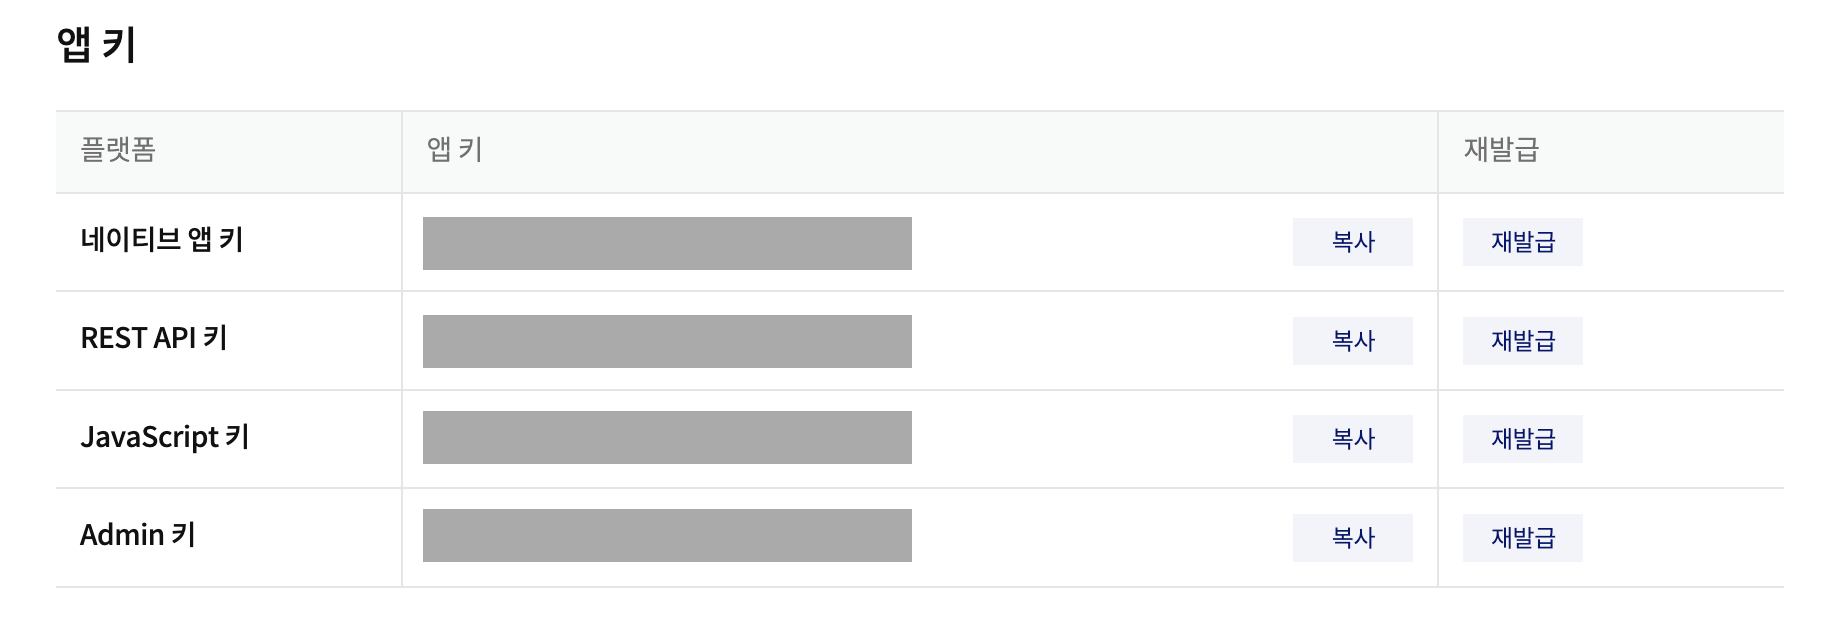
- REST API키를 변수로 선언해준다.
const kakaoClientId = "카카오 REST API KEY";Kakao Developer REST API 따라가기
https://developers.kakao.com/docs/latest/ko/rest-api/getting-started
3. [클라이언트]인가 코드 받기
https://developers.kakao.com/docs/latest/ko/kakaologin/rest-api#request-code
flow
카카오 계정 로그인 > 사용자 동의 > 302Redirect > urlParams에 인가코드가 담겨옴 > 인가코드를 서버로 전달
| 메서드 | URL | 인증 방식 |
|---|---|---|
| GET | https://kauth.kakao.com/oauth/authorize | - |
필수 전달 요소: client_id , redirect_uri, response_type
const kakaoClientId = "카카오 REST API KEY";
const redirectURL = "http://127.0.0.1:5500";- 카카오 로그인으로 페이지 이동
location.href = `https://kauth.kakao.com/oauth/authorize?client_id=${kakaoClientId}&redirect_uri=${redirectURL}&response_type=code`;
- 인가코드 수령
http://127.0.0.1:5500/?code= authorizationCode- 서버로 인가코드 전달
  const url = new URL(location.href);
  const urlParams = url.searchParams;
  const authorizationCode = urlParams.get("code");

  axios.post("http://localhost:3000/kakao/login", { authorizationCode })
4. [서버]토큰 받기
https://developers.kakao.com/docs/latest/ko/kakaologin/rest-api#request-token
flow
| 메서드 | URL | 인증 방식 |
|---|---|---|
| POST | https://kauth.kakao.com/oauth/token | - |
필수 전달 요소:
헤더 > Content-type
바디 > grant_type, client_id, redirect_uri, code
--서버에서도 ID와 URL 변수 선언
const kakaoClientId = "카카오 REST API KEY";
const redirectURL = "http://127.0.0.1:5500";- 인가코드를 사용해 토큰 요청
- response로 받아온 토큰을 클라이언트로 전달
app.post("/kakao/login", (req, res) => {
  const authorizationCode = req.body.authorizationCode;
  axios.post(
      `https://kauth.kakao.com/oauth/token`,
      {
        grant_type: "authorization_code",
        client_id: kakaoClientId,
        redirect_uri: redirectURL,
        code: authorizationCode,
      },
      {
        headers: {
          "Content-type": "application/x-www-form-urlencoded;charset=utf-8",
        },
      }
    )
    .then((response) => res.send(response.data.access_token));
});
5. [클라이언트]
받은 토큰은 저장 해두었다가 요청에서 필요할때 토큰과 함께 요청 보내기
let kakaoAccessToken;예시)
--클라이언트
axios.post("http://localhost:3000/kakao/userinfo", {kakaoAccessToken});
--서버
app.post("/kakao/userinfo", (req, res) => {
const { kakaoAccessToken } = req.body;
axios
.get("https://kapi.kakao.com/v2/user/me", {
headers: {
Authorization: `Bearer ${kakaoAccessToken}`,
"Content-type": "application/x-www-form-urlencoded;charset=utf-8",
},
})
.then((response) => {
console.log(response.data.properties);
return res.json(response.data.properties);
});
});6. 로그아웃
--클라이언트
axios.delete("http://localhost:3000/kakao/logout", {data: { kakaoAccessToken }})
--서버
axios.post("https://kapi.kakao.com/v1/user/logout",{},{
headers: { Authorization: `Bearer ${kakaoAccessToken}` }})
되고싶다.. 개발자..!