1. 구매한 장비
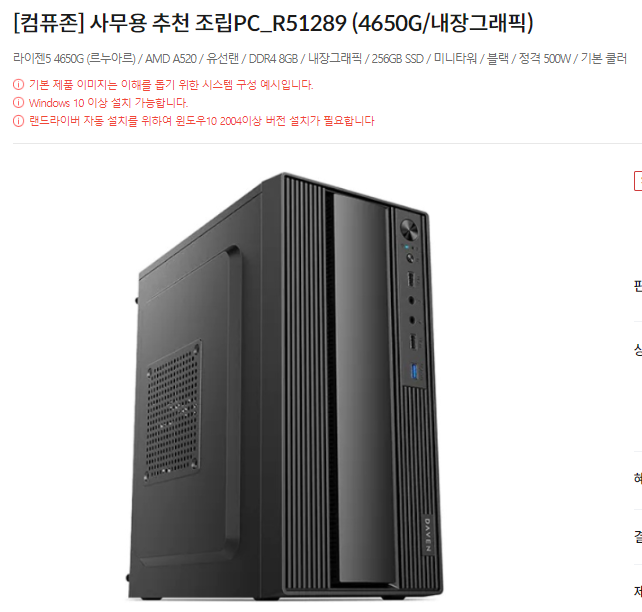
컴퓨존에서 서버용으로 사용할 컴퓨터를 싸게 하나 맞췄다. 처음에는 mini PC 를 생각했으나 성능도 안 좋을 뿐더러 나중에 NIC 를 꽂을 PCIe 포트가 없어서 아예 데스크탑으로 구매했다.
PCIe 포트도 있고 성능도 뭐 나쁘지 않고 가격도 괜찮은 것 같다. 사실 컴알못이라 잘 모르겠는데 이 정도면 필자가 개발하려는 환경에서는 충분하다고 생각한다.
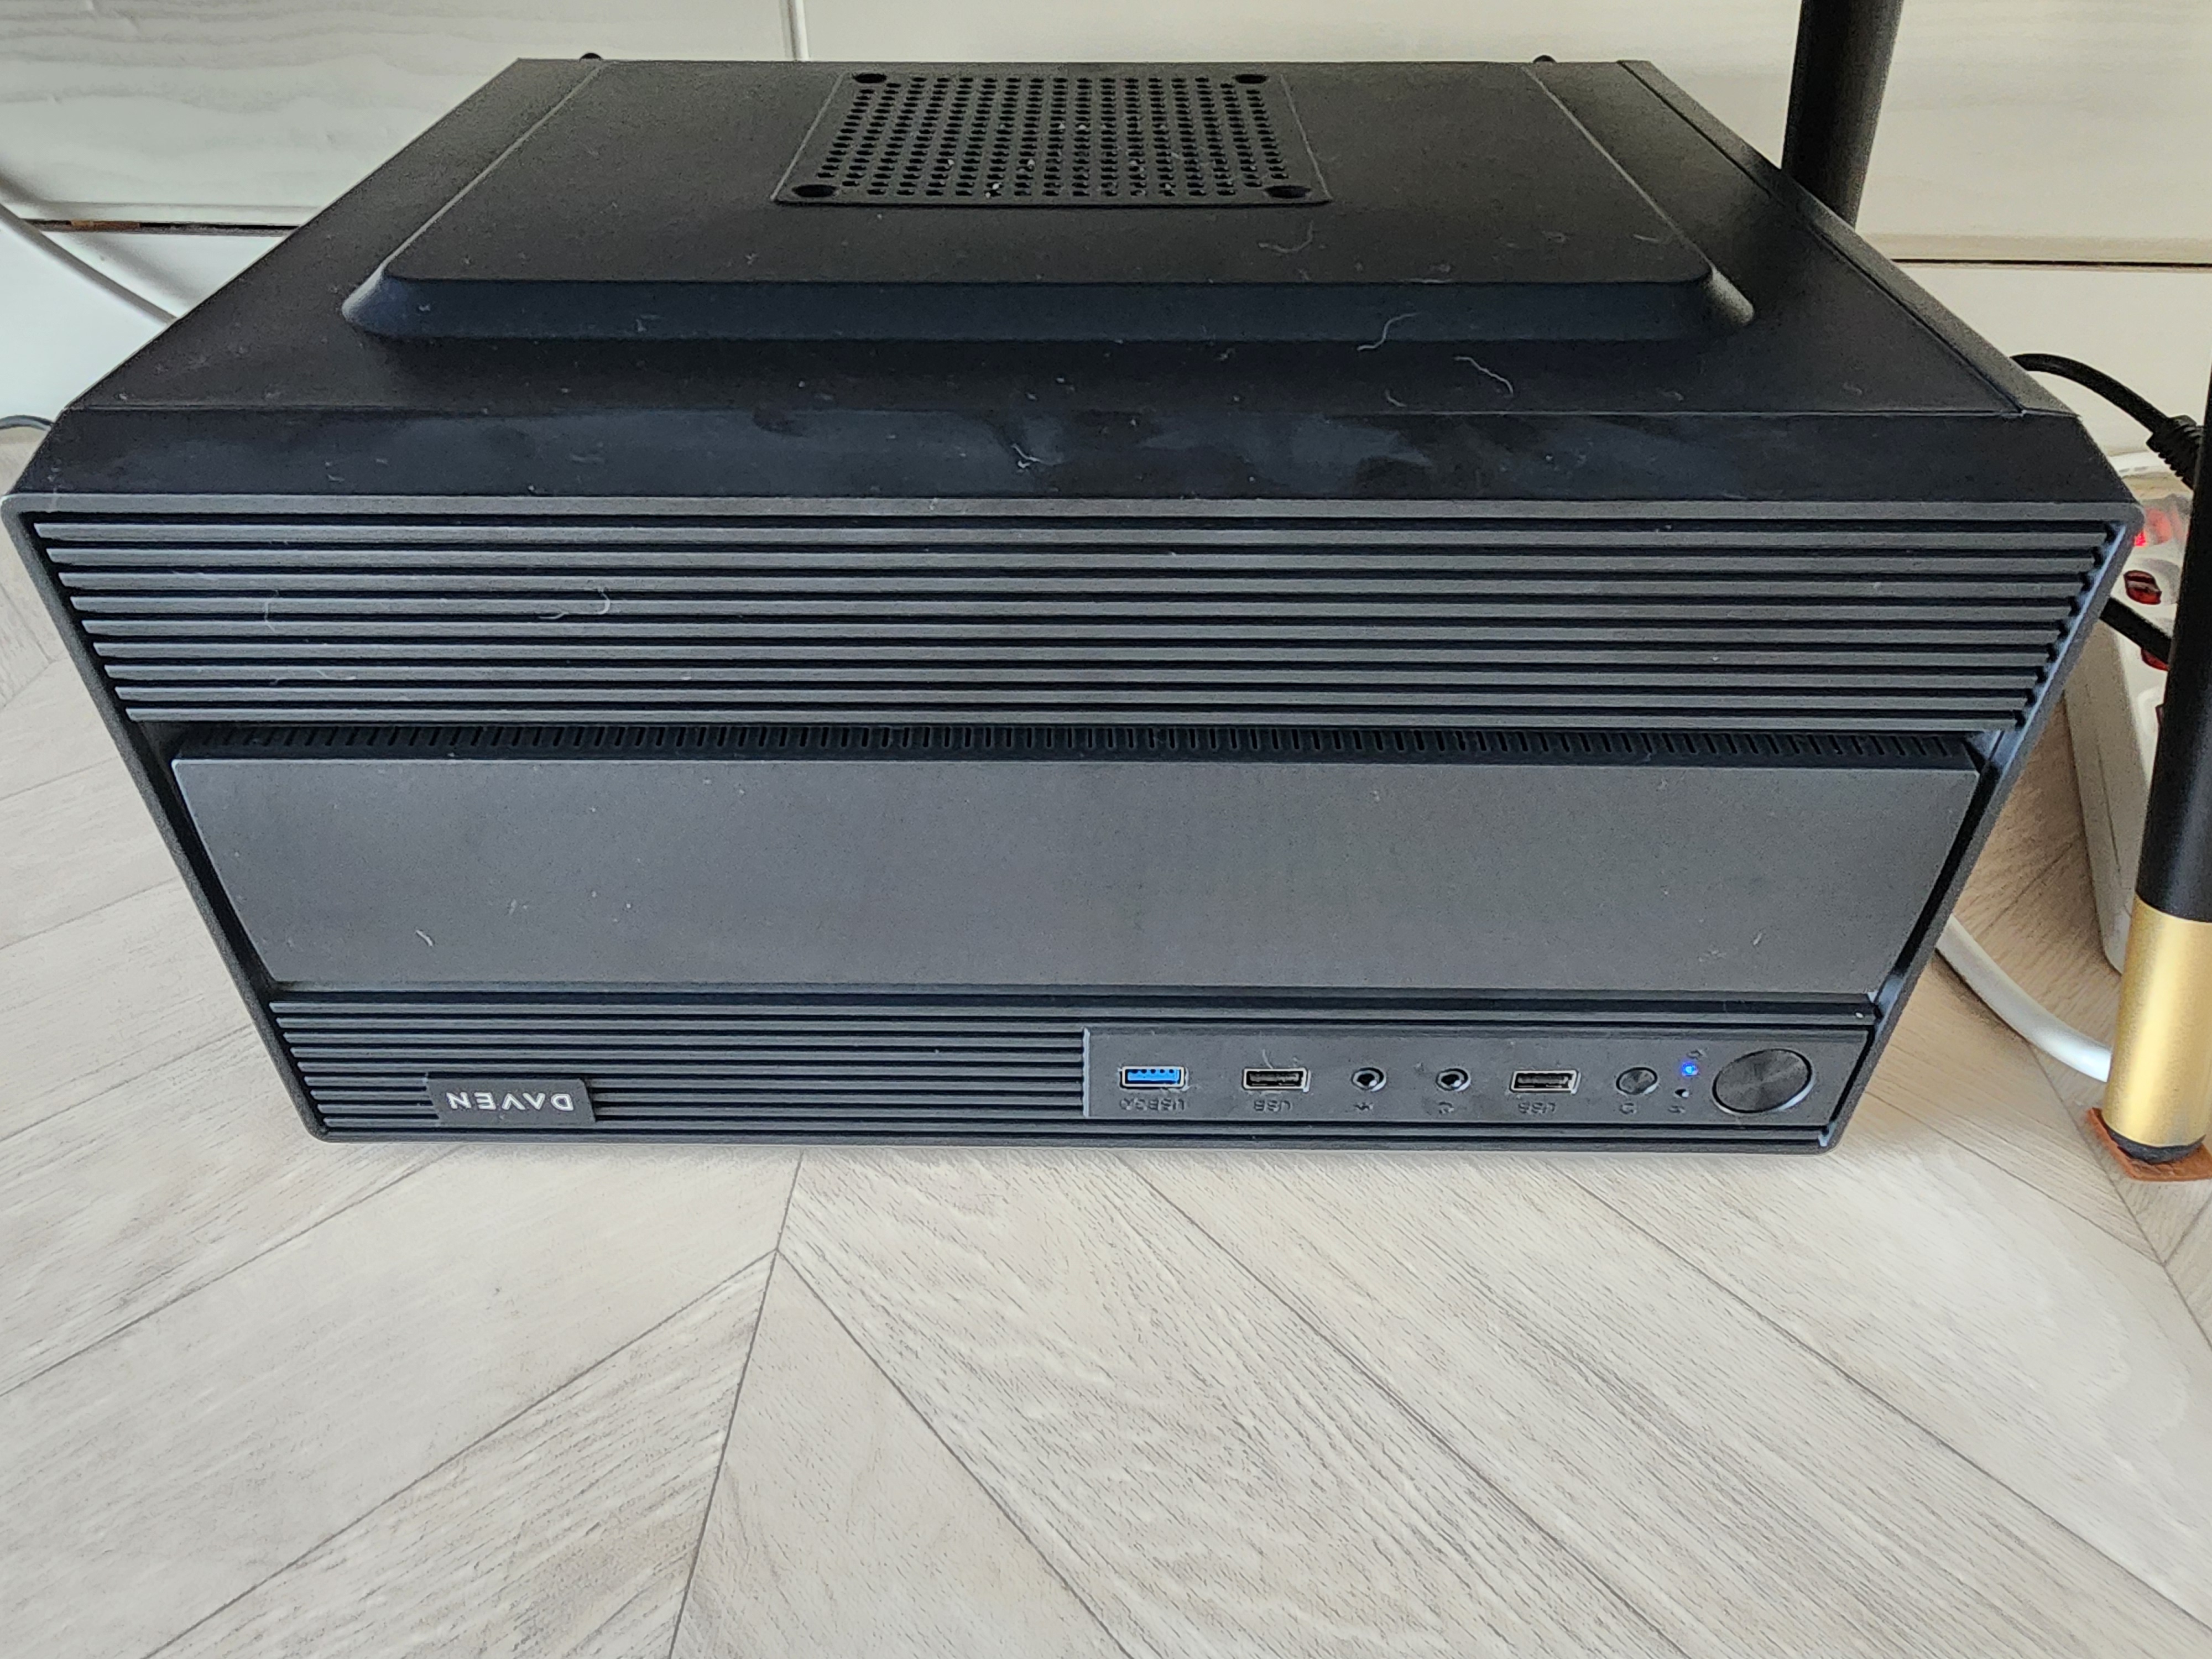
휴가 나와서 본가에 도착하자마자 컴퓨터부터 뜯었다. 바로 Fedora 40 Server 로 밀어 버리고 포트 포워딩해서 원격으로 작업할 수 있는 환경을 구축했다.
원래는 포트 포워딩을 할게 아니라 그냥 랜 케이블을 직렬로 꽂아서 쓸 예정이었다. 통신사에 연락해서 인터넷 설치 예약을 하고 본가에 도착하자마자 바로 인터넷을 쓸 예정이었으나... 일이 꼬여서 다음 주로 미뤄졌다.
2. 서버 셋업
- 개발 도구 설치
ssh 로 접속해서 가장 먼저 한 일은 업데이트와 개발 도구 설치.
dnf update
dnf groupinstall "Development Tools" "Development Libraries"
다음으로 LunarVim 설치.
git clone https://github.com/Cruzer-S/Settings
cd Settings/LunarVim/

./install.sh
- git 설정
dnf install gh

git config --global user.name "Cruzer-S"
git config --global user.email "yyyynoom@gmail.com"

gh auth login
3. 커널 설정
- 커널 다운로드 및 빌드
* 최신 커널 받아오기
mkdir ~/linux
git clone https://git.kernel.org/pub/scm/linux/kernel/git/torvalds/linux.git ~/linux/kernel
git checkout tags/<latest> -b <branch name>
필자는 <latest> 로 v6.11-rc7 으로 받았고, <branch name> 은 똑같이 v6.11-rc7 으로 했다.
* 커널 빌드 옵션 설정
mkdir -p ~/linux/build/x86_64

make O=../build/x86_64 defconfig
make O=../build/x86_64 menuconfig
# General setup --->
# [ ]     Compile the kernel with warnings as errors

# Processor type and features --->
# [ ]     Randomize the address of the kernel image (KASLR)
#
# Kernel hacking --->
#     Compile-time checks and compiler options --->
#         Debug information (Rely on the toolchain's implict default DWARF version)
# [ ]     Reduce debugging information
# [*]     Provide GDB scripts for kernel debugging
#     Memory Debugging --->
# [*]     all YES, without
# [ ]     KASAN: dynamic memory safety error detector
#     Lock Debugging --->
# [*]     all YES, without
# [ ]     torture tests for locking
# [ ]     torture tests for smp_call_function*()
원래는 KASAN 도 넣고 빌드를 했으나 현 시점에서는 아무리 해도 실행도, 빌드도 안됨. 이전 버전 커널에선 가능한걸 보면 뭔가 문제가 있는듯 싶음.
* 커널 빌드하기
dnf install sparse
make O=../build/x86_64/ W=1 C=1 -j$(nproc) 2>&1 | tee ../build/x86_64/output.txt
# 전부 다 Enter 쳐서 default 로 빌드
- 커널 개발 환경
* LSP 설정
dnf install cscope bear

make tags cscope
./script/clang-tools/gen_compile_commands.py -d ../build/x86_64/

touch .clangd
.clangd 파일에 다음의 내용을 추가한다.
CompileFlags:
  Remove: [-fconserve-stack, -fno-allow-store-data-races, -mfunction-return=thunk-extern, -mindirect-branch-cs-prefix, -mindirect-branch-register, -mindirect-branch=thunk-extern, -mskip-rax-setup, -mpreferred-stack-boundary=3, -mno-fp-ret-in-387, -fmin-function-alignment=16]
* git-email 설정
dnf install git-email

cd ~/linux/kernel/

git config user.name "Moon Yeounsu"

git config --global sendemail.smtpuser yyyynoom@gmail.com
git config --global sendemail.smtppass <password>
git config --global sendemail.smtpserver smtp.gmail.com
git config --global sendemail.smtpserverport 587
git config --global sendemail.smtpencryption tls
4. rootfs 생성 (buildroot)
* buildroot 다운로드
wget https://buildroot.org/downloads/buildroot-2024.02.4.tar.gz
tar -xzvf buildroot-2024.02.4.tar.gz
rm buildroot-2024.02.4.tar.gz
mv buildroot-2024.02.4 rootfs
* 빌드 옵션 설정
make qemu_x86_64_defconfig
make menuconfig
# Toolchain --->
# [*]     Build cross gdb for the host
# [*]     TUI support
# [*]     Python support
# [*]     Simulator support
# Kernel --->
# [ ]     Linux Kernel
* 빌드 수행
dnf install perl
make
5. qemu 테스트
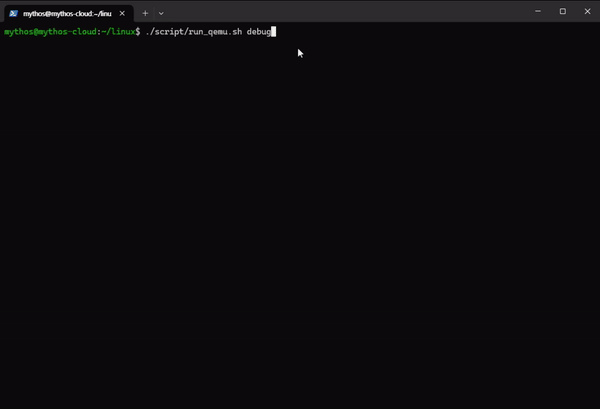
* 스크립트 파일 만들기
mkdir config
touch config/run_qemu.sh
chmod +x config/run_qemu.sh
* 스크립트 내용
#/bin/bash
BASEDIR=$(dirname "$0")/..
BUILDDIR=$BASEDIR/build/x86_64

ROOTFS=$BASEDIR/rootfs/output/images/rootfs.ext2
VMLINUX=$BUILDDIR/vmlinux
IMAGE=$BUILDDIR/arch/x86_64/boot/bzImage

if [[ $1 == "debug" ]]; then
        qemu-system-x86_64								\
        -M pc											\
        -kernel $IMAGE									\
        -drive file=$ROOTFS,if=virtio,format=raw		\
        -append "console=ttyS0 root=/dev/vda nokaslr"   \
        -net nic                                        \
        -net user                                       \
        -nographic                                      \
        -s -S > ./output.log &

        QEMU_PID=$!

        gdb $VMLINUX									\
        -ex "add-auto-load-safe-path $BUILDDIR"         \
        -ex "target remote :1234"

        kill $QEMU_PID
else
        qemu-system-x86_64								\
        -M pc                                           \
        -kernel $IMAGE                                  \
        -drive file=$ROOTFS,if=virtio,format=raw        \
        -append "console=ttyS0 root=/dev/vda"           \
        -net nic                                        \
        -net user                                       \
        -nographic
fi
* QEMU 를 통한 테스트
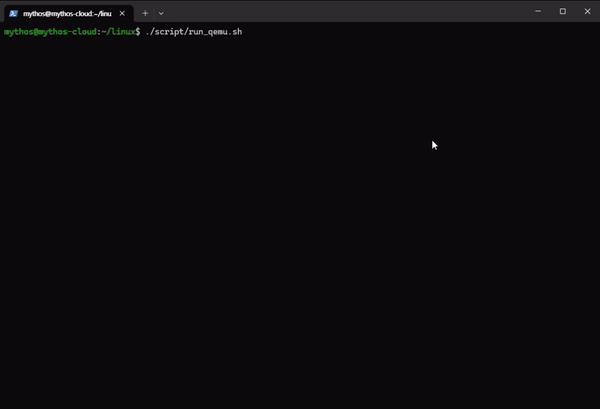
sudo dnf install qemu
./script/run_qemu.sh
이 경우에는 QEMU 를 통해 직접 실행한다. 이하의 명령은 QEMU 로 커널 실행 후 중단하여 gdb 붙어 보는 것이다:

2000.11.30