이전 장에서 Seafile Server 를 구동시켜 접속하는 것까지 완료했다. 문제는 포트번호가 HTTP 포트(80) 가 아니라서 URL 에 직접 명기해야 하며, 또한 HTTPS 지원 역시 이뤄지지 않았다.
이번 장에서는 Nginx 를 통한 포트 포워딩, 그리고 HTTPS 에 대한 지원 또한 구축할 것이다.
1. Nginx 설치
sudo apt install -y nginx
sudo systemctl start nginx
sudo systemctl enable nginx
2. Nginx 설정
- 설정 파일 준비
sudo touch /etc/nginx/sites-available/seafile.conf
sudo rm /etc/nginx/sites-enabled/default
sudo rm /etc/nginx/sites-available/default
sudo ln -s /etc/nginx/sites-available/seafile.conf /etc/nginx/sites-enabled/seafile.conf
위 명령어를 입력하여 Seafile Server 를 위한 설정 파일을 준비한다.
- Nginx 설정
아래의 내용을 앞에서 생성했던 seafile.conf 파일에 복사해서 붙여 넣는다. 단, server_name 항목은 수정할 필요가 있다.
log_format seafileformat '$http_x_forwarded_for $remote_addr [$time_local] "$request" $status $body_bytes_sent "$http_referer" "$http_user_agent" $upstream_response_time';

server {
    listen 80;
    server_name seafile.example.com;

    proxy_set_header X-Forwarded-For $remote_addr;

    location / {
         proxy_pass         http://127.0.0.1:8000;
         proxy_set_header   Host $host;
         proxy_set_header   X-Real-IP $remote_addr;
         proxy_set_header   X-Forwarded-For $proxy_add_x_forwarded_for;
         proxy_set_header   X-Forwarded-Host $server_name;
         proxy_read_timeout  1200s;

         # used for view/edit office file via Office Online Server
         client_max_body_size 0;

         access_log      /var/log/nginx/seahub.access.log seafileformat;
         error_log       /var/log/nginx/seahub.error.log;
    }

# If you are using [FastCGI](http://en.wikipedia.org/wiki/FastCGI),
# which is not recommended, you should use the following config for location `/`.
#
#    location / {
#         fastcgi_pass    127.0.0.1:8000;
#         fastcgi_param   SCRIPT_FILENAME     $document_root$fastcgi_script_name;
#         fastcgi_param   PATH_INFO           $fastcgi_script_name;
#
#         fastcgi_param  SERVER_PROTOCOL     $server_protocol;
#         fastcgi_param   QUERY_STRING        $query_string;
#         fastcgi_param   REQUEST_METHOD      $request_method;
#         fastcgi_param   CONTENT_TYPE        $content_type;
#         fastcgi_param   CONTENT_LENGTH      $content_length;
#         fastcgi_param  SERVER_ADDR         $server_addr;
#         fastcgi_param  SERVER_PORT         $server_port;
#         fastcgi_param  SERVER_NAME         $server_name;
#         fastcgi_param   REMOTE_ADDR         $remote_addr;
#        fastcgi_read_timeout 36000;
#
#         client_max_body_size 0;
#
#         access_log      /var/log/nginx/seahub.access.log;
#        error_log       /var/log/nginx/seahub.error.log;
#    }

    location /seafhttp {
        rewrite ^/seafhttp(.*)$ $1 break;
        proxy_pass http://127.0.0.1:8082;
        client_max_body_size 0;
        proxy_set_header   X-Forwarded-For $proxy_add_x_forwarded_for;

        proxy_connect_timeout  36000s;
        proxy_read_timeout  36000s;
        proxy_send_timeout  36000s;

        send_timeout  36000s;

        access_log      /var/log/nginx/seafhttp.access.log seafileformat;
        error_log       /var/log/nginx/seafhttp.error.log;
    }
    location /media {
        root /opt/seafile/seafile-server-latest/seahub;
    }
}
client_max_body_size 는 기본적으로 1MiB 이지만 현재는 무제한(0)이다. 해당 설정은 seafile.conf 의 [fileserver] 항목의 max_upload_size 와 동기화하는 것을 추천한다.
설정이 끝났다면 아래의 명령어를 입력하여 nginx 가 새로이 등록된 설정파일을 사용할 수 있도록 새로고친다:
sudo nginx -t
sudo nginx -s reload
만약 위 명령어를 입력하고 에러가 발생했다면 설정파일에 문제가 있는 것이므로 올바르게 수정하길 바란다.
3. seafile 설정 파일 수정
앞 장에서 HTTP 로 서버에 접속하기 위해 SERVICE_URL 과 bind 를 수정했었다. 해당 항목들을 다시 원래대로 되돌려야 한다.
- seahub_seettings.py
# -*- coding: utf-8 -*-
SECRET_KEY = "*****************************************************"


SERVICE_URL = 'http://www.mythos.link/'

DATABASES = {
    'default': {
        'ENGINE': 'django.db.backends.mysql',
        'NAME': 'seahub-db',
        'USER': 'seafile',
        'PASSWORD': '******************',
        'HOST': '127.0.0.1',
        'PORT': '3306',
        'OPTIONS': {'charset': 'utf8mb4'},
    }
}
- ccnet.conf
[General]
SERVICE_URL = 'http://www.mythos.link/'

[Database]
ENGINE = mysql
HOST = 127.0.0.1
PORT = 3306
USER = seafile
PASSWD = ******************
DB = ccnet-db
CONNECTION_CHARSET = utf8
- gunicorn.conf.py
import os

daemon = True
workers = 5

# default localhost:8000
bind = "0.0.0.0:8000"

# Pid
pids_dir = '/opt/seafile/pids'
pidfile = os.path.join(pids_dir, 'seahub.pid')

# for file upload, we need a longer timeout value (default is only 30s, too short)
timeout = 1200

limit_request_line = 8190
설정이 끝났다면 아래의 명령어를 입력하여 Seafile Server 를 재시작한다:
./seafile.sh restart
./seahub.sh restart
또한 필자는 개인 도메인이 있기 때문에 SERVICE_URL 을 IP 가 아닌 도메인 주소로 작성했다. 독자의 환경에 따라 적절하게 수정하길 바란다.
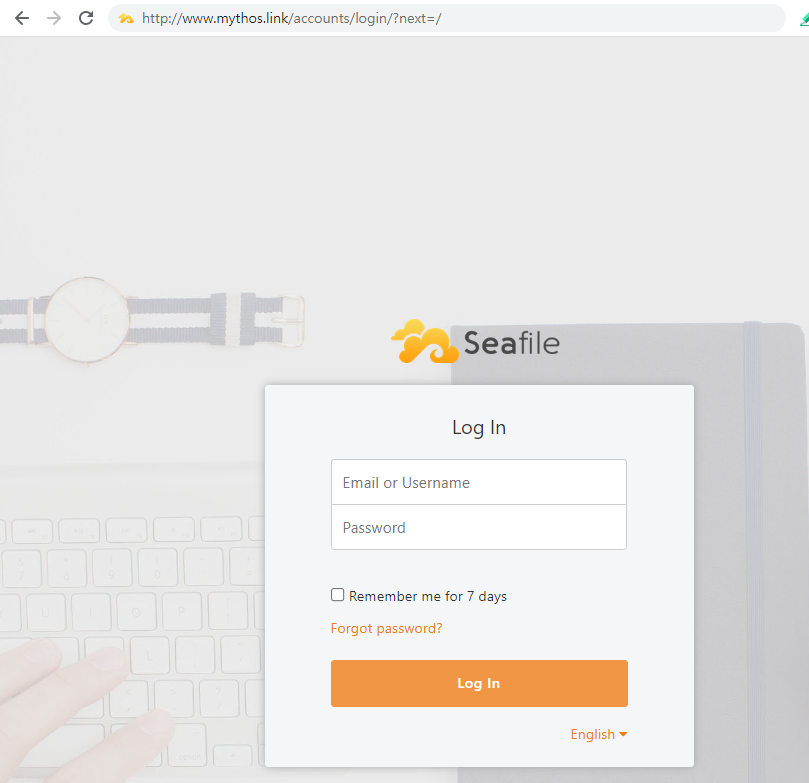
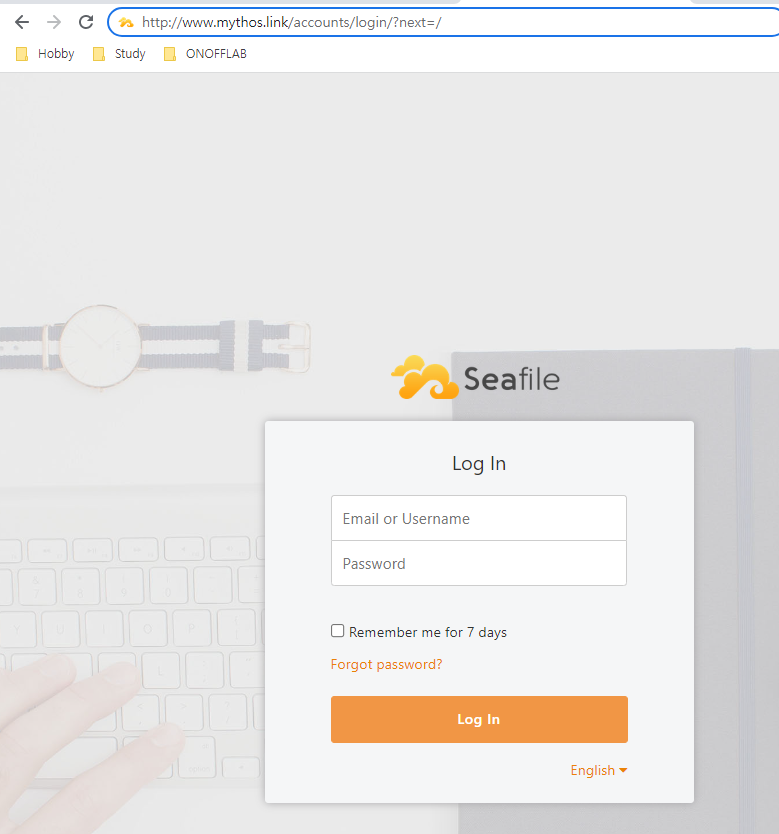
이제 HTTP (80) 로 요청을 보내게 되면 Nginx 측에서 자동으로 8000 포트로 포워드 해주기 때문에 위와 같이 접속할 수 있다. 물론 아직 HTTPS 의 지원이 이뤄지지 않았기 때문에 현재는 HTTP 만 접속이 가능하다.
4. Certbot 설치
이제 HTTPS 의 지원을 위해 Certbot 을 설치하려 한다. 설치 방법은 공식 홈페이지에서 가져온 내용 그대로이다:
sudo apt install -y snapd
sudo snap install core; sudo snap refresh core
sudo snap install --classic certbot
sudo ln -s /snap/bin/certbot /usr/bin/certbot
설치가 끝났다면 아래의 명령어를 입력하여 nginx 에 대해 인증을 등록한다:
sudo certbot certonly --nginx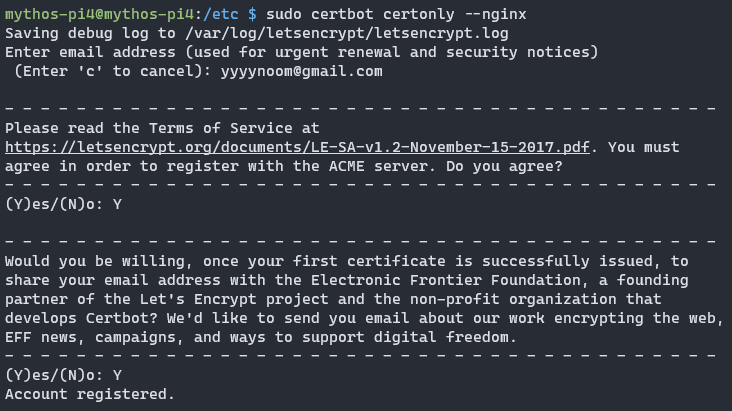
처음에 이메일 주소와 몇 가지 서비스 약관 등이 나오는데 둘 다 동의(Y)하면 된다.
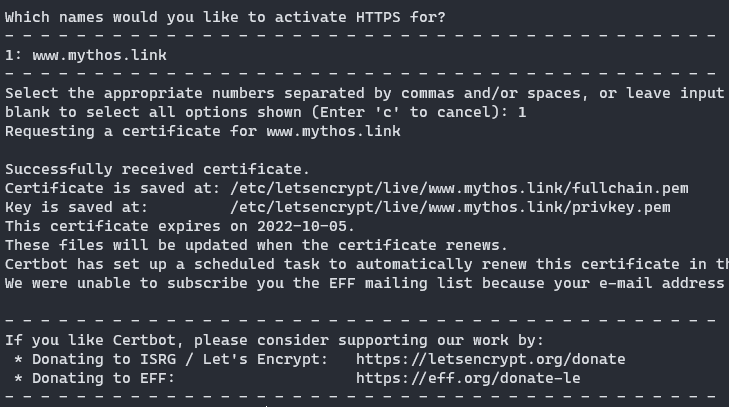
이후에 무슨 도메인 사용할지 묻는데 본인이 등록한 도메인 찾아서 선택하면 자동적으로 작업이 진행된다. /etc/letsencrypt/live/www.mythos.link/ 경로의 파일들이 HTTPS 프로토콜 지원을 위한 인증서들이다. 이를 Nginx 측에 넘겨주면 HTTPS 프로토콜로 접속할 수 있게 된다.
5. Nginx HTTPS 지원 설정
이제 Certbot 을 생성한 인증서를 Nginx 측에 알려주고 HTTP 접속을 HTTPS 로 강제하면 된다. 이하가 수정된 seafile.conf 이다:
log_format seafileformat '$http_x_forwarded_for $remote_addr [$time_local] "$request" $status $body_bytes_sent "$http_referer" "$http_user_agent" $upstream_response_time';

server {
    listen 80;
    server_name www.mythos.link;

    rewrite ^ https://$http_host$request_uri? permanent;        # Forced redirect from HTTP to HTTPS

    server_tokens off;  # Prevents the Nginx version from being displayed in the HTTP response header
}

server {
    listen 443 ssl;

    ssl_certificate /etc/letsencrypt/live/www.mythos.link/fullchain.pem;
    ssl_certificate_key /etc/letsencrypt/live/www.mythos.link/privkey.pem;

    server_name www.mythos.link;

    server_tokens off;

    location / {
         proxy_pass         http://127.0.0.1:8000;
         proxy_set_header   Host $host;
         proxy_set_header   X-Real-IP $remote_addr;
         proxy_set_header   X-Forwarded-For $proxy_add_x_forwarded_for;
         proxy_set_header   X-Forwarded-Host $server_name;
         proxy_read_timeout  1200s;

         proxy_set_header   X-Forwarded-Proto https;

         # used for view/edit office file via Office Online Server
         client_max_body_size 0;

         access_log      /var/log/nginx/seahub.access.log seafileformat;
         error_log       /var/log/nginx/seahub.error.log;
    }

# If you are using [FastCGI](http://en.wikipedia.org/wiki/FastCGI),
# which is not recommended, you should use the following config for location `/`.
#
#    location / {
#         fastcgi_pass    127.0.0.1:8000;
#         fastcgi_param   SCRIPT_FILENAME     $document_root$fastcgi_script_name;
#         fastcgi_param   PATH_INFO           $fastcgi_script_name;
#
#         fastcgi_param  SERVER_PROTOCOL     $server_protocol;
#         fastcgi_param   QUERY_STRING        $query_string;
#         fastcgi_param   REQUEST_METHOD      $request_method;
#         fastcgi_param   CONTENT_TYPE        $content_type;
#         fastcgi_param   CONTENT_LENGTH      $content_length;
#         fastcgi_param  SERVER_ADDR         $server_addr;
#         fastcgi_param  SERVER_PORT         $server_port;
#         fastcgi_param  SERVER_NAME         $server_name;
#         fastcgi_param   REMOTE_ADDR         $remote_addr;
#        fastcgi_read_timeout 36000;
#
#         client_max_body_size 0;
#
#         access_log      /var/log/nginx/seahub.access.log;
#        error_log       /var/log/nginx/seahub.error.log;
#    }

    location /seafhttp {
        rewrite ^/seafhttp(.*)$ $1 break;
        proxy_pass http://127.0.0.1:8082;
        client_max_body_size 0;
        proxy_set_header   X-Forwarded-For $proxy_add_x_forwarded_for;

        proxy_connect_timeout  36000s;
        proxy_read_timeout  36000s;
        proxy_send_timeout  36000s;

        send_timeout  36000s;

        access_log      /var/log/nginx/seafhttp.access.log seafileformat;
        error_log       /var/log/nginx/seafhttp.error.log;
    }
    location /media {
        root /opt/seafile/seafile-server-latest/seahub;
    }
}
당연한 얘기이지만 ssl_certificate 와 ssl_certificate_key 는 독자가 생성한 키 주소에 맞게 변경되어져야 한다. 설정파일 수정이 끝났다면 아래의 명령어를 입력하여 다시 Nginx 를 새로고친다:
sudo nginx -t
sudo nginx -s reload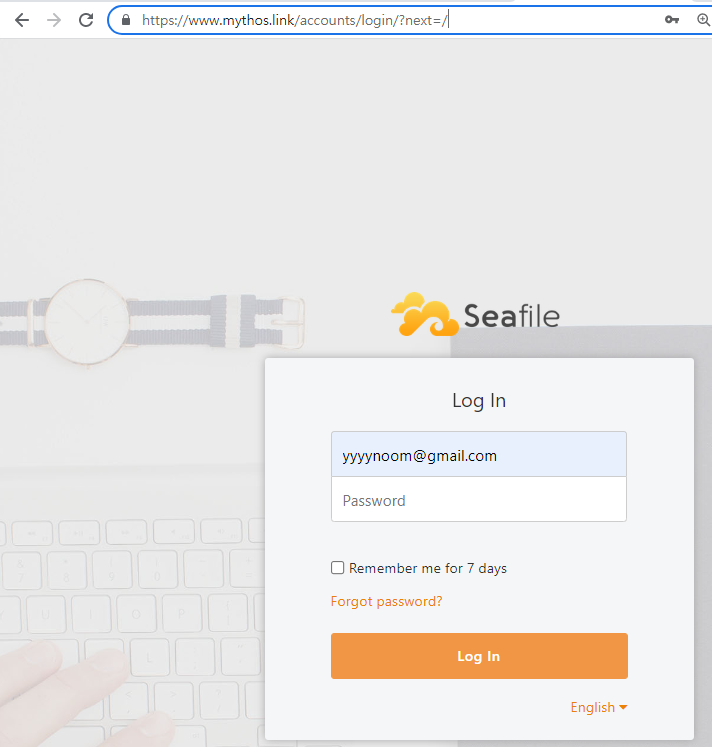
이제 HTTPS 로 접속할 수 있게 되었다. 마지막으로 Seahub 관련 설정만 하면 된다.
6. 대용량 파일 업로드 지원
4 GiB 이상의 대용량 파일을 보내고 받을 때 버퍼링 기능이 제대로 동작하지 않아 프록싱이 중간에 끊어질 수 있다. 따라서 4GiB 이상의 대용량 파일을 주고 받길 원한다면 아래의 설정을 Nginx 설정 파일에 등록하길 바란다:
location /seafhttp {
    proxy_request_buffering off;
}
7. Seafile Server 설정 파일 수정
앞서 설정했던 ccnet.conf 그리고 seahub_settings.py 등의 파일을 HTTPS 설정에 맞게 변경해줘야 한다:
- ccnet.conf
SERVICE_URL = https://....- seahub_settings.py
FILE_SERVER_ROOT = 'https://.../seafhttp'- seafile.conf
[fileserver]
host = 127.0.0.1
...
보안 향상을 위해 [fileserver] 구간에 host 를 입력하여 Nginx 를 통한 접속만을 허용하는 것도 가능하다. 물론 이는 어디까지나 선택 사항이다.
위의 모든 설정이 끝났다면 아래의 명령어를 입력하여 Seafile Server 를 재시작한다:
./seafile.sh restart
./seahub.sh restart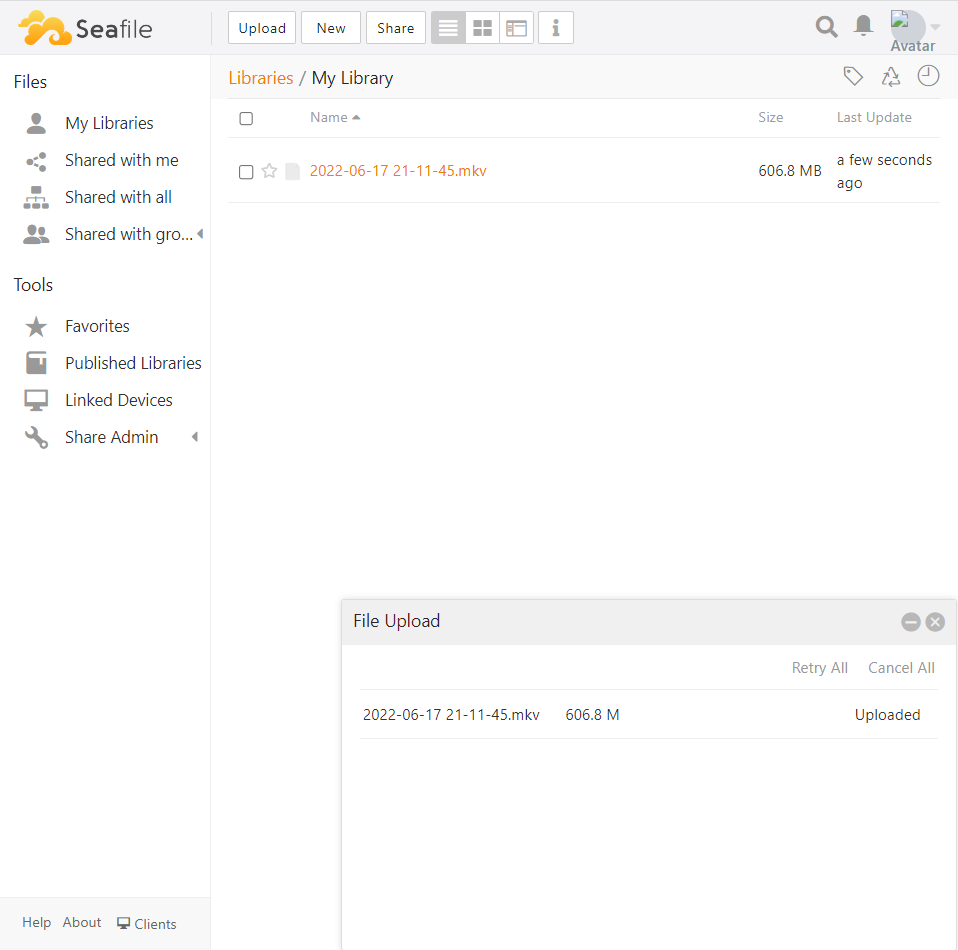
파일 업로드까지 정상적으로 이뤄졌다면 축하한다. 이로써 포트 포워딩 및 HTTPS 에 대한 설정이 모두 끝이 났다.
출처
[사이트] https://manual.seafile.com/deploy/https_with_nginx/
[사이트] https://certbot.eff.org/instructions?ws=nginx&os=debianbuster