Middleware
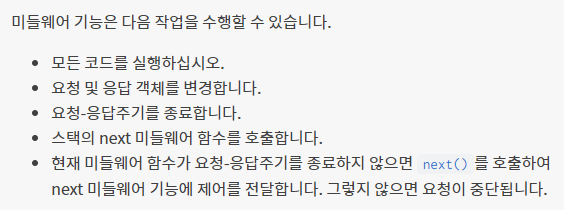
미들웨어는 라우트 핸들러 이전에 호출되는 함수다. 미들웨어 기능은 요청(request) 및 응답(response) 객체 및 애플리케이션의 요청 - 응답주기에서 next() 미들웨어 함수다. 다음(next) 미들웨어 함수는 일반적으로 next라는 변수로 표시된다.

먼저 nest g mi logger로 미들웨어를 만든다.
만들어졌다면
@Injectable()
export class LoggerMiddleware implements NestMiddleware {
  use(req: Request, res: Response, next: NextFunction) {
    console.log('Request...');
    console.log('middleware 작동중...');
    next();
  }
}
으로 작성하고 이를 적용 시키기 위해선 모듈 클래스의 configure() 메소드를 사용하여 설정해야한다. @Module() 데코레이터에는 미들웨어를 위한 위치가 없기 때문이다.
app.module.ts

import { Module, NestModule, RequestMethod, MiddlewareConsumer } from '@nestjs/common';
import { LoggerMiddleware } from './common/middleware/logger.middleware';
import { CatsModule } from './cats/cats.module';

@Module({
  imports: [CatsModule],
})
export class AppModule implements NestModule {
  configure(consumer: MiddlewareConsumer) {
    consumer
      .apply(LoggerMiddleware)
      .forRoutes({ path: 'cats', method: RequestMethod.GET });
  }
}
여기서 configure() 메서드는 async/await를 사용하여 비동기식으로 만들 수 있다. 비동기 작업의 완료를 await 할 수 있다는 뜻이다.
위에 나온 코드처럼 미들웨어를 구성할 때 path 라우트가 포함된 객체를 전달하고 method를 forRoutes() 메서드에 요청하여 미들웨어를 특정 요청 메서드로 제한할 수도 있다.
사실 저렇게 복잡하게 안해도 미들웨어에 종속성이 필요하지 않을 때마다 더 간단한 기능적 미들웨어 대안을 사용하는 것이 좋다.
import { Request, Response, NextFunction } from 'express';

export function logger(req: Request, res: Response, next: NextFunction) {
  console.log('Request...');
  console.log('middleware 작동중...');
  next();
}app.module.ts
import { MiddlewareConsumer, Module, NestModule } from '@nestjs/common';
import { AppController } from './app.controller';
import { AppService } from './app.service';
import { CatsController } from './cats/cats.controller';
import { CatsModule } from './cats/cats.module';
import { logger } from './logger/logger.middleware';
@Module({
imports: [CatsModule],
})
export class AppModule implements NestModule {
configure(consumer: MiddlewareConsumer) {
consumer.apply(logger).forRoutes(CatsController);
}
}이렇게 해도 똑같이 작동한다.
다른 점은 위에는 특정 요청 메서드로 제한한 것이고 아래는 클래스 대신 간단한 함수로 정의한 것이다.
