스프링 스케줄러 사용 이유
스프링에는 스케줄러가 두 가지가 있는데, 하나는 Quartz고 하나는 내가 하려는 Spring Scheduler이다.
Quartz는 복잡하고 좀 세밀한 작업에서 쓰인다고 얼핏 보았다. 나는 간단한 작업을 할 것이기 때문에 Quartz가 아닌 Scheduler를 사용할 것이다.
스프링 스케줄러 시작하기
main 함수
Spring Scheduler는 Spring에서 제공하는 것이기 때문에, main함수 윗단에서 @EnableScheduling 애노테이션만 추가하면 사용할 수 있다.
// ServerApplication.java

@SpringBootApplication
@EnableScheduling // 추가하는 부분!
public class ServerApplication {

    public static void main(String[] args) {
        SpringApplication.run(ServerApplication.class, args);
    }
}
스케줄러 task 함수
그리고 스케줄러를 담을 파일 하나를 만들어서 다음과 같이 적으면 된다.
// Scheduler.java
@Component
public class Scheduler {
@Scheduled(fixedDelay = 10000)
public void task1() {
System.out.println("The current date(1): " + LocalDateTime.now());
}
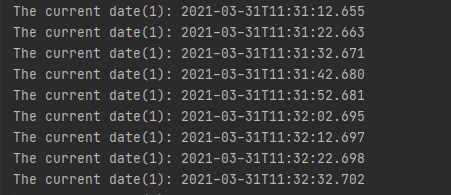
}위의 스케줄러에 담긴 task는 현재 시각을 10초에 한번씩 출력하는 것이다.
출력 결과
출력 결과는 다음과 같다.
Component, Scheduled 애노테이션을 이용하면 끝이다. 매우 간단하다.
task 작업 시간은 Scheduler 애노테이션옆에 적으면 된다.
참고사이트

뚜벅뚜벅 열심히 공부하는 개발자