
스웨거 (Swagger)란?
- 스웨거는 Web API 문서화를 하는도구입니다.
- 스웨거 홈페이지에서는 스웨거를 OAS(Open API Specification)이라고 소개하고 있습니다.
- 말 그대로 API들이 가지는명세(Spec)을 관리하기 위한 프로젝트 입니다.
- Web API를 수동으로 문서화 하는 것은 굉장히 힘든 일인데, Web API의 스펙이 변경되었을 때 문서 역시 변경되어야 하고, 이를 유지하는 것이 쉽지 않습니다.
- Swagger를 사용하면 Web API가 수정 되더라도 문서가 자동으로 갱신 되기 때문에 편리합니다.
pom.xml 파일에 Swagger 의존성 추가
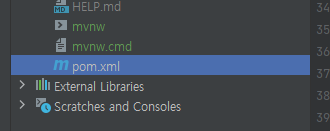
- 좌측 프로젝트 목록에서 pom.xml에 들어간다.
- 디펜던시 추가.
<dependencies>
..... 아래 디펜던시를 여기에 삽입 .....
</dependencies><dependency>
<groupId>io.springfox</groupId>
<artifactId>springfox-swagger2</artifactId>
<version>2.9.2</version>
</dependency>
<dependency>
<groupId>io.springfox</groupId>
<artifactId>springfox-swagger-ui</artifactId>
<version>2.9.2</version>
</dependency><추가 했다면 ??>
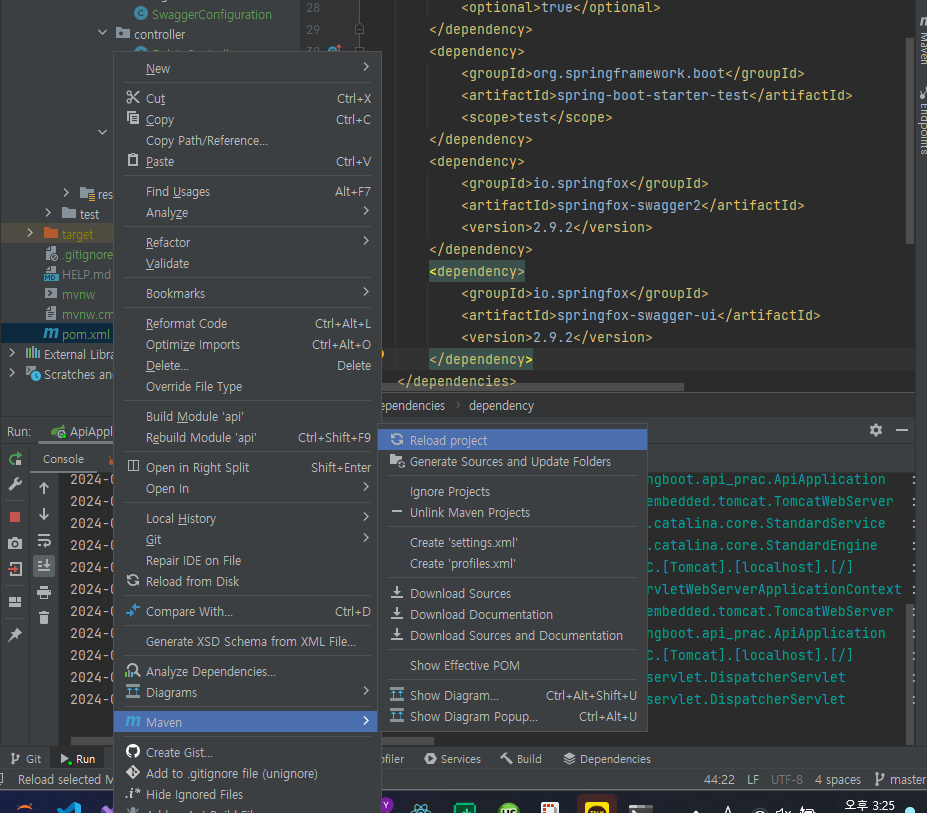
Maven 프로젝트를 업데이트를 합니다.
하는 방법은 두 가지입니다. 둘 중 한가지 방법을 택하여 진행합니다.
1.pom.xml 우클릭 → Maven → Reload project 클릭
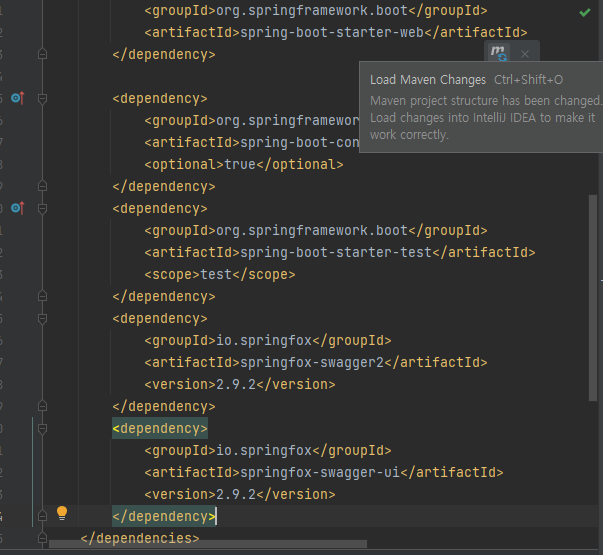
- 우측 상단에 Load Maven Changes 버튼 클릭
Swagger configuration 설정
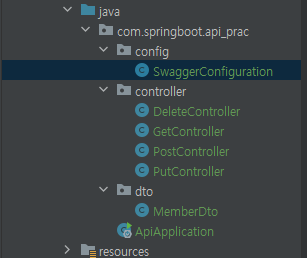
com.springboot.api_prac 아래 config 패키지 생성 후 SwaggerConfiguration 클래스 생성한다.
@Configuration
@EnableSwagger2
public class SwaggerConfiguration {
    @Bean
    public Docket api(){
        return new Docket(DocumentationType.SWAGGER_2)
                .apiInfo(apiInfo())
                .select()
                .apis(RequestHandlerSelectors.basePackage("com.springboot.api_prac"))
                .paths(PathSelectors.any())
                .build();
    }

    private ApiInfo apiInfo(){
        return new ApiInfoBuilder()
                .title("Spring Boot Open API Test with Swagger")
                .description("설명 부분입니다.")
                .version("1.0.0")
                .build();
    }
}@Configuration: 이 어노테이션은 이 클래스가 Spring의 구성 클래스임을 나타냅니다. Spring은 이 클래스를 구성 클래스로 인식하고 빈(bean)을 정의하는 데 사용합니다.@EnableSwagger2: Swagger를 활성화하는 어노테이션 입니다. 이 어노테이션이 지정된 클래스에서 Swagger 관련 설정이 이루어집니다.@Bean: 이 어노테이션은 Spring 빈(bean)을 정의할 때 사용됩니다.Docket객체를 반환하는api()메서드를 정의하고 이 메서드의 반환값을 Spring 빈으로 등록합니다.
- RequestHandlerSelectors.basePackage로 Swagger에서 스캔할 패키지 범위를 설정합니다. -(com.springboot.api_prac)
- 하위 패키지와 클래스를 모두 스캔하여 문서를 생성합니다.
http://localhost:8080/swagger-ui.html 로 접속합니다.
<접속 화면>
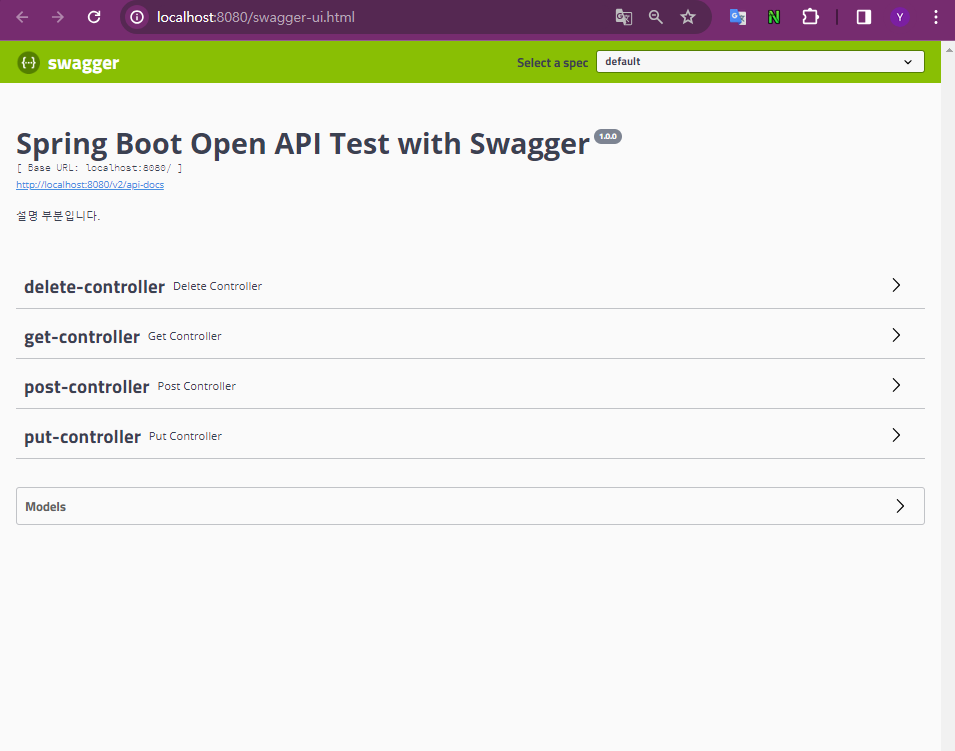
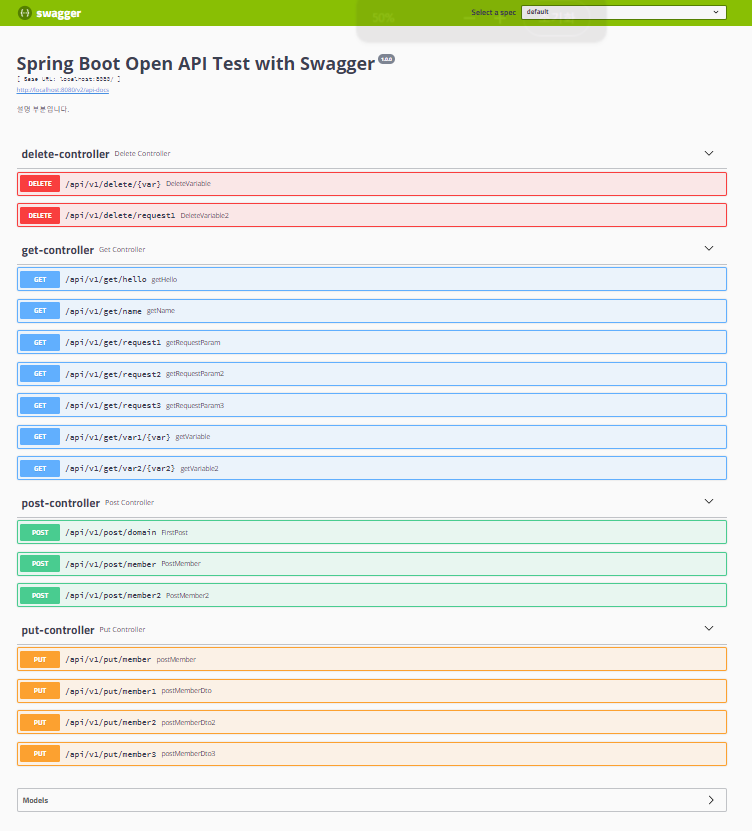
컨트롤러를 누르면 지금까지 우리가 만든 컨트롤러들이 전부 나옵니다.
Swagger 명세 활용하기
기존 GetController에 @RequestParam을 활용하여 메서드의 세부내용을 설정 해봅시다.
이번에 만든 GET메서드를 수정해 봅시다.
<기존 getRequestParam1 메서드 >
@GetMapping(value = "/request1")
    public String getRequestParam1(
            @RequestParam String name,
            @RequestParam String email,
            @RequestParam String school){
        return name+" \n"+email+" \n"+school;
    }
<수정한 getRequestParam1 메서드 >
@ApiOperation (value = "GET 메서드 예제입니다.", notes = "@RequestParam을 활용한  GET Method 수정")
    @GetMapping(value = "/request1")
    public String getRequestParam1(
            @ApiParam(value = "이름",required = true) @RequestParam String name,
            @ApiParam(value = "이메일",required = true) @RequestParam String email,
            @ApiParam(value = "회사",required = true) @RequestParam String school){
        return name+" \n"+email+" \n"+school;
    }
<실행 화면>
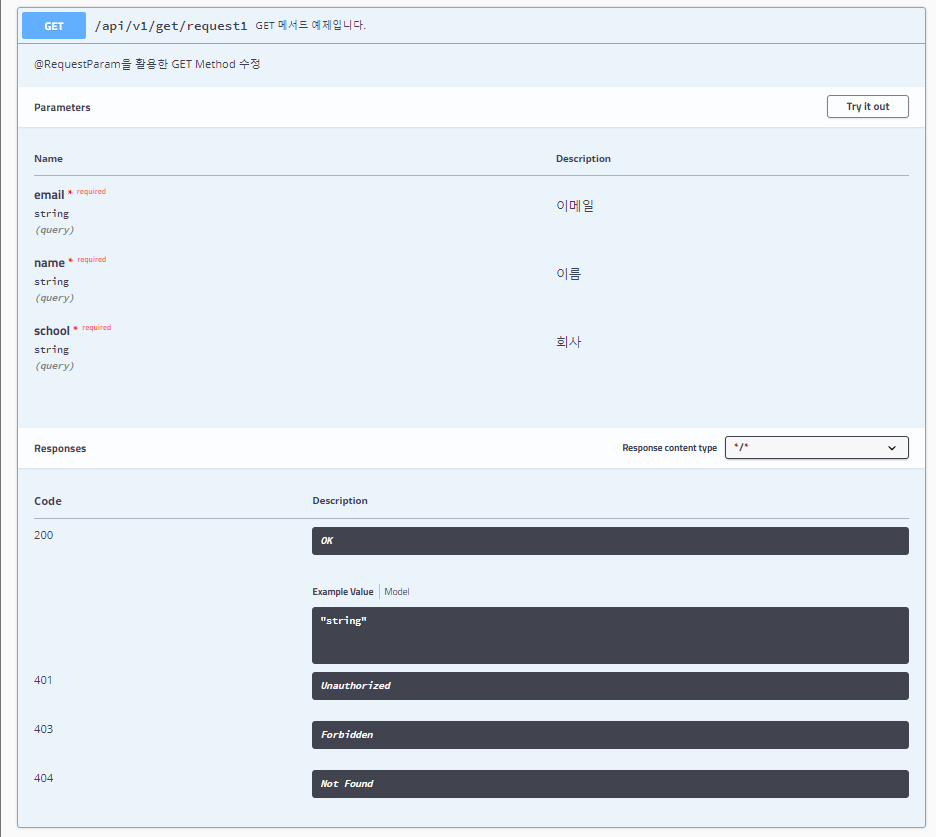
- @ApiOperation 내용은 그림 상단에 표기됩니다.
- @ApiParam에 정의한 내용은 아래 Parameters영역의 Description항목에 추가되었습니다.
- 위 그림처럼 Swagger는 해당 API의 내용을 설명하고, 어떤 값이 필요한지 한눈에 보여줍니다.

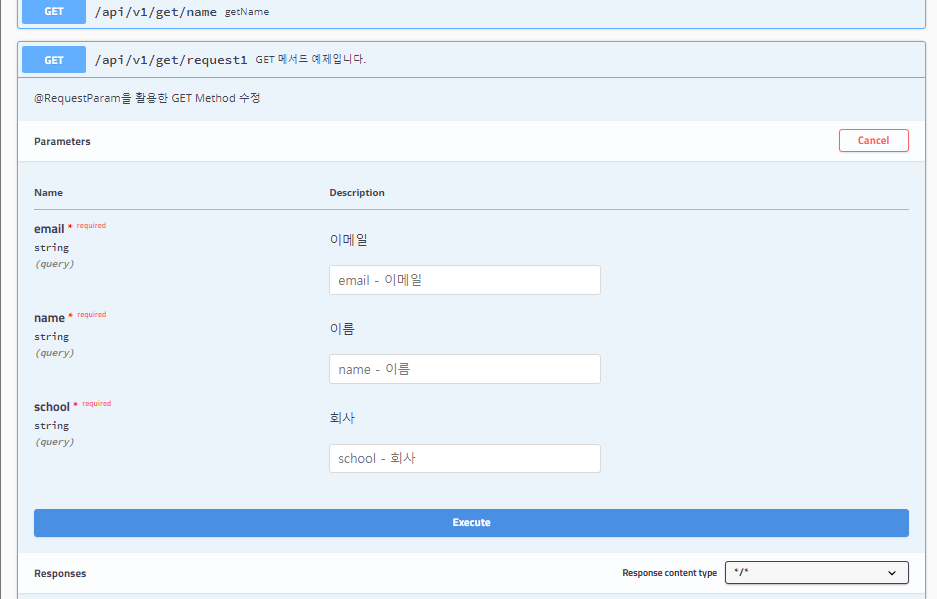
- Swagger에서는 API명세 관리 뿐만 아니라 직접적인 통신도 시도 가능합니다.
- 위 화면에서 [Try it out] 버튼을 클릭하면 아래와 같은 화면이 나타납니다.
값을 입력후 [Execute]버튼을 누르면 다음과 같이 자동으로 완성된 요청 URL을 확인하고, 그에 대한 결과 값도 받을 수 있습니다.

1년차 개발자의 Development Record Page