- Terminal 에서 echo $SHELL 명령으로 기본 쉘 경로 확인
echo $SHELL
- brew install zsh 로 zsh 최신 버전 설치
brew install zsh
- which -a zsh 로 설치된 zsh 확인
which -a zsh
- sudo vi /etc/shells 실행 후 마지막 줄에 /opt/homebrew/bin/zsh 추가 (which -a zsh 명령으로 설치된 zsh 경로를 추가하는 것임)
sudo vi /etc/shells
- chsh -s /opt/homebrew/bin/zsh 로 기본 쉘 변경
chsh -s /opt/homebrew/bin/zsh
- Terminal 재 실행 후 echo $SHELL 명령으로 기본 쉘 변경 되었는지 확인
echo $SHELL
- oh-my-zsh 설치
sh -c "$(curl -fsSL https://raw.githubusercontent.com/robbyrussell/oh-my-zsh/master/tools/install.sh)"
sh -c "$(curl -fsSL https://raw.githubusercontent.com/ohmyzsh/ohmyzsh/master/tools/install.sh)"
- Powerlevel9k 테마 설치 git clone
git clone https://github.com/bhilburn/powerlevel9k.git ~/.oh-my-zsh/themes/powerlevel9k
- vi ~/.zshrc 에 ZSH_THEME="powerlevel9k/powerlevel9k" 로 변경
ZSH_THEME="powerlevel9k/powerlevel9k"
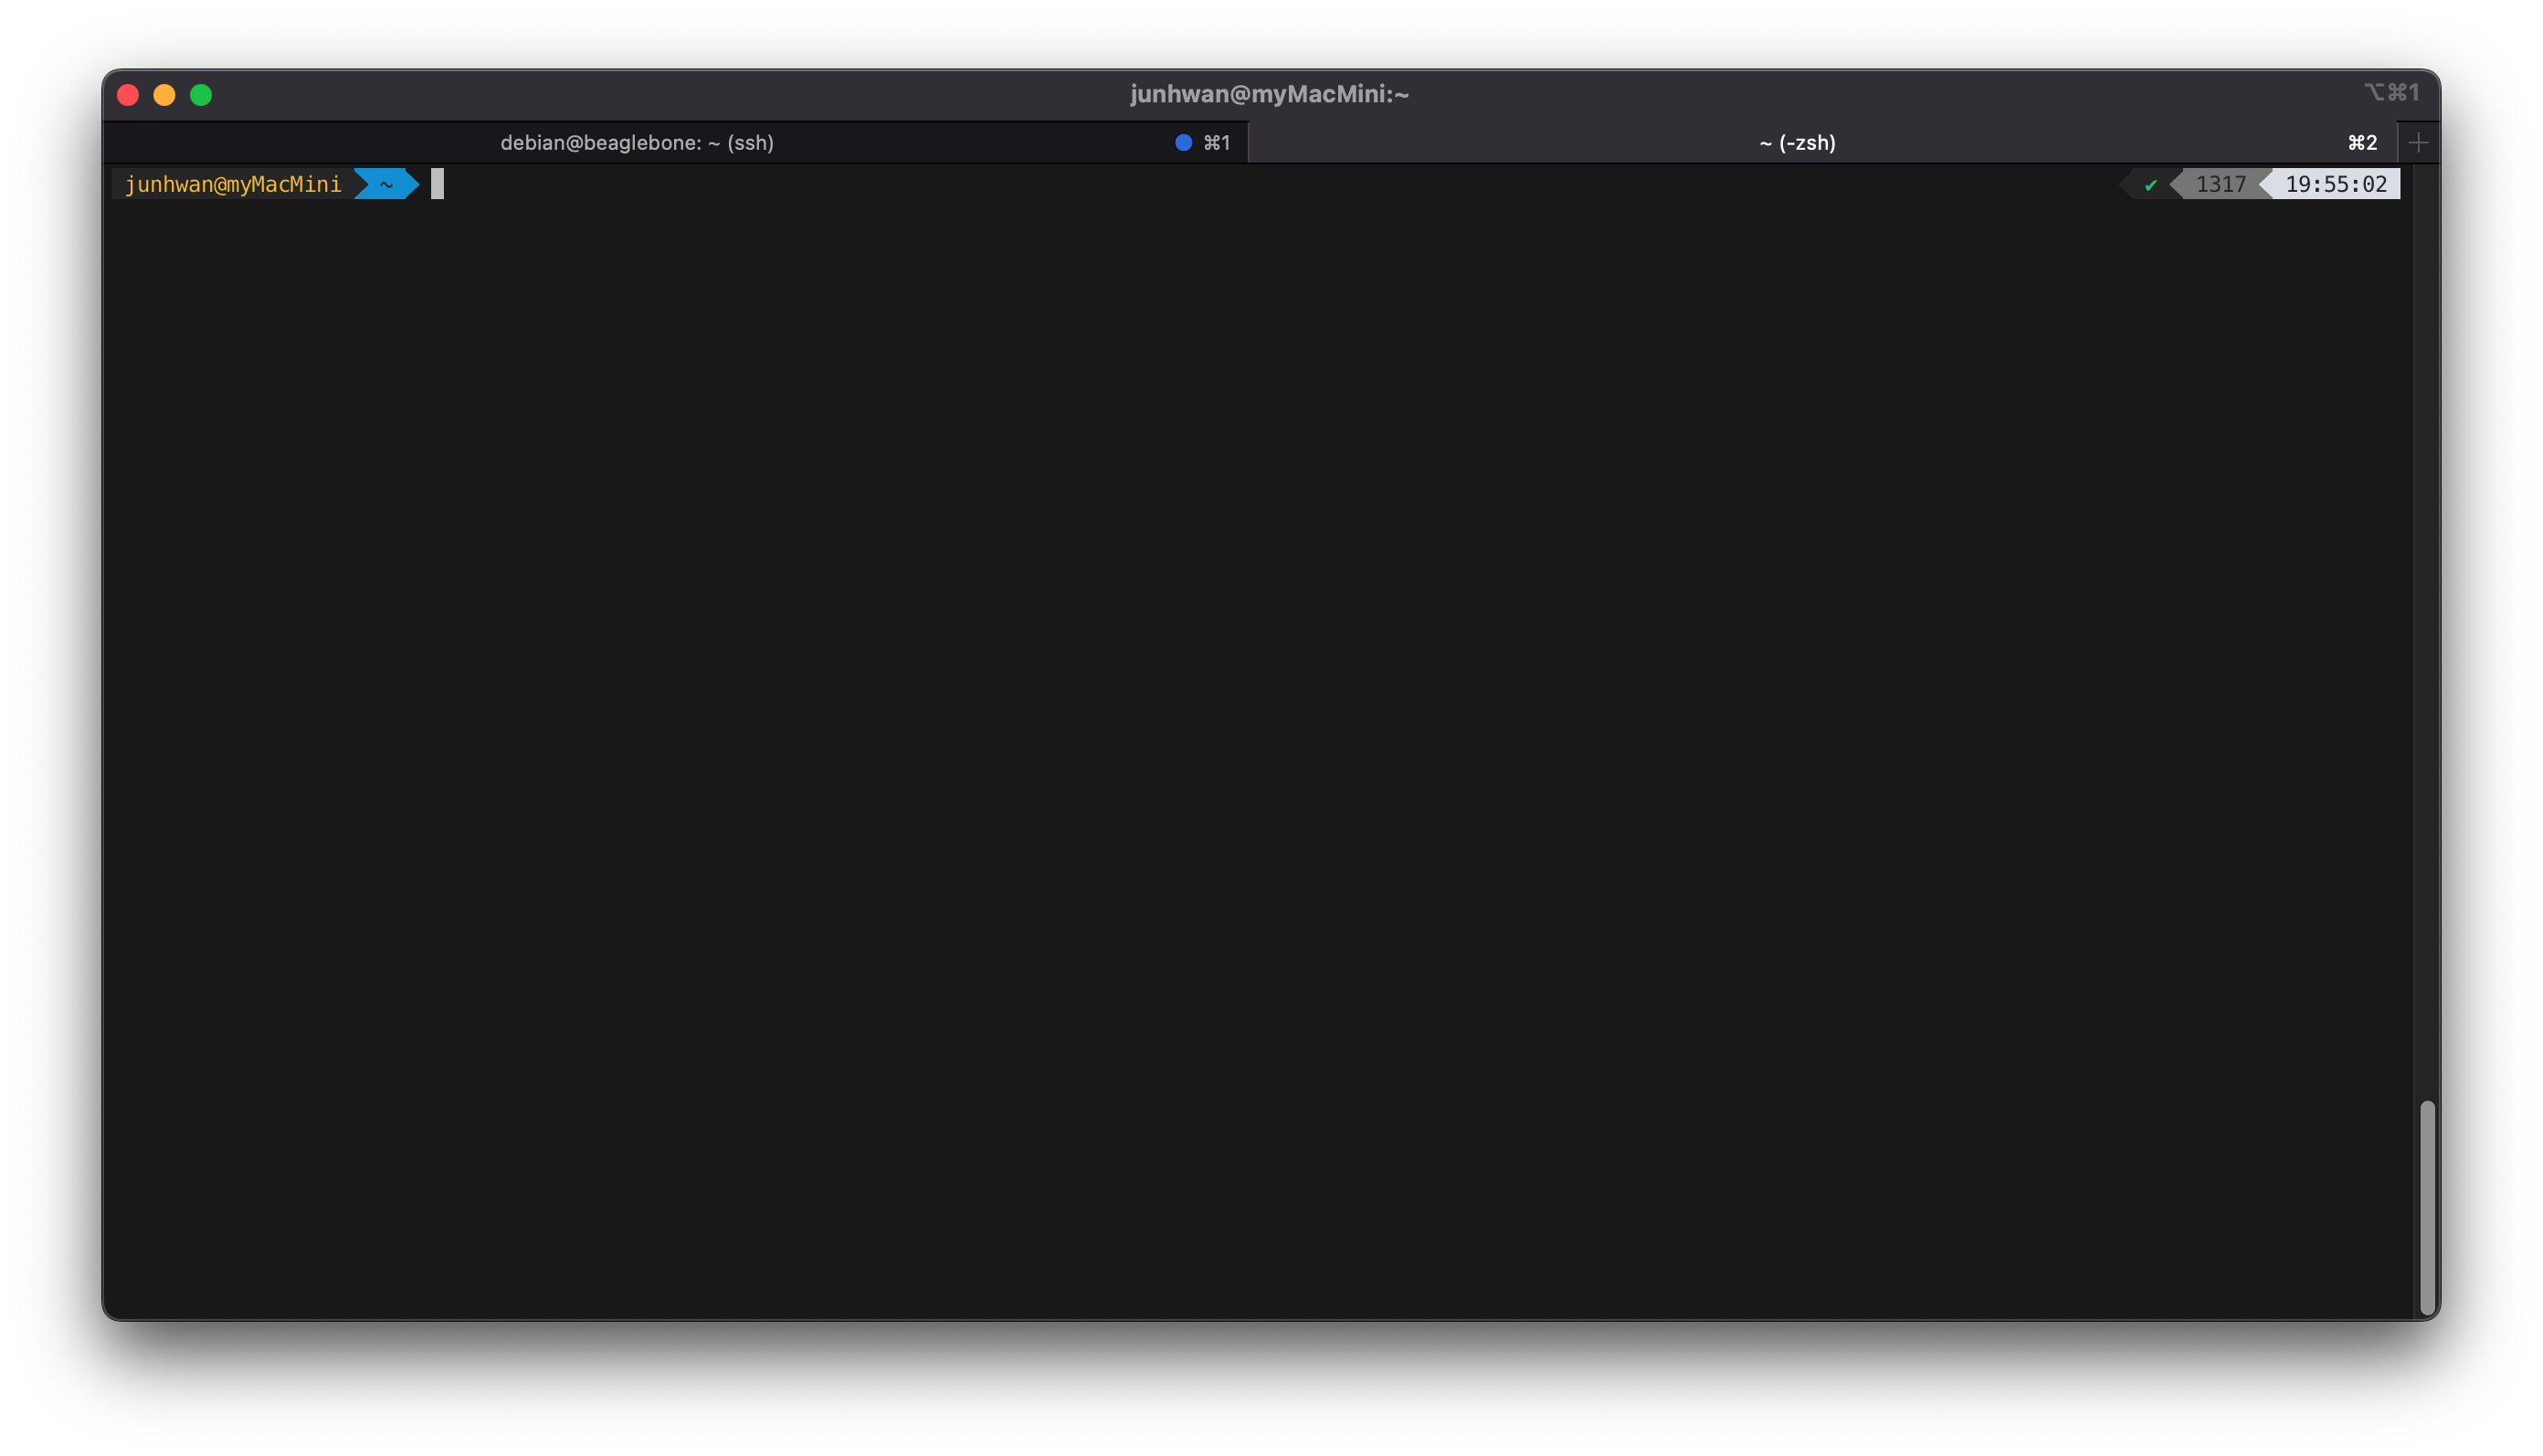
- Iterm2 설치
brew install --cask iterm2
- Powerlevel9k font 설치
git clone https://github.com/powerline/fonts.git /tmp/powerlevel9k-fonts && cd $_
sh ./install.sh
cd .. && rm -rf /tmp/powerlevel9k-fonts
- iTerm 에서 Command + , 로 설정 창 연 후 Profiles/Text 에서 Font 에 Meslo LG M DZ for Powerline 설정
- 컬러 스키마 https://github.com/mbadolato/iTerm2-Color-Schemes 에서 다운로드 후 압축 풀기
- Command + , 로 설정 창 연 후 Profiles/Color 에서 Color Presets 에서 import 선택 후 다운로드 받은 폴더에서 schemes 폴더의 모든 파일 선택
- brogrammer Color Preset 선택