@Service
public class PetService {
    // 서비스 로직
}

//1.@Autowired 방식
@Controller
public class PetController {
    @Autowired
    private PetService petService;

    public void handleRequest() {
        petService.doSomething();
    }
}

//2. 생성자 주입 방식
@Controller
@RequiredArgsConstructor
public class PetController {
    private final PetService petService;
}
위 코드는 스프링부트에서 DI 패턴을 적용한 예시 코드이다. 이 코드를 보면 DI 를 "등록" 하는것에 대해서는 이해할 수 있다. 하지만 DI 를 등록한 이 PetController 를 사용할때 PetService 를 주입해줘야 하는데, 이것은 어디서 주입할까?
IoC (Inversion of Control)
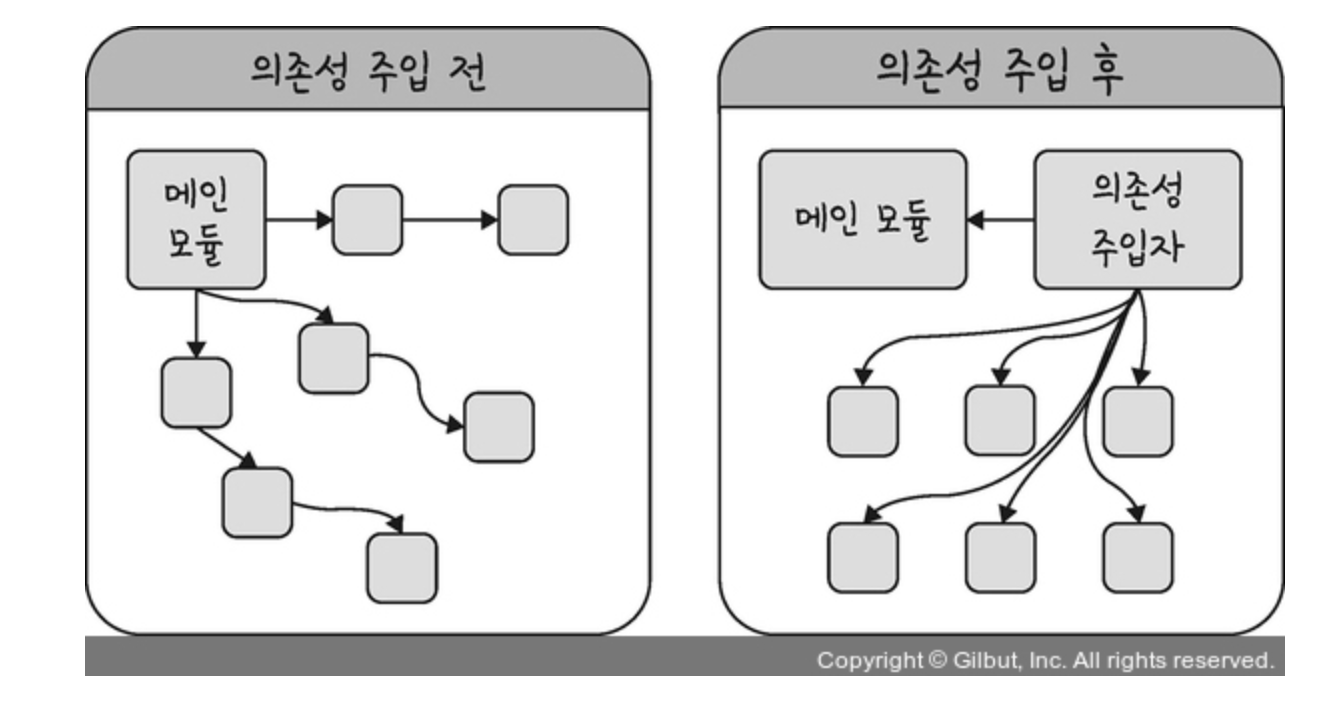
스프링에서는 이것을 스프링이 대신 주입을 해준다. 개발자가 애플리케이션 코드로 직접 제어하는 것이 아니라 프레임워크가 객체의 생성과 관리에 대한 책임진다고 해서 제어의 역전이라고 한다. 이렇게 IoC를 활용하면 객체 간의 결합도를 낮추고 코드의 유연성과 확장성을 높이는 설계를 할 수 있다.
예시를 한번 살펴보자.
import org.springframework.context.annotation.Bean;
import org.springframework.context.annotation.Configuration;

@Service
public class MyService {	// MyService 를 @Service 를 통해 Bean으로 등록
}
이 코드에서는 @Service 어노테이션을 사용하여 MyService를 빈으로 등록하였다. 이 등록된 Bean은 스프링 컨테이너에 의해 관리된다.
@Controller
public class MyController {

    private final MyService myService;

    @Autowired // 생성자 주입을 통해 MyService Bean을 주입받음
    public MyController(MyService myService) {
        this.myService = myService;
    }

    public void doSomething() {
        myService.performAction(); // 주입받은 MyService Bean을 사용
    }
}
MyController에서는 MyService를 필요로한다. 생성자 주입 방식을 통해 MyService 빈을 주입 받는다. Spring이 MyController 객체를 생성할 때, MyService 에서 등록한 Bean을 자동으로 주입한다.
IoC의 의존성 주입 과정
1. 애플리케이션 시작
- Spring Boot 애플리케이션이 시작되면 SpringApplication.run() 메서드가 호출된다.
- 이 메서드는 Spring 애플리케이션 컨텍스트(ApplicationContext)를 초기화하고 부트스트랩한다.
2. Spring ApplicationContext 초기화
- SpringApplication.run() 메서드는 Spring ApplicationContext를 생성한다. ApplicationContext는 Spring의 핵심 컨테이너로서 모든 Spring 빈(bean)들을 관리한다.
- ApplicationContext는 다양한 종류가 있지만, Spring Boot에서는 주로 AnnotationConfigApplicationContext 또는 AnnotationConfigServletWebServerApplicationContext가 사용된다.
3. Component Scan 및 빈 등록
- Spring Boot 애플리케이션이 시작되면, @SpringBootApplication 애너테이션을 통해 자동으로 @ComponentScan이 수행된다. 이 애너테이션은 특정 패키지 및 그 하위 패키지를 스캔하여 @Component, @Service, @Repository, @Controller 등과 같은 애너테이션이 붙어 있는 클래스를 찾아 빈으로 등록한다.
- 또한, @Configuration 클래스에 정의된 @Bean 메서드들도 스캔되어 빈으로 등록된다.
4. 의존성 주입 준비
- 빈이 등록된 후, Spring은 이들 빈 간의 의존성을 분석합니다. 이 과정에서 생성자 주입, 필드 주입, 또는 세터 주입과 같은 방식으로 의존성을 주입할 준비를 한다.
- Spring은 각 빈의 생성자 또는 필드에 주입해야 할 다른 빈을 찾습니다. 이 과정은 주로 @Autowired, @Inject, @Resource 등의 애너테이션을 통해 수행된다.
5. 의존성 주입 (Dependency Injection)
- Spring은 의존성 주입이 필요한 빈의 생성자나 필드에 해당 빈을 주입한다.
- 생성자 주입: 클래스의 생성자에 의존성이 주입된다.
- 필드 주입: 클래스의 멤버 필드에 직접 주입된다.
- 세터 주입: 세터 메서드를 통해 주입된다.
- 이 과정에서 빈이 서로의 의존성을 충족하도록 연결된다.
Spring 에서의 빈 초기화 관리
애플리케이션을 개발하다보면 수많은 클래스가 존재하고 의존성을 필요로 할 것이다. 그렇다면 스프링에서는 어떻게 빈의 초기화 순서를 관리할까? 바로 다음과 같은 방식으로 이루어진다.
1. 빈 정의 스캔 및 빈 등록
// @Component, @Service 등을 찾아서
@Service
public class OrderService { ... }

// Bean Definition Registry에 등록
Registry: {
  "orderService" → BeanDefinition,
  "paymentService" → BeanDefinition,
  ...
}- Spring은 애플리케이션 컨텍스트를 초기화할 때, 먼저 모든 빈을 스캔하여 등록한다.
2. 의존성 분석
그래프 분석:
PaymentGateway (의존성 없음)
    ↑
PaymentService (PaymentGateway 필요)
    ↑
OrderService (PaymentService 필요)

생성 순서 결정:
[PaymentGateway, PaymentService, OrderService]- 빈을 등록하고 나면 의존성 관계를 분석하여 의존성 그래프를 만든다.
- 예를 들어 클래스 A가 B를 주입 받아야한다면, B를 생성하고 A를 생성해야한다.
- 토폴로지 정렬을 통해 빈 생성 순서를 정한다.
3. 빈 생성 & 의존성 주입
// 1. PaymentGateway 생성
PaymentGateway gateway = new PaymentGateway();

// 2. PaymentService 생성 + 의존성 주입
PaymentService service = new PaymentService(gateway);  // gateway 주입!

// 3. OrderService 생성 + 의존성 주입
OrderService orderService = new OrderService(service); // service 주입!- 분석한 빈 생성 순서에 따라 빈을 생성하며 의존성을 주입한다.
- 생성자 주입: 빈을 생성하는 시점에 의존성을 넣어준다.
- 필드 주입: 의존성 없이 기본 생성자로 객체를 생성한 후 리플렉션으로 필드에 의존성을 주입한다.
- setter 주입: 기본 생성자 호출 후 @Autowired setter를 탐색하여 의존성을 주입한다.
3. 순환 의존성 문제 해결
@SpringBootApplication
public class MyApplication {
    public static void main(String[] args) {
        SpringApplication.run(MyApplication.class, args);
        // 여기서 에러 발생! 💥
    }
}

***************************
APPLICATION FAILED TO START
***************************

Description:

The dependencies of some of the beans in the application context form a cycle:

┌─────┐
|  serviceA defined in file [ServiceA.class]
↑     ↓
|  serviceB defined in file [ServiceB.class]
└─────┘- 생성자 주입의 경우 순환 참조가 발견되면
UnsatisfiedDependencyException를 발생시켜 애플리케이션을 중단한다. (런타임 시에 발견) - Spring은 이 문제를 해결하기 위해 @Lazy 주입 또는 Setter 주입을 사용하는 방법을 제공한다.
- @Lazy 애너테이션을 사용하면, 해당 빈은 실제로 사용될 때 초기화되므로 순환 의존성 문제를 회피할 수 있다.
예시
@Component
public class B {
    public B() {
        System.out.println("B initialized");
    }
}

@Component
public class A {
    private final B b;

    @Autowired
    public A(B b) {
        this.b = b;
        System.out.println("A initialized");
    }
}

//B 클래스는 A 클래스의 생성자에 의해 주입되므로,
//Spring은 먼저 B 클래스를 초기화한 후, A 클래스를 초기화합니다.

//B initialized
//A initialized
DI(Dependency Injection)와 IoC(Inversion of Control)는 현대 소프트웨어 개발에서 핵심적인 설계 원칙으로, 두 개념은 서로 밀접하게 연결되어 있다.
IoC는 객체의 제어 흐름을 애플리케이션 코드에서 프레임워크나 외부 시스템으로 넘기는 것을 의미한다. 이는 객체가 스스로 의존성을 관리하지 않고, 필요한 의존성을 외부에서 제공받도록 함으로써, 객체 간의 결합도를 낮추고 코드의 유연성과 확장성을 높인다.
DI는 IoC를 실현하는 방법 중 하나로, 객체가 필요한 의존성을 외부에서 주입받는 방식이다. DI를 통해 객체는 자신의 의존성을 직접 생성하지 않고, 외부에서 주입받아 사용하게 된다. 이로 인해 코드의 재사용성과 유지보수성이 크게 향상되며, 테스트 환경에서도 객체를 쉽게 대체하거나 Mocking할 수 있어 테스트 용이성도 증가한다.
결론적으로, IoC는 객체의 제어 권한을 외부로 넘기는 원칙이며, DI는 이를 구현하는 구체적인 방법이다. DI를 통해 IoC가 실현되며, 이 두 개념은 함께 사용될 때 객체지향 설계의 유연성을 극대화할 수 있다. 이를 통해 복잡한 애플리케이션에서도 일관성 있고 유지보수 가능한 구조를 설계할 수 있게 된다.