목차
1. 정적 컨텐츠
정적 페이지 제작
 static > static.html 제작 static > static.html 제작 |  8080:static.html 8080:static.html |
|---|
정적 페이지의 구동 과정
- localhost:8080/static.html -> 톰캣 서버 -> 스프링 컨테이너
- static 관련 컨트롤러 확인
- 없을 시 resources: static/static.html 확인
- 확인 시 출력
2. MVC와 템플릿 엔진
- MVC: Model, View, Controller
Controller
@GetMapping("hello-mvc")
public String helloMvc(@RequestParam("name") String name, Model model){
model.addAttribute("name", name);
return "hello-template";
}
//controller
<!DOCTYPE HTML>
<html xmlns:th="http://www.thymeleaf.org">
<head>
<title>hello</title>
<meta http-equiv="Content-Type" content="text/html; charset=UTF-8" />
</head>
<body>
<p th:text="'hello ' + ${name}"> hello empty!</p>
</body>
</html>
//resources/templates/hello-template.html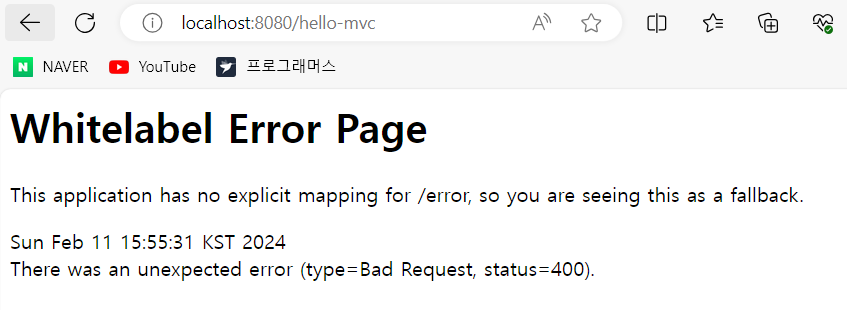 hello-mvc hello-mvc | 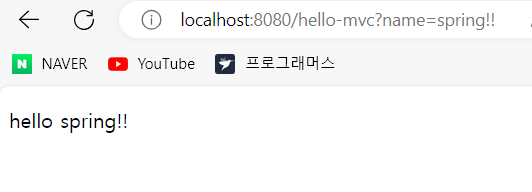 hello-mvc?name=spring!! hello-mvc?name=spring!! |
|---|
hello-mvc가 호출될 시 name 파라미터를 받아 hello-template에 model("name", name)로 전송하게 된다.
- Required request parameter 'name' for method parameter type String is not present 즉 name 파라미터의 값이 없다는 애러가 발생하게 된다.
- hello-mvc?name=spring!!을 통해 파라미터 값을 지정해 hello spring!! 출력
- public String helloMvc(@RequestParam("name") String name, Model model) 생성 시 파라미터"name"의 값을 받기로 한 것을 확인할 수 있다.
MVC, 템플릿 엔진 구동 과정
- localhost:8080/hello-mvc -> 톰캣 서버 -> 스프링 컨테이너
- hello-mvc 관련 컨트롤러 확인
- 확인 후 return hello-template, model("name", name) 전송
- 컨트롤러 -> viewResolver -> hello-template.html
- model 값을 통해 html 변환 후 처리
3. API
String 전송
@GetMapping("hello-string")
@ResponseBody // http body에 직접 삽입
public String helloString(@RequestParam("name") String name,Model model){
        return "hello" + name;
    }
 //string 컨트롤러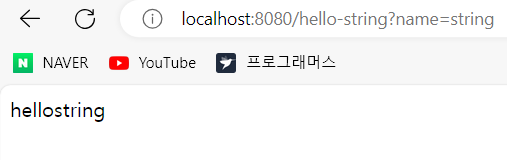
- return 값인 hello + name 문자 그대로 출력되는 것을 확인할 수 있다.
JSON 전송
@GetMapping("hello-api")
@ResponseBody
public Hello helloApi(@RequestParam("name") String name){
    Hello hello = new Hello();
    hello.setName(name);
    return hello;
}
//api 컨트롤러

static class Hello{
    private String name;
    public String getName() {
        return name;
    }
    public void setName(String name) {
        this.name = name;
    }
}
//자바 빈 표준 방식(프로퍼티 접근 방식)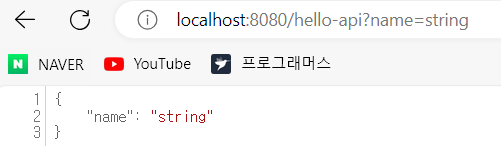
- JSON 형식(키-값 쌍)으로 출력되는 것을 확인할 수 있다.
@ResponseBody 구동 과정
- HTTP의 BODY에 문자 내용을 직접 반환
- 'viewResolver 대신에 'HttpMessageConverter'가 동작
- 기본 문자처리: 'StringHttpMessageConverter'
- 기본 객체처리: 'MappingJackson2HttpMessageConveter'
- byte 처리 등등 기타 여러 HttpMessageConveter가 기본으로 등록
- hello-api -> 톰캣 서버 -> 스프링 컨테이너
- @ResponseBody(return:hello(name:spring)) -> HttpMessageConveter
- JsonConveter, StringConverter 중 키-값 쌍인 Json형식으로 출력

범수의 개발 놀이터😋