
앱개발 플러스 - 2 주차
[수업 목표]
- 탭 네비게이터
- NativeBase & 컴포넌트
- 애니메이션
- 컴포넌트 활용
- 실전 상태 관리 활용
01. 2 주차
- 스택 네비게이터
- 필요한 페이지들과 폴더들을 준비
- 컴포넌트 페이지화
- 탭 네비게이터
- 한 페이지에 여러 화면을 담는 기능
- 화면 하단에 탭 버튼으로 페이지 이동
- NativeBase
- 미리 만들어진 StyleSheet 태그를 제공하는 스타일 도구
- 애니메이션
- 사용자의 편의, 사용자 친화적 UI를 제공하기 위한 애니메이션
02. 페이지 & 폴더 구성
- pages
- components
- 코드를 재사용할 수 있게 분리된 컴포넌트가 들어있는 폴더
- navigations
- 컴포넌트에 페이지 기능을 붙여놓는 코드가 들어있는 폴더
03. 네비게이터
- 페이지 이동 도움
- 데이터 전송
- 화면을 목적에 맞게 구성
페이징을 위해 외부 라이브러리 사용
react-navigation 공식 문서
설치
yarn add @react-navigation/native

expo install react-native-gesture-handler react-native-reanimated react-native-screens react-native-safe-area-context @react-native-community/masked-view
04. 스택 네비게이터
- 페이지 이동 및 이동 시 데이터 전송을 위해 페이지 기능 삽입해주는 라이브러리
- 컴포넌트를 페이지화
설치
yarn add @react-navigation/stack- < Stack.Screen >에 페이지화하여 스택 네비게이터에 연결
- < Stack.Navigator >라는 목차 페이지에 컴포넌트들을 연결시킨 < Stack.Screen >들을 나열한 구조
const Stack = createStackNavigator();

const StackNavigator = () => {
  return (
    <Stack.Navigator
      screenOptions={{
        headerStyle: {
          backgroundColor: "black",
          borderBottomColor: "black",
          shadowColor: "black",
          height: 100,
        },
        headerTintColor: "white",
        headerBackTitleVisible: false,
      }}>
      <Stack.Screen name="SignInPage" component={SignInPage} />
      <Stack.Screen name="SignUpPage" component={SignUpPage} />
      <Stack.Screen name="MainPage" component={MainPage} />
      <Stack.Screen name="DetailPage" component={DetailPage} />
      <Stack.Screen name="AddPage" component={AddPage} />
      <Stack.Screen name="MyPage" component={MyPage} />
    </Stack.Navigator>
  );
};

export default StackNavigator;- 앱 상의 최상단 파일, App.jsx에 전달
- < Stack.Screen > 순서상 가장 위에 있는 페이지가 먼저 보여짐
import React, { useEffect, useState } from "react";
import { StyleSheet } from "react-native";
import { NavigationContainer } from "@react-navigation/native";
import StackNavigator from "./navigations/StackNavigator";

export default function App() {
  return (
    <NavigationContainer>
      <StackNavigator />
    </NavigationContainer>
  );
}

const styles = StyleSheet.create({
  contianer: {
    flex: 1,
  },
});- 스택 네비게이터는 페이지화를 거친 컴포넌트에 기본적 헤더 스타일 부여
05. navigate 함수 & route.param
- 함수 파라미터 부분에서 비구조 할당을 활용하여 스택 네비게이터가 부여해주는 기능 중 원하는 기능만 사용 가능
//navigation 객체가 가지고 있는 두 함수(setOptions와 navigate)
export default function SignUpPage({ navigation, route }) {}

//해당 페이지의 제목을 설정할 수 있음
navigation.setOptions({
  title: "wegram",
});

//Stack.screen에서 name 속성으로 정해준 이름을 지정해주면 해당 페이지로 이동하는 함수
navigation.navigate("DetailPage");

//name 속성을 전달해주고, 두 번째 인자로 딕셔너리 데이터를 전달해주면, Detail 페이지에서
//두번째 인자로 전달된 딕셔너리 데이터를 route 딕셔너리로 로 받을 수 있음
navigation.navigate("DetailPage", {
  title: title,
});

//전달받은 데이터를 받는 route 딕셔너리
//비구조 할당 방식으로 route에 params 객체 키로 연결되어 전달되는 데이터를 꺼내 사용
//navigate 함수로 전달되는 딕셔너리 데이터는 다음과 같은 모습이기 때문
/*
  {
		route : {
			params :{
				title:title
			}
		}
	}

*/
const { title } = route.params;- Stack.Screen은 헤더 부분의 제목과 스타일을 변경해주는 navigation.setOptions부터 페이지 이동, 데이터 전달, 데이터 받기 등 다양한 기능들을 제공
페이지 이동
- SignInPage (맨 첫 페이지)에서 SignUpPage로 이동
import React from "react";
import { StyleSheet, View, Text, TouchableOpacity } from "react-native";

export default function SignInPage({ navigation }) {
  const goSignUp = () => {
    navigation.navigate("SignUpPage");
  };

  return (
    <View style={styles.container}>
      <Text>SignInPage</Text>
      <TouchableOpacity onPress={goSignUp}>
        <Text>Sign Up</Text>
      </TouchableOpacity>
    </View>
  );
}

const styles = StyleSheet.create({
  container: {
    flex: 1,
    justifyContent: "center",
    alignItems: "center",
  },
});
- StackNavigator로부터 넘겨 받는 navigation에는 .navigate 뿐만 아니라 뒤로 가게끔 해주는 goBack 함수, 페이지 헤더 부분의 제목 또는 스타일을 변경 시켜주는 setOptions 함수 제공
페이지 이동 시 데이터 전송
-
route의 params 딕셔너리에서 값을 꺼내 사용
-
이전 페이지에서 넘긴 데이터들은 route.params에 딕셔너리 형태로 존재
-
SignInPage에서 SignUpPage로 title 데이터 값 전송
SignInPage
const goSignUp = () => {
  navigation.navigate("SignUpPage", { title: "from SignInPage" });
};
SignUpPage
export default function SignUpPage({ route }) {
  return (
    <View style={styles.container}>
      <Text>SignUpPage</Text>
      <Text>{route.params.title}</Text>
    </View>
  );
}
//전달받은 데이터를 받는 route 딕셔너리
//비구조 할당 방식으로 route에 params 객체 키로 연결되어 전달되는 데이터를 꺼내 사용
//navigate 함수로 전달되는 딕셔너리 데이터는 다음과 같은 모습이기 때문
/*
  {
		route : {
			params :{
				title:title
			}
		}
	}

*/
const { title } = route.params;
06. 탭 네비게이터 적용
설치
yarn add @react-navigation/bottom-tabs- 탭 네비게이터도 하나의 페이지
- 어떤 페이지를 탭 네비게이터로 묶을 것인지 지정
import React from "react";
import { Platform } from "react-native";
import { createBottomTabNavigator } from "@react-navigation/bottom-tabs";
import MainPage from "../pages/MainPage";
import MyPage from "../pages/MyPage";
import AddPage from "../pages/AddPage";

const Tabs = createBottomTabNavigator();

const TabNavigator = ({ navigation, route }) => {
  return (
    <Tabs.Navigator
      tabBarOptions={{
        showLabel: true,
        style: {
          backgroundColor: "white",
          borderTopColor: "lightgray",
          height: 40,
          fontSize: 10,
        },
        activeTintColor: "tomato",
        inactiveTintColor: "gray",
      }}>
      <Tabs.Screen name="MainPage" component={MainPage} />
      <Tabs.Screen name="MyPage" component={MyPage} />
      <Tabs.Screen name="AddPage" component={AddPage} />
    </Tabs.Navigator>
  );
};

export default TabNavigator;- 페이지 기능을 위해 StackNavigator에 등록 (Tab에 추가된 페이지는 삭제)
import React from "react";
import { createStackNavigator } from "@react-navigation/stack";
import SignInPage from "../pages/SignInPage";
import SignUpPage from "../pages/SignUpPage";
import DetailPage from "../pages/DetailPage";
import TabNavigator from "./TabNavigator";

const Stack = createStackNavigator();

const StackNavigator = () => {
  return (
    <Stack.Navigator
      screenOptions={{
        headerShown: false,
      }}>
      <Stack.Screen name="TabNavigator" component={TabNavigator} />
      <Stack.Screen name="SignInPage" component={SignInPage} />
      <Stack.Screen name="SignUpPage" component={SignUpPage} />
      <Stack.Screen name="DetailPage" component={DetailPage} />
    </Stack.Navigator>
  );
};

export default StackNavigator;
07. 탭 네비게이터 활용
activeTintColor
- 누른 버튼의 색 결정
inactiveTintColor
- 누르지 않은 나머지 버튼의 색 결정
탭에 아이콘 삽입 (라벨 숨기기)
import React from "react";
import { Platform } from "react-native";
import { createBottomTabNavigator } from "@react-navigation/bottom-tabs";
import { Ionicons } from "@expo/vector-icons";
import MainPage from "../pages/MainPage";
import MyPage from "../pages/MyPage";
import AddPage from "../pages/AddPage";

const Tabs = createBottomTabNavigator();

const TabNavigator = ({ navigation, route }) => {
  return (
    <Tabs.Navigator
      screenOptions={({ route }) => ({
        headerShown: false,
        tabBarIcon: ({ focused }) => {
          let iconName = Platform.OS === "ios" ? "ios-" : "md-";
          if (route.name === "MainPage") {
            iconName += "list";
          } else if (route.name === "AddPage") {
            iconName += "apps-outline";
          } else if (route.name === "MyPage") {
            iconName += "person";
          }
          return (
            <Ionicons
              name={iconName}
              color={focused ? "hotpink" : "grey"}
              size={26}
            />
          );
        },
      })}
      tabBarOptions={{
        showLabel: false,
        style: {
          backgroundColor: "white",
          borderTopColor: "lightgray",
          height: 40,
          fontSize: 10,
        },
        activeTintColor: "tomato",
        inactiveTintColor: "gray",
      }}>
      <Tabs.Screen name="MainPage" component={MainPage} />
      <Tabs.Screen name="MyPage" component={MyPage} />
      <Tabs.Screen name="AddPage" component={AddPage} />
    </Tabs.Navigator>
  );
};

export default TabNavigator;
screenOptions={({ route }) => ({ })에서 route 부분은 어떤 페이지를 현재 사용자가 보고 있는지에 대한 정보- 내부의
tabBarIcon: ({ focused }) => {}})부분은 특정 탭을 눌렀을 때, 즉 포커싱(focused) 되었을때 어떠한 아이콘을 보여줄지 결정 - 임포트한 아이콘
import { Ionicons } from '@expo/vector-icons';은 기기들 마다 제공되는 아이콘이 다르기때문에 iOS인지 안드로이드인지 구별한 후 적절히 이름 결정- iOS는 일단적으로
ios-가 붙고 안드로이드에는md-
- iOS는 일단적으로
- 어떤 페이지를 보고 있는지 페이지 이름이 들어 있는 route.name을 살펴보고
- iOS인지 안드로이드인지 살펴보고
- 그에 맞는 아이콘을 iconName 변수에 최종적으로 삽입
특정 탭 누를때 이벤트 팝업 / 데이터 전송 시
- 팝업 설정할 페이지 코드
import React, { useEffect } from "react";
import { StyleSheet, View, Text, Alert } from "react-native";

export default function MainPage({ navigation }) {
  useEffect(() => {
    const unsubscribe = navigation.addListener("focus", (e) => {
      Alert.alert("Main Page!");
    });
    return unsubscribe;
  }, [navigation]);
  return (
    <View>
      <Text>MainPage</Text>
    </View>
  );
}

const styles = StyleSheet.create({});
- useEffect 안에 이벤트 등록
- 어떤 탭 버튼이 눌렸는지 지켜보다 변화를 감지하면 실행
useEffect(() => {
	const unsubscrbie = navigation.addListener('focus', (e) => {
		Alert.alert('메인페이지에 들어왔군요!');
});- [ ]에 navigation이라는 stack navigator에 넣어둔 도구 호출
- navigation 안에는 페이지에 대한 정보가 담겨 사용자가 어떤 탭을 눌렀는지 인지
}, [navigation]);- return 구문은 현재 화면이 바뀔 때 정리할 것들
const unsubscribe에 팝업 기능을 담아뒀기 때문에 팝업이 한 번만 실행되기 위해서 unsubscribe를 return에 두어 정리
return unsubscrbie;08. NativeBase 소개 & 설치
NativeBase
- 만들어진 스타일을 쉽게 삽입
설치
yarn add native-base@2 --save폰트 도구 설치
expo install expo-fontApp.jsx
import React, { useEffect, useState } from "react";
import { StyleSheet } from "react-native";
import { NavigationContainer } from "@react-navigation/native";
import StackNavigator from "./navigations/StackNavigator";
import * as Font from "expo-font";
import { Ionicons } from "@expo/vector-icons";
import Loading from "./pages/Loading";

export default function App() {
  const [ready, setReady] = useState(false);

  const loadFont = () => {
    setTimeout(async () => {
      await Font.loadAsync({
        Roboto: require("native-base/Fonts/Roboto.ttf"),
        Roboto_medium: require("native-base/Fonts/Roboto_medium.ttf"),
        ...Ionicons.font,
      });
      await setReady(true);
    }, 1000);
  };

  useEffect(() => {
    loadFont();
  }, []);

  return ready ? (
    <NavigationContainer>
      <StackNavigator />
    </NavigationContainer>
  ) : (
    <Loading />
  );
}

const styles = StyleSheet.create({
  contianer: {
    flex: 1,
  },
});
Roboto
Roboto는 Google에서 모바일 운영 체제 Android의 시스템 글꼴로 개발 한 네오 그로테스크 한 산세 리프 서체 제품군으로 2011 년 Android 4.0 "Ice Cream Sandwich"용으로 출시
- 폰트 준비할 시간 부여
- setTimeout은 지연 자바스크립트 문버 (1000은 1초) > 1초 후 ready 상태 해제
const loadFont = () => {
  setTimeout(async () => {
    await Font.loadAsync({
      Roboto: require("native-base/Fonts/Roboto.ttf"),
      Roboto_medium: require("native-base/Fonts/Roboto_medium.ttf"),
      ...Ionicons.font,
    });
    await setReady(true);
  }, 1000);
};- 처음엔 Loading 페이지 > 1초 뒤 탭 네비게이터 첫 화면인 MainPage
- loadFont() 함수 내부에선 자바스크립트 문법이 async / await를 통해 폰트 로딩 → 준비 상태 변경 로직이 순서대로 진행
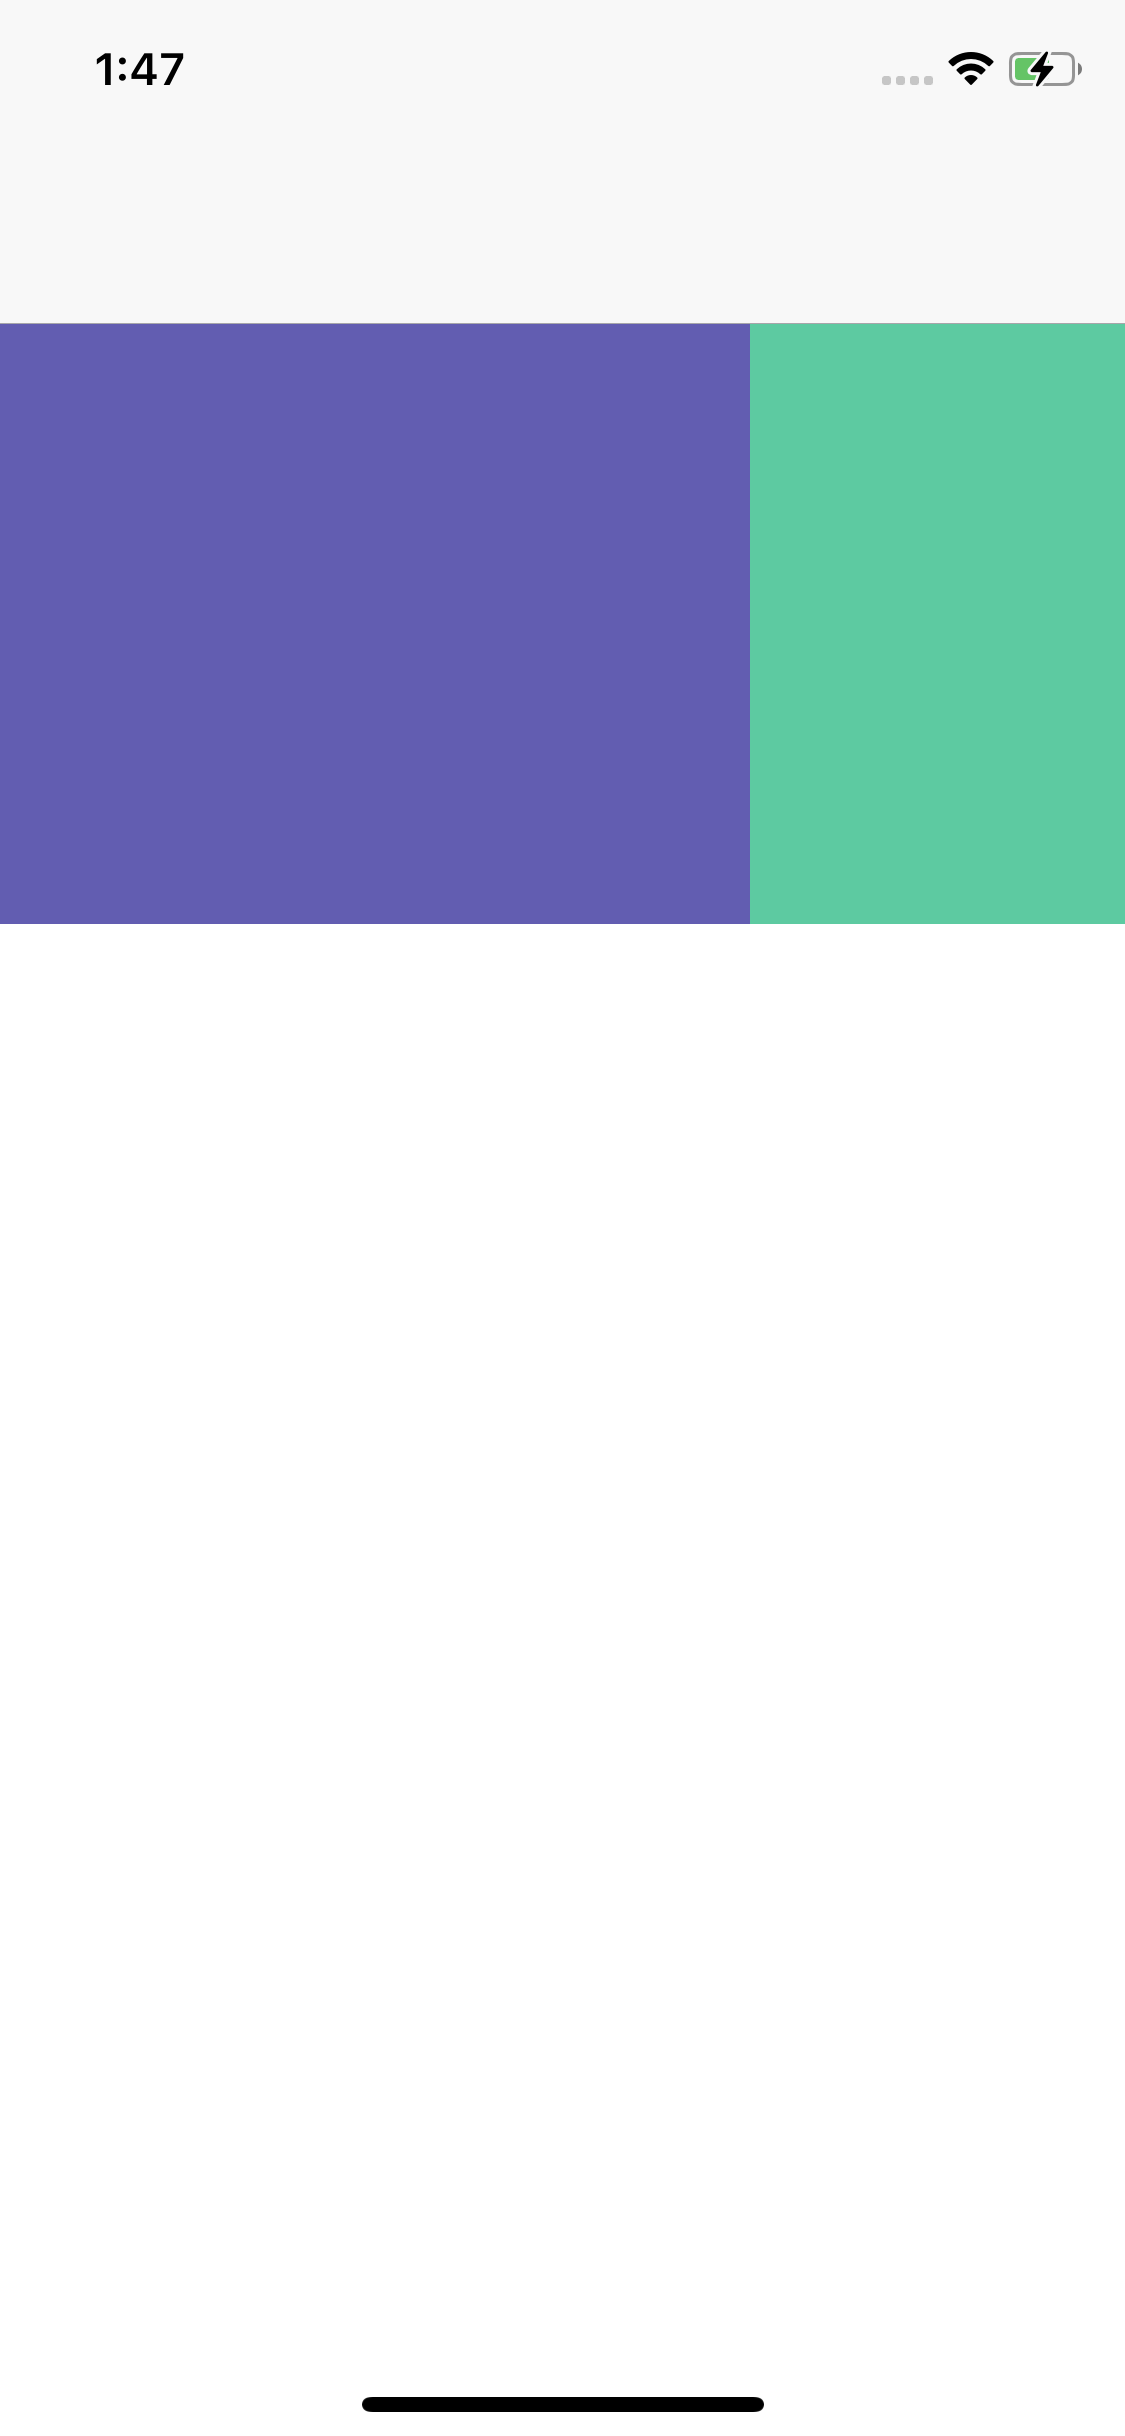
09. NativeBase 기본

import React, { Component } from "react";
import { Container, Header } from "native-base";
import { Col, Row, Grid } from "react-native-easy-grid";

export default function SignInPage() {
  return (
    <Container>
      <Header />
      <Grid>
        <Col size={2} style={{ backgroundColor: "#635DB7", height: 200 }}></Col>
        <Col size={1} style={{ backgroundColor: "#00CE9F", height: 200 }}></Col>
      </Grid>
    </Container>
  );
}
- 헤더의 오른쪽 왼쪽 레이아웃도 < Left /> < Right /> 태그로 결정 가능
- 내용 부분도 Content 태그로 쉽게 구현 가능
- 가로로 구분할지 세로로 구분할지에 대해 Col, Row 태그로 결정할 수 있고 size 속성값으로 영역의 범위를 결정
- Intput 이란 태그는 사용자들에게 정보를 제공받는 입력란 기능
- Input 태그에 picker 속성을 넣으면 선택할 수 있는 입력란이 되고, last를 입력하면 화면 가로 길이를 꽉채우는 스타일 부여
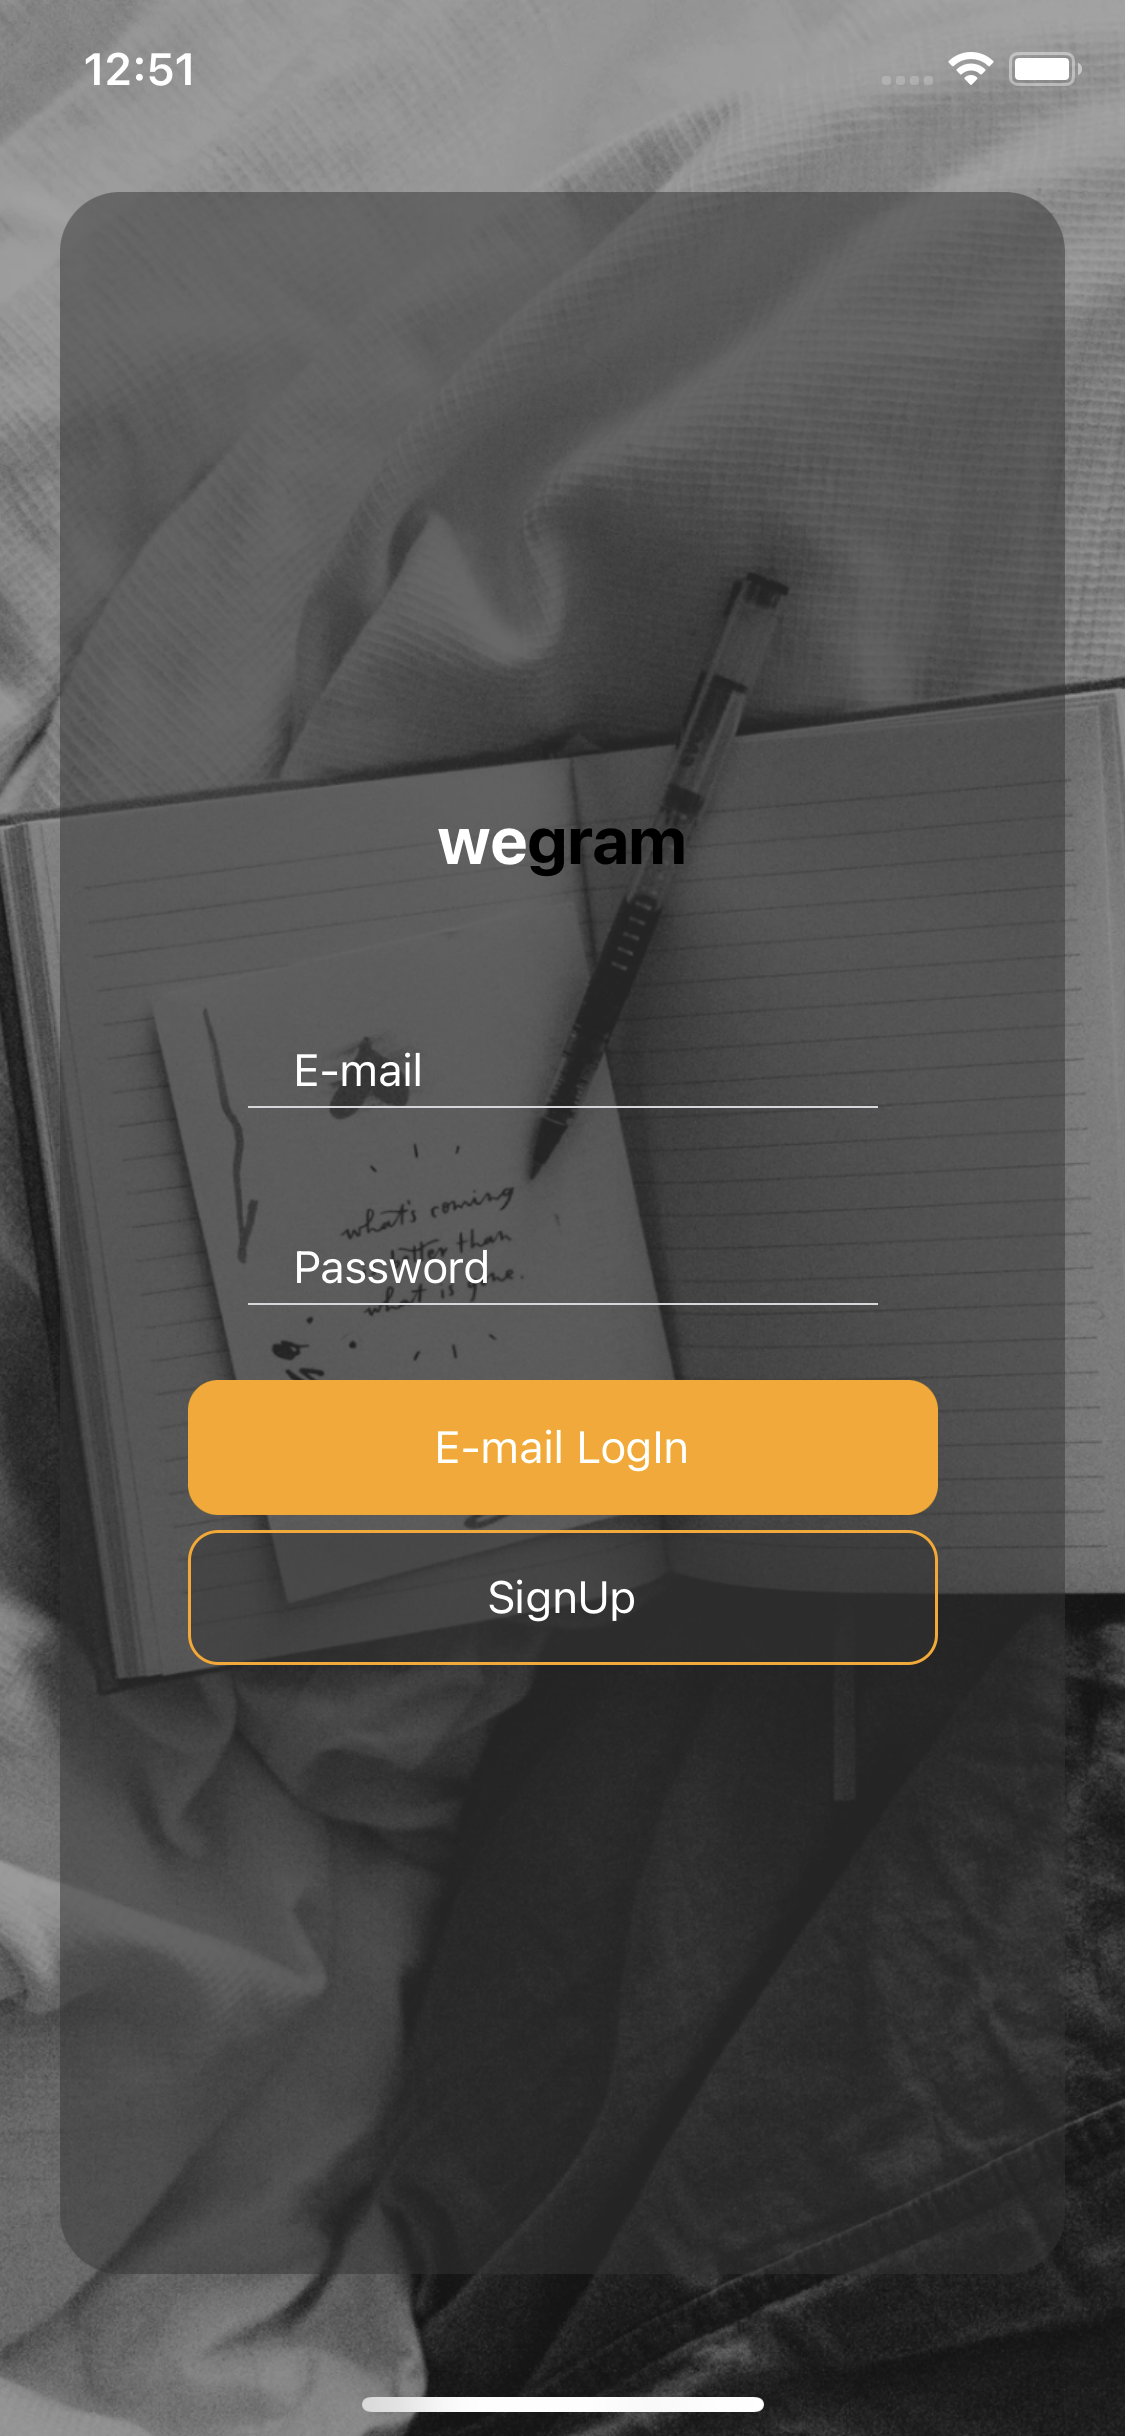
10. 로그인 페이지
- < ImageBackground > : 앱 전체 배경 화면 결정
- Content 태그에서 flex 사용하여 전체 레이아웃 차지 및 정렬 가능
- React Native와 태그 비교
Form : React Native의 View
Item : React Native의 TouchableOpacity
Input : React Native의 TextInput
Label : React Native의 Text- 회원가입 페이지로 이동 : Button에 goSignUp 함수 연결
import React, { Component } from "react";
import { StyleSheet, ImageBackground } from "react-native";
import {
  Container,
  Content,
  Text,
  Form,
  Item,
  Input,
  Label,
  Button,
} from "native-base";

const bImage = require("../assets/background.png");

export default function SignInPage({ navigation }) {
  const goSignUp = () => {
    navigation.navigate("SignUpPage");
  };

  return (
    <Container style={styles.container}>
      <ImageBackground source={bImage} style={styles.backgroundImage}>
        <Content contentContainerStyle={styles.content} scrollEnabled={false}>
          <Text style={styles.title}>
            <Text style={styles.highlite}>we</Text>gram
          </Text>
          <Form style={styles.form}>
            <Item floatingLabel last>
              <Label style={styles.label}>E-mail</Label>
              <Input style={styles.input} />
            </Item>
            <Item floatingLabel last>
              <Label style={styles.label}>Password</Label>
              <Input style={styles.input} />
            </Item>
          </Form>
          <Button full style={styles.emailSignIn}>
            <Text>E-mail LogIn</Text>
          </Button>
          <Button full style={styles.emailSignUp} onPress={goSignUp}>
            <Text style={{ color: "white" }}>SignUp</Text>
          </Button>
        </Content>
      </ImageBackground>
    </Container>
  );
}
11. 회원가입 페이지
- Item 태그 영역의 컴포넌트화 - 재사용성
import React from "react";
import { StyleSheet } from "react-native";
import { Item, Input, Label } from "native-base";

export default function ItemInput({ title }) {
  return (
    <Item floatingLabel last>
      <Label style={styles.label}>{title}</Label>
      <Input style={styles.input} />
    </Item>
  );
}- navigation.navigate 함수가 아닌 goBack() 함수를 이용해 뒤로가기
import React from "react";
import { StyleSheet, ImageBackground } from "react-native";
import {
Container,
Content,
Text,
Form,
Item,
Input,
Label,
Button,
Header,
Left,
Icon,
Body,
Right,
} from "native-base";
import ItemInput from "../components/ItemInput";
const bImage = require("../assets/background.png");
export default function SignUpPage({ navigation }) {
return (
<Container style={styles.container}>
<ImageBackground source={bImage} style={styles.backgroundImage}>
<Header transparent>
<Left>
<Button
transparent
onPress={() => {
navigation.goBack();
}}>
<Icon name="arrow-back" style={{ color: "white" }} />
</Button>
</Left>
<Body />
<Right />
</Header>
<Content contentContainerStyle={styles.content} scrollEnabled={false}>
<Text style={styles.title}>
<Text style={styles.highlite}>we</Text>gram signup
</Text>
<Form style={styles.form}>
<ItemInput title={"nickname"} />
<ItemInput title={"E-mail"} />
<ItemInput title={"Password"} />
<ItemInput title={"Password check"} />
</Form>
<Button full style={styles.emailSignUp}>
<Text>Register</Text>
</Button>
</Content>
</ImageBackground>
</Container>
);
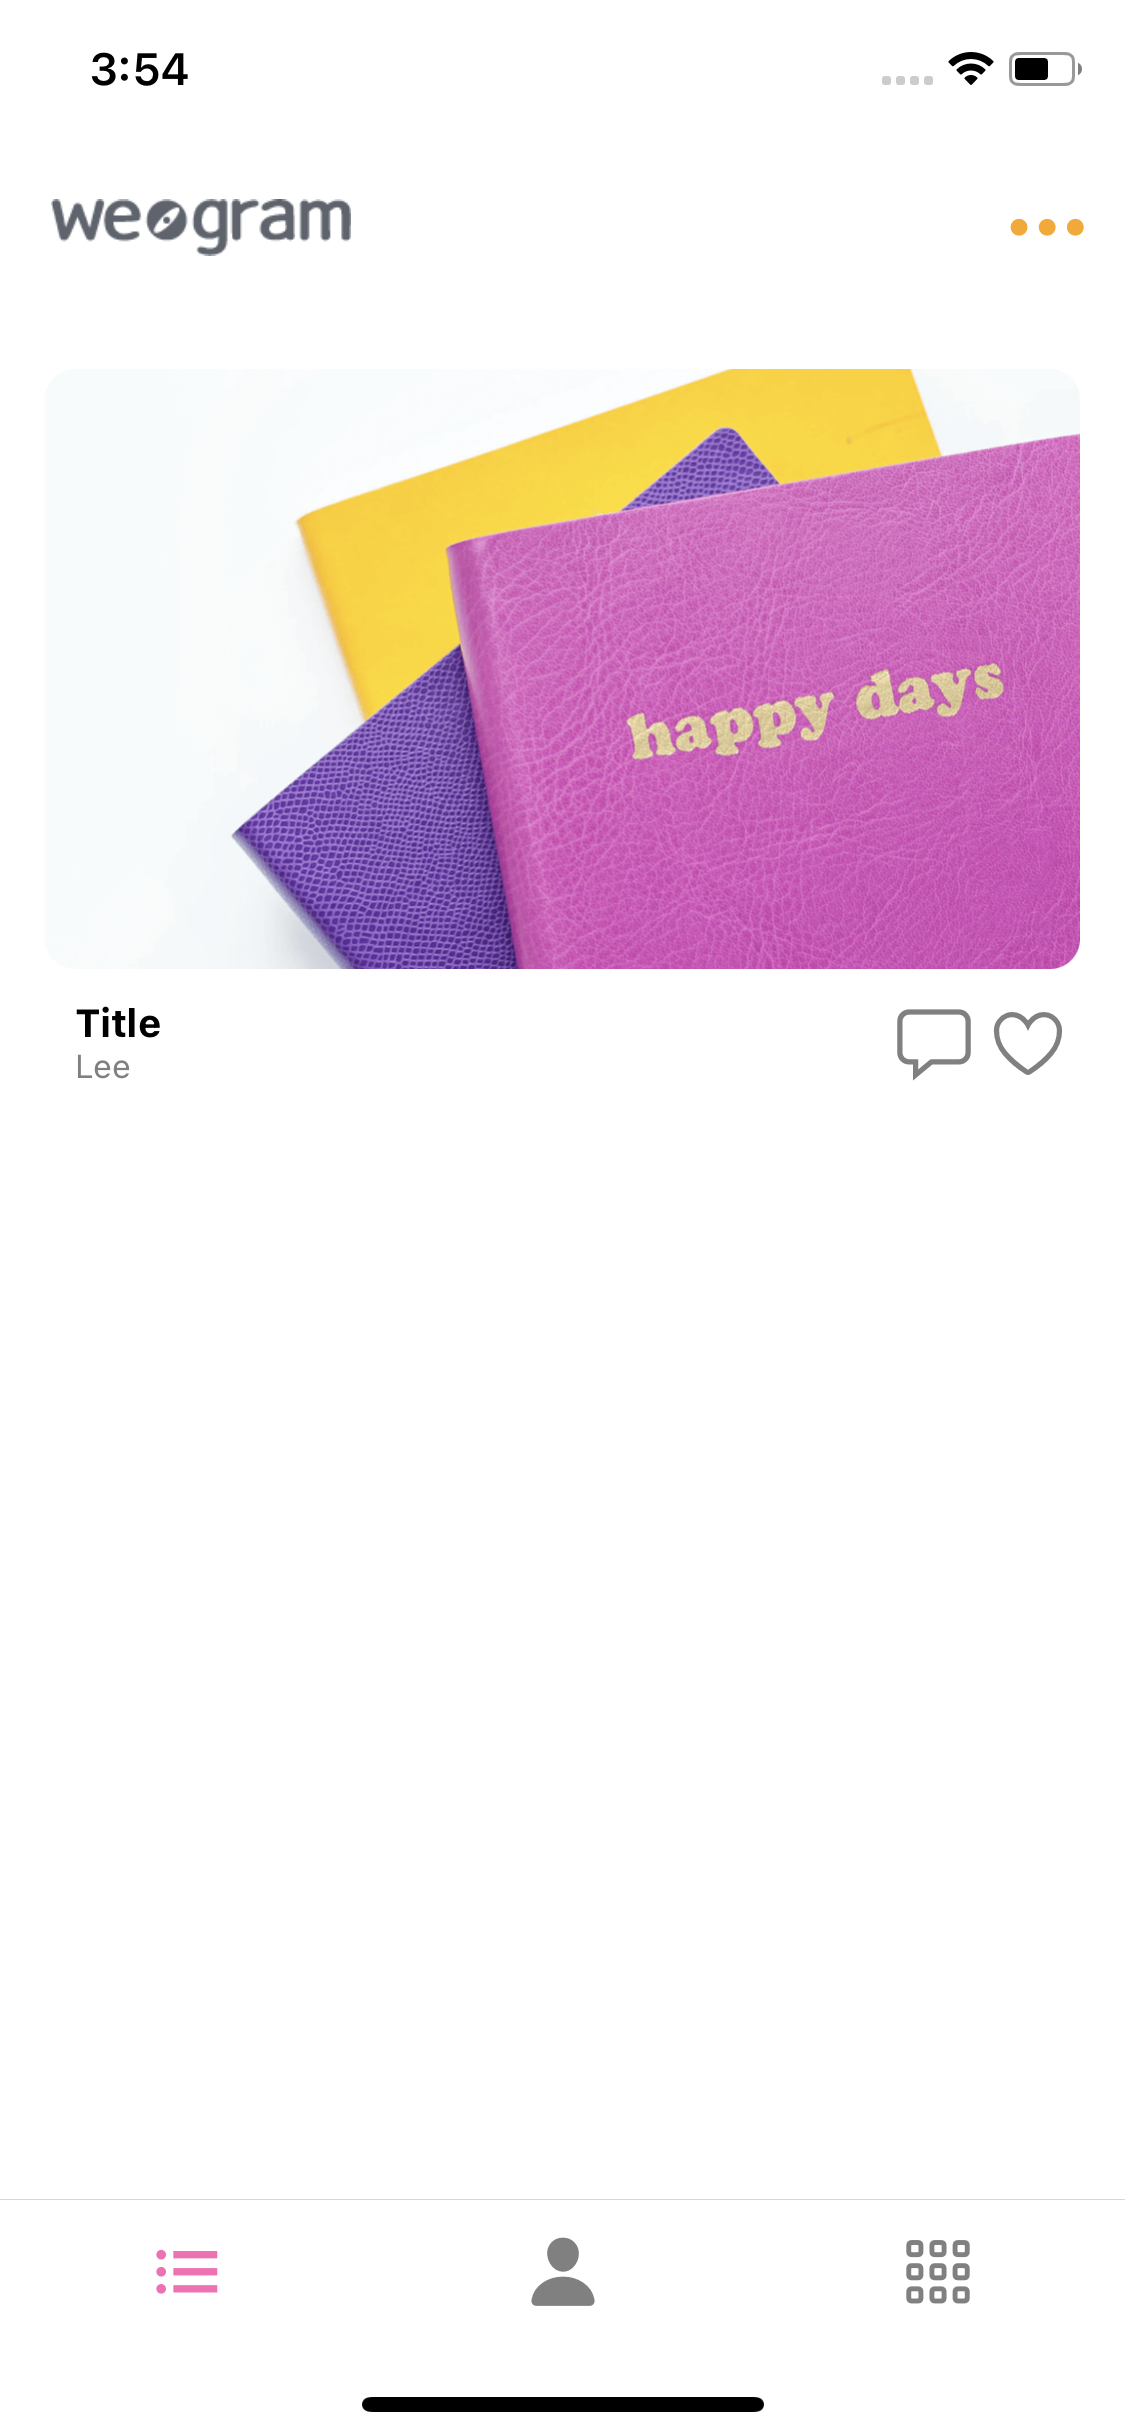
}12. 메인 페이지 : 헤더, 카드
- Header의 배경색을 없애는 속성 :
<Header transparent> - 이미지를 지연 없이 부르기 위한
react-native-image-blur-loading
설치
yarn add react-native-image-blur-loading
import React from 'react';
import { StyleSheet, TouchableOpacity } from 'react-native';
import {} from 'react-native-easy-grid';
import { Card, CardItem, Col, Grid, Icon, Text } from 'native-base';
import ImageBlurLoading from 'react-native-image-blur-loading';

const image = require('../assets/background2.png');
const logo = require('../assets/logo.png');

export default function CardComponent({ navigation }) {
  return (
    <TouchableOpacity
      onPress={() => {
        navigation.navigate('DetailPage');
      }}
      style={styles.container}
    >
      <Card style={styles.card} transparent>
        <CardItem transparent>
          <ImageBlurLoading
            withIndicator
            thumbnailSource={image}
            source={image}
            style={styles.image}
          />
        </CardItem>
        ...
13. 메인 페이지
- padding과 margin은 Inline 스타일로 적절히 이격 표현
- data.json을 불러와 카드 컴포넌트로 데이터를 넘겨 데이터 표현
- MainPage에서 데이터 전송
<View style={{ marginTop: -20 }}>
  {data.diary.map((content, i) => {
    return <CardComponent content={content} key={i} navigation={navigation} />;
  })}
</View>- CardComponent가 데이터를 받아와 표현
export default function CardComponent({ navigation, content }) {
  return (
    <TouchableOpacity
      onPress={() => {
        navigation.navigate('DetailPage');
      }}
      style={styles.container}
    >
      <Card style={styles.card} transparent>
        <CardItem transparent>
          <ImageBlurLoading
            withIndicator
            thumbnailSource={{ uri: content.image }}
            source={{ uri: content.image }}
            style={styles.image}
          />
        </CardItem>
        ...
14. 애니메이션
react-native-animatable 설치
yarn add react-native-animatable
import * as Animatable from 'react-native-animatable';

const data = require('../data.json');

export default function MainPage({ navigation }) {
  return (
    <Container>
      <HeaderComponent />
      <Content>
        <Animatable.View
          animation="pulse"
          easing="ease-out"
          iterationCount={'infinite'}
          direction="alternate"
        >
          <Grid style={styles.banner}>
            <Col size={1} style={{ padding: 20 }}>
              <Icon name="paper-plane" style={{ color: 'orange' }} />
            </Col>
            <Col size={6} style={{ padding: 15 }}>
              <Text>이야기 하고 싶은 친구들에게</Text>
              <Text style={{ fontWeight: 'bold' }}>wegram을 전하세요</Text>
            </Col>
          </Grid>
        </Animatable.View>
        ...