
앱개발 플러스 - 4 주차
[수업 목표]
- 데이터 영구관리
- 글작성
- 이미지 업로드
- 글 가져오기
01. 4 주차
- Cloud Firestore - 게시글 업로드 및 가져오기
- Cloud Storage - 이미지 업로드
02. 데이터 영구관리
- 앱이 완전히 꺼졌다 켜졌을 때 로그인 여부 확인 ->
AsyncStorage
AsyncStorage
expo install @react-native-async-storage/async-storage- 로그인 후 앱 재가동 -> 로그인 여부 확인 후 메인화면 출력
- 글 작성 중 페이지 이탈 -> 작성 중이던 글 복구
- 사용자가 좋아요 누른 게시글 -> 매번 서버에서 가져오지 않고 AsyncStorage에서 관리
로그인 ⇒ 메인페이지 ⇒ 로그아웃 ⇒ Loading ⇒ 로그인 상태 체크 ⇒ 로그인이 되어 있으면 메인페이지로 ⇒ 로그인이 안 되어 있으면 로그인 페이지로firebaseFunctions.js
import firebase from "firebase/compat";
import "firebase/compat/firestore";
import { Alert, AsyncStorage } from "react-native";

export async function registration(nickName, email, password, navigation) {
  try {
    await firebase.auth().createUserWithEmailAndPassword(email, password);
    const currentUser = firebase.auth().currentUser;
    const db = firebase.firestore();
    db.collection("users").doc(currentUser.uid).set({
      email: currentUser.email,
      nickName: nickName,
    });
    await AsyncStorage.setItem("session", email);
    navigation.push("TabNavigator");
  } catch (err) {
    Alert.alert("회원가입 실패 -> ", err.message);
  }
}

export async function signIn(email, password, navigation) {
  try {
    await firebase.auth().signInWithEmailAndPassword(email, password);
    await AsyncStorage.setItem("session", email);
    navigation.push("TabNavigator");
  } catch (err) {
    Alert.alert("로그인 실패 -> ", err.message);
  }
}

export async function logout(navigation) {
  try {
    const currentUser = firebase.auth().currentUser;
    await AsyncStorage.removeItem("session");
    await firebase.auth().signOut();
    navigation.push("SignInPage");
  } catch (err) {
    Alert.alert("로그아웃 실패 -> ", err.message);
  }
}- 로그인 여부를 확인하기 위해 session이란 이름을 부여하여 관리
await AsyncStorage.setItem("session", email);
await AsyncStorage.removeItem("session");
SignInPage.jsx
useEffect(() => {
  navigation.addListener("beforeRemove", (e) => {
    e.preventDefault();
  });

  setTimeout(() => {
    AsyncStorage.getItem("session", (err, result) => {
      console.log("ASYNCSTORAGE");
      console.log(result);
      if (result) {
        navigation.push("TabNavigator");
      } else {
        setReady(true);
      }
    });
    setReady(true);
  }, 1000);
}, []);- SinInPage에서 화면이 그려진 후 useEffect 실행
- useEffect에서 AsuncStorage 속 session 확인
- 이메일이 존재하면 TabNavigator에 전송
- 이메일이 존재하지 않으면 Loading 화면 종료 후 로그인 홤녀 출력
03. 글 작성
- 작성중인 글 상태 관리
AddPage.jsx
const [title, setTitle] = useState("");
const [titleError, setTitleError] = useState("");

const [content, setContent] = useState("");
const [contentError, setContentError] = useState("");

const [image, setImage] = useState(tempImage);

const upload = () => {
  console.log("upload");
};- 이미지 파이어베이스 storage에 저장
- 이미지가 저장된 주소 요청
- 이미지 저장 주소가 들어 있는 최종 게시글 데이터를 Cloud Firestore에 저장
04. 글 작성 후 업로드
AddPage.jsx
const upload = async () => {
  const currentUser = firebase.auth().currentUser;
  let date = new Date();
  let data = {
    title: title,
    author: currentUser.email,
    desc: content,
    image: image,
    date: date.getTime(),
    uid: currentUser.uid,
  };
  let result = addDiary(data);

  if (result) {
    Alert("작성 완료");
  }
};- 파이어베이스 Authentication 데이터를 이용하여 현재 로그인한 사용자의 uid 추출
- 자바스크립트 기본 제공 도구인 날짜 도구 Date()를 이용해 현재 날짜 추출
- 현재 날짜는 Date 도구의 getTime() 함수를 이용하여 "표준시에 따라 지정된 날짜의 시간에 해당하는 숫자 값을 반환"받아 숫자로 기록
firebaseFunctions.js
export async function addDiary(content) {
  try {
    const db = firebase.firestore();
    await db
      .collection("diary")
      .doc(content.date + "D")
      .set(content);
    return true;
  } catch (err) {
    Alert.alert("글 작성 실패 -> ", err.message);
    return false;
  }
}- 모든 Cloud Firestore 접속 정보와 API들 db 변수에 저장
await db
  .collection("diary")
  .doc(content.date + "D")
.set(content);- 어떤 컬렌션에
diary어떤 문서에content.date + "D"어떤 내용content - Cloud Firestore에 값을 저장할 때는 "문자" 자료형만 저장 가능
- 숫자 형태였던 날짜 데이터에 D라는 문자를 더해 문자값으로 변형 시킨 후 값을 저장
05. 파이어베이스 storage 설정
- 가지고 있는 사진 업로드 / 바로 사진을 찍어 업로드 선택 -> 'expo-image-picker' 도구 사용
expo-image-picker 설치
expo install expo-image-picker- 권한 허용 확인
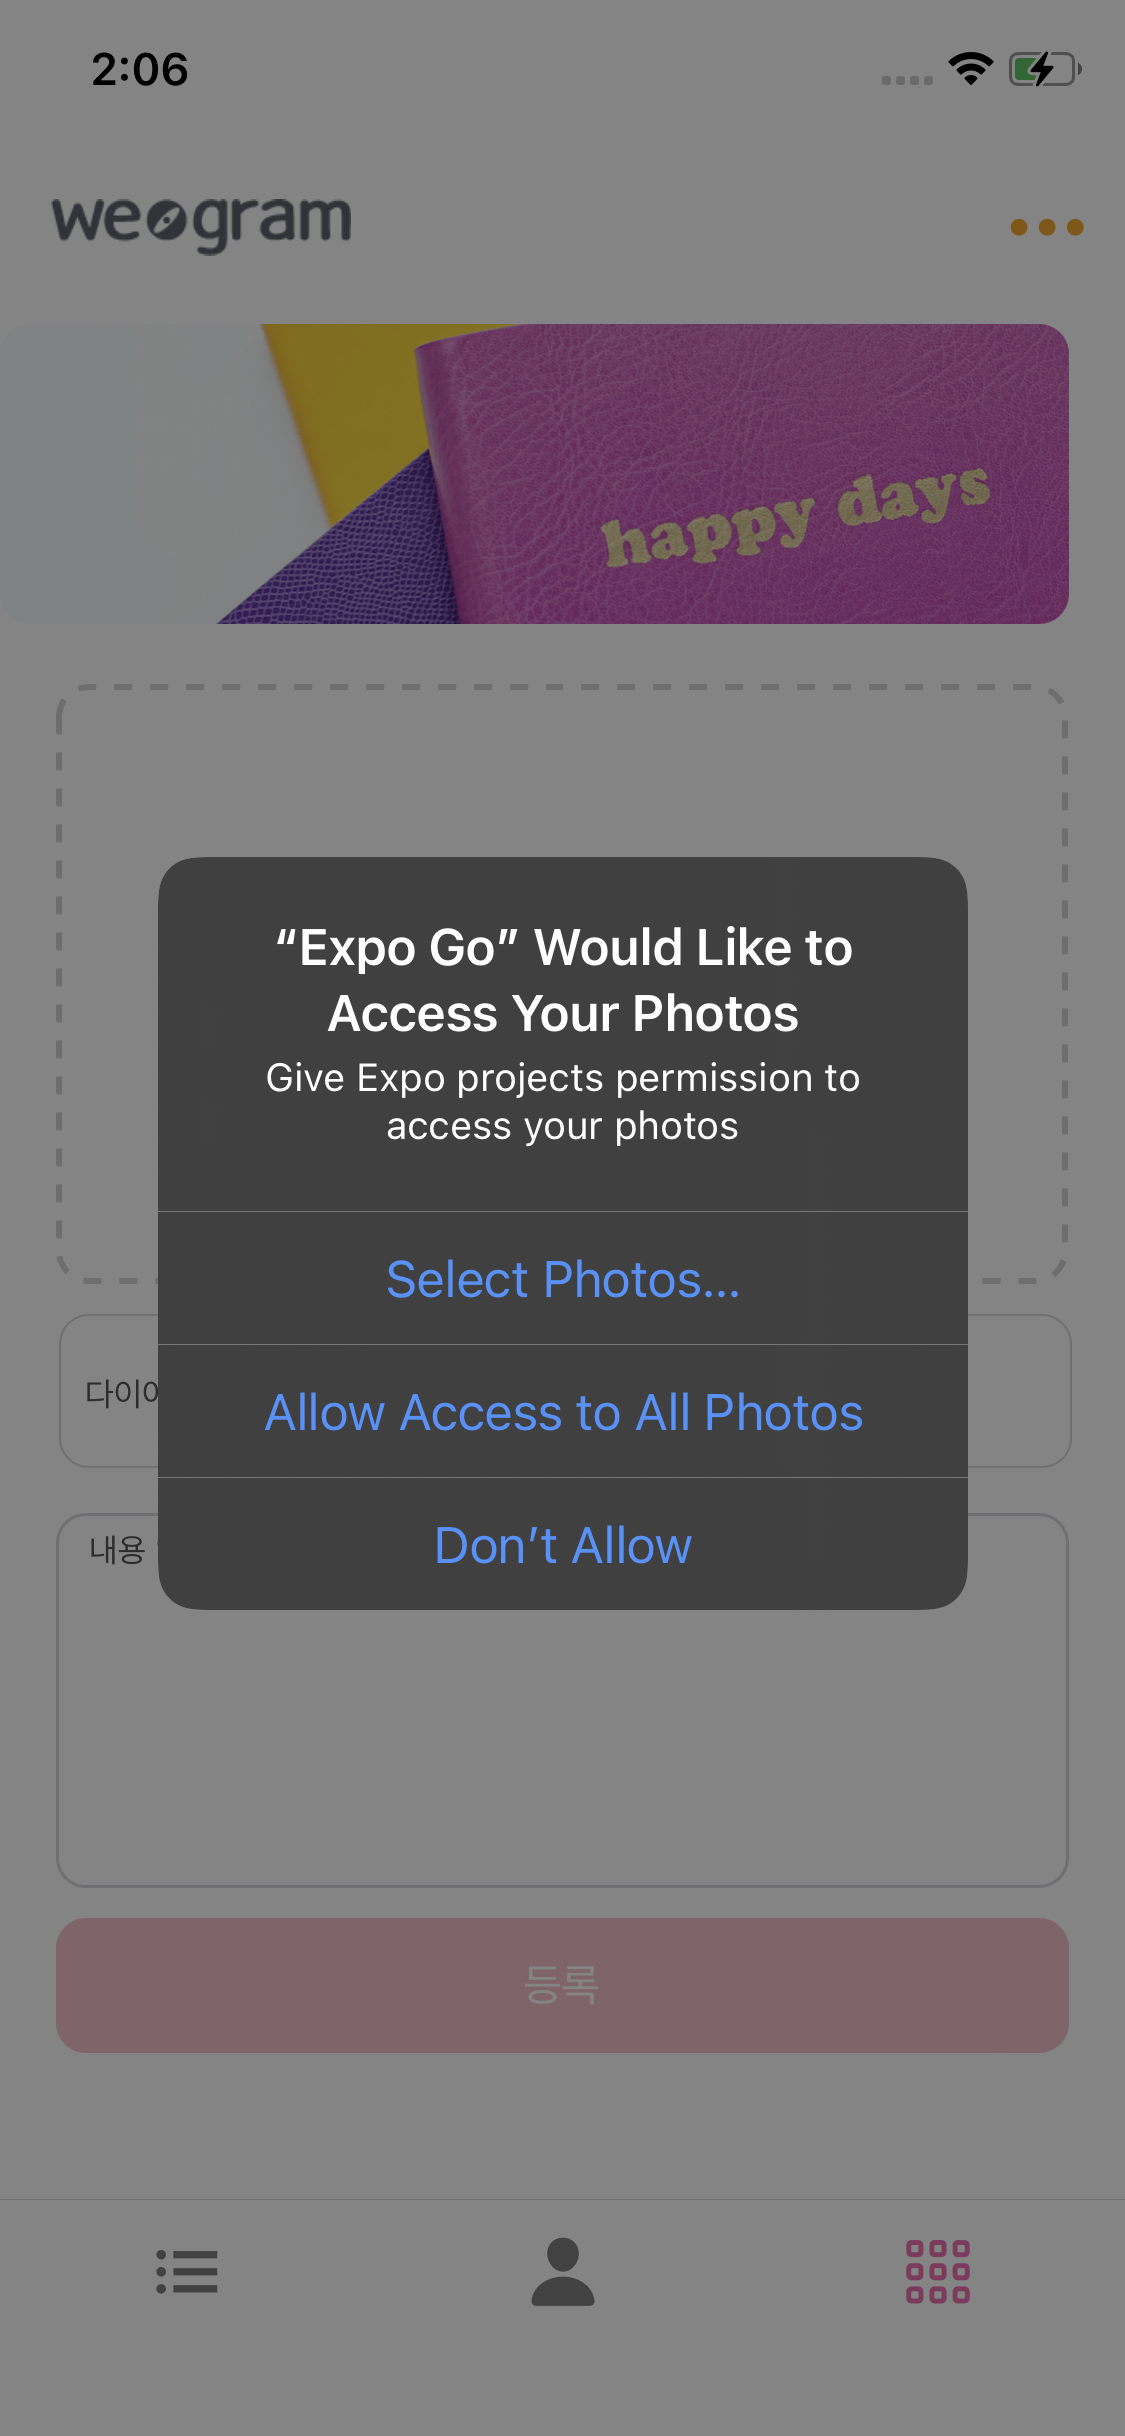
AddPage.jsx
useEffect(() => {
  getPermission();
}, []);

const getPermission = async () => {
  if (Platform.OS !== "web") {
    const { status } = await ImgaePicker.requestMediaLibraryPermissionsAsync();
    if (status !== "granted") {
      alert("사진 권한이 필요합니다.");
    }
  }
};ImgaePicker.requestMediaLibraryPermissionsAsync()함수로 사용자 권한 확인- 팝업 상의 버튼에 따라 status 변수에 값 저장
06. 이미지 업로드 - 사진 준비
- 갤러리에서 이미지를 가져오고 해당 데이터 추출
AddPage.jsx
const pickImage = async () => {
  let imageData = await ImgaePicker.launchImageLibraryAsync({
    mediaTypes: ImgaePicker.MediaTypeOptions.All,
    allowsEditing: true,
    aspect: [4, 4],
    quality: 1,
  });
};
launchImageLibraryAsync부분을launchCameraAsync로 바꾸면 카메라 실행
- 이미지 업로드
- 이미지 정보는 있지만 uri를 통해 실제 저장된 이미지의 주소로 찾아가, 데이터를 가져와 준비 필요
AddPage.jsx
const pickImage = async () => {
  let imageData = await ImgaePicker.launchImageLibraryAsync({
    mediaTypes: ImgaePicker.MediaTypeOptions.All,
    allowsEditing: true,
    aspect: [4, 4],
    quality: 1,
  });

  getImageUrl(imageData);
};

const getImageUrl = async (imageData) => {
  const response = await fetch(imageData.uri);
  const blob = await response.blob();
};- 이미지를 blob 형태로 변형해야 최종적으로 storage 서버 업로드 가능
Blob 객체는 파일류의 불변하는 미가공 데이터를 나타냅니다.
텍스트와 이진 데이터의 형태로 읽을 수 있으며,
ReadableStream으로 변환한 후 그 메서드를 사용해 데이터를 처리할 수도 있습니다.

Blob은 JavaScript 네이티브 형태가 아닌 데이터도 표현할 수 있습니다.
File 인터페이스는 사용자 시스템의 파일을 지원하기 위해
Blob 인터페이스를 확장한 것이므로, 모든 블롭 기능을 상속합니다.- blob은 이미지를 문서 형태로 변환하여 storage에 업로드
fetch는 주소가 전달되면 해당 주소를 실행시켜 결과값을 가져오는 함수- expo-image-picker로 휴대폰 안에 저장되어 있는 이미지 주소를 가지고 와 이 이미지 주소를 통해 실제 이미지 데이터를 가져오는 수순
07. 이미지 업로드 - 미리보기
- 이미지를 파이어베이스에 저장하기 전 미리보기를 통해 보여주기 (최종 게시글 업로드 전 파일 서버 공간 낭비 방지)
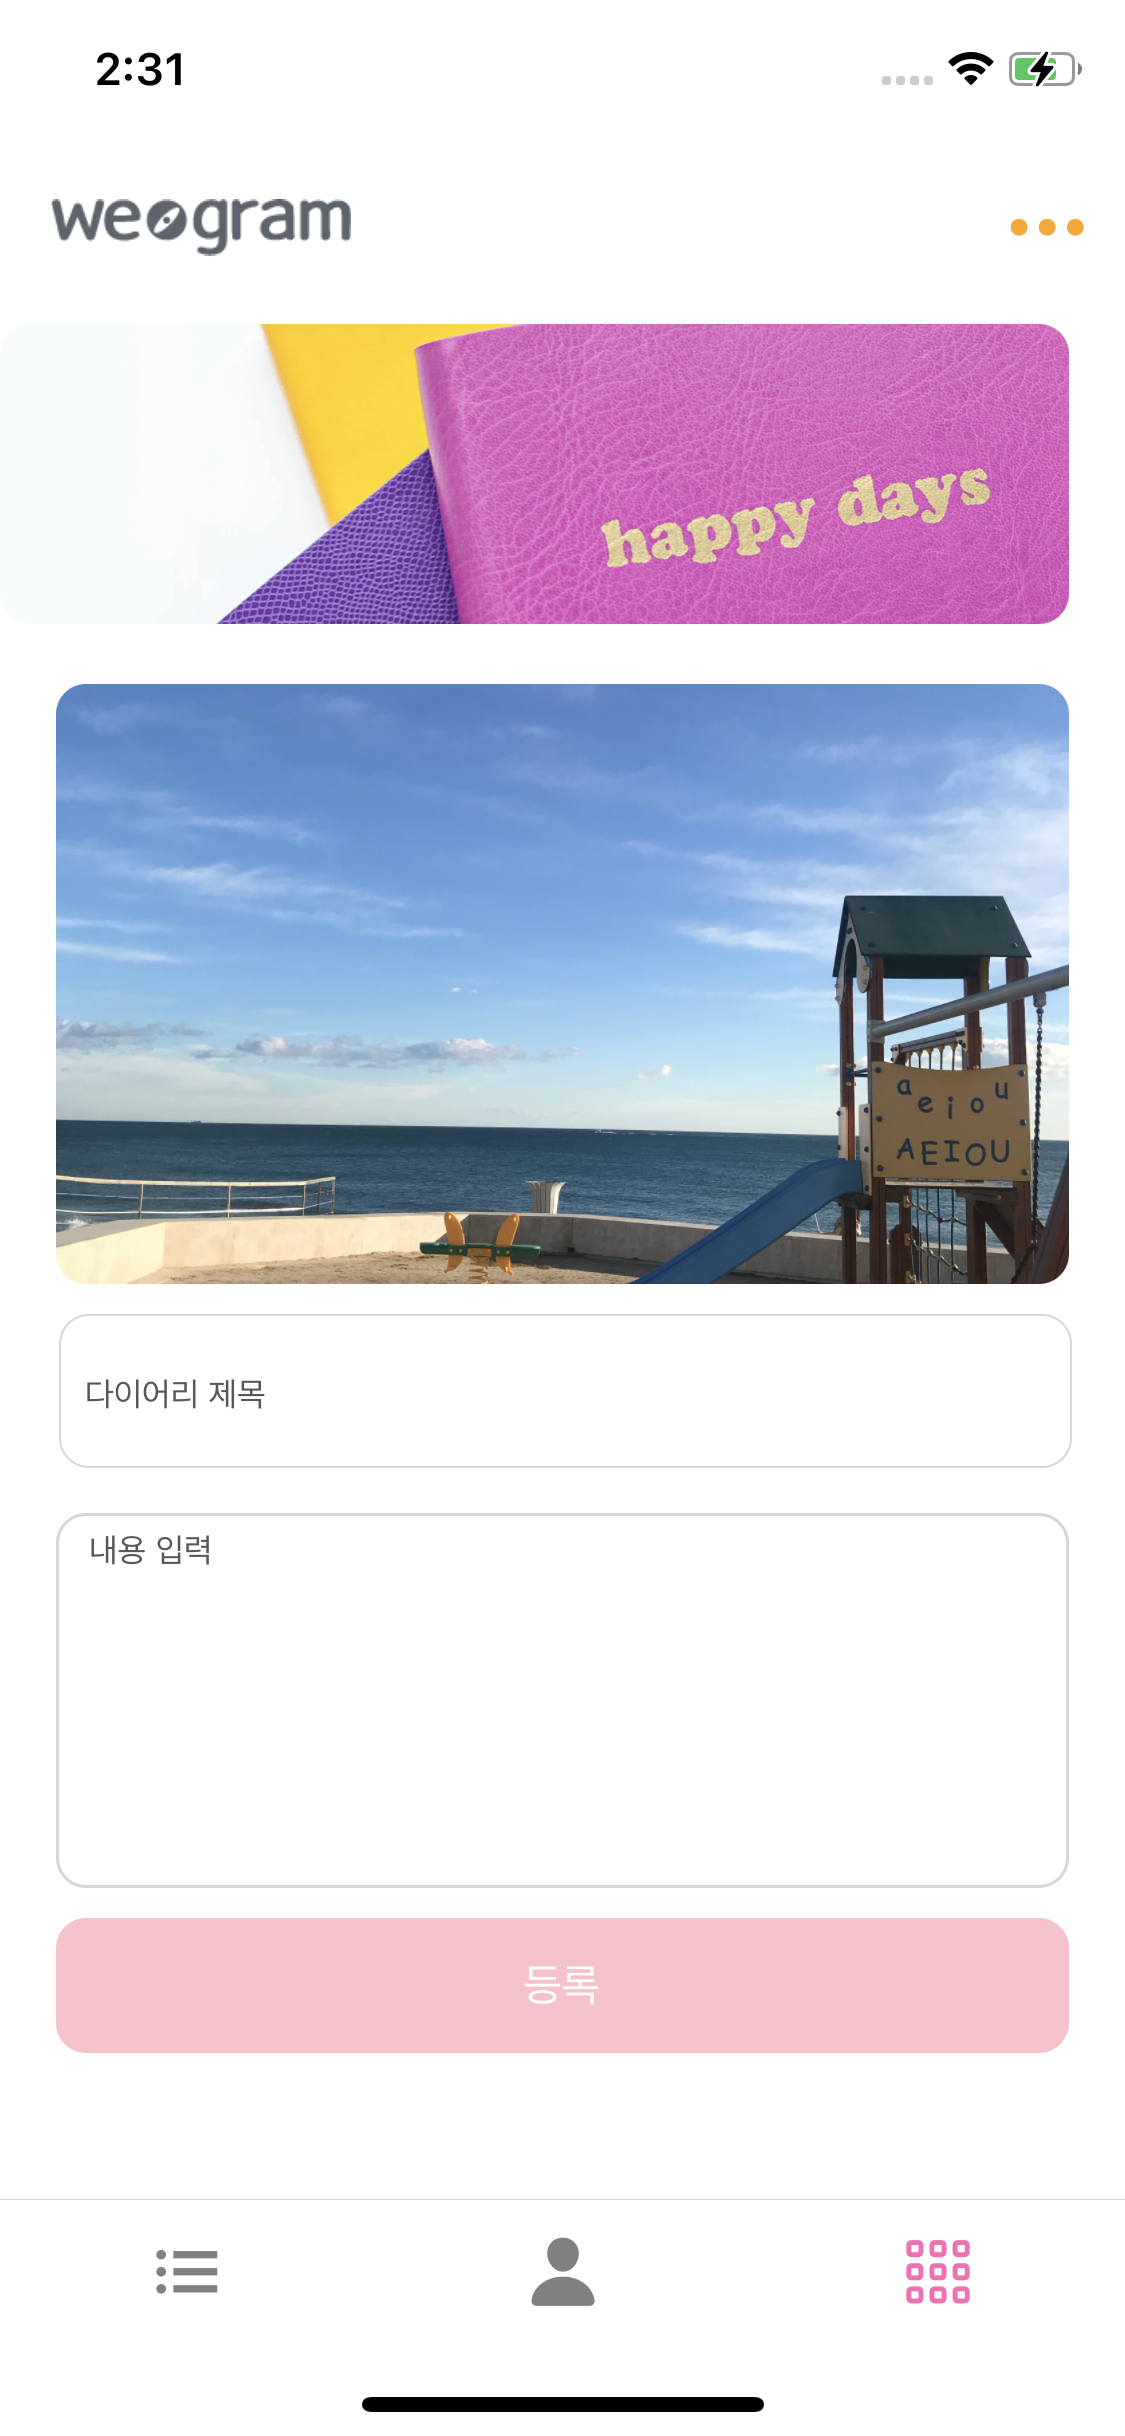
const [imageUri, setImageUri] = useState("");

const getImageUrl = async (imageData) => {
  const response = await fetch(imageData.uri);
  const blob = await response.blob();
  setImageUri(imageData.uri);
};
...
// 원래 코드
// <Grid style={styles.imageUpload} onPress={() => pickImage()}>
//   <Text style={styles.imageUploadPlus}>+</Text>
// </Grid>

{imageUri == '' ? (
  <Grid style={styles.imageUpload} onPress={() => pickImage()}>
    <Text style={styles.imageUploadPlus}>+</Text>
  </Grid>
) : (
  <Image
    source={{ uri: imageUri }}
    style={styles.imagePreview}
    onPress={() => pickImage()}
  />
)}
08. 이미지 업로드 - storage 함수 API
- 이미지 업로드 함수 구현
firebaseFunctions.js
export async function imageUpload(blob, date) {
  const storageRef = firebase
    .storage()
    .ref()
    .child("diary/" + date);
  const snapshot = await storageRef.put(blob);
  const imageUrl = await snapshot.ref.getDownloadURL();
  blob.close();
  return imageUrl;
}- fimageUpload 함수에서는 AddPage.jsx에서 넘긴 blob과 date 값을 넘겨 받음
- firebase.storage().ref()로 계정 상의 storage 참조 후 하위 diary 폴더에 date 이름으로 사진 저장
- blob 데이터를 넘겨 최종 저장 및 어디에 저장되었는지 주소 호출 (getDownloadURL() 함수)
AddPage.jsx
const upload = async () => {
  const currentUser = firebase.auth().currentUser;
  let date = new Date();
  let getTime = date.getTime();
  let data = {
    title: title,
    author: currentUser.email,
    desc: content,
    image: image,
    date: getTime,
    uid: currentUser.uid,
  };
  const response = await fetch(imageUri);
  const blob = await response.blob();
  const imageUrl = await imageUpload(blob, getTime);
  data.image = imageUrl;
};

const getImageUrl = async (imageData) => {
  setImageUri(imageData.uri);
};fetch와response.blob()을 upload 함수로 옮김 -> 최종적으로 storage 함수에 blob 데이터와 이미지를 넘기는 형태
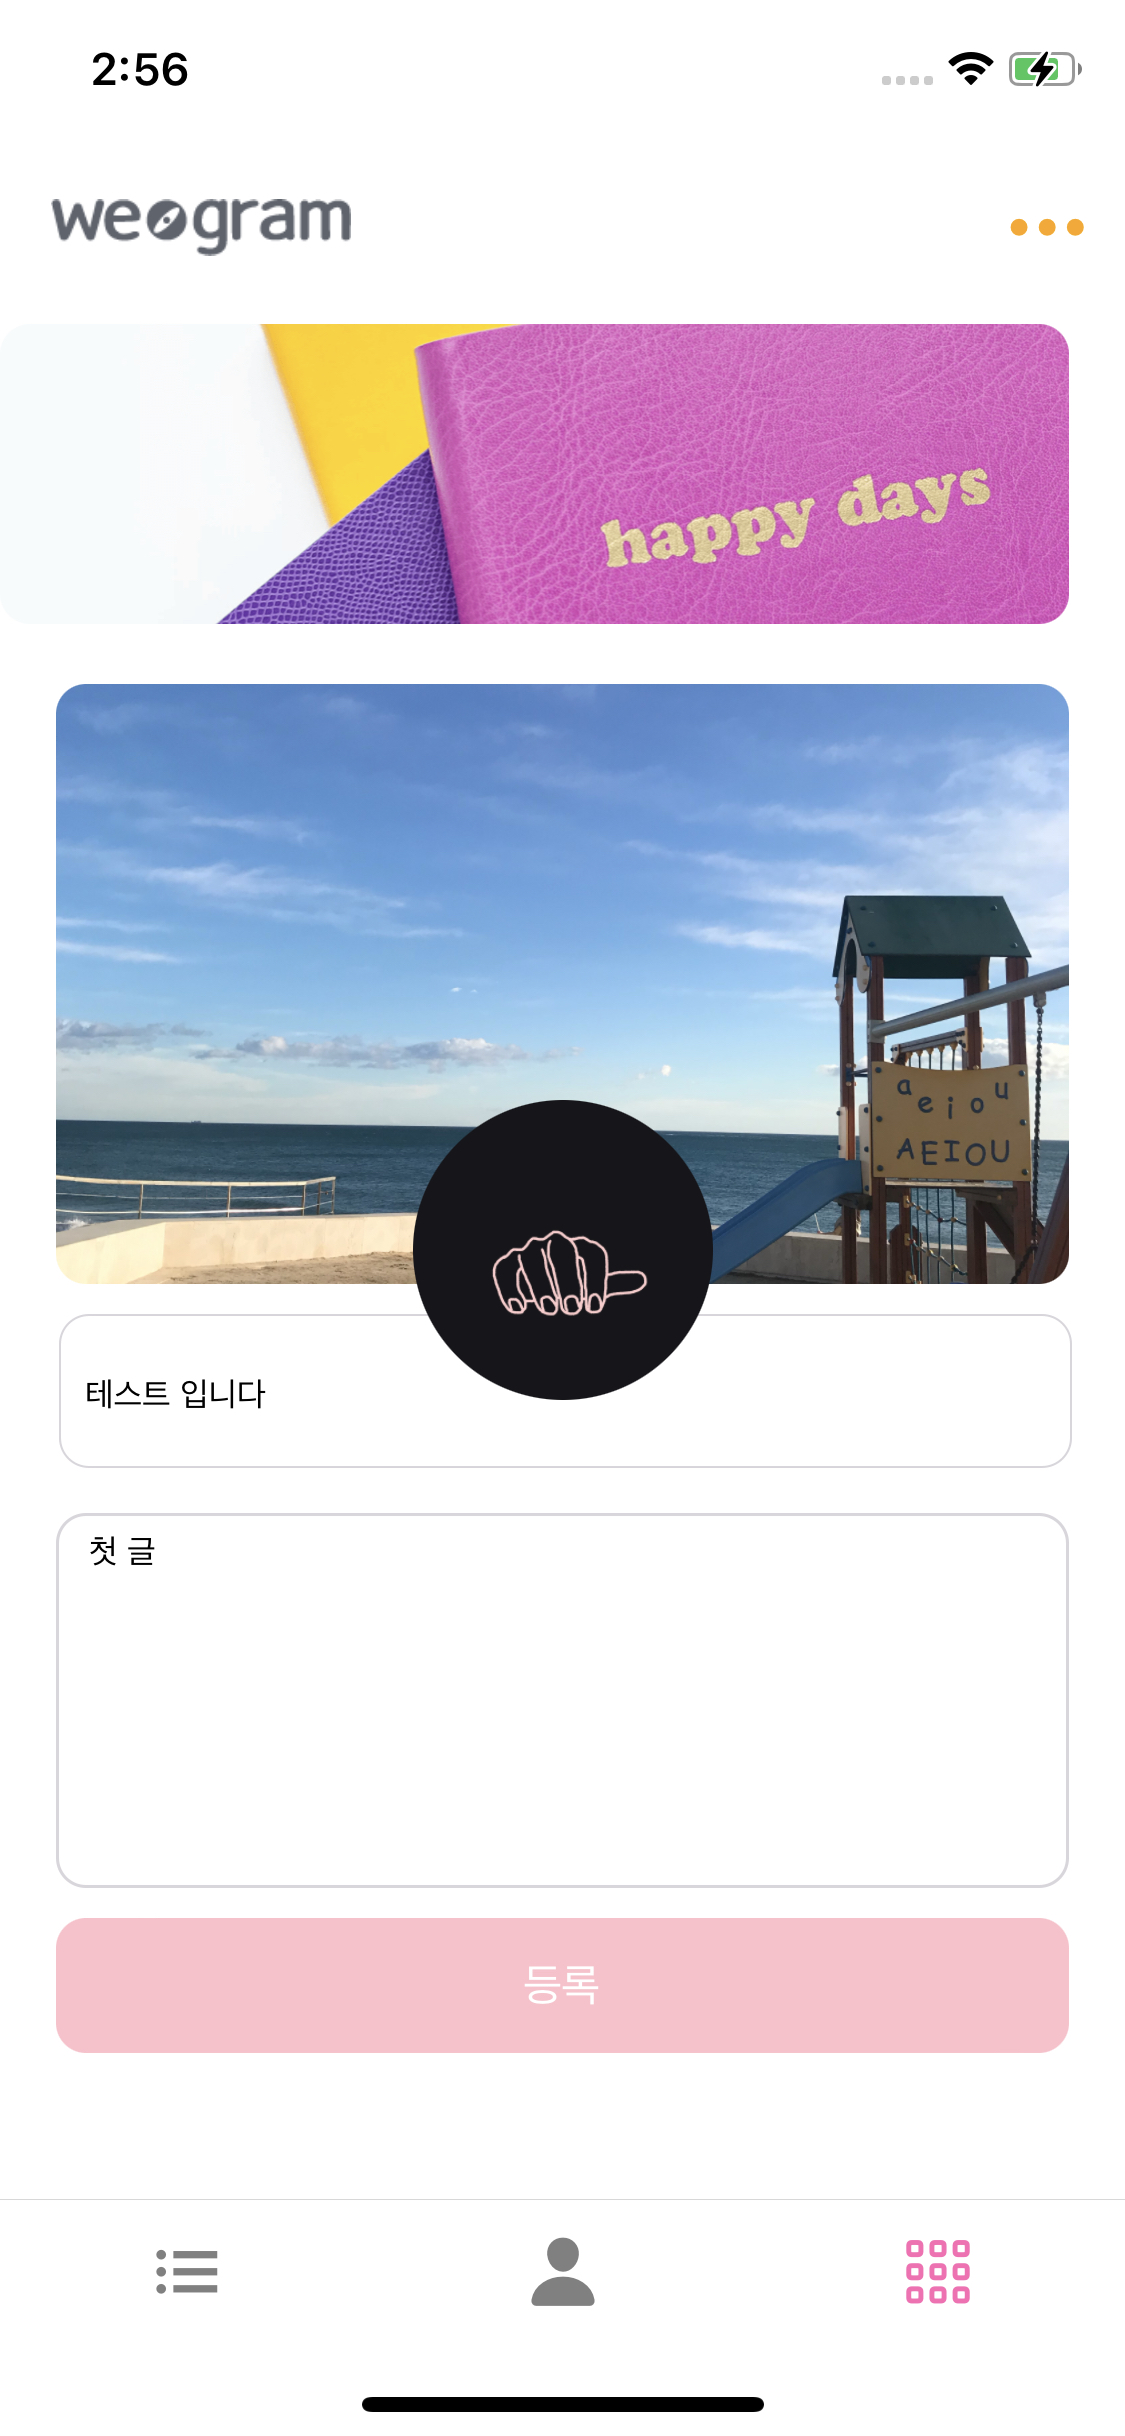
09. 글, 이미지 동시 업로드
- 업로드 후 입력된 글, 내용, 이미지 상태값을 모두 초기화
AddPage.jsx
const upload = async () => {
  const currentUser = firebase.auth().currentUser;
  let date = new Date();
  let getTime = date.getTime();
  let data = {
    title: title,
    author: currentUser.email,
    desc: content,
    image: image,
    date: getTime,
    uid: currentUser.uid,
  };
  const response = await fetch(imageUri);
  const blob = await response.blob();
  const imageUrl = await imageUpload(blob, getTime);
  data.image = imageUrl;

  let result = await addDiary(data);
  if (result) {
    Alert.alert("등록 완료");
    setTitle("");
    setContent("");
    setImage(tempImage);
    setImageUri("");
  }
};- Input과 TextArea에 상태값과 동기화 필요 (상태 관리에 들어가는 데이터 실시간 반영)
<Item regular style={styles.title}>
  <Input
    placeholder="다이어리 제목을 입력해주세요!"
    style={{ fontSize: 13 }}
		value={title}
    onChangeText={(text) => setTitle(text)}
  />
</Item>
<Form style={styles.contentLayout}>
  <Textarea
    rowSpan={5}
    bordered
    placeholder="내용을 입력해주세요"
    style={styles.content}
		value={content}
    onChangeText={(text) => setContent(text)}
  />
</Form>
10. 로딩화면
- 업로드 상태 퍼센테이지 상태바로 표현
const [progress, setProgress] = useState(false);

const upload = async () => {
  setProgress(true);
  const currentUser = firebase.auth().currentUser;
  let date = new Date();
  let getTime = date.getTime();
  let data = {
    title: title,
    author: currentUser.email,
    desc: content,
    image: image,
    date: getTime,
    uid: currentUser.uid,
  };
  const response = await fetch(imageUri);
  const blob = await response.blob();
  const imageUrl = await imageUpload(blob, getTime);
  data.image = imageUrl;

  let result = await addDiary(data);
  if (result) {
    Alert.alert("등록 완료");
    setTitle("");
    setContent("");
    setImage(tempImage);
    setImageUri("");
    setProgress(false);
  } else {
    setProgress(false);
  }
};
...
return (
  <Container>
    <HeaderComponent />
    {progress == false ? null : (
      <Image source={loading} style={styles.progress} />
    )}
    <Content>
...- 업로드 시작 시 progress on
- 업로드 완료 시 progress off
progress: {
  width: 100,
  height: 100,
  borderRadius: 100,
  position: 'absolute',
  top: '50%',
  alignSelf: 'center',
  zIndex: 2,
},absolute를 사용하여 주변 스타일 무시 (위치 직접 지정 필요)zIndex속성을 통해 모든 컴포넌트 위에 자리
11. 글 가져오기
- 닉네임 저장
firebaseFunctions.js
export async function addDiary(content) {
  try {
    const db = firebase.firestore();
    let userRef = await db.collection("users").doc(content.uid);
    let data = await userRef.get().then((doc) => {
      return doc.data();
    });

    content.author = data.nickName;

    await db
      .collection("diary")
      .doc(content.date + "D")
      .set(content);
    return true;
  } catch (err) {
    Alert.alert("글 작성 실패 -> ", err.message);
    return false;
  }
}- Cloud Store에 저장하고 있던 users 콜렉션에서 uid 조회
- 닉네임을 가져와 업로드할 데이터 author 값 대체
- 이미지 용량 줄이기 (속도 개선)
const pickImage = async () => {
  let imageData = await ImgaePicker.launchImageLibraryAsync({
    mediaTypes: ImgaePicker.MediaTypeOptions.All,
    allowsEditing: true,
    aspect: [4, 4],
    quality: 0,
  });

  getImageUrl(imageData);
};