INTRO
안녕하세요, 이번 포스팅은 게시판 만들기 프로젝트 중 파일 업/다운로드와 예외 처리 기능을 추가하는 과정을 기록했습니다.
1. 파일 업로드
- 관련 설정 추가
[application.properties]
spring.servlet.multipart.enabled=true
spring.servlet.multipart.location=c:\\uploads\\
spring.servlet.multipart.max-file-size=10MB
spring.servlet.multipart.max-request-size=30MB
- 업로드 파일을 저장할 디렉터리를 생성
C:\Users\users> mkdir c:\uploads- 글쓰기 페이지(boardWrite.html)에 파일을 첨부할 수 있도록 수정
컨트롤러와 서비스도 수정한다.
[BoardServiceImpl.java]
 @Override
    public void insertBoard(BoardDto boardDto, MultipartHttpServletRequest request) {
        // 로그인한 사용자를 글쓴이로 설정
        // TODO. 로그인한 사용자의 ID로 변경
        // boardDto.setCreatedId("hong");
        // boardMapper.insertBoard(boardDto);

        if (!ObjectUtils.isEmpty(request)) {
            // <input type="file" name="이 속성의 값" />
            Iterator<String> fileTagNames = request.getFileNames();
            while(fileTagNames.hasNext()) {
                String fileTagName = fileTagNames.next();
                // 하나의 <input type="file" multiple="multiple"> 태그를 통해서 전달된 파일들을 가져옮
                List<MultipartFile> files = request.getFiles(fileTagName);
                for (MultipartFile file : files) {
                    log.debug("File Information");
                    log.debug("- file name: " + file.getOriginalFilename());
                    log.debug("- file size: " + file.getSize());
                    log.debug("- content type: " + file.getContentType());
                }
            }
        }
- 테스트
글쓰기 페이지에서 파일 첨부 후 저장했을 때 업로드한 파일 정보가 출력되는 것을 확인

- 파일 정보를 저장할 DTO를 생성

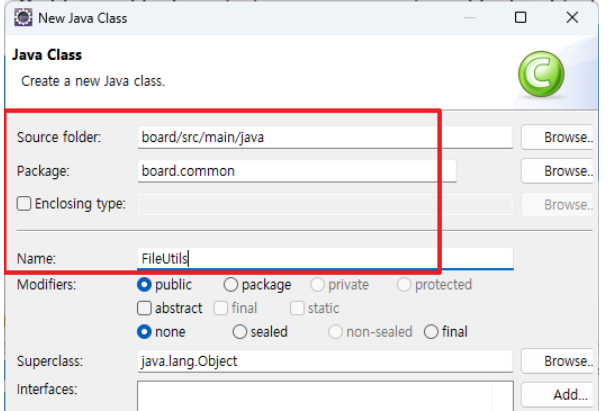
- 파일 처리를 위한 유틸리티 클래스를 생성
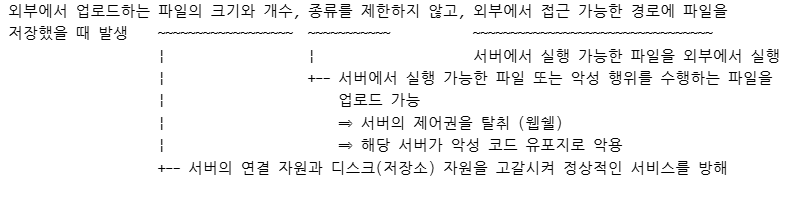
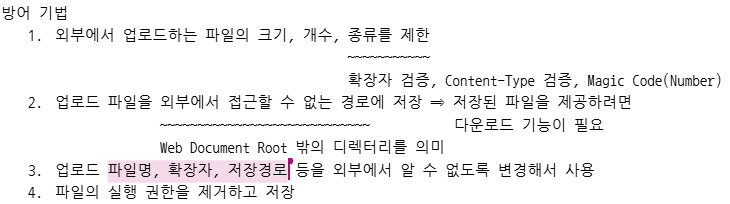
- 참고: 파일 업로드 취약점
- 첨부 파일 목록을 출력하는 기능을 추가
뷰, dto, 서비스, 매퍼, sql 수정
2. 파일 다운로드
뷰, 서비스, 매퍼, sql, 컨트롤러 수정
BoardController
  // 파일 다운로드 요청을 처리하는 메서드
    @GetMapping("/board/downloadBoardFile.do")
    public void downloadBoardFile(@RequestParam("idx") int idx, @RequestParam("boardIdx") int boardIdx, HttpServletResponse response) throws Exception {
        // idx와 boardIdx가 일치하는 파일 정보를 조회
        BoardFileDto boardFileDto = boardService.selectBoardFileInfo(idx, boardIdx);
        if (ObjectUtils.isEmpty(boardFileDto)) {
            return;
        }

        // 원본 파일 저장 위치에서 파일을 읽어서 호출(요청)한 곳으로 파일을 응답으로 전달
        Path path = Paths.get(boardFileDto.getStoredFilePath());
        byte[] file = Files.readAllBytes(path);

        response.setContentType("application/octet-stream");	⇐ 브라우저가 해당 콘텐츠를 바이너리 파일로 처리하도록 지정
        response.setContentLength(file.length);		⇐ 다운로드할 파일의 크기를 명시
        response.setHeader("Content-Disposition", 		⇐ 브라우저가 파일을 다운로드하도록 지시
"attachment; fileName=\"" + URLEncoder.encode(boardFileDto.getOriginalFileName(), "UTF-8") + "\";");
        response.setHeader("Content-Transfer-Encoding", "binary");	⇐ 응답 본문을 바이너리로 전송하도록 지정
        response.getOutputStream().write(file);
        response.getOutputStream().flush();
        response.getOutputStream().close();
    }
3. 예외 처리
공통 예외 페이지를 만들어서 어플리케이션에서 발생하는 예외를 처리 ⇒ @ControllerAdvice 어노테이션을 이용
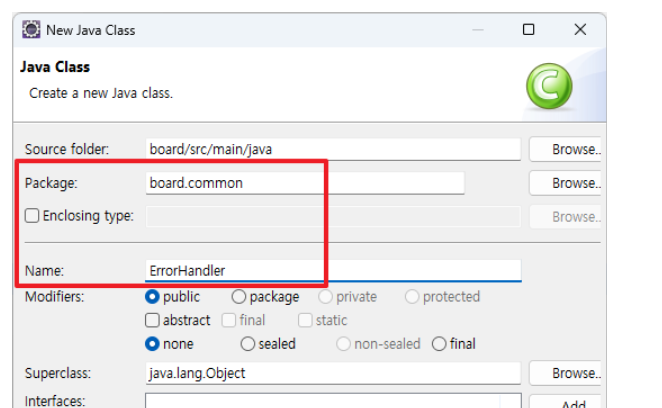
- 사용자 정의 에러 컨트롤러를 생성
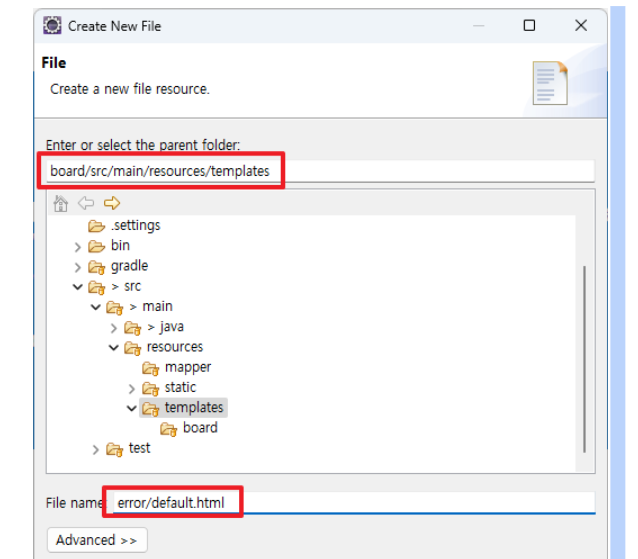
- 공통 예외 처리 페이지를 생성
- 기본 오류 페이지를 비활성화
방법1. application.properties
spring.autoconfigure.exclude=org.springframework.boot.autoconfigure.web.servlet.error.ErrorMvcAutoConfiguration방법2. BoardApplication.java
package board;


import org.springframework.boot.SpringApplication;
import org.springframework.boot.autoconfigure.EnableAutoConfiguration;
import org.springframework.boot.autoconfigure.SpringBootApplication;
import org.springframework.boot.autoconfigure.web.servlet.error.ErrorMvcAutoConfiguration;

@SpringBootApplication
@EnableAutoConfiguration(exclude = { ErrorMvcAutoConfiguration.class })
public class BoardApplication {

	public static void main(String[] args) {
	    SpringApplication.run(BoardApplication.class, args);
	}

}
지니니