본 글은 유튜브 채널 '카인드패밀리'님의 '오늘 부터 나도 github.io 블로그 운영자다!! | github pages , goormide, hexo' 영상을 참조하여 작성한 개인 공부를 위한 글임을 밝힙니다.(https://www.youtube.com/watch?v=8uRgIwgumqA&t=1022s)
계기
블로그를 시작하려고 했을 때 플랫폼에 대해 찾아보았다. 그 중 사용하고자 하는 플랫폼이 아래 두 개다.
- velog
- github.io
velog는 시작했으니 github.io를 만들 차례이다.
시작
- Node.js
- git
구름 IDE
클라우드 IDE로 작업을 한다. 소프트웨어 스택은 Node.js를 선택하여 새로운 컨테이너를 추가한다.
- 클라우드 IDE란?
IDE(통합개발환경)를 사용하기 위해선 컴퓨터에 설치하고 환경설정을 잡아주는 등의 개발 환경 구축 과정이 필요하다. 클라우드 IDE는 웹 브라우저를 실행 할 수 있는 환경이면 어디서든 IDE를 바로 사용할 수 있도록 해준다. (https://blog.goorm.io/starting_the_goormide/)
Hexo
Hexo를 설치한다.
npm install hexo-cli -g- Hexo란?
Node.js로 구동되는 블로그 프레임 워크이다. npm을 통해 쉽게 설치할 수 있고, 배포를 실시간으로 할 수 있다는 장점이 있다. (https://github.com/hexojs/hexo)
Version을 업데이트해준다.
npm install -g npm웹 사이트를 초기화 해준다.
hexo init noahblognpm을 이용하여 Hexo에 필요한 패키지들을 설치한다.
cd noahblog/
npm install
Icarus theme
테마는 github에 올라와 있는 icarus를 사용한다.
cd themes/
git clone https://github.com/ppoffice/hexo-theme-icarus.git
_config.yml에서 theme를 바꿔준다.
# Extensions
## Plugins: https://hexo.io/plugins/
## Themes: https://hexo.io/themes/
theme: hexo-theme-icarus
Hexo 서버를 실행 시킨다.
hexo server -p 3000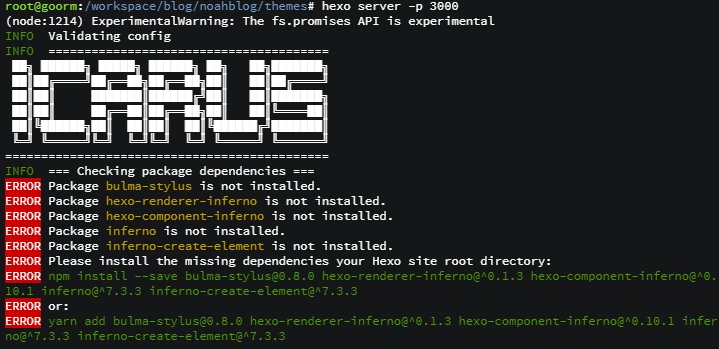
위 사진과 같은 오류가 나오면 아래의 패키지들을 직접 설치해준다.
npm install --save bulma-stylus@0.8.0
npm install --save hexo-renderer-inferno@^0.1.3
npm install --save hexo-component-inferno@^0.10.1
npm install --save inferno@^7.3.3
npm install --save inferno-create-element@^7.3.3
다시 Hexo 서버를 실행시킨다.
hexo server -p 3000
서버가 정상적으로 실행됐다.
github repository
github에 새로운 repository를 만들고 이름을 아래의 형식으로 생성한다.
- 나의 원래 github account name은 'NoahK12'이지만 블로그 도메인이 'https://noahk12.github.io/'와 같이 소문자로 만들어지기 때문에 repository 이름도 소문자로 만들었다.
noahk12(본인의 github이름).github.iogithub 본인의 repository 코드로 _config.yml에서 deployment를 바꿔준다.
- 코드를 복사하면 'https://github.com/NoahK12/noahk12.github.io.git'의 형식으로 복사된다. repo에 입력할땐 .git을 지워야 한다.
# Deployment
## Docs: https://hexo.io/docs/one-command-deployment
deploy:
  type: git
  repo: https://github.com/NoahK12/noahk12.github.io
  branch: master
배포에 사용되는 패키지를 설치한다.
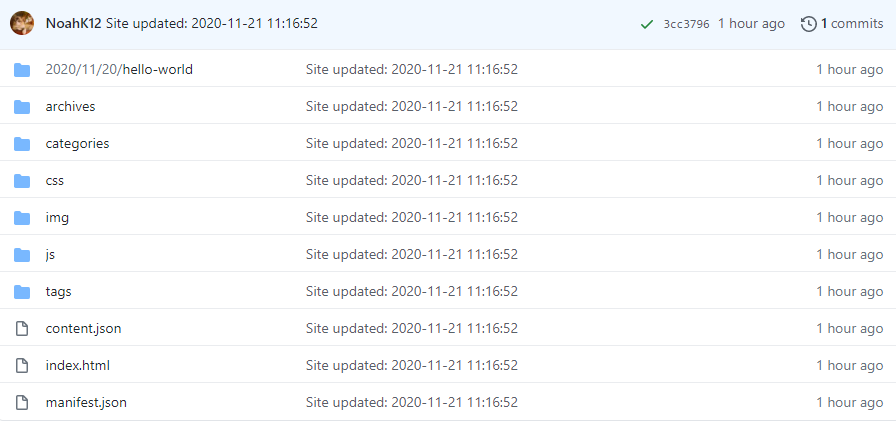
npm install hexo-deployer-git --saveHexo를 사용하여 정적인 파일 형태로 바꿔준다.
hexo generate사용자 이름과 이메일을 설정한다.
git config --global user.email "sdlzsd1712@naver.com"
git config --global user.name "NoahK12"
웹 사이트를 깃 서버에 배포한다.
hexo deploygithub의 이름과 비밀번호를 입력해준다.
Username for 'https://github.com': noahK12
Password for 'https://noahK12@github.com': 비밀번호
github의 블로그 repository에 배포가 잘 되었는지 확인한다.
repository Settings에 들어가서 GitHub Pages 부분의 Source를 Branch: master로 선택한뒤 Save한다.
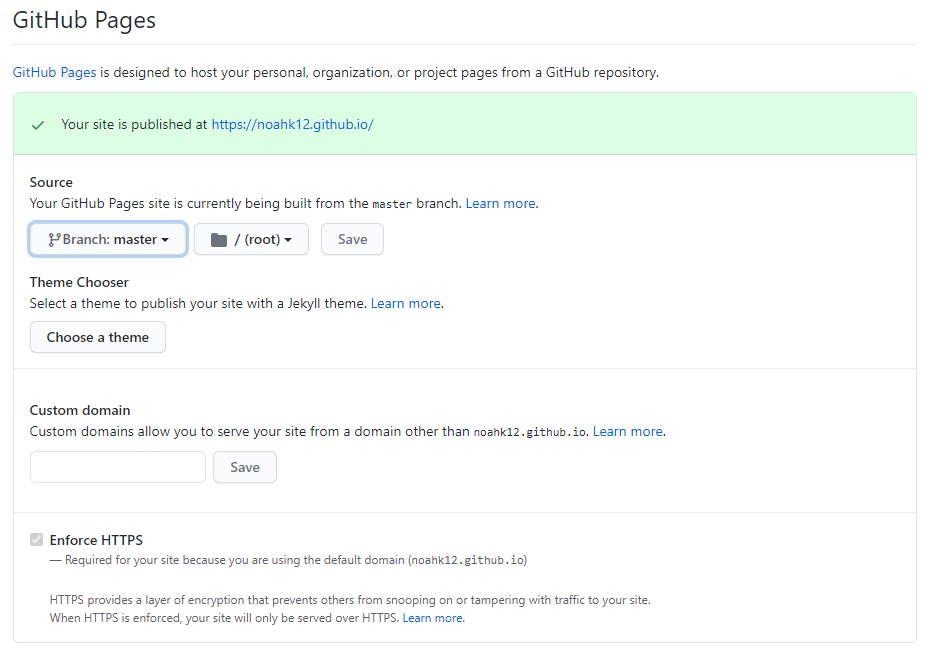
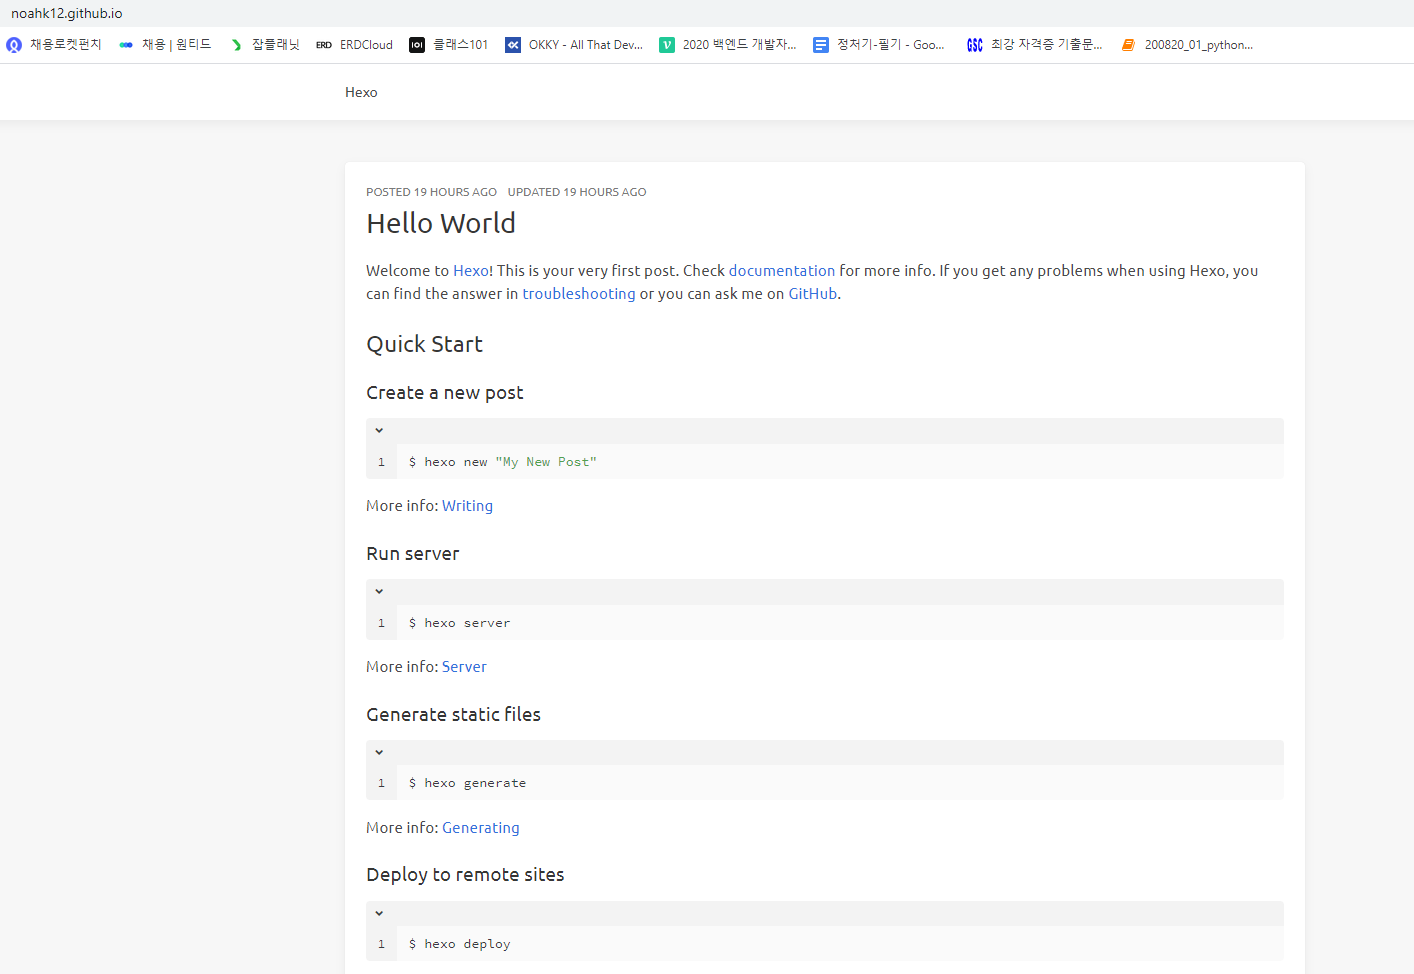
published site로 들어가면 나의 블로그를 확인할 수 있다.
끝
길지 않은 강의였지만, 블로그에 적으려고 하니 예상했던 시간보다 오래 걸렸다. 글을 쓰기 전에 용어와 명령어 하나하나의 뜻과 실행시키는 이유에 대해서 찾아보는데 많은 시간을 투자했다. 깃 블로그를 완성했으나, 너무 초라하다. 조금씩 내가 원하는 방향으로 채워나가야겠다.