
createElement
텍스트를 집어 넣거나 교체하는 식의 로직을 기초적으로 연습해 보았습니다.
이번에는 단순 텍스트가 아닌 element, 요소들을 집어넣는
부분에 대해서 알아보겠습니다.
순서를 지킵시다.
- createElement를 이용해 가상요소를 만들어줍니다.
- 가상요소의 내용물이 필요하다면 채워줍니다.
- DOM 요소에 appendchild~를 이용해 상속시켜줍니다.
코드로 바로 확인해 보겠습니다.
   window.onload=  function() {
        // dom 요소 생성를 생성하면
 // 채팅 전송을 누르기 전 적어만 둔 것 같은 상태가 됩니다.

            var newPTag = document.createElement("p");
     // <p></p> 생성되었지만(현재 배치 안 됨 )
비슷한 방법으로 모두 배치해줍시다.
 var newBtn1 = document.createElement("button"); // <button></button> 생성, 배치 x
 var newBtn2 = document.createElement("button"); // <button></button> 생성, 배치 x

// 태그 내부에 들어갈 문자는, createTextNode로
// 만든 다음 조립해주는 형식으로 진행합니다.

var text1 = document.createTextNode("버튼1");
var text2 = document.createTextNode("버튼2");
그리고 이 태그들의 속성을 생성해줍시다.
 // 속성 생성하기
            newBtn1.setAttribute("id", "btn1"); // id = btn1 // <button id = "btn1"></botton>
            newBtn2.setAttribute("id", "btn2"); // id = btn2 // <button id = "btn2"></botton>
그 다음부터는 순서대로 진행합니다.
            // 문서 조립하기
            // p태그의 자식으로 버튼 1, 2를 넣어주고
            // 버튼 1, 2의 자식으로 text1, 2를 넣어줍니다.
            newPTag.appendChild(newBtn1); // <p>
            newPTag.appendChild(newBtn2); // <button></button>

            console.log(newPTag);

            // body 태그를 가져온 다음, ptag를 body 사이에 끼워넣어주세요.
            // 1. 변수에 body태그를 저장합니다.

            var body = document.getElementsByTagName("body");

            body[0].appendChild(newPTag);

            newBtn1.appendChild(text1);
            newBtn2.appendChild(text2);

            console.log(body[0]);


        }


    </script>
그럼 이제부터는 위의 작업을 응용해서
#h1space 내부에 #createh1을 클릭할 때마다
h1태그가 생성되는
로직을 작성해보겠습니다.
<style>
        .h1class {
            color: blue;
        }
</style> <script>
window.onload = function () {
var createh1 = document.getElementById("createh1");
var style1 = document.getElementsByTagName("style");
createh1.onclick = function() {
var h1 = document.createElement("h1");
var text = document.createTextNode("이거 되나");
h1.setAttribute("class", "h1class");
h1.appendChild(text);
h1space.appendChild(h1);
}
console.log(h1space);
}
</script><body>
<div id="h1space">
</div>
<button id="createh1">h1생성</button>
</body>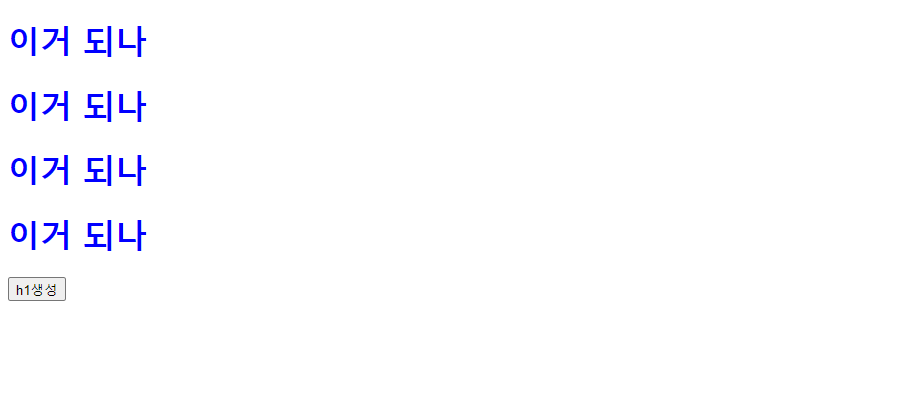
오늘은 여기까지입니다..
배울 게 참 많네요.