서버 100 디비 120로 ip주소 지정해서 하려고 했지만 enp0s9에 접속이 안되서 그냥 enp0s8쓰기로...
서버 환경 생성

서버 환경 스펙
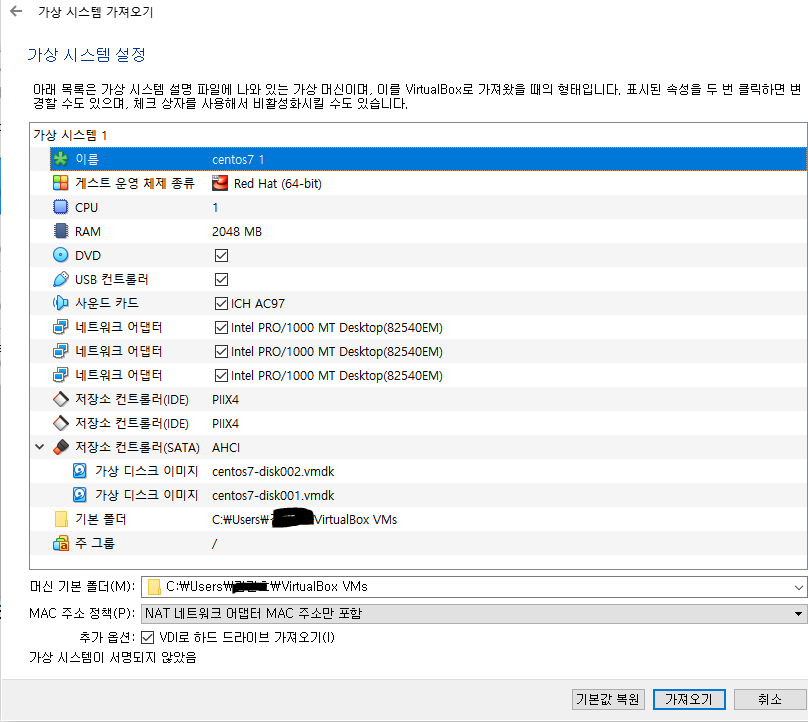
원격 접속을 위한 설정

window terminal에서 원격 접속

패키지 설치를 위한 이미지 파일 디스크에 삽입
[root@localhost ~]# lsblk
NAME   MAJ:MIN RM  SIZE RO TYPE MOUNTPOINT
sda      8:0    0   60G  0 disk
├─sda1   8:1    0    4G  0 part [SWAP]
└─sda2   8:2    0   56G  0 part /
sdb      8:16   0   20G  0 disk
sr0     11:0    1  4.2G  0 rom
[root@localhost ~]# umount /dev/cdrom
umount: /dev/cdrom: not mounted
[root@localhost ~]# mkdir /media/cdrom
[root@localhost ~]# mount /dev/cdrom /media/cdrom
mount: /dev/sr0 is write-protected, mounting read-only
[root@localhost ~]# ls /media/cdrom
CentOS_BuildTag  EULA  LiveOS    RPM-GPG-KEY-CentOS-7          TRANS.TBL  isolinux
EFI              GPL   Packages  RPM-GPG-KEY-CentOS-Testing-7  images     repodata
호스트 네임 설정 및 enp0s9을 사용한 네트워크 설정
[root@localhost ~]# hostnamectl set-hostname server.word.project.com
[root@localhost ~]# hostname
server.word.project.com
[root@localhost ~]# nmcli con add con-name static ifname enp0s9 type ethernet ip4 *.*.*.100/24 gw4 *.*.*.1
연결 'static' (91551cdf-8663-4e2b-9f62-41196d02918e)이 성공적으로 추가되었습니다.
[root@localhost ~]# nmcli con up static
연결이 성공적으로 활성화되었습니다 (D-Bus 활성 경로: /org/freedesktop/NetworkManager/ActiveConnection/6)리눅스 버전
[root@server ~]# cat /etc/redhat-release
CentOS Linux release 7.5.1804 (Core)
db 서버 생성
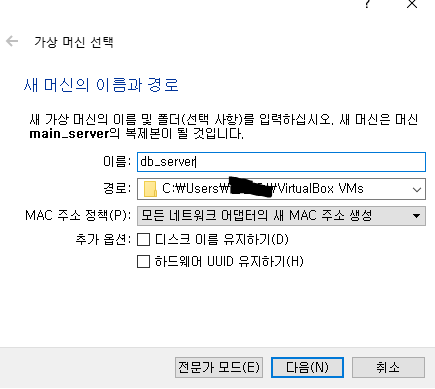
[root@db ~]# hostname
db.word.project.com
10.2 이상의 MariaDB 설치(mysql 15.1, MariaDB 10.7.3)
[root@db ~]# yum install wget
[root@db ~]# wget https://downloads.mariadb.com/MariaDB/mariadb_repo_setup
[root@db ~]# chmod +x mariadb_repo_setup
[root@db ~]# ./mariadb_repo_setup
[root@db ~]# yum install MariaDB-server
[root@db ~]# systemctl start mariadb.service
[root@db ~]# systemctl enable mariadb.service
[root@db ~]# mysql --version
mysql  Ver 15.1 Distrib 10.7.3-MariaDB, for Linux (x86_64) using readline 5.1
db 보안설정
[root@db ~]# mariadb-secure-installation

NOTE: RUNNING ALL PARTS OF THIS SCRIPT IS RECOMMENDED FOR ALL MariaDB
      SERVERS IN PRODUCTION USE!  PLEASE READ EACH STEP CAREFULLY!

In order to log into MariaDB to secure it, we'll need the current
password for the root user. If you've just installed MariaDB, and
haven't set the root password yet, you should just press enter here.

Enter current password for root (enter for none):
OK, successfully used password, moving on...

Setting the root password or using the unix_socket ensures that nobody
can log into the MariaDB root user without the proper authorisation.

You already have your root account protected, so you can safely answer 'n'.

Switch to unix_socket authentication [Y/n] n
 ... skipping.

You already have your root account protected, so you can safely answer 'n'.

Change the root password? [Y/n] Y
New password:
Re-enter new password:
Password updated successfully!
Reloading privilege tables..
 ... Success!


By default, a MariaDB installation has an anonymous user, allowing anyone
to log into MariaDB without having to have a user account created for
them.  This is intended only for testing, and to make the installation
go a bit smoother.  You should remove them before moving into a
production environment.

Remove anonymous users? [Y/n] y
 ... Success!

Normally, root should only be allowed to connect from 'localhost'.  This
ensures that someone cannot guess at the root password from the network.

Disallow root login remotely? [Y/n] n
 ... skipping.

By default, MariaDB comes with a database named 'test' that anyone can
access.  This is also intended only for testing, and should be removed
before moving into a production environment.

Remove test database and access to it? [Y/n] y
 - Dropping test database...
 ... Success!
 - Removing privileges on test database...
 ... Success!

Reloading the privilege tables will ensure that all changes made so far
will take effect immediately.

Reload privilege tables now? [Y/n] y
 ... Success!

Cleaning up...

All done!  If you've completed all of the above steps, your MariaDB
installation should now be secure.

Thanks for using MariaDB!
db 원격접속 허용(테스트용)
MariaDB [mysql]> grant all privileges on *.* to 'root'@'%' identified by '루트 비번';
MariaDB [mysql]> flush privileges;
MariaDB [mysql]> SELECT host,user FROM user;
+-----------+-------------+
| Host      | User        |
+-----------+-------------+
| %         | root        |
| localhost | mariadb.sys |
| localhost | mysql       |
| localhost | root        |
+-----------+-------------+
mariadb 3306 포트추가
[root@db ~]# firewall-cmd --permanent --zone=public --add-port=3306/tcp
success
[root@db ~]# firewall-cmd --reload
success
원격 접속과정에서
errOR 2002 (HY000): Can't connect to server on '*.*.*.120' (115)에러로 접속이 불가능 했음
원인은 enp0s9의 ip 주소로 접속 자체가 불가능 했기 때문
접속이 가능한 enp0s8의 ip를 사용하여 접속 문제 해결
웹서버 설치
[root@server ~]# yum install httpd
[root@server ~]# systemctl start httpd
[root@server ~]# ystemctl enable httpd
[root@server ~]# firewall-cmd --add-service=http --permanent
php7.4이상 설치
[root@server ~]# yum install https://rpms.remirepo.net/enterprise/remi-release-7.rpm
[root@server ~]# yum install -y yum-utils  (버전 변경을 위한 yum유틸설치)
[root@server ~]# yum-config-manager --disable remi-php54 (php5.4버전 끄기)
[root@server ~]# yum-config-manager --enable remi-php74 (php7.4버전 켜기)
[root@server ~]# yum install php74
[root@server ~]# yum install -y php74-php php-cli php74-scldevel \
php74-php-xml php74-php-xmlrpc php74-php-soap \
php74-php-process php74-php-pgsql php74-php-pdo \
php74-php-opcache php74-php-mbstring php74-php-ldap \
php74-php-json php74-php-ioncube-loader php74-php-intl \
php74-php-gmp php74-php-gd php74-php-fpm php74-php-devel \
php74-php-dba php74-php-common php74-php-cli \
php74-php-bcmath php74-php-phpiredis  php74-php-pecl-igbinary \
php74-php-pecl-imagick-im7 php74-php-pecl-imagick-im7-devel \
php74-php-pecl-igbinary-devel php74-php-pecl-geoip \
php74-php-pecl-xdebug php74-php-pecl-mysqlnd-azure
php 버전 확인
[root@server ~]# rpm -qa php74
php74-1.0-3.el7.remi.x86_64
패키지 전체 버전 확인
[root@server ~]# rpm -qa php74
php74-1.0-3.el7.remi.x86_64
[root@server ~]# rpm -qa MariaDB-*
MariaDB-client-10.7.3-1.el7.centos.x86_64
MariaDB-compat-10.7.3-1.el7.centos.x86_64
MariaDB-server-10.7.3-1.el7.centos.x86_64
MariaDB-common-10.7.3-1.el7.centos.x86_64
[root@server ~]# rpm -qa httpd
httpd-2.4.6-97.el7.centos.4.x86_64
wordpress 사용할 데이터베이스 관련 설정
[root@db ~]# mysql -u root -p
MariaDB [(none)]> CREATE DATABASE wordpress;
Query OK, 1 row affected (0.001 sec)
MariaDB [(none)]> CREATE USER adminuser@'%' IDENTIFIED BY '패스워드';
Query OK, 0 rows affected (0.006 sec)
MariaDB [(none)]> GRANT ALL PRIVILEGES ON wordpress.* TO adminuser@'%' IDENTIFIED BY '패스워드';
Query OK, 0 rows affected (0.001 sec)
워드프로세스 게시판 다운
[root@server ~]# wget https://wordpress.org/latest.tar.gz
[root@server ~]# tar -xvzf latest.tar.gz -C /var/www/html
[root@server ~]# mkdir /var/www/html/wordpress/uploads
# 이미지 파일 업로드를 위한 디렉토리 생성
워드프로세스 구성
[root@server wordpress]# pwd
/var/www/html/wordpress
[root@server wordpress]# cp wp-config-sample.php wp-config.php
[root@server wordpress]# chown -R apache:apache /var/www/html/wordpress
# 압축해제된 디렉토리와 하위 디렉토리에 소유자, 소유그룹 변경
[root@server wordpress]# vim  wp-config.php 설정
// ** Database settings - You can get this info from your web host ** //
/** The name of the database for WordPress */
define( 'DB_NAME', 'wordpress' );

/** Database username */
define( 'DB_USER', 'adminuser' );

/** Database password */
define( 'DB_PASSWORD', '패스워드' );

/** Database hostname */
define( 'DB_HOST', 'db서버ip' );
웹서버 설정 변경
[root@server wordpress]# vi /etc/httpd/conf/httpd.conf
DocumentRoot "/var/www/html/wordpress"
...
<Directory "/var/www/html">
    AllowOverride None
    # Allow open access:
    Require all granted
</Directory>
...
<Directory "/var/www/html/wordpress">
[root@server wordpress]# systemctl restart httpd
설정 전에 접속 시 Error establishing a database connection 에러가 떴는데 해당 설정을 진행하니 해결되었음-> 외부접근 시 유형 문제로 생기는 오류 setenforce 0을 해주면 해결
클라이언트 브라우저에서 http://웹서버ip주소 로 접근
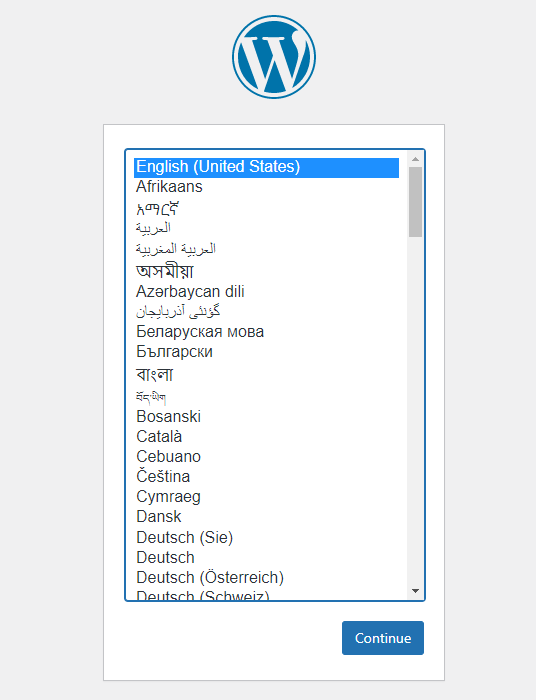
언어 설정
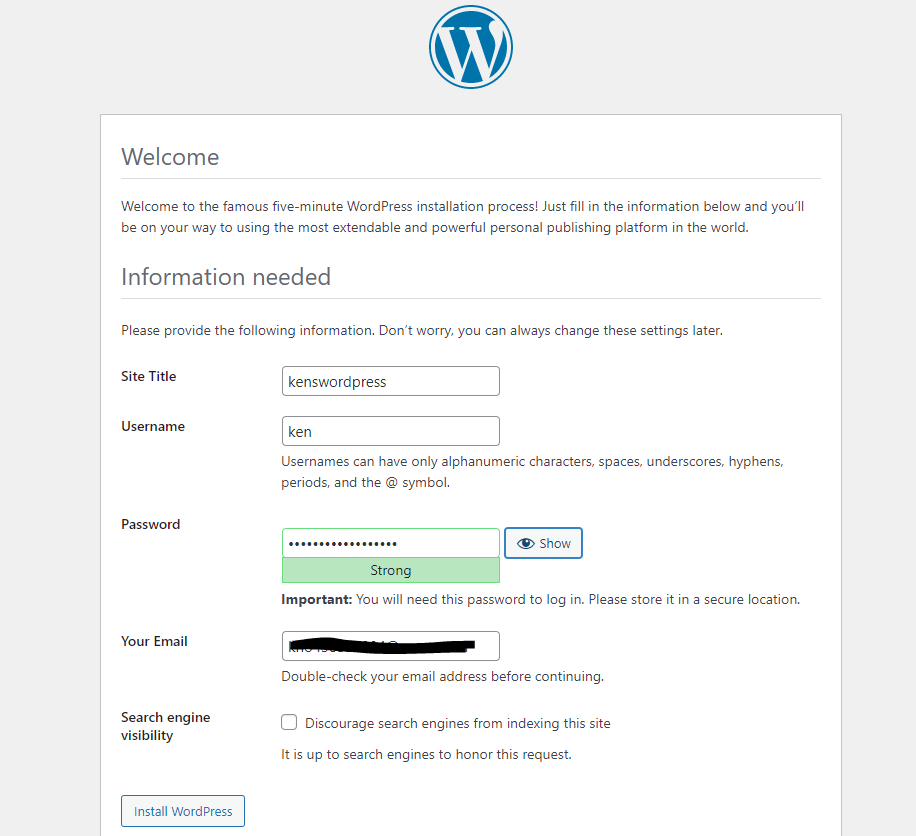
사용자 생성
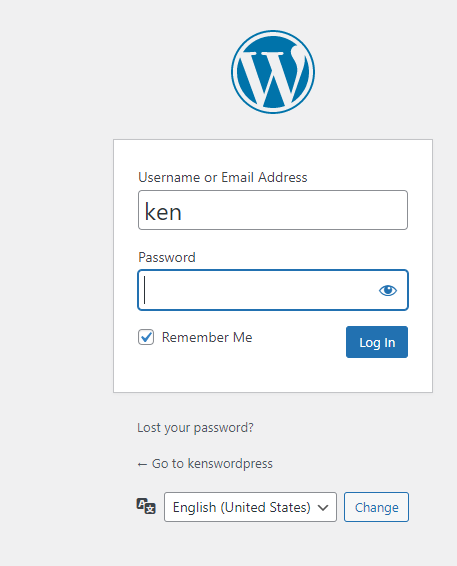
로그인
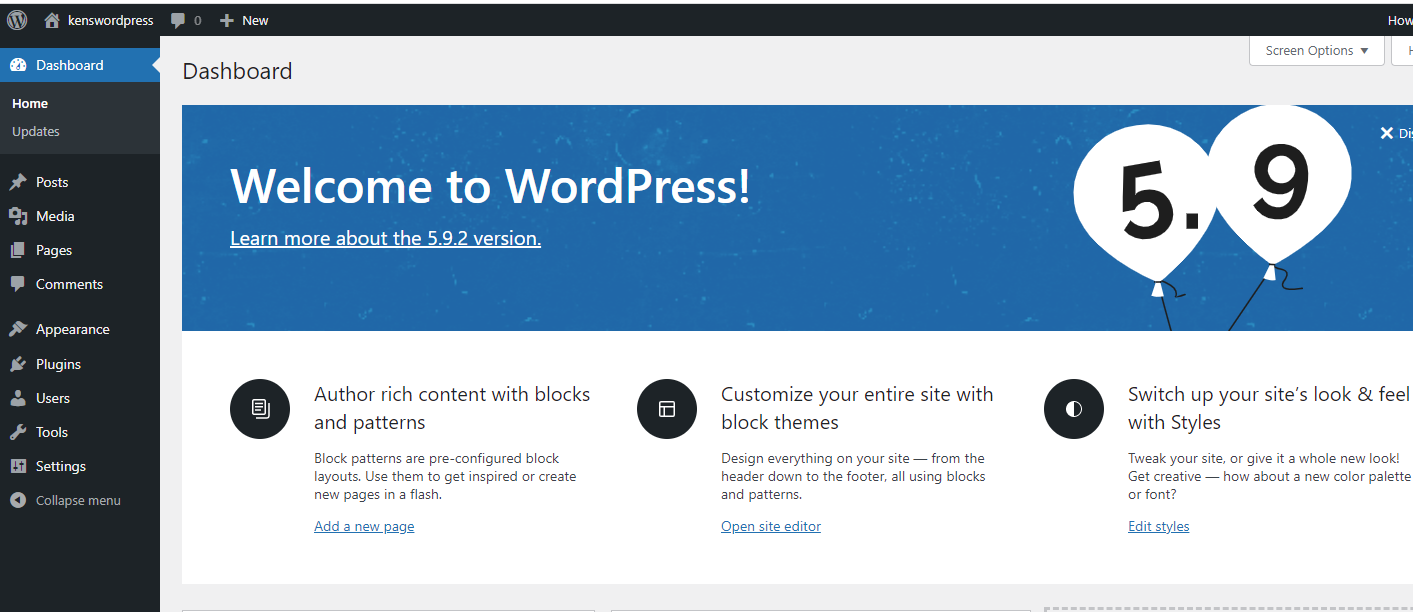
메인페이지
DB에 자동으로 테이블 생성된 모습 확인
MariaDB [wordpress]> show tables;
+-----------------------+
| Tables_in_wordpress   |
+-----------------------+
| wp_commentmeta        |
| wp_comments           |
| wp_links              |
| wp_options            |
| wp_postmeta           |
| wp_posts              |
| wp_term_relationships |
| wp_term_taxonomy      |
| wp_termmeta           |
| wp_terms              |
| wp_usermeta           |
| wp_users              |
+-----------------------+
12 rows in set (0.000 sec)
DB 접속후 사용시 만났던 오류
Ignoring query to other database[root@db ~]# mysql -root -p정신 못차리고 이렇게 접속해서 생긴 오류
