만들고자 하는 것
프로젝트에서 FAQ 페이지를 만들면서 이메일로 문의를 보낼 수 있도록 하기 위해 찾아보다 EmailJs 라는 라이브러리를 알게됐다. EmailJs 는 서버없이 이메일을 보낼 수 있는 매우 간편한 라이브러리이다.
사이트에서는 각 라이브러리 별로 어떻게 구현하면 되는지 자세히 나와있었는데 나는 리액트로 프로젝트를 만들고 있었기에 아래 양식을 따라했다.
import React, { useRef } from 'react';
import emailjs from '@emailjs/browser';

export const ContactUs = () => {
  const form = useRef();

  const sendEmail = (e) => {
    e.preventDefault();

    emailjs
      .sendForm('YOUR_SERVICE_ID', 'YOUR_TEMPLATE_ID', form.current, {
        publicKey: 'YOUR_PUBLIC_KEY',
      })
      .then(
        () => {
          console.log('SUCCESS!');
        },
        (error) => {
          console.log('FAILED...', error.text);
        },
      );
  };

  return (
    <form ref={form} onSubmit={sendEmail}>
      <label>Name</label>
      <input type="text" name="user_name" />
      <label>Email</label>
      <input type="email" name="user_email" />
      <label>Message</label>
      <textarea name="message" />
      <input type="submit" value="Send" />
    </form>
  );
};
위의 예제대로 따라하니 금방 이메일 전송하는것까지는 성공 했는데, 이제 내 프로젝트에 맞게 form 양식을 만들어야 했다. 이때 이메일 주소는 유효성 검사도 필요하고 양식이 조건에 충족하지 못할 경우엔 적절한 에러 메시지까지 보여줘야 하므로 추가적인 코드를 작성해야 한다.
react-hook-form 사용하기
react-hook-form 은 react 기반의 폼 관리 라이브러리로 폼 상태와 유효성 검사를 간편하게 사용할 수 있도록 다양한 기능을 제공한다.
폼 요소의 값이나 상태 변경을 관리하기 위해 이벤트 핸들러를 작성하거나 useState 와 같은 다른 훅을 사용해 코드의 양이 많아지고 복잡했던 방식에서 react-hook-form 을 사용하면 이 모든 기능을 훅으로 간편하게 사용할 수 있다.
👉아래는 EmailJs 와 react-hook-form 을 이용해 구현한 코드이다.
-
useForm 을 사용해 폼 인스턴스를 생성하고 필요한 메서드를 불러온다.
-
register 함수는 입력 필드를 react-hook-form 에 등록해주는 함수이다. EmailJs template에 {{title}} 과 같이 설정한 값을 register에 등록해줬다.
-
register 두번째 인자로는 다양한 옵션을 줄 수 있는데, required 로 필수항목임을 명시하고, pattern 을 이용해 유효성 검사를 설정할 수 있다. 그 밖에도 minLength, maxLength 등을 이용해 글자수까지 설정할 수 있다.
-
errors 객체를 사용해 유효성 검사 실패 시, 해당 필드에 에러메시지를 표시할 수 있다.
-
폼 제출 시, onSubmit 함수가 실행되며 이때 데이터를 처리하거나 API 호출 등의 로직을 작성 할 수 있다. 나는 받아온 폼 데이터를 EmailJs 로 제출하는 로직을 작성했다.
useForm 필드 하나로 유효성 검사, 폼 데이터 읽어오기, 에러 메시지 표시하기 등 여러 기능을 한번에 사용할 수 있다.

import React, { FC, useRef } from 'react';
import { useForm } from 'react-hook-form';
import emailjs from '@emailjs/browser';
import styled from 'styled-components';
import theme from '../../styles/theme';
import ErrorDisplay from '../common/error/ErrorDisplay';

type FormValue = {
	title: string;
	email: string;
	content: string;
};

const service_id = `${process.env.REACT_APP_SERVICE_ID}`;
const template_id = `${process.env.REACT_APP_TEMPLATE_ID}`;
const public_key = `${process.env.REACT_APP_PUBLIC_KEY}`;

const ContactUsForm = () => {
	const form = useRef<HTMLFormElement>(null);

	const {
		register,
		handleSubmit,
		watch,
		formState: { errors },
	} = useForm<FormValue>();

	const onSubmit = (data: FormValue) => {
		if (!form.current) {
			console.log('form error');
			return;
		} else {
			emailjs
				.sendForm(service_id, template_id, form.current, {
					publicKey: public_key,
				})
				.then(
					() => {
						console.log('SUCCESS!');
					},
					(error) => {
						console.log('FAILED...', error.text);
					},
				);
		}
	};

	return (
		<Self onSubmit={handleSubmit(onSubmit)} ref={form}>
			<Wrapper>
				<InputWrapper>
					<LabelStyle>제목</LabelStyle>
					<InputStyle
						{...register('title', { required: true, maxLength: 20 })}
						placeholder="제목을 입력하세요"
					/>
				</InputWrapper>
				{errors.title && <ErrorDisplay errorMessage="제목을 입력해주세요" fontSize="12px" $padding="0px" />}
			</Wrapper>

			<Wrapper>
				<InputWrapper>
					<LabelStyle>이메일</LabelStyle>
					<InputStyle
						{...register('email', { required: true, pattern:/^[A-Z0-9._%+-]+@[A-Z0-9.-]+\.[A-Z]{2,}$/i})}
						type="email"
						placeholder="이메일 주소를 입력해주세요"
					/>
				</InputWrapper>
				{errors.email && (
					<ErrorDisplay errorMessage="올바른 이메일 주소를 입력해주세요" fontSize="12px" $padding="0px" />
				)}
			</Wrapper>
			<ContentLabelStyle>
				<LabelStyle>문의 내용</LabelStyle>
				{errors.content && (
					<ErrorDisplay errorMessage="3글자 이상 작성해주세요" fontSize="12px" $padding="0px" />
				)}
			</ContentLabelStyle>
			<ContentStyle
				{...register('content', { required: true, minLength: 3 })}
				placeholder="문의하실 내용을 작성해주세요"
			/>
			<ButtonStyle type="submit" value="제출하기" />
		</Self>
	);
};
구현한 화면
react-hook-form 으로 문의하기 폼을 만들어봤는데, 별도의 작업 없이 useForm 메서드에서 제공하는 기능들을 활용하면 유효성 검사, 에러 메시지, form Data 받아오기 등 편하게 가져다 쓸 수 있다는 점이 장점인 것 같다.
로그인, 회원가입과 같이 input 을 많이 활용해야 하는 경우, 어드민 구현할때도 활용하면 좋을 것 같다.
다만 나는 3개의 데이터만 작성하면 됐는데, input 이 많아질수록 코드가 복잡해질 것 같다는 생각이 들었다. 결국 어떤 데이터를 받는지만 다르지 형태는 비슷하기 때문에 input 도 컴포넌트로 분리할 수 있을 것 같다. 이건 이후 리팩토링할때 고민해봐야겠다.
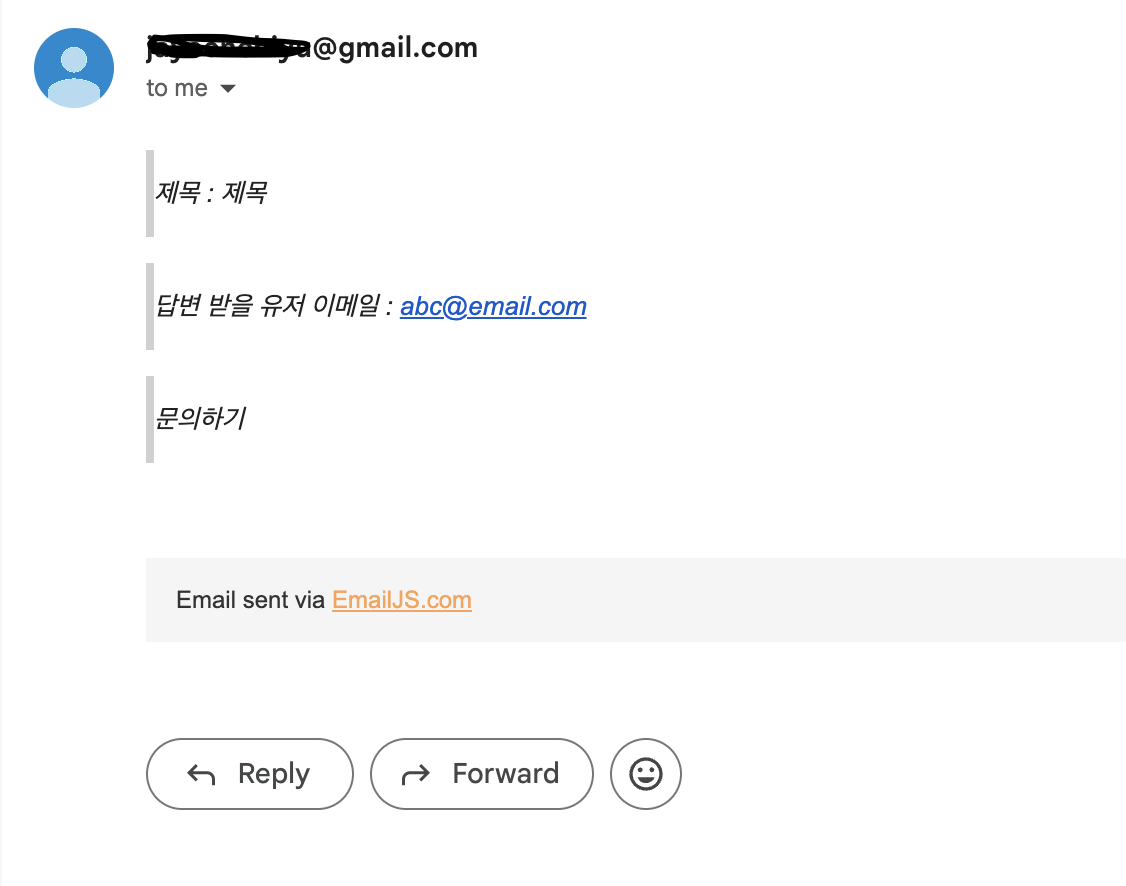
아래와 같이 이메일을 성공적으로 받아온 것을 확인 할 수 있다 !