
React에서 Notification을 구현해보자
js 코드
import {useState} from 'react';
import './App.css';
function App() {
const [inputValue, setInputValue] = useState('');
// 알림 권한 요청 및 알림 생성
const sendNotification = () => {
if (inputValue.trim() === '') {
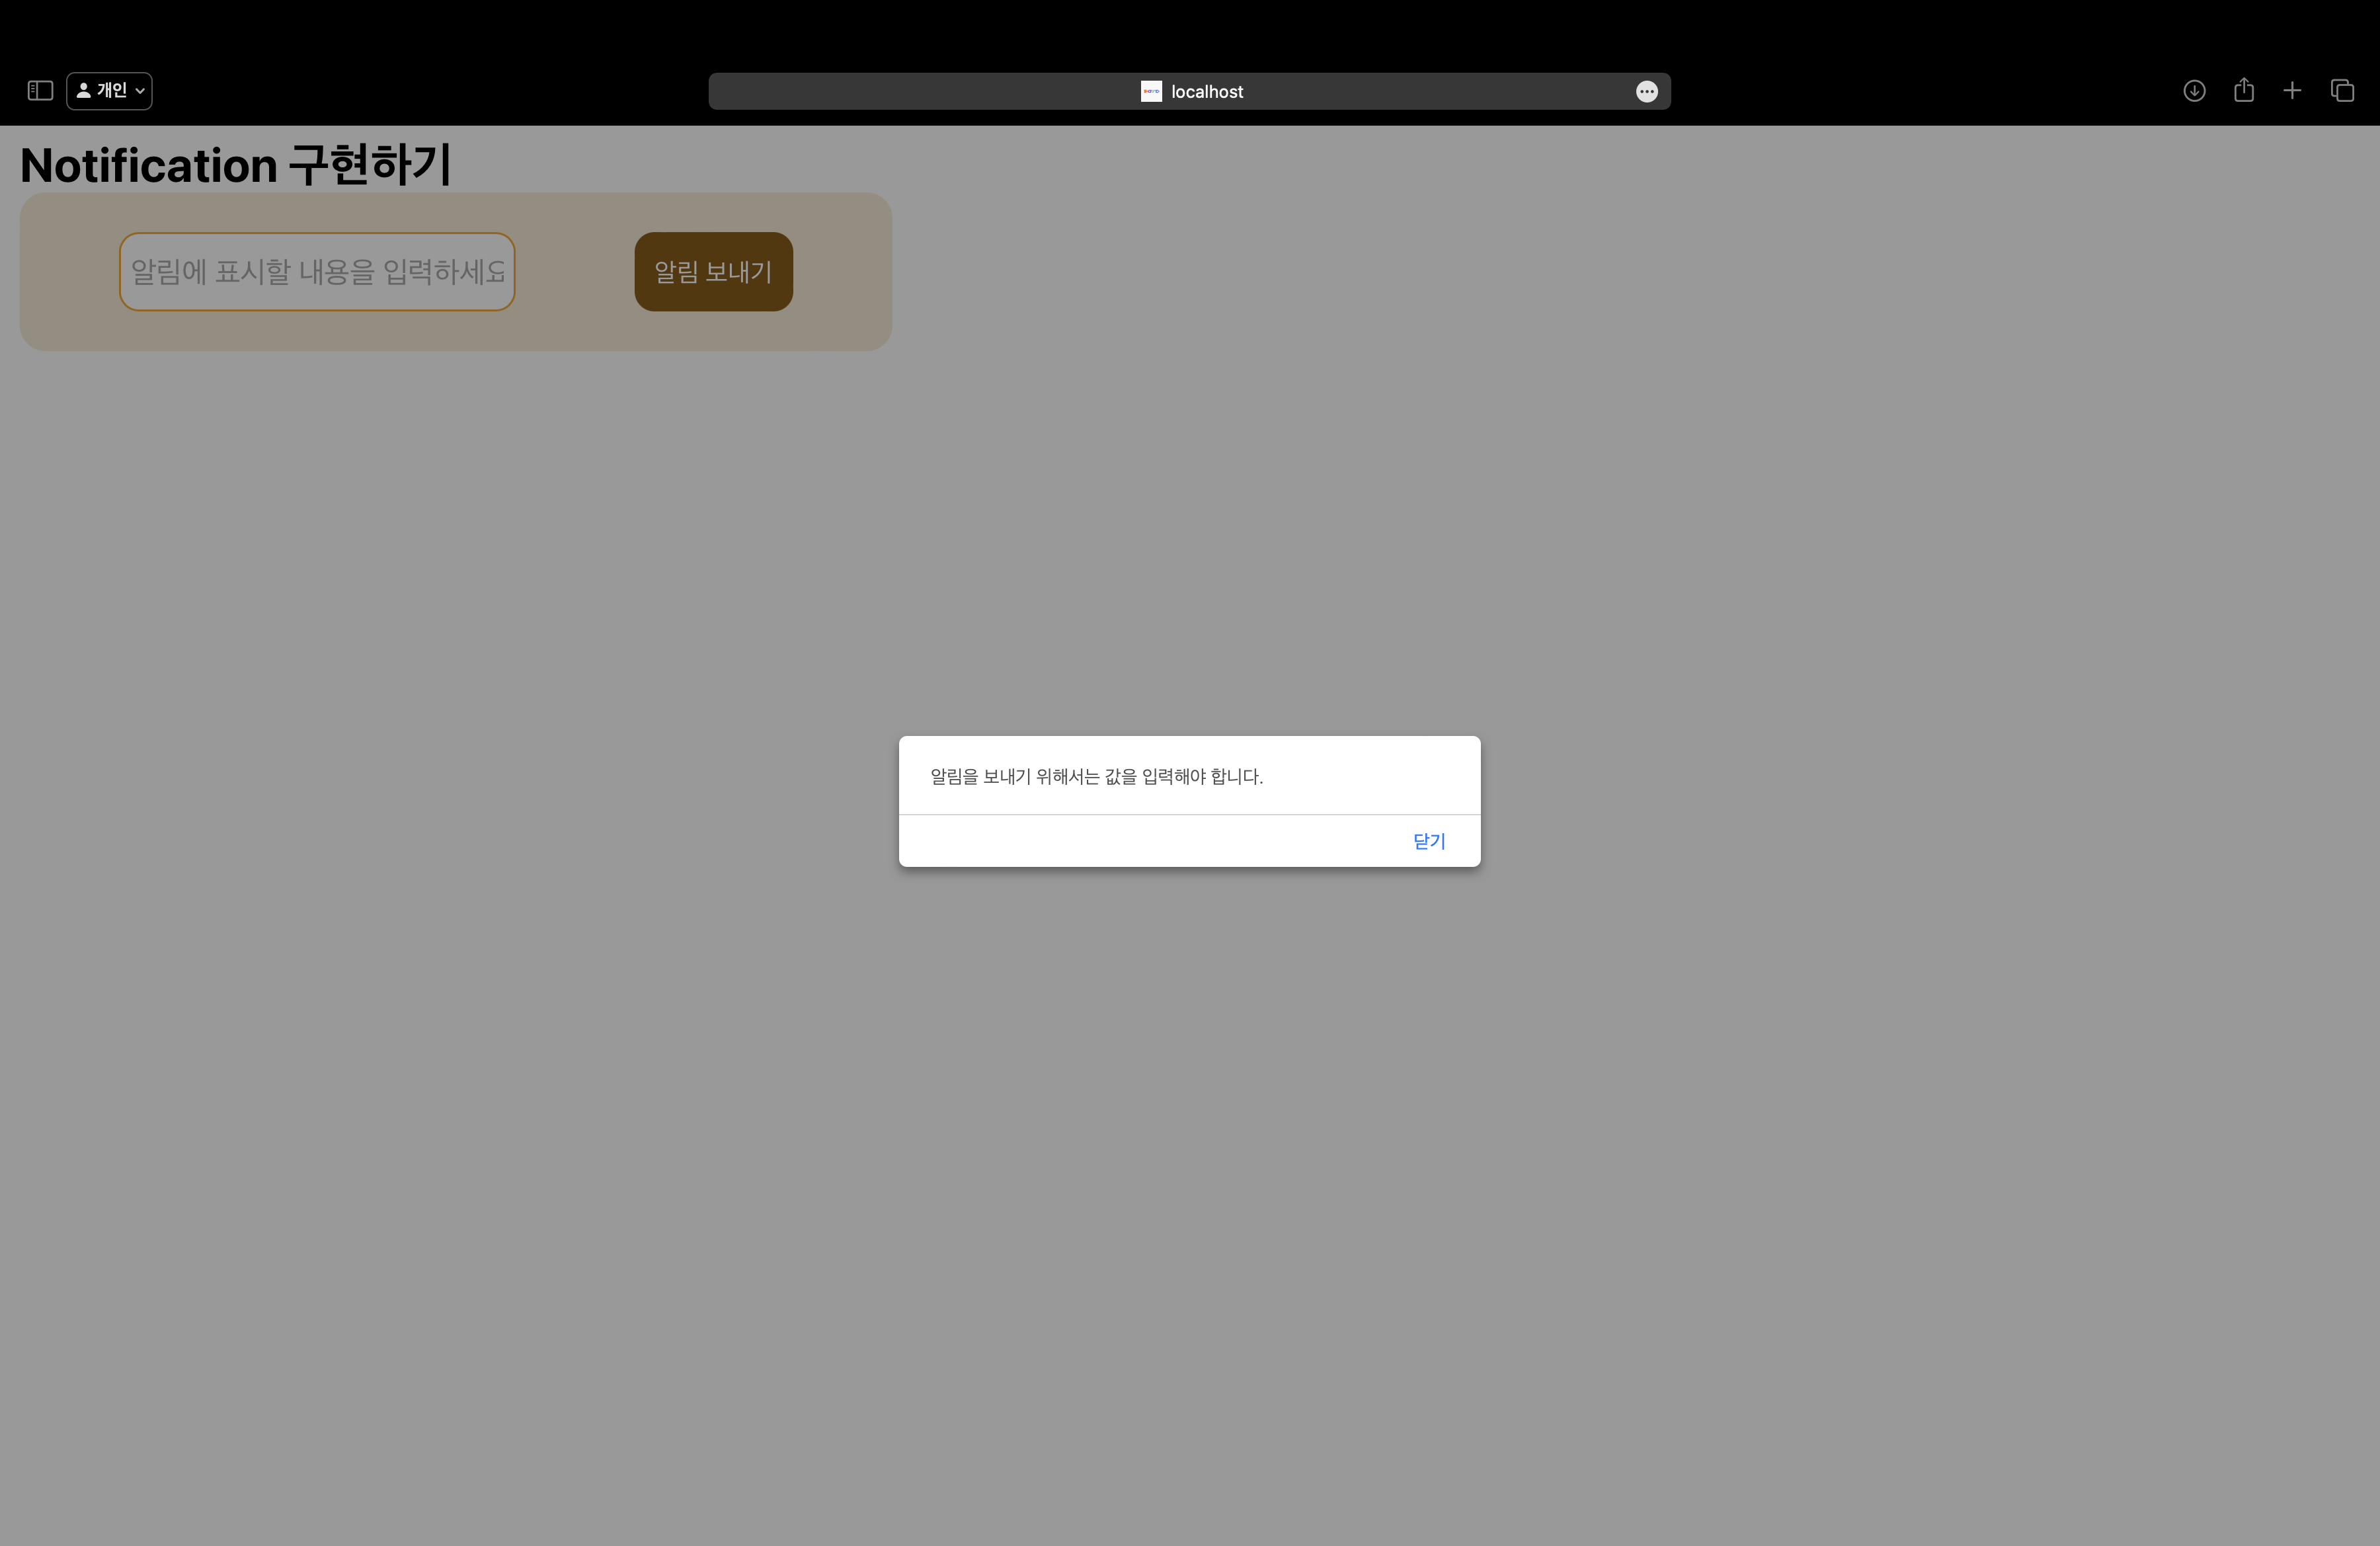
alert("알림을 보내기 위해서는 값을 입력해야 합니다."); // 값을 입력하지 않았을 때 경고 메시지
return;
}
Notification
.requestPermission()
.then(permission => {
if (permission === 'granted') {
new Notification("📢 React Notification", {
body: inputValue, // 입력된 값
icon: "https://cdn4.iconfinder.com/data/icons/logos-3/600/React.js_logo-512.png" // 아이콘 URL (이모지 포함 가능)
});
}
});
}
return (
<div id="div0">
<h2>Notification 구현하기</h2>
<div id="div1">
<input
type="text"
placeholder="알림에 표시할 내용을 입력하세요"
value={inputValue}
onChange={(e) => setInputValue(e.target.value)}/>
<button onClick={sendNotification}>알림 보내기</button>
</div>
</div>
);
}
export default App;
css 코드
input {
    width: 200px;
    height: 40px;
    border: 1px solid orange;
    border-radius: 10px;
    padding: 0 5px;
    box-sizing: border-box;
    font-size: 15px;
}
input:focus {
    outline: none;
}

#div1 {
    padding: 20px;
    background-color: antiquewhite;
    border-radius: 13px;
    width: 400px;

    display: flex;
    justify-content: space-around;
    align-items: center;
}

#div0 {
    margin: 5px 10px;
}

button {
    background-color: black;
    color: white;
    border: none;
    width: 80px;
    height: 40px;
    border-radius: 10px;
    transition: background-color 0.5s ease-in-out;
    font-size: 13px;
}

button:hover {
    background-color: orange;
}
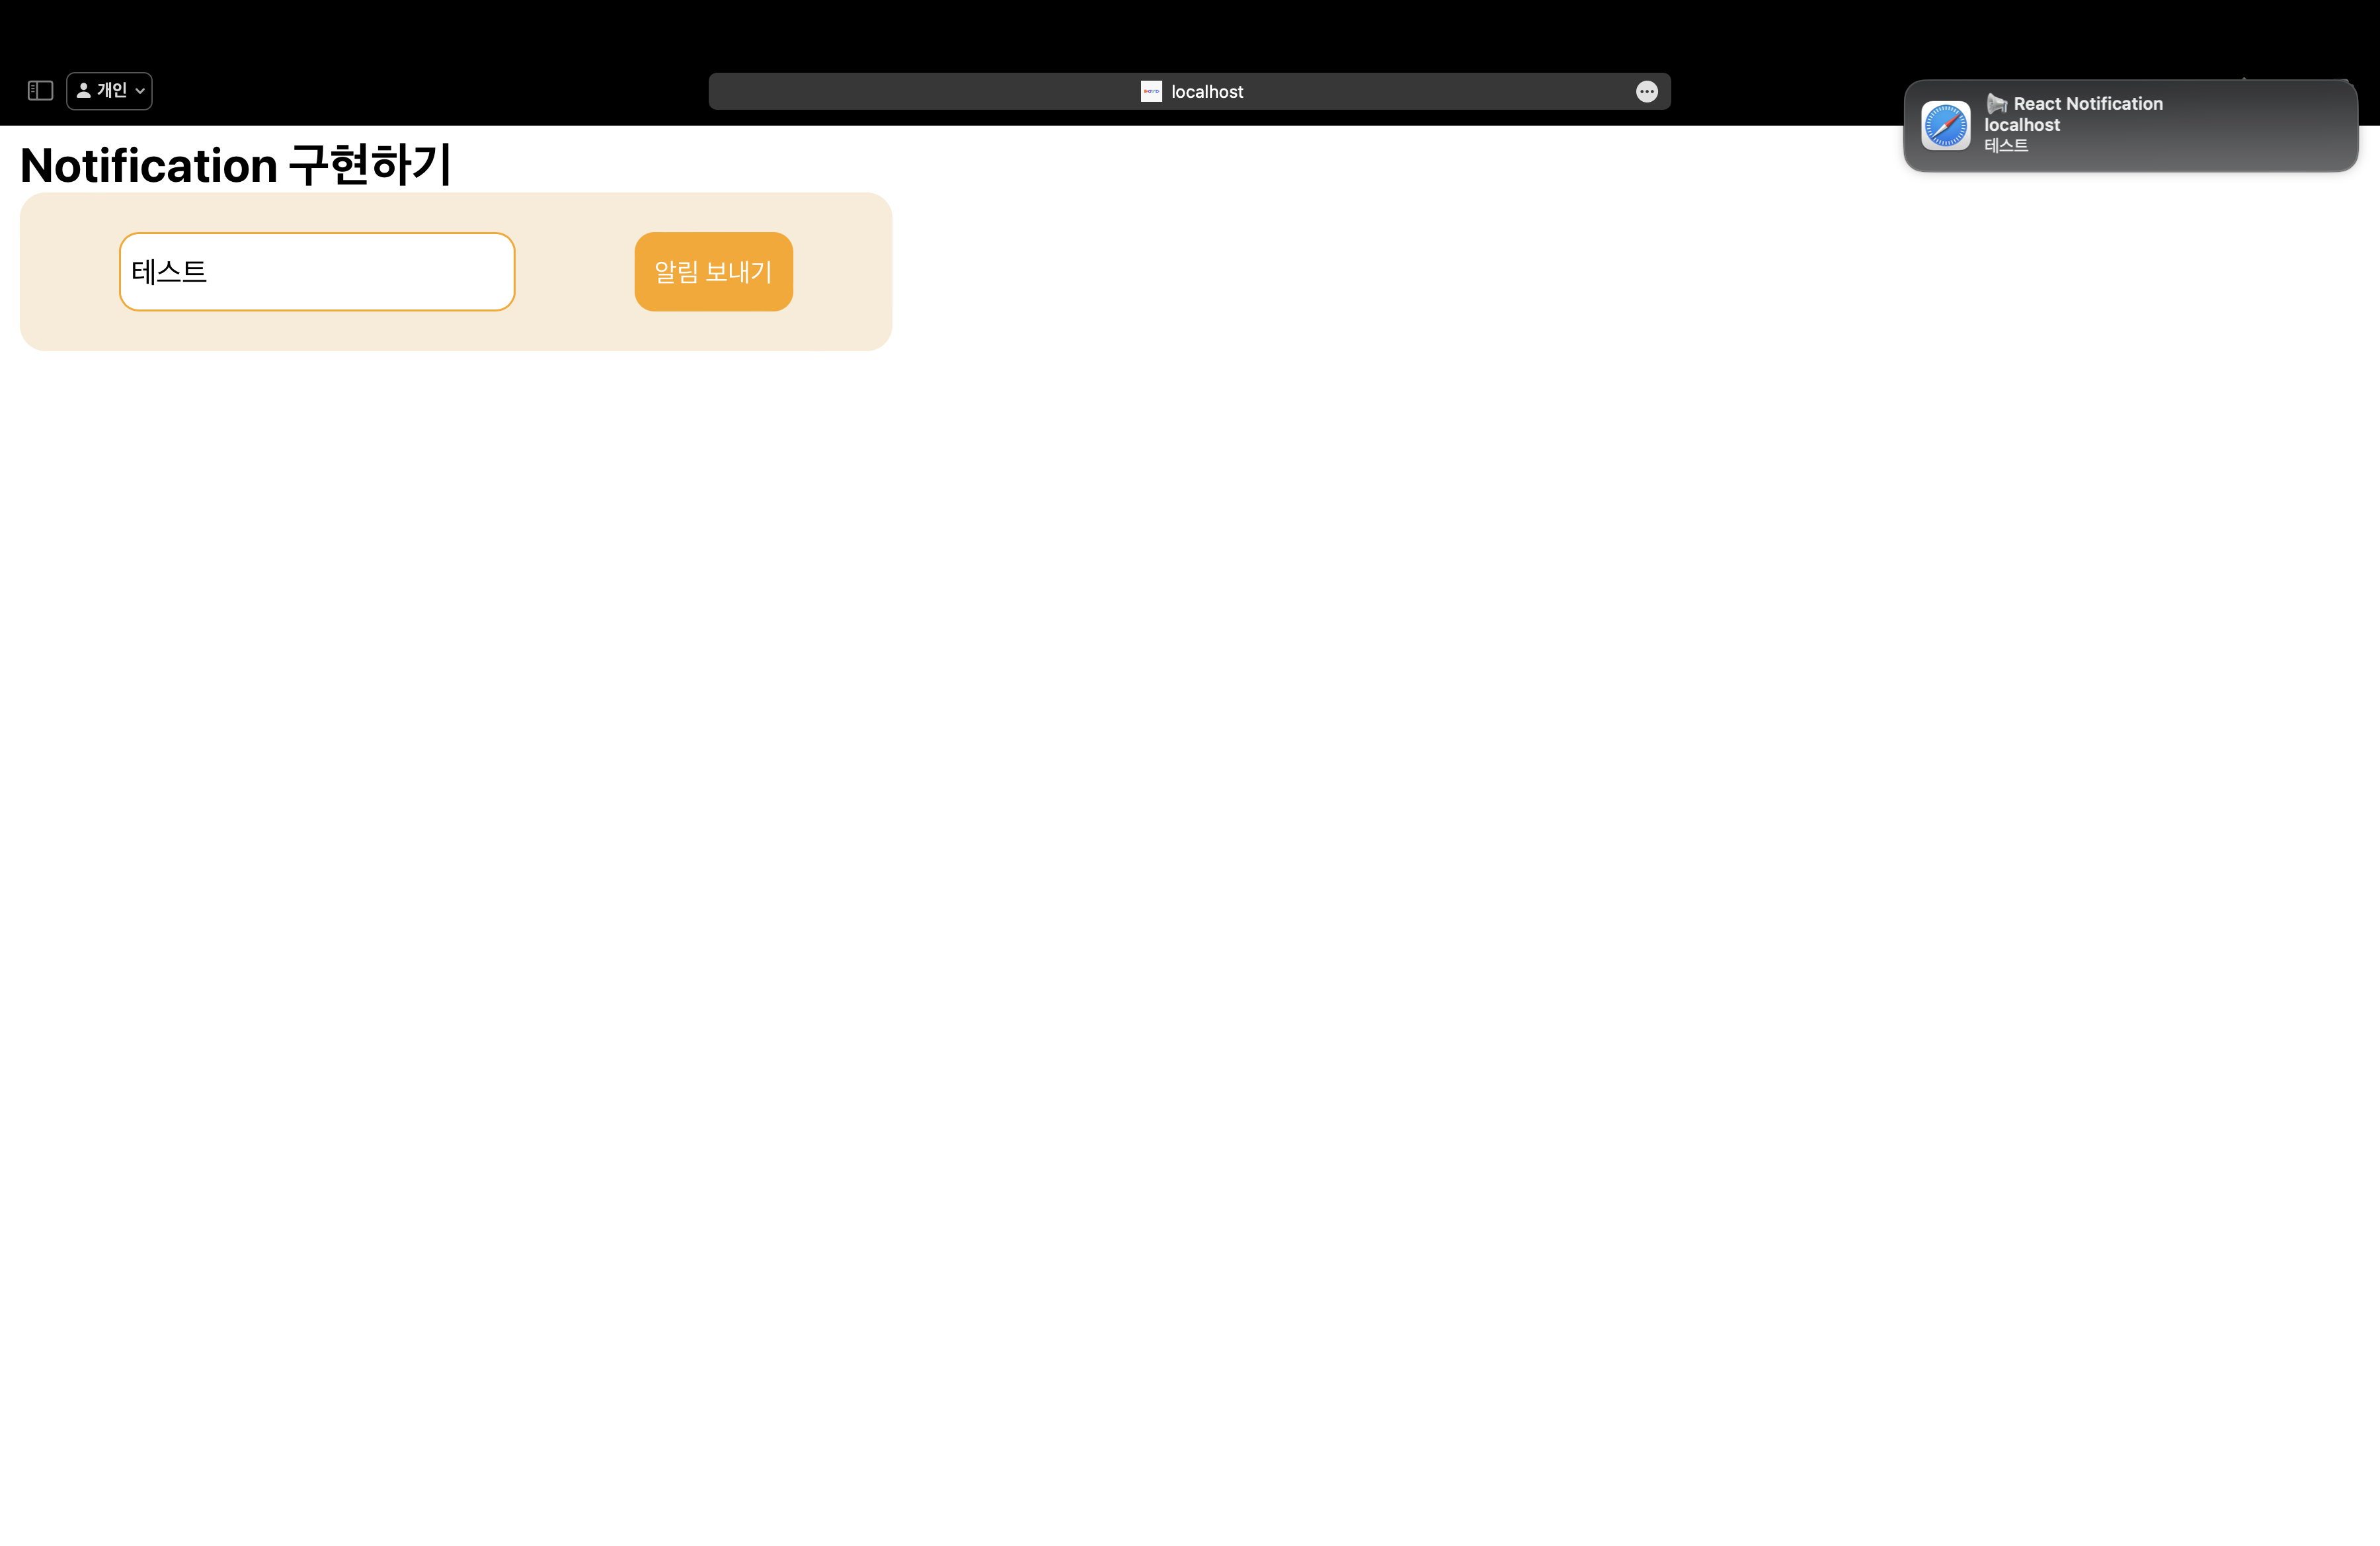
결과 화면 (정상)
결과 화면 (input 없을 때)
Permisson
1) denied : 사용자는 알림 표시를 거부한다.
2) granted : 사용자는 알림 표시를 수락한다.
3) default : 사용자 선택을 알 수 없으므로, 브라우저는 값이 거부된 것처럼 작동한다.
인스턴스 속성
: HTTPS로 배포된 경우에만 접근할 수 있는 경우가 많다.
참고 링크

안녕하세요, 사용자들의 문제 해결을 중심으로 하는 프론트엔드 개발자입니다. 티스토리로 전환했어요 : https://pangil-log.tistory.com