환경설정
unpkg
unpkg는 npm의 모든 것을 위한 빠르고 글로벌한 콘텐츠 전송 네트워크입니다. 다음과 같은 URL을 사용하여 모든 패키지에서 파일을 빠르고 쉽게 로드할 수 있습니다.
CodeSandbox
협업을 통해 생성, 공유 및 피드백 받기. 빠른 웹 개발을 위한 샌드박스.
folk
기존의 작업 내용을 folk 할 수 있습니다.

기존의 작업 내용을 그대로 복사하여 새로운 sandbox를 만들 수 있습니다.
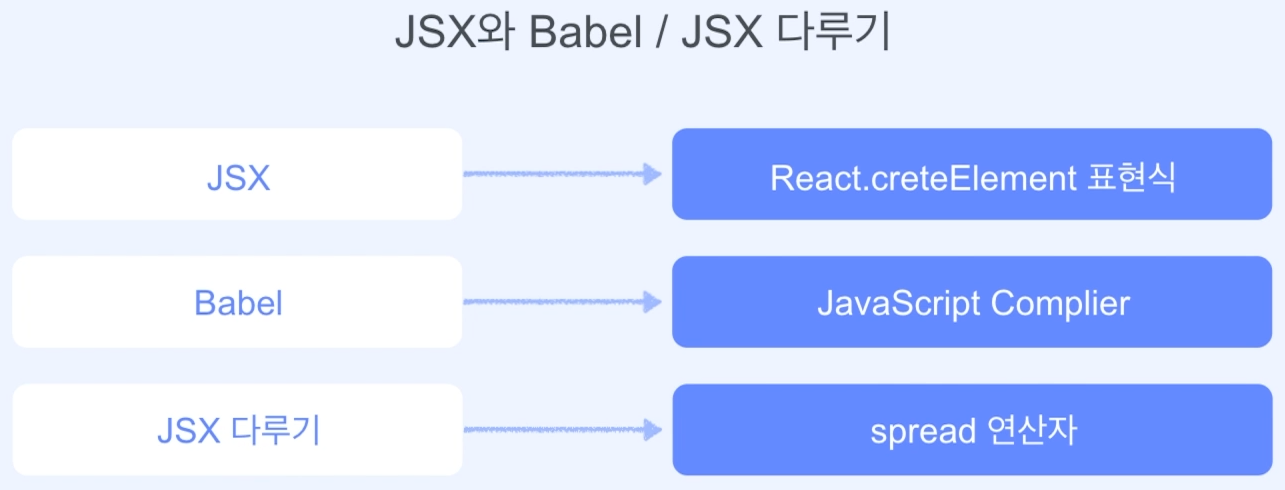
JSX / babel 맛보기
<!DOCTYPE html>
<html lang="en">
  <body>
    <script src="https://unpkg.com/react@17/umd/react.development.js"></script>
    <script src="https://unpkg.com/react-dom@17/umd/react-dom.development.js"></script>
    <script src="https://unpkg.com/@babel/standalone/babel.min.js"></script>
    <div id="root"></div>
    <script type="text/babel">
      const rootElement = document.getElementById("root");

      const text = "Hello, world!";
      const titleClassName = "title";
      const element1 = <h1 className="{titleClassName}" children={text}></h1>;
      // const element1 = <h1 className="{titleClassName}">{text}</h1>;
      const element = element1;
      ReactDOM.render(element, rootElement);
    </script>
  </body>
</html>- jsx 표현식에
{}를 사용하여 변수에 담은 text나 class 이름을 넣을 수 있습니다. - jsx 표현식 전체를 변수에 담을 수도 있습니다.
const element1 = <h1 className="{titleClassName}" children={text} />;- 닫는 태그 없이 props의 children으로 text값을 넣을 수 있습니다.
위 방법을 더 확대해서 적용하면..
const props = {className: titleClassName, children: text};
const customH1 = <h1 {...props} />;
//위 customH1는 아래와 같습니다.
const customH1 = (<h1 className={props.className} children{props.children} />);- 전개 연산자를 이용하여 따로 변수에 담아 둔 객체를 넣을 수 있습니다.
정리
멀티 Element 생성하기
React.Fragment
부모로서 감싸주는 역할만을 합니다. 실제로 render 후 이 태그는 보이지 않습니다.
const element = (
  <div
  className="box"
  children={[
  React.createElement("h1", null, "Hi"),
      React.createElement("h3", null, "Bye"),
        React.createElement("h5", null, "Children")
]}
/>
);
render에 넣기 위해 무의미한 div 태그를 사용했습니다.
const element = (
  <React.Fragment
  children={[
  React.createElement("h1", null, "Hi"),
      React.createElement("h3", null, "Bye"),
        React.createElement("h5", null, "Children")
]}
/>
);
React.Fragment는 부모로서 감싸주는 역할만을 하고, 실제로 render되지 않습니다.
위 React.createElement 역시 아래처럼 JSX로 바꾸어 줄 수 있습니다.
const element = (
  <React.Fragment
  children={[<h1>Hi</h1>, <h3>Bye</h3>, <h5>Children</h5>]}
  />
);
// 또는 children으로 주입하지 않고 만들 수 있습니다.
const element = (
  <React.Fragment>
  <h1>Hi</h1>
  <h3>Bye</h3>
  <h5>Children</h5>
  </React.Fragment>
);
아래처럼 React.Fragment는 <> </> 으로 줄여 표현할 수 있습니다.
const element = (
  <>
    <h1>Hi</h1>
    <h3>Bye</h3>
    <h5>Children</h5>
    </>
);
정리

Element 찍어내기
아래처럼 함수를 반복 호출하여 Element를 찍어낼 수 있습니다.
      const rootElement = document.getElementById("root");
      const paint = () => (
        <>
          <h1>Hi</h1>
          <h3>Bye</h3>
        </>
      );
      const element = (
        <>
          {paint()}
          {paint()}
          {paint()}
        </>
      );
      ReactDOM.render(element, rootElement);
<할용> 찍어낼 Element가 들어있는 함수에 인자를 넘겨주어 활용할 수 있습니다.
<script type="text/babel">
  const rootElement = document.getElementById("root");

  const paint = (title, description) => (
  <>
    <h1>{title}</h1>
    <h3>{description}</h3>
    </>
  );
  const element = (
  <>
    {paint("Good", "good")}
    {paint("Bad", "bad")}
    {paint("So so", "so so")}
    </>
  );

  ReactDOM.render(element, rootElement);
</script>
<Custom Element> : 아래처럼 props를 이용해서 확장성을 더 높일 수 있습니다.
const Paint = ({ title, description, children }) => (
        <>
          <h1>{title}</h1>
          <h3>{description}</h3>
          {children}
        </>
      );
const element = (
  <>
    <Paint title="Good" description="good">
      <h1>h1 tag</h1>
    </Paint>
    <Paint title="Bad" description="bad" />
    <Paint title="So so" description="so so" />
    </>
);

ReactDOM.render(element, rootElement);
정리

JS와 JSX 섞어쓰기
JSX에서 Element 태그를 리턴할 수도 있고, 함수를 리턴하는 방법도 있었습니다.
예
// 태그
<Paint title="Good" description="good" />
// 함수
{Paint({title: "Bad", description="bad", children: "hi"})}
리액트의 리덴더링 알아보기

정리

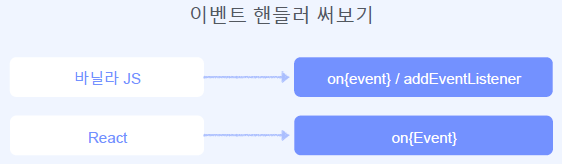
이벤트 핸들러 써보기