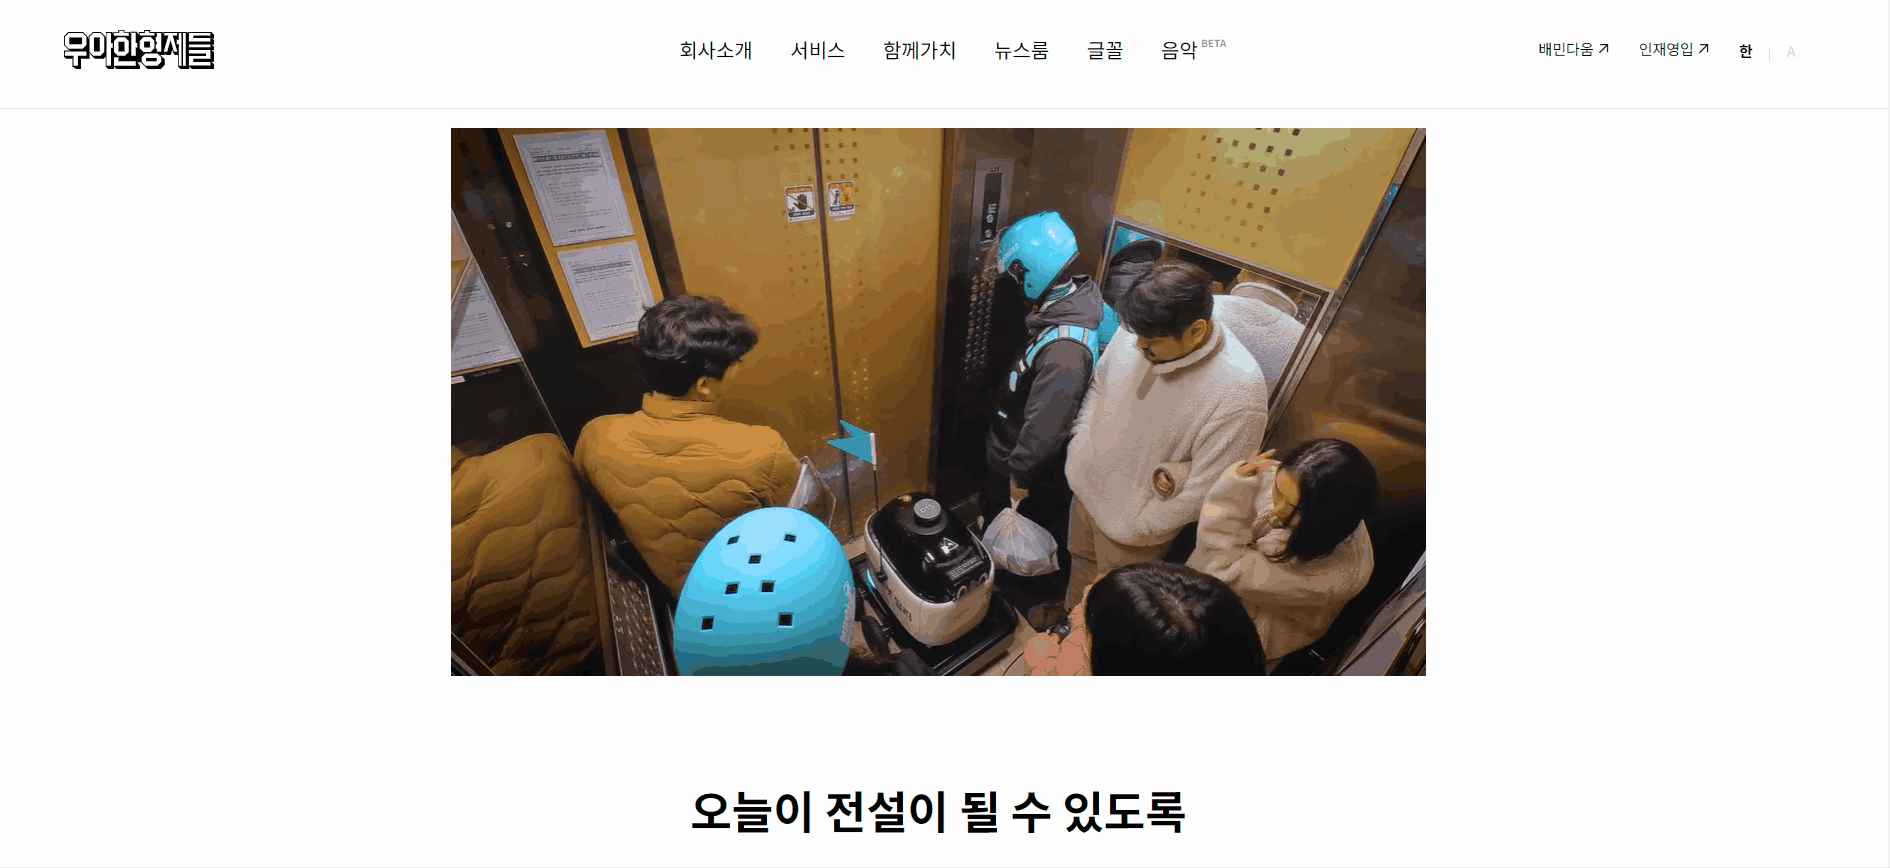
🛵 우아한 형제들
개인프로젝트
사이트명: 우아한 형제들
작업 기간: 7일 소요
#swiper #jquery
유형: 모바일 반응형, 클론 코딩
특징: 총 3단계 (980px, 750px, 320px) 에 걸친 반응형 사이트
‼️작업 목표
- 모바일에서도 깨지지 않는 반응형 사이트 만들기!
📍POINT
- 헤더 영역 hover 이벤트
- 스와이퍼 사용 시, 이미지별 모션 적용
- 아이콘을 통한 비디오 제어
- 미디어쿼리를 사용한 반응형 사이트 만들기
1. 헤더 영역 hover 이벤트

헤더 영역에 마우스를 올리면, 세부 메뉴가 아래로 슬라이드 되면서 펼쳐지고
세부 메뉴에서도 텍스트 컬러가 변경되는 hover 이벤트를 만들어야 했다.
1. 첫 번째 문제
세부 메뉴가 없는 #글꼴 #음악 의 경우 슬라이드가 내려오지 않아야 함.
근데 내려왔다. 눈치 없이...
length 태그를 사용하여 문자열이 0보다 클 때,
hover가 작동하도록했다.
header에 addclass를 준 이유는,
gif처럼 흰색 배경이 함께 내려왔어야 하기 때문!
sub의 width를 넓히는 것보다 header를 이용하는 게 더 쉬웠다.
참고한 블로그>
[JAVA] 문자열 길이를 반환받는 방법 length
https://mozi.tistory.com/497
$('.gnb-item').hover(function(){
        if($(this).children('.gnb-sub').length > 0){ //내가 마우스올린 곳에 SUB태그가 있을때
            $('.header').addClass('on')
            $(this).children('.gnb-sub').addClass('on')
        }
    },function(){
        $('.gnb-sub').removeClass('on');
        $('.header').removeClass('on')
    })
2. 두번째 문제
겹쳐져 있던 다른 sub 메뉴가 엉뚱한 곳에서 자꾸 튀어나오는 현상.
뉴스룸 sub 친구가 자기 주장이 강해서 부르지도 않았는데 자꾸 앞서 나왔다.
visibility: hidden; 을 사용해서 잠시 가려주고
class .on 시에 visibility: visible; 을 적용해 주었다.
✍️visibility:hidden 과 display:none 과 Overflow:hidden 차이점
> visibility:hidden ---- visible
: 공간을 유지하되, 보이지 않게 숨기는 방법. 자리를 유지하고 있음.
> display:none ---- block
: 공간을 완전히 삭제/생성 하게 만드는 방법. 다음 요소가 자리를 차지.
> Overflow:hidden
: 하위 요소가 상위 요소보다 넘칠 때, 상위 요소 크기만큼 하위 요소의 넘치는 부분을 가려줌.
.header  .gnb-sub{
    display: flex;
    position: absolute;
    justify-content: center;
    align-items: center;
    /* gap: 30px; */
    top: 100%;
    left: 0;
    height: 64px;
    width: 100%;
    opacity: 0;
    visibility: hidden;
}
.header .gnb-sub.on{
    opacity: 1;
    visibility: visible;
    transition: 0.3s 0.2s;
}
2. 스와이퍼 이미지/텍스트 모션 적용
이미지 슬라이드마다 각각 X,Y 축의 값이 변경되는 모션을 주고,
강조하고 싶은 텍스트는 한 글자씩 쪼개져 나오도록 하고 싶었다.
1. 이미지 모션 적용
swiper 라이브러리를 사용하였기 때문에 기존 클래스 명을 유지하되, 추가 motion(n) 클래스를 부여하고,
transform: transX, transY 와 트렌지션을 사용해 모션을 주었다.
<ul class="swiper-wrapper">
                    <li class="swiper-slide motion1">
                        <div class="img-box">
                            <a href=""><img src="https://woowahan-cdn.woowahan.com/new_resources/image/banner/09bf3877b83547cdb54eccadcc775907.jpg" alt=""></a>
                        </div>
                        <div class="text-box">
                            <em>우아한형제들이 알고 싶다</em>
                            <h2>뭐 새로운 소식<br>
                                <span class="wrap">
                                    <span class="word">없</span>
                                    <span class="word">나</span>
                                    <span class="word">요</span>
                                    <span class="word">?</span>
                                </span>
                            </h2>
                            <span class="link">뉴스룸 ></span>
                        </div>
                    </li>
                    <li class="swiper-slide motion2">
                        <div class="img-box">
                            <a href=""><img src="./assets/img/main2.jpg" alt=""></a>
                        </div>
                        <div class="text-box">
                            <em>우아한형제들이 알고 싶다</em>
                            <h2>배달의 민족에게<br>
                                <span class="wrap">
                                    <span class="word">행</span>
                                    <span class="word">복</span>
                                    <span class="word">이</span>
                                    <span class="word">란</span>
                                    <span class="word">?</span>
                                </span>
                            </h2>
                            <span>회사 소개 ></span>
                        </div>
                    </li>
/* motion1 */
.sc-visual .motion1.swiper-slide-active .img-box img{
transform: translateX(-10%); transition: 5s;
}
/* motion2 */
.sc-visual .motion2 .img-box a{ display: flex; justify-content: flex-end; }
.sc-visual .motion2.swiper-slide-active .img-box img{
transform: translateX(10%); transition: 5s;
}2. 텍스트 모션 적용
위의 html 처럼, h2 태그 안에 쪼개고 싶은 텍스트를 word 클래스로 나누고, span으로 한 번 더 묶어서 animation을 적용했다.
✍️ animation-fill-mode의 종류
none: 스타일 지정하지 않음.
forwards: 키프레임이 끝난 후, 100%의 상태를 유지.
backwords: 애니메이션 스타일을 키프레임 시작 전 미리 적용.
both: 애니메이션 스타일을 키프레임 시작 전 미리 적용하고, 키프레임이 끝난 후에도 100% 상태를 유지.
.sc-visual .swiper-slide-active .text-box h2 .word{animation: fade 0.3s forwards}
.sc-visual .swiper-slide-active .text-box h2 .word:nth-child(1){animation-delay: 0.2s;}
.sc-visual .swiper-slide-active .text-box h2 .word:nth-child(2){animation-delay: 0.4s;}
.sc-visual .swiper-slide-active .text-box h2 .word:nth-child(3){animation-delay: 0.6s;}
.sc-visual .swiper-slide-active .text-box h2 .word:nth-child(4){animation-delay: 0.8s;}
.sc-visual .swiper-slide-active .text-box h2 .word:nth-child(5){animation-delay: 1s;}


@keyframes fade {
    0%{opacity: 0;}
    100%{opacity: 1;}
}
3. 아이콘을 통한 비디오 제어
재생/멈춤 아이콘으로 비디오 제어하기
먼저, 비디오 영역 내에 비디오와 비디오를 제어할 버튼 두 개를 만들어 주었다.
비디오에 hover 했을 때, 정지 버튼이 먼저 나와야 했으므로
btn-pause에 on 클래스를 미리 작성해 주었다.
<div class="video-area">
                <video src="https://woowahan-cdn.woowahan.com/static/media/main_service.878a686a.mp4" autoplay="autoplay" muted="muted" loop></video>
                <div class="btn-control">
                    <button class="btn-play">
                        <svg width="80" height="80" fill="none" xmlns="http://www.w3.org/2000/svg" class="">
                            <rect width="80" height="80" rx="20" fill="#000" fill-opacity=".5"></rect>
                            <path fill="#fff" d="M56 40.32L30 57.642V23l26 17.32z"></path>
                        </svg>
                    </button>
                    <button class="btn-pause on">
                        <svg width="80" height="80" fill="none" xmlns="http://www.w3.org/2000/svg" class="">
                            <rect width="80" height="80" rx="20" fill="#000" fill-opacity=".5"></rect>
                            <path fill="#fff" d="M26 24h8v32h-8zM46 24h8v32h-8z"></path>
                        </svg>
                    </button>
                </div>
            </div>
클릭에 상관없이 비디오 hover 시, 버튼이 보여져야 했으므로 button 태그를 묶어둔 상위 클래스(btn-control)에 opacity를 부여하고, 버튼은 display 로 제어했다.
.sc-vision .video-area .btn-control{
    position: relative;
    position: absolute;
    top: 50%;
    left: 50%;
    width: 50px;
    height: 50px;
    transform: translate(-50%, -50%);
    opacity: 0;
}

.sc-vision .video-area .btn-control:hover{
    opacity: 1;
}

.sc-vision .video-area .btn-play{
    display: none;
}

.sc-vision .video-area .btn-pause{
    display: none;
}

.sc-vision .video-area .btn-play.on{
    display: block;
}
.sc-vision .video-area .btn-pause.on{
    display: block;
}
그리고 헷갈렸던 자바스크립트...
ifelse문을 사용하여 만들었는데, 비디오 정지까지는 실행이 잘 되었으나 ifelse 문만 사용하면 다시 재생이 되지 않았다.
결국 추가로 toggleClass를 넣어 해결! (대신 control에도 .on이 낑겨든다)
 $('.sc-vision .video-area .btn-control').click(function(){

        if($(this).hasClass('on')){// 첫 실행된 후
            $('.sc-vision video').get(0).play();
            $('.sc-vision .btn-play').removeClass('on').siblings().addClass('on');
        }else{ // 첫 실행 시
            $('.sc-vision video').get(0).pause();
            $('.sc-vision .btn-pause').removeClass('on').siblings().addClass('on');
        }
        $(this).toggleClass('on');
    })