
🎀 시작
회사에서 인터뷰 페이지 작업중이었는데,
상단에 인터뷰이의 정보를 담고, 하단에 인터뷰한 내용을 담은 영역을 나눠서
스와이프로 컨텐츠가 동시에 넘어갈 수 있도록 작업해 달라는 요청을 받았다.
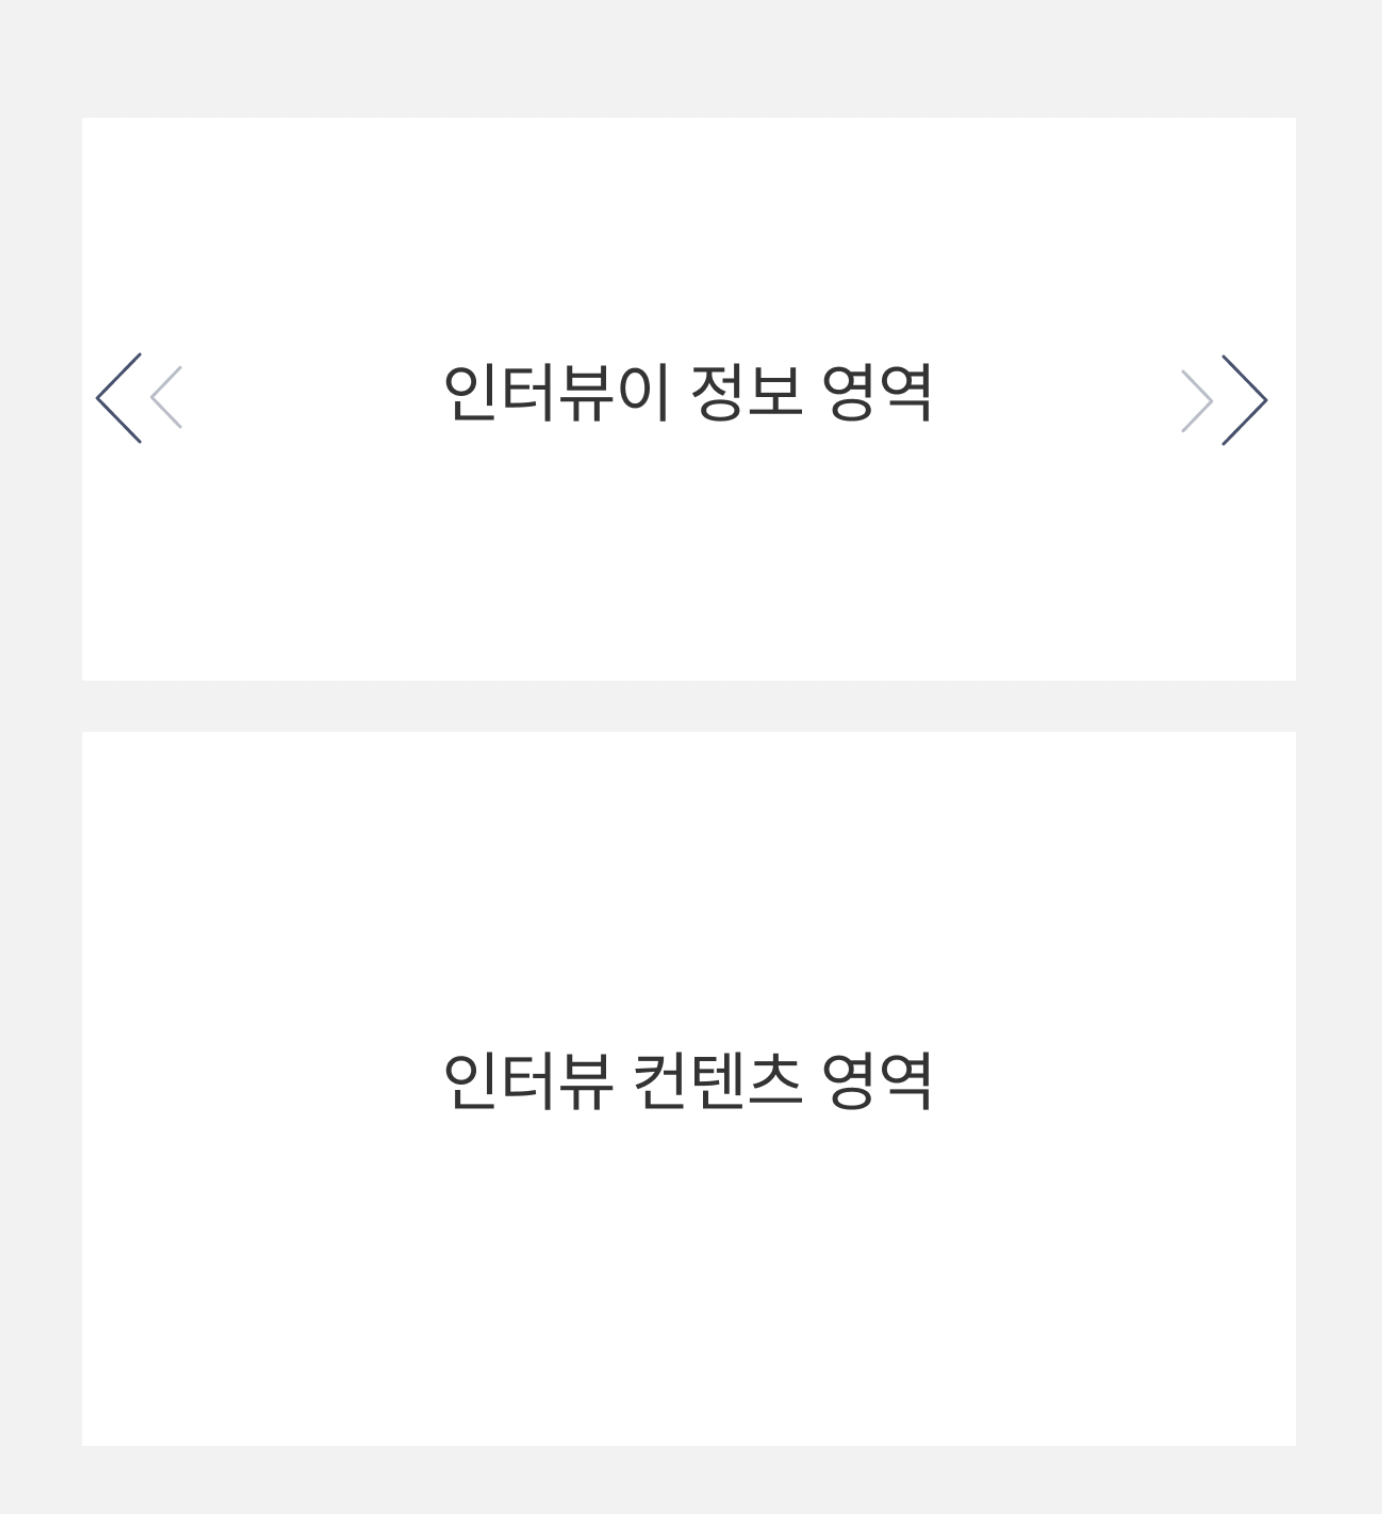
상단 영역에서만 어로우로 이동 및 스와이프가 되어야하고,
하단 영역에서는 드래그를 막아두어야한다!
🎀 작업 준비는 이렇게
우선 스와이퍼를 처음 사용하는 초보자분들이 있을 수 있으니
기초부터 설명하겠다.
1. CDN을 불러와야한다.
// CDN 불러오기
<link
  rel="stylesheet"
  href="https://cdn.jsdelivr.net/npm/swiper@9/swiper-bundle.min.css"
/>

<script src="https://cdn.jsdelivr.net/npm/swiper@9/swiper-bundle.min.js"></script>
2. HTML 작성
<link rel="stylesheet" href="https://cdn.jsdelivr.net/npm/swiper@8/swiper-bundle.min.css" />

<!-- 슬라이드 제어 가능한 정보 영역 -->
<section class="sec_profile">
    <div class="swiper swiper1">
      <div class="swiper-wrapper">
        <div class="swiper-slide" style="background:yellow;">1 제어 가능한 영역</div>
        <div class="swiper-slide" style="background:yellow;">2 제어 가능한 영역</div>
        <div class="swiper-slide" style="background:yellow;">3 제어 가능한 영역</div>
      </div>
    </div>
</section>
<!-- 슬라이드 제어 당하는 컨텐츠 영역 -->
<section class="sec_content">
    <div class="swiper swiper2">
      <div class="swiper-wrapper">
        <div class="swiper-slide" style="background:blue;">1 제어 당하는 영역</div>
        <div class="swiper-slide" style="background:blue;">2 제어 당하는 영역</div>
        <div class="swiper-slide" style="background:blue;">3 제어 당하는 영역</div>
      </div>
    </div>
</section>

<script src="https://cdn.jsdelivr.net/npm/swiper@8/swiper-bundle.min.js"></script>
2. CSS 작성
.sec_profile {
  height: 100px;
  width: 100%;
}

.sec_content {
  height: 300px;
  width: 100%;
}

.swiper {
  height: 100%;
}

.swiper-slide {
  display: flex;
  align-items: center;
  justify-content: center;
}

/* fade 효과 줬을때 안먹혀서 css 수동작업 */
.sec_content .swiper-slide {
  opacity: 0 !important;
  color: #fff;
}

.sec_content .swiper-slide.swiper-slide-active {
  opacity: 1 !important;
}- 컨텐츠 영역에는 swiper “fade” 효과를 줄건데, 자체 css에 오류가 있는 듯 하여
직접 opacity를 제어해주었음.
🎀 준비 완료 되었다면?
1. Swiper 자체 함수로 제어해주자!
친절함 맥스인 Swiper는, 자체 함수가 이미 개발되어 있어서 다양하게 활용 가능하다.
슬라이드 변경 시점을 잡고 싶을때 사용가능한 함수 두가지를 소개하겠다!
activeIndexChange
활성화된 인덱스가 바뀔 때마다 호출slideChange
”swiper-slide-active”가 바뀔때 호출된다.
이 중에서 오늘은 slideChange를 사용하여 스와이퍼를 제어해 보겠다.
추가적으로 필요한 녀석들은 아래와 같다.
- realIndex → 활성화 되어있는 현재 슬라이드의 index를 반환하기 때문에 꼭 필요!
- slideToLoop → 우리가 지정해준 슬라이드 index로 이동하도록 도와준다!
🎀 코드펜 결과
🎀 실제로 적용된 페이지


일단 해. 그리고 잘 되면 잘 된 거, 잘 못되면 그냥 해본 거!