Node.js 설치(nvm)
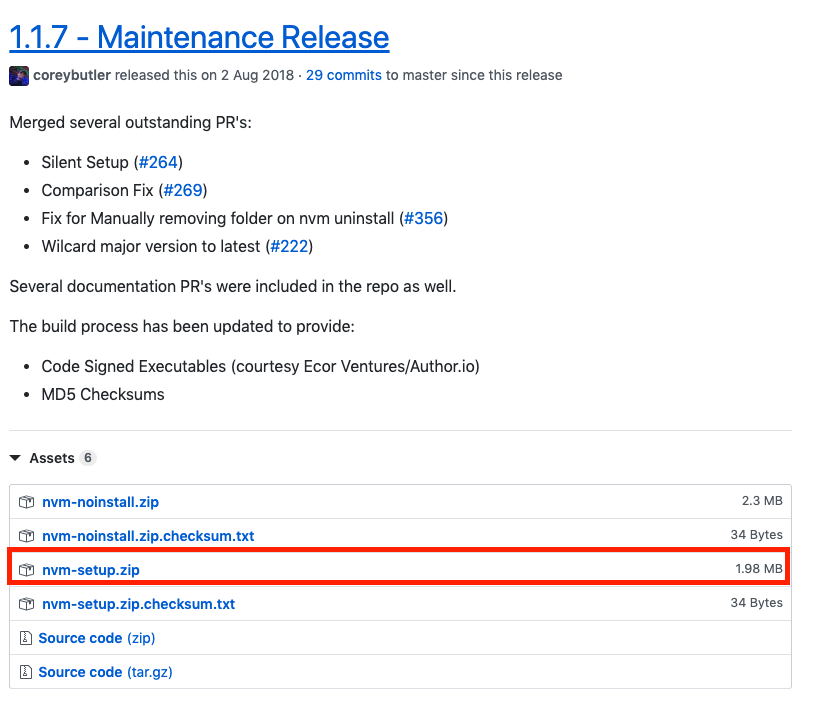
1) nvm download! nvm-setup.zip 파일 다운로드 및 설치
2) nvm install 8.9.0(npm 설치)
3) nvm use 8.9.0
UI5-CLI 설치
ui-cli 참조
install ui5 cli
npm install --global @ui5/cli
ui5 명령어 확인
ui5 --helpoverview
Usage: ui5 <command> [options]

Commands:
    build  Build project in current directory
    serve  Start a webserver for the current project
    tree   Outputs the dependency tree of the current project to stdout. It takes all relevant parameters of ui5 build into account.
    init   Initializes the UI5 Tooling configuration for an application or library project

Options:
    --help, -h                Show help  [boolean]
    --version, -v             Show version number  [boolean]
    --config                  Path to config file  [string]
    --translator, --t8r       Translator to use. Including optional colon separated translator parameters.  [string] [default: "npm"]
    --verbose                 Enable verbose logging. [boolean]
    --loglevel, --log-level   Set the logging level (error|warn|info|verbose|silly).  [string] [default: "info"]

Examples:
    ui5 <command> --translator static:/path/to/projectDependencies.yaml  Execute command using a "static" translator with translator parameters
    ui5 <command> --config /path/to/ui5.yaml                         Execute command using a project configuration from custom path
ui5 폴더 구조
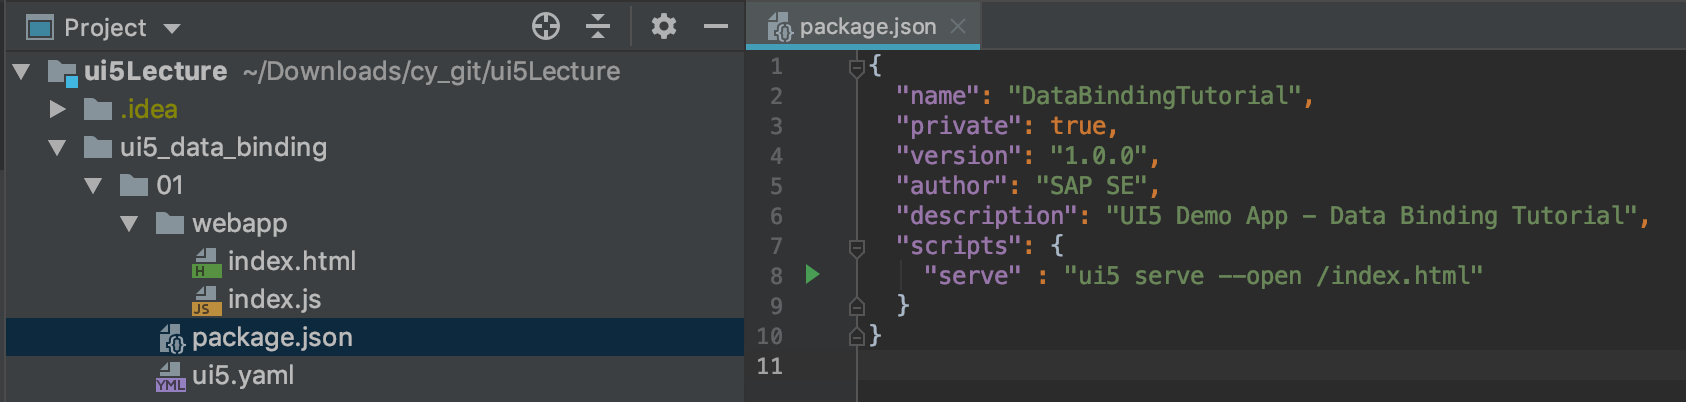
ui5를 실행기 위해서 위와같이 기본적으로 webpapp 폴더가 생성이 되어 있어야 한다.
webapp 경로에서 ui5 init 명령어를 입력하면 ui5.yaml 생성이 되고
npm init --yes 명령어를 통해 package.json 파일을 생성한다.
이후 package.json에서
"scripts": {"serve" : "ui5 serve --open/index.html"}
npm 명령어를 입력후 npm run serve를 통해 로컬 호스트를 띄어 결과창을 확인 할 수 있다.
ui5 커맨드들은 위의 설명한 ui5 --help 명령어를 통해 다양한 옵션들을 확인할 수 있다.

UI5/Fiori/BTP 도큐먼트 번역 및 관련 정보 공유합니다.

Good~~