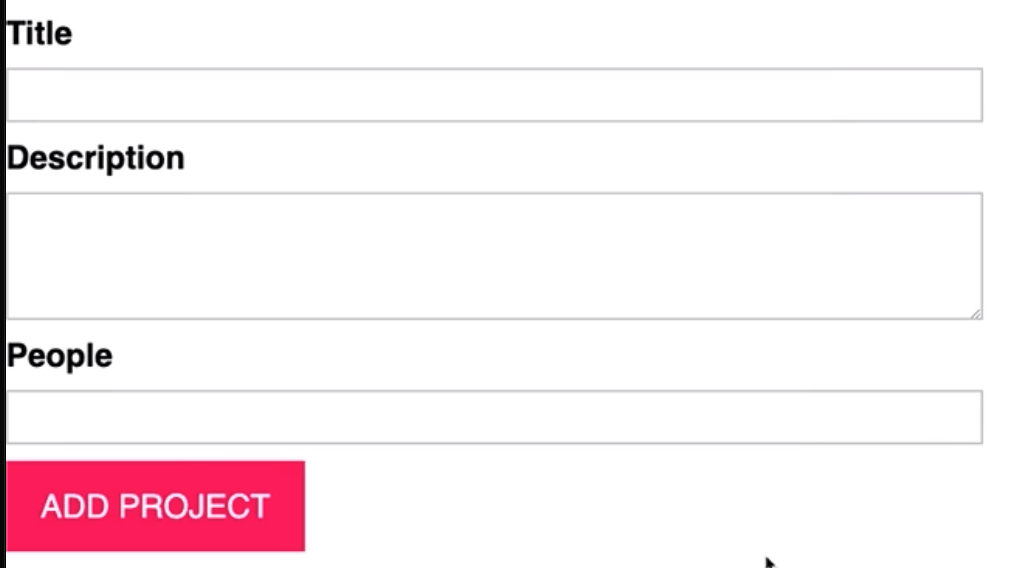
첫번째 형식을 렌더링 하였고, 계속해서 진행한다.
CSS적용을 위해 app.css에 #user-input의 옵션을 app.ts에 id를 추가한다.
this.element.id = 'user-input';이후 형식에 양식을 제출했을때 값을 읽을 수 있게 하고 이벤트 리스너를 제출로 설정해서 사용자 입력의 유효성 검사를 해보자.
양식에 있는 엘리먼트의 다양한 입력에 접근할 것이고 그것들을 클래스의 프로퍼티로 저장하자.
class ProjectInput {
titleInputElement: HTMLInputElement
descriptionInputElement: HTMLInputElement
peopleInputElement: HTMLInputElement
이후 생성자에 이 필드를 덧붙인다. 형식 엘리먼트를 참조하게 하며 title 엘리먼트를 쿼리하도록 한다. 이는 index.html에 id가 "title"인 옵션
this.titleInputElement = this.element.querySelector('#title')하지만 이렇게만 작성한다면 qureySelector이 여기에 inputElement를 반환할 것이라는것을 알수 없다. 따라서 casting를 통해 inputElement로 변환한다.
this.titleInputElement = this.element.querySelector('#title') as HTMLInputElement나머지 필드도 같은 방식으로 작성하게 되면
this.titleInputElement = this.element.querySelector('#title') as HTMLInputElement
this.descriptionInputElement = this.element.querySelector('#description') as HTMLInputElement
this.peopleInputElement = this.element.querySelector('#people') as HTMLInputElement
리스너를 추가하기 위해 메서드 configure를 추가하고 이벤트 리스너를 추가하자.
private configure() {
 this.element.addEventListener('submit', this.submitHandler)
이후 이 두 메서드를 바인딩 하기 위해 private메서드를 추가하는데, 이벤트 리스너를 바인딩할것이기 때문에 event: Event를 작성해준다.
private submitHandler(event: Event)이제 attach 앞에 configure를 호출하고 private 메서드를 실행한다.
this.configure();
event.preventDefault(); 를 호출하여 기본양식 제출을 방지한다.
이후 console.log(this.titleInputElement.value); 통해서 출력해보면 오류없이 진행이 된다. 하지만 출력단에서 오류가 발생한다.
이는 자바스크립트와 타입스크립트의 작동 방식의 차이 때문인데 this가 클래스를 가리키지 않아서이다. 이를 해결하기 위해 bind를 호출한다.
첫번째 인자는 this 키워드가 참조할 대상이다.
private configure() {
 this.element.addEventListener('submit', this.submitHandler.bind(this));
 }
최종코드
class ProjectInput {
  templateElement: HTMLTemplateElement;
  hostElement: HTMLDivElement;
  element: HTMLFormElement;
  this.titleInputElement = this.element.querySelector('#title') as HTMLInputElement
  this.descriptionInputElement = this.element.querySelector('#description') as HTMLInputElement
  this.peopleInputElement = this.element.querySelector('#people') as HTMLInputElement

  constructor() {
    this.templateElement = document.getElementById(
      "project-input"
    )! as HTMLTemplateElement;
    this.hostElement = document.getElementById("app")! as HTMLDivElement;
    const importedNode = document.importNode(
      this.templateElement.content,
      true
    );
    this.element = importedNode.firstElementChild as HTMLFormElement;
    this.element.id = 'user-input';
    this.titleInputElement = this.element.querySelector('#title') as HTMLInputElement
    this.descriptionInputElement = this.element.querySelector('#description') as HTMLInputElement
    this.peopleInputElement = this.element.querySelector('#people') as HTMLInputElement

    this.configure();
    this.attach();
  }
  private submitHandler(event: Event)
  private configure() {
 this.element.addEventListener('submit', this.submitHandler.bind(this));
 }
  private attach() {
    this.hostElement.insertAdjacentElement("afterbegin", this.element);
  }
}

const prjInput = new ProjectInput();
Autobind 데코레이터 생성 및 사용하기
this 키워드에 자동으로 바인딩하는 데코레이터이며 앱 여러곳에서 bind 호출을 해야한다면 이를 사용하여 더 쉽게 할 수 있다. bind를 제거하고 최상단에
//autobind decorator
function autobind(target: any, methodName: string, descriptor: PropertyDescriptor) {
const originalMethod = descriptor.value; //원래 메서드에 접근하여 저장한다
}
를 작성하고 최소한의 정리를 위해 ProjectInput Class도 작성해준다.
그리고 submitHandler위에
@autobind를 작성해주면 된다.
데코레이터의 바디에는
const originalMethod = descriptor.value;
const adjDescriptor: PropertyDescriptor = { // 조정된 디스크립터
configurable: true, //언제든 수정 가능하게 함
get() {
   const boundFn = originalMethod.bind(this);
   return boundFn;
   }
   };
   return adjDescriptor;
   }
tsconfig파일에 "experimentalDecorators": true 로 바꿔 데코레이션 사용을 위해 활성화 하고
tsconfig.json의 "noUnusedParameters": false로 바꾸어 사용하지 않는 변수를 허용하게 한다.
