
솔직히 GetX만큼 편한게 있나?
flutter를 처음 접해보는 사람들 중 상당수(나를 포함)는 상태 관리 패키지로 GetX를 선택하는 경우가 많다. 이유야 여러 가지가 있겠지만 딱 한마디로 표현하자면 개발편의성
- 상태 관리
BuildContext를 고려하지 않아도 되는 여러 편의 기능(snackbar,dialog,Get.width등)- 자체적으로 내장하고 있는 http 통신용 모듈(
GetConnect) - 로컬라이징
- 라우트 관리
당장 생각나는 게 이 정도지 찾아보면 어마어마하게 많다 그래서 혹자는 GetX로 개발을 하면 flutter앱이 아니라 GetX앱을 개발하는 것이라고 말하기도 한다. 어쨌든 개발에 편한 건 사실이고 동시에 생산성도 올라가니 여러 프로젝트에서 차용되고 있다.
Why Bloc?

GetX에 대한 글은 아니니 여기까지만 얘기하고 지금 회사에서 그 편한 GetX 대신 Bloc을 사용하는 이유가 무엇이냐고 CTO께 여쭤본 적이 있는데 이유는 다음과 같다
"앱 어디에서 무슨일이 일어나고 있는지 정확히 알 수 있고 그에 따른 대응이 용이하다, 또한 VIEW와 비즈니스 로직의 분리가 철저히 이루어져 확장에 유리하다"
CTO님이 말씀하셨던 것과 비슷한 맥락으로 Bloc공식문서에는 Bloc을 써야 하는 이유를 다음과 같이 정리한다
- know what state our application is in at any point in time.
- easily test every case to make sure our app is responding appropriately.
- record every single user interaction in our application so that we can make data-driven decisions.
- work as efficiently as possible and reuse components both within our application and across other applications.
- have many developers seamlessly working within a single code base following the same patterns and conventions.
- develop fast and reactive apps.
하지만 그건 다른 상태 관리도 짜기 나름이지 않나..? 라고 생각했지만 사용할수록 왜 저렇게 말씀하셨는지 Bloc에서 추구하는 개발은 무엇인지 이해가 갔다
실무에선?
공식문서는 공식문서고 내가 직접 사용하면서 느껴본 장단점은 다음과 같다
장점
- UI와 비즈니스 로직의 의존성이 낮기 때문에 어렵지 않게 기능을 확장하거나 보수할 수 있다
- bloc위젯(리스너,빌더 등)으로 내가 원하는 state나 분기 따라서 액션을 취하도록 컨트롤하기 쉽다
- 비즈니스 로직에 세세한 설정 혹은 컨트롤이 필요할 때는 Bloc을(infinite list, autocomplete 등) 간단한 로직일 경우 Cubit을 선택해 효율적인 개발이 가능하다
BlocObserver를 사용해 앱 내에 상태변화를 전부 추적할 수 있다
//BlocObserver print예시

Change{
currentState: ContentDetailState(ContentDetailStatus.loading, ContentDetail(...)),
nextState : ContentDetailState(ContentDetailStatus.success, ContentDetail(...))
}
단점
- 보일러플레이트 코드가 많다. 그로인해 관리할 파일 수가 필연적으로 늘어난다 당장 Bloc하나만 만들더라도 생겨나는 file이
ex_bloc,ex_event,ex_state3개이다 BlocProvider로 감싼 최상위 위젯에서는 해당 Bloc에 있는 요소들을 context.read 방식으로 사용할 수 없다. 하위 위젯에서 사용하거나 init함수라면 캐스케이드(..)로 불러 올 수 있다. 이건 Bloc의 단점이라기 보단 provider에서 사용되는context에 대한 의존성 부분이기 때문에 참고 사항이다- UI로직을 절대로 bloc에 올리지 않는 게 원칙이라 UI 로직용 상태관리가 필요할 수 있다.
- 처음부터 배우기엔 러닝커브가 조금 높다
간단한 예제
Bloc공식 레포에 있는 infinite list에서 주요 코드를 가져와봤다
posts_state.dart
- state 초기값을 세팅해주고 equatable로 감지 할 state값을
props에 담아준다 copyWith함수는 변경된 state값만 변경하고 변경되지 않은 state는 그대로 복사한 객체를 만들어 return한다 => bloc의 emit에 쓰인다props에 없는 값은 emit을 사용해 상태를 변경해도Blocbuilder등flutter_bloc위젯에서 감지 하지 못한다
enum PostStatus { initial, success, failure }
class PostState extends Equatable {
const PostState({
this.status = PostStatus.initial,
this.posts = const <Post>[],
this.hasReachedMax = false,
});
final PostStatus status;
final List<Post> posts;
final bool hasReachedMax;
//copyWith로 변경된 state값만 변경하고 변경되지 않은 state는 그대로 복사한 객체를 만들어 retrun한다
PostState copyWith({
PostStatus? status,
List<Post>? posts,
bool? hasReachedMax,
}) {
return PostState(
status: status ?? this.status,
posts: posts ?? this.posts,
hasReachedMax: hasReachedMax ?? this.hasReachedMax,
);
}
List<Object> get props => [status, posts, hasReachedMax];
}
posts_bloc.dart
- 연속된 api호출을 막기 위해 함수에 throttle을 걸었다
- emit에서 posts에 List.of(state.posts)로 리스트를 재할당 해줬는데 그냥 state.posts로 사용할 경우 얕은 복사라 Bloc에서 변화 감지를 못한다.
- 이 파일에서 바로 api콜을 하고 있지만 repository로 따로 api호출을 관리하는 경우가 많다
- 모델 바인딩을 직접해주고 있는데 json_serializable를 사용해 바인딩하면 좋다 저거 json 키값 오타나서 바인딩 오류날 때 겁나 많다..CTO님께서 해주신 명언ㅋㅋ
"절대로 내 손을 믿지 말아라" - CTO
class PostBloc extends Bloc<PostEvent, PostState> {
  PostBloc({required this.httpClient}) : super(const PostState()) {
    on<PostFetched>(
      _onPostFetched,
      //throttle을 사용해 연속된 api콜 방지
      transformer: throttleDroppable(Duration(milliseconds: 100)),
    );
  }

  //요 부분도 baseRepository를 만들어 관리하자
  final http.Client httpClient;

  Future<void> _onPostFetched(
    PostFetched event,
    Emitter<PostState> emit,
  ) async {
  	//더이상 불러올 포스트가 없다면 함수 종료
    if (state.hasReachedMax) return;
    try {
      //첫 포스트 콜일 경우 분기
      if (state.status == PostStatus.initial) {
        final posts = await _fetchPosts();
        return emit(state.copyWith(
          status: PostStatus.success,
          posts: posts,
          hasReachedMax: false,
        ));
      }
      //페이징으로 추가적으로 로드되는 포스트의 경우 분기
      final posts = await _fetchPosts(state.posts.length);
      posts.isEmpty
          ? emit(state.copyWith(hasReachedMax: true))
          : emit(
              state.copyWith(
                status: PostStatus.success,
                //그냥 state.posts..addAll()로 넣으면 메모리 주소가 같기때문에 변경을 감지하지 못함
                posts: List.of(state.posts)..addAll(posts),
                hasReachedMax: false,
              ),
            );
    } catch (_) {
      emit(state.copyWith(status: PostStatus.failure));
    }
  }

  //이 함수는 그냥 참고 통신은 repository에서 하자!
  Future<List<Post>> _fetchPosts([int startIndex = 0]) async {
    final response = await httpClient.get(
      Uri.https(
        'jsonplaceholder.typicode.com',
        '/posts',
        <String, String>{'_start': '$startIndex', '_limit': '$_postLimit'},
      ),
    );
    if (response.statusCode == 200) {
      final body = json.decode(response.body) as List;
      //여기도 그냥 참고 실무에선 json_serializable패키지를 사용해 모델에 바인딩하자
      return body.map((dynamic json) {
        return Post(
          id: json['id'] as int,
          title: json['title'] as String,
          body: json['body'] as String,
        );
      }).toList();
    }
    throw Exception('error fetching posts');
  }
}
posts_page.dart
- 여기선
BlocProvider로PostsList에 Bloc을 전달하고PostFetched이벤트를 스트림에 추가한다
class PostsPage extends StatelessWidget {
Widget build(BuildContext context) {
return Scaffold(
appBar: AppBar(title: const Text('Posts')),
body: BlocProvider(
//자식요소에 Bloc제공
create: (_) => PostBloc(httpClient: http.Client())..add(PostFetched()), //init함수 실행
child: PostsList(),
),
);
}
}posts_list.dart
- 예제에는 없지만
BlocBuilder에서 특정 state만 감지해서 빌드하면 될 경우buildWhen을 꼭 써주자
class PostsList extends StatefulWidget {
_PostsListState createState() => _PostsListState();
}
class _PostsListState extends State<PostsList> {
final _scrollController = ScrollController();
void initState() {
super.initState();
_scrollController.addListener(_onScroll);
}
Widget build(BuildContext context) {
return BlocBuilder<PostBloc, PostState>(
builder: (context, state) {
//status별 화면 분기처리
switch (state.status) {
case PostStatus.failure:
return const Center(child: Text('failed to fetch posts'));
case PostStatus.success:
if (state.posts.isEmpty) {
return const Center(child: Text('no posts'));
}
return ListView.builder(
itemBuilder: (BuildContext context, int index) {
return index >= state.posts.length
? BottomLoader()
: PostListItem(post: state.posts[index]);
},
itemCount: state.hasReachedMax
? state.posts.length
: state.posts.length + 1,
controller: _scrollController,
);
default:
return const Center(child: CircularProgressIndicator());
}
},
);
}
void dispose() {
_scrollController
..removeListener(_onScroll)
..dispose();
super.dispose();
}
void _onScroll() {
if (_isBottom) context.read<PostBloc>().add(PostFetched());
}
bool get _isBottom {
if (!_scrollController.hasClients) return false;
final maxScroll = _scrollController.position.maxScrollExtent;
final currentScroll = _scrollController.offset;
return currentScroll >= (maxScroll * 0.9);
}
}
주요 코드만 가져와서 이해가 어려울 수 있지만 공식 레포에 여러 예시들이 올라와 있으니 참고하면 좋을 거 같다 Bloc패턴으로 앱을 만들고 좋았던 점은 코드를 봐도 알 수 있듯 가독성이 상당히 좋아진다는 점, 가독성이 좋아지면 작성자 뿐 아니라 다른 담당자가 와도 쉽게 로직을 이해할 수 있고 수정할 수 있다 물론 상태 관리별로 짜기 나름이겠지만 다른 패키지 예제들을 봐도 Bloc만큼 가독성이 좋은 예제는 찾지 못했다
그렇다고 상태 관리에 반드시 Bloc을 써야 하는 건 아니다 GetX와 provider 그리고 riverpod 등 자신이 잘 사용할 수 있고 프로젝트 성격에 맞는 패키지를 선택하면 된다.
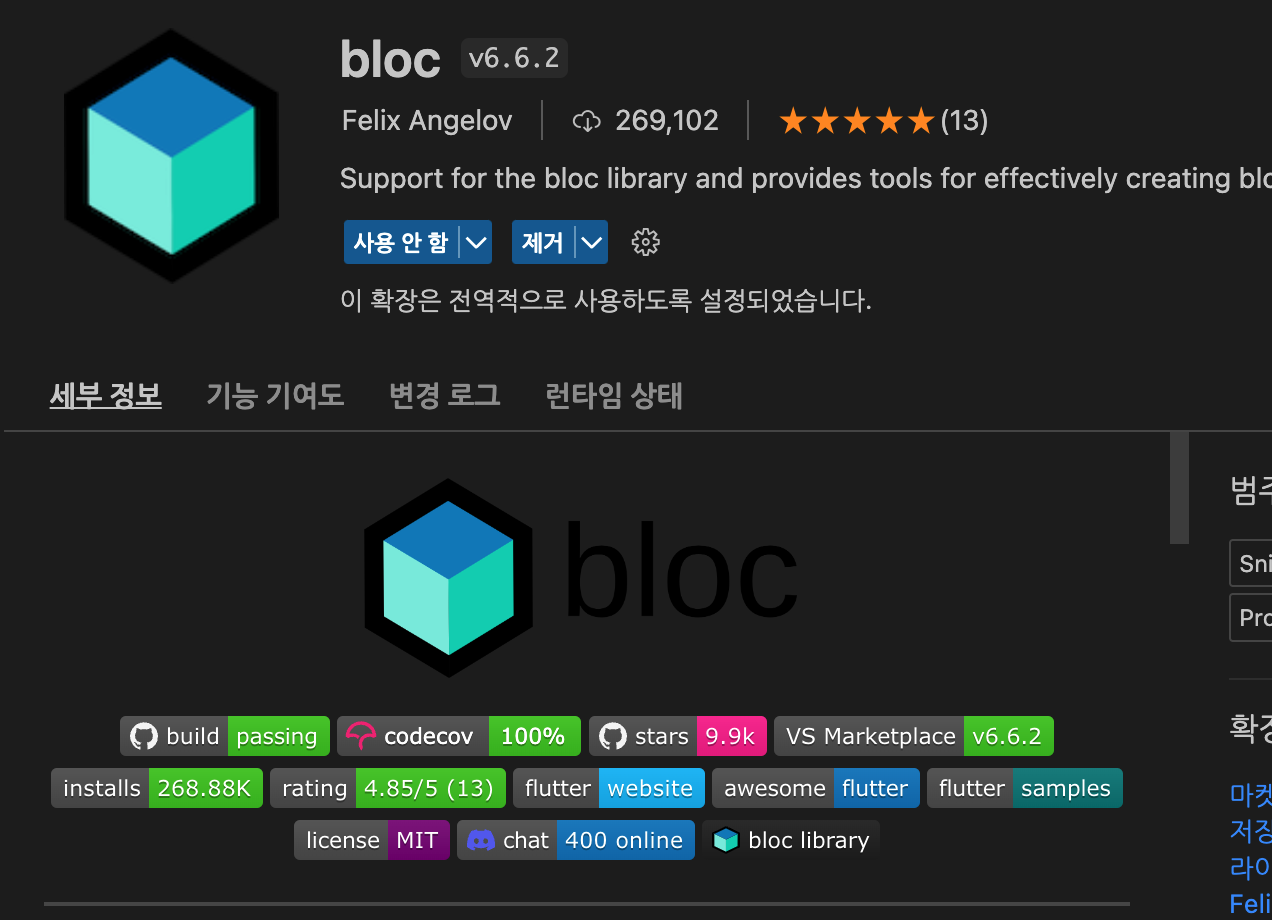
추천 extension
bloc이나 cubit파일을 생성해주고 여러 단축어도 지원한다 보일러플레이트 코드량의 단점을 어느정도 극복할 수 있다
혹시 틀린 부분이 있다면 댓글 주세요!

"절대로 내 손을 믿지 말아라" <-- 공감되네요.ㅋㅋㅋㅋ 아직 GetX 밖에 안 써봤는데 다음 플젝에선 bloc도 한번 시도해봐야겠어요.