Notes 구상
- 카테고리별로 보여주기(첫 마운트 될때는 all 카테고리)
- 글을 카드 형식으로 보여줄것
카테고리 설정
Firestore Database에 Categorys 컬렉션을 만들어준다.
Categorys
- category(카테고리)
- createdAt(정렬을 위한 제작 시간 필드)
//Notes.tsx
interface ICategorys {
  id: string;
  category: string;
  createdAt: number;
}

const allCategory = {
  id: "",
  category: "ALL",
  createdAt: 1,
};

const [categorys, setCategorys] = useState<ICategorys[]>([]);
const [selectedCategory, setSelectedCategory] =
      useRecoilState<string>(selectedCategoryAtom);

const getCategorys = async () => {
  const q = query(
    collection(dbService, "categorys"),
    orderBy("createdAt", "asc")
  );
  onSnapshot(q, (snapshot) => {
    const categoryArr: any = snapshot.docs.map((category) => ({
      id: category.id + "",
      ...category.data(),
    }));
    setCategorys([allCategory, ...categoryArr]);
  });
};

useEffect(() => {
  getCategorys();
  console.log(categorys)
}, []);
Categorys는 Notes페이지에서 불러오고 selectedCategory는 나중에 글을 보여주는 Entry페이지에서 선택한 카테고리 더보기 기능을 위해 Recoil(전역 상태 관리)로 해준다.

카테고리들을 성공적으로 불러왔다.
이제 불러온 카테고리들을 Chakra UI의 Menu 컴포넌트로 만들어준다.
const onSetCategoryButtonClicked = (e: any) => {
  setTags(e.currentTarget.value);
  setSelectedCategory(e.currentTarget.value);
};
<Heading>Category : {tag}</Heading>
<Menu>
  <MenuButton
    as={IconButton}
    aria-label="Options"
    icon={<GoThreeBars />}
    variant="outline"
    />
  <MenuList>
    {categorys.map((category) => (
      <>
        <MenuItem
          key={category.id}
          value={category.category}
          onClick={(e) => onSetCategoryButtonClicked(e)}
          px={"7"}
          >
          {category.category}
        </MenuItem>
        </>
    ))}
  </MenuList>
</Menu>
이제 선택된 카테고리에 따라 Note들을 보여줄것이다.
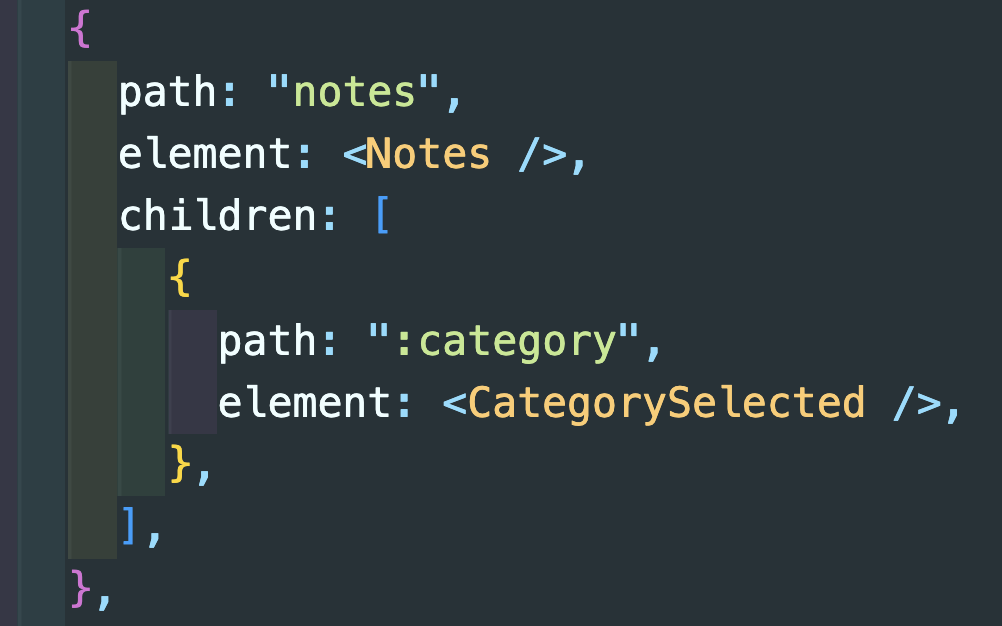
선택된 카테고리마다 다른 url을 가질것이다.
그러기 위해서는 라우터의 notes child에 :category를 추가해주고
Notes.tsx에도 Outlet을 추가해준다.
//Notes.tsx
<Outlet context={{ selectedCategory, notes, categorys }} />
//CategorySelected.tsx
const { selectedCategory } = useOutletContext<IContext>();
const { notes } = useOutletContext<IContext>();
const { categorys } = useOutletContext<IContext>();
CategorySelected에서는 Grid로 카드들을 정렬하였다.
useOutletContext 로 받은 notes들을 map으로 배치할것이다.
selectedCategory가 ALL 이면 모든 카드들을 보여준다.
아닐시에는 노트의 카테고리와 selectedCategory를 비교한다.
//CategorySelected.tsx
<Grid
  templateColumns={"repeat(3, 1fr)"}
  px={10}
  columnGap={8}
  rowGap={16}
  as={motion.div}
  variants={gridVariants}
  animate={gridAni}
  pb={20}
  >
  {showAll
    ? notes &&
    notes.map((note) => (
    <NoteCard
      key={note.id}
      title={note.title}
      md={note.md}
      category={note.category}
      createdAt={note.createdAt}
      thumbnailUrl={note.thumbnailUrl}
      />
  ))
  : notes &&
    notes.map((note) =>
              note.category === selectedCategory ? (
    <>
      <NoteCard
        key={note.id}
        title={note.title}
        md={note.md}
        category={note.category}
        createdAt={note.createdAt}
        thumbnailUrl={note.thumbnailUrl}
        />
      </>
  ) : null
             )}
</Grid>
완성