들어가며
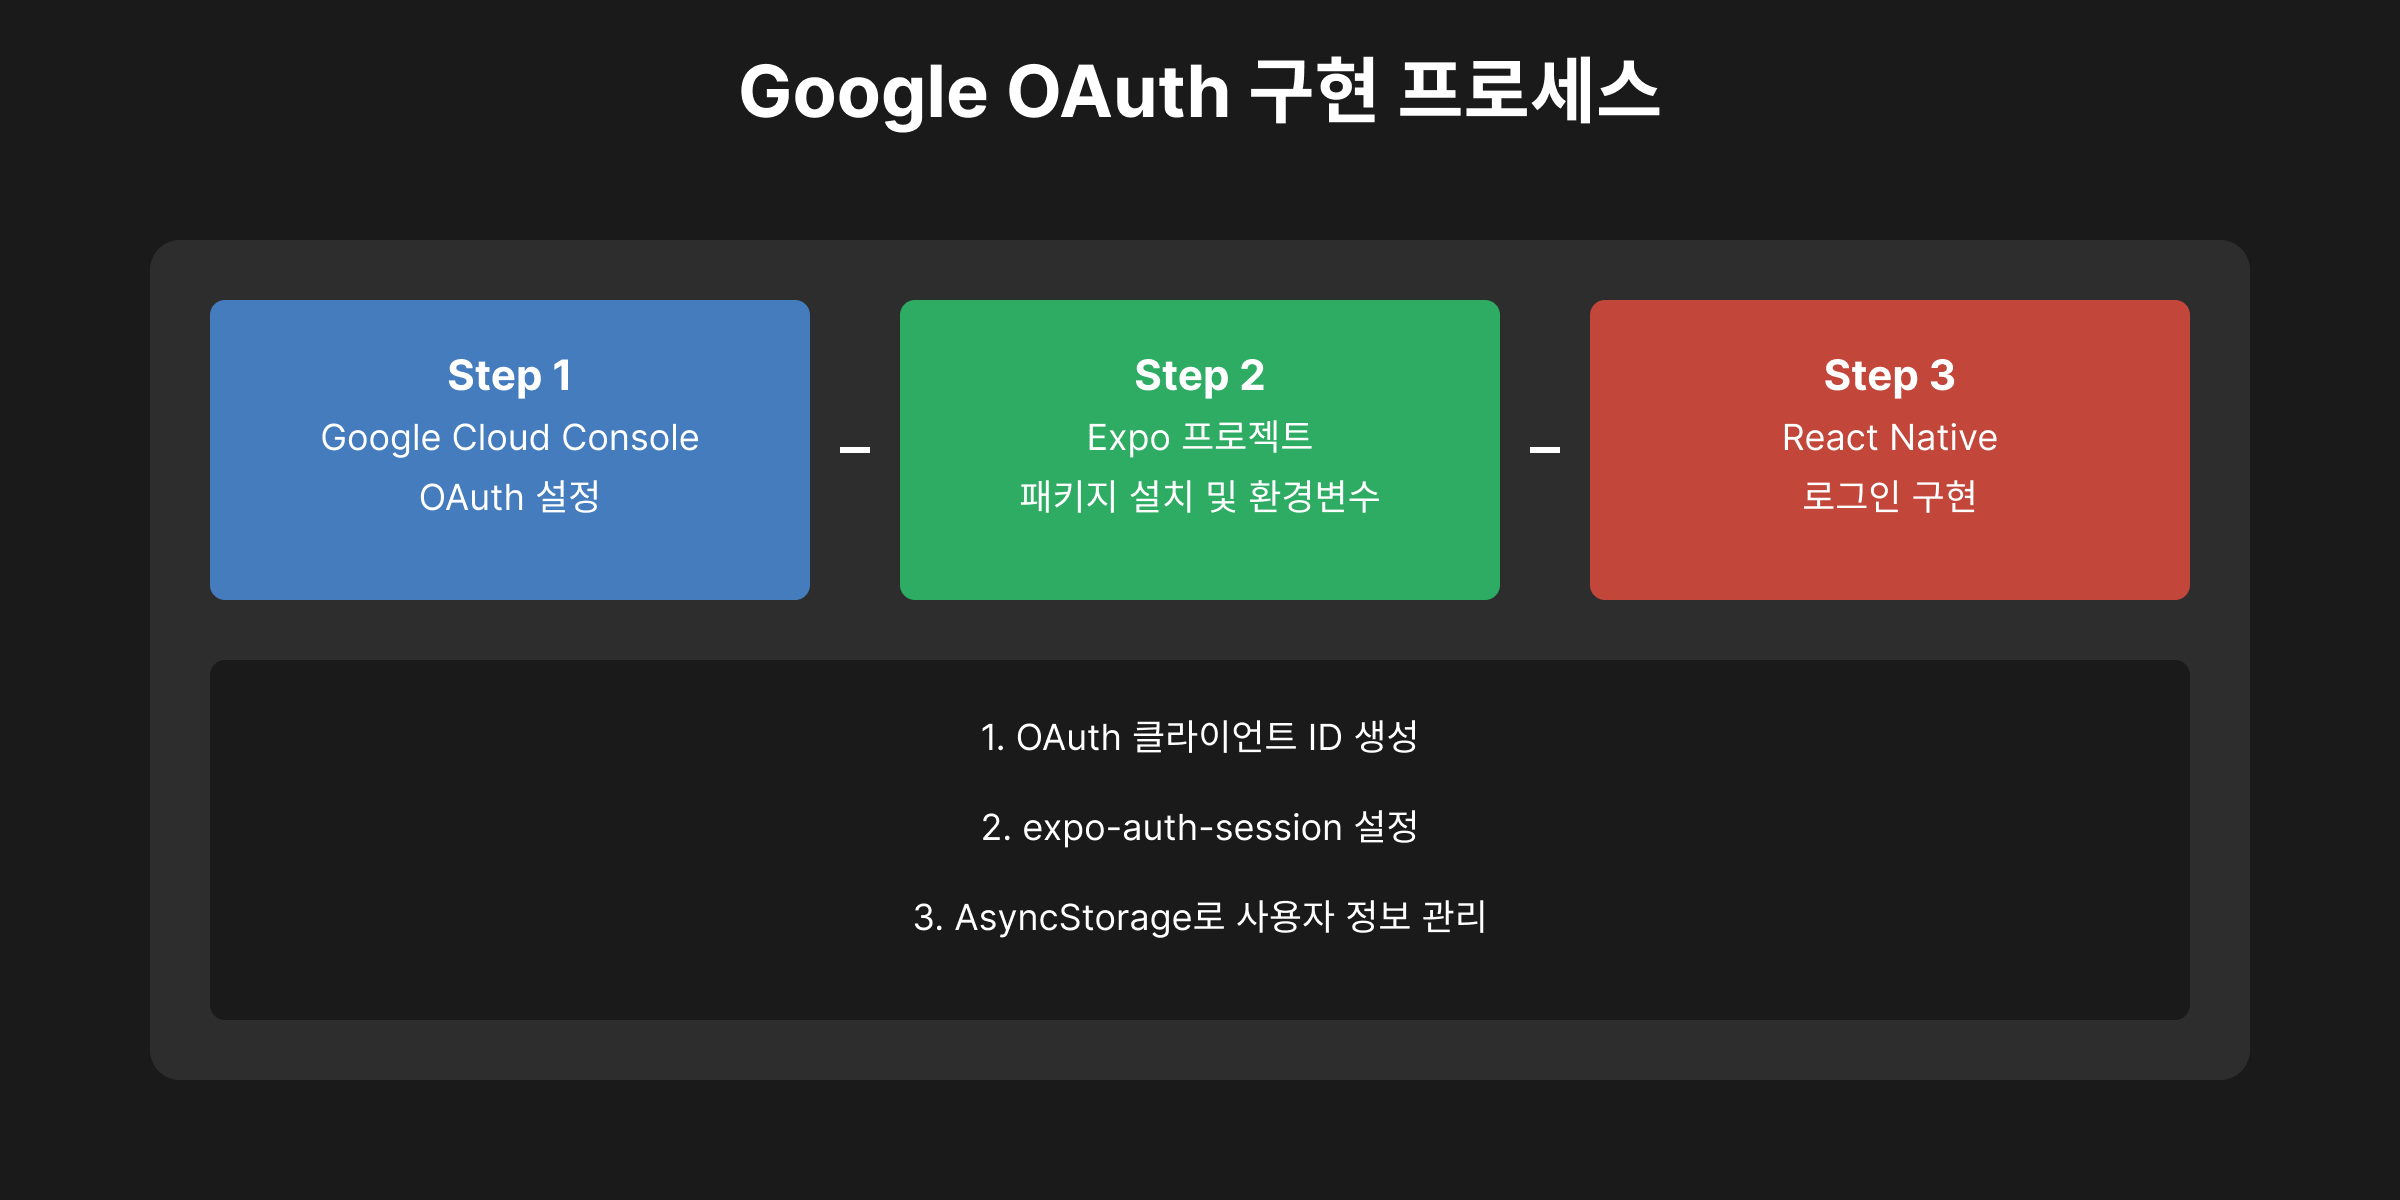
React Native Expo 환경에서 Google 로그인을 구현하는 방법을 정리합니다.
Expo의 expo-auth-session을 활용하여 OAuth 2.0 인증을 처리하는 방식으로 진행됩니다.
1. Google Cloud 콘솔 설정
1.1. 프로젝트 생성
- Google Cloud Console에 접속
- 새 프로젝트 생성 후 이름 지정
- 생성 완료 후 OAuth 동의 화면 설정 진행
1.2. OAuth 클라이언트 ID 생성
- API 및 서비스 → 사용자 인증 정보 → 사용자 인증 정보 만들기 → OAuth 클라이언트 ID
- 애플리케이션 유형: 웹 애플리케이션 선택
- 승인된 자바스크립트 원본:
https://auth.expo.io - 승인된 리디렉션 URI:
https://auth.expo.io/@your-username/your-app-slug - 생성 후 클라이언트 ID와 클라이언트 비밀 키 복사
2. Expo 프로젝트에 Google 로그인 추가
2.1. 패키지 설치
expo install expo-auth-session expo-secure-store @react-native-async-storage/async-storage2.2. 환경 변수 설정
.env 파일을 생성하고 아래 내용을 추가합니다.
EXPO_PUBLIC_GOOGLE_CLIENT_ID=your-client-id.apps.googleusercontent.com2.3. Google 로그인 구현 코드
import React, { useState, useEffect } from 'react';
import { View, Button, Text } from 'react-native';
import * as WebBrowser from 'expo-web-browser';
import * as Google from 'expo-auth-session/providers/google';
import AsyncStorage from '@react-native-async-storage/async-storage';

WebBrowser.maybeCompleteAuthSession();

export default function GoogleLogin() {
  const [userInfo, setUserInfo] = useState(null);

  const [request, response, promptAsync] = Google.useAuthRequest({
    clientId: process.env.EXPO_PUBLIC_GOOGLE_CLIENT_ID,
    redirectUri: 'https://auth.expo.io/@your-username/your-app-slug',
    scopes: ['profile', 'email'],
  });

  useEffect(() => {
    if (response?.type === 'success' && response.authentication?.accessToken) {
      fetchUserInfo(response.authentication.accessToken);
    }
  }, [response]);

  async function fetchUserInfo(token) {
    try {
      const res = await fetch('https://www.googleapis.com/userinfo/v2/me', {
        headers: { Authorization: `Bearer ${token}` },
      });
      const user = await res.json();
      setUserInfo(user);
      await AsyncStorage.setItem('user', JSON.stringify(user));
    } catch (error) {
      console.error('Failed to fetch user info:', error);
    }
  }

  return (
    <View>
      {userInfo ? (
        <Text>Welcome, {userInfo.name}!</Text>
      ) : (
        <Button title="Login with Google" onPress={() => promptAsync()} disabled={!request} />
      )}
    </View>
  );
}
3. 사용자 정보 저장 및 관리
로그인 후 AsyncStorage를 사용하여 사용자 정보를 저장하고 가져옵니다.
async function saveUserData(user) {
  await AsyncStorage.setItem('user', JSON.stringify(user));
}

async function getUserData() {
  const user = await AsyncStorage.getItem('user');
  return user ? JSON.parse(user) : null;
}
4. 로그아웃 기능 구현
async function logout(setUserInfo) {
  await AsyncStorage.removeItem('user');
  setUserInfo(null);
}
궁금한 것, 했던 것, 시행착오 그리고 기억하고 싶은 것들을 기록합니다.