소개
Jenkins에서 Github Organization을 연결하는 방법을 알아보자
1.Github setting
1.1. github setting 클릭

1.2. developer setting에서 GitHub Apps 클릭
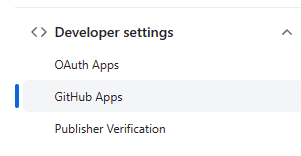
1.3. New GitHub App 클릭

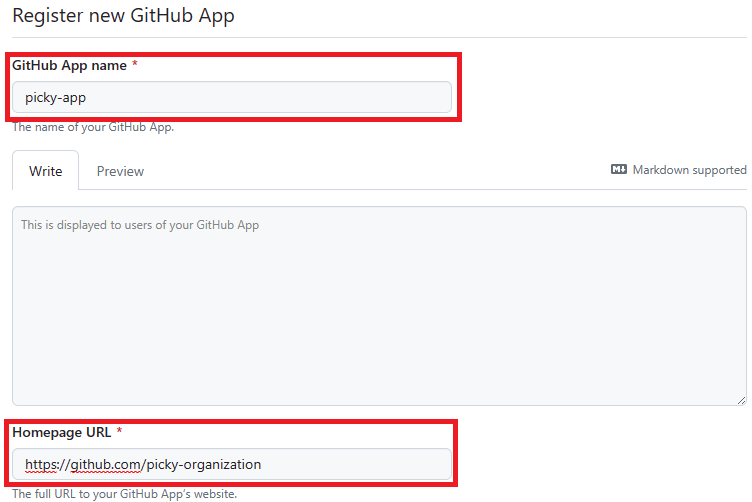
1.4. GitHub App 생성
1.4.1. GitHub App Name : 원하는 이름입력
1.4.2. Homepage URL : Gihub Organization 주소입력
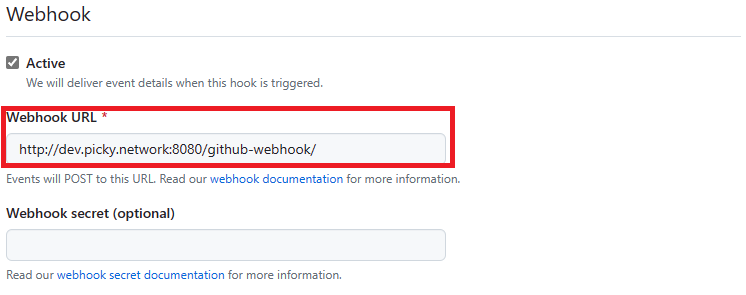
1.4.3. webhook 설정 : jenkins 주소를 입력하고 /github-webhook/ 을 붙인다
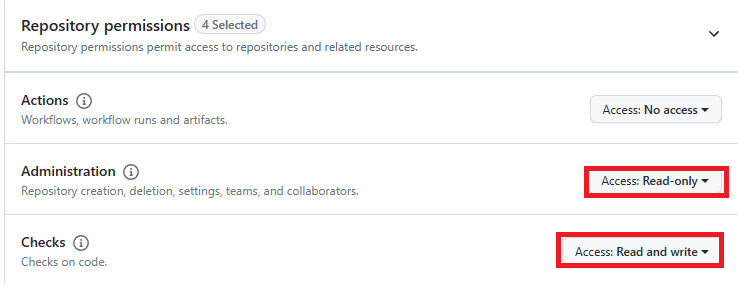
1.4.4. Repository permission 설정
- Administration : Readonly
- Checks : Read and Write
- Metadata : Read-only

- Pull Requests : Read-only

- Commit statuses : Read and write

- Webhooks : Read and write
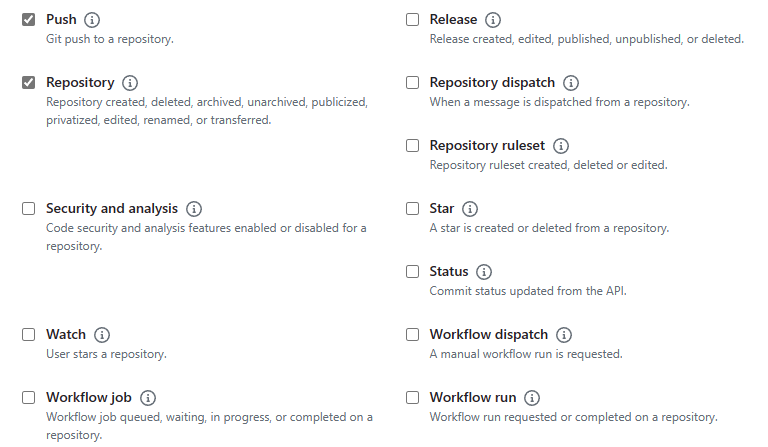
1.4.5 Subscribe to events
- Check run
- Check suite
- Pull Request
- Push
- Repository

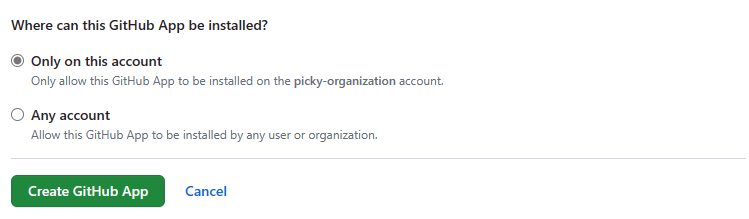
1.4.5. Create GitHub App
1.5. GitHub App 설정
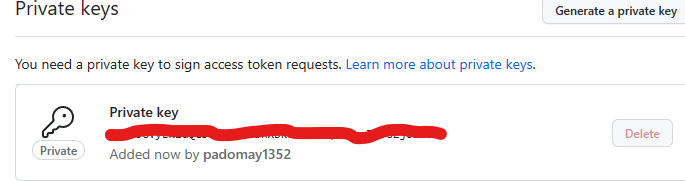
1.5.1 private key 생성
- Generate a privte key

- 생성 & private key 다운로드
github
download
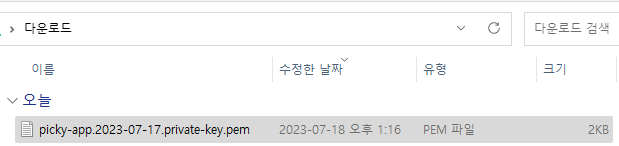
- 다운 받은 private key 변환
openssl pkcs8 -topk8 -inform PEM -outform PEM -in [downdload-key.pem] -out new-key.pem -nocrypt
cat new-key.pem
1.5.2. install app
- Install App 클릭
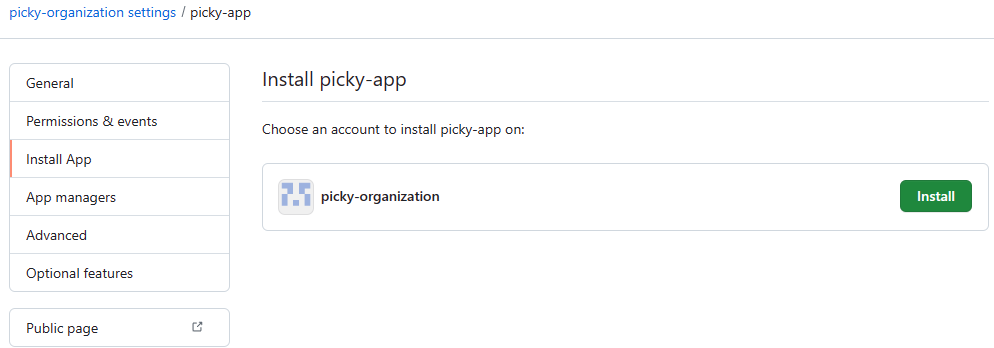
- repository 선택
전체 repository를 선택하거나 원하는 repository만 등록
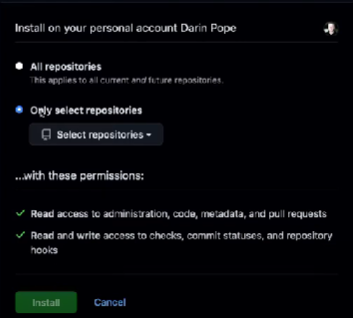
- intall
2. Jenkins 설정
2.1. credentials 생성
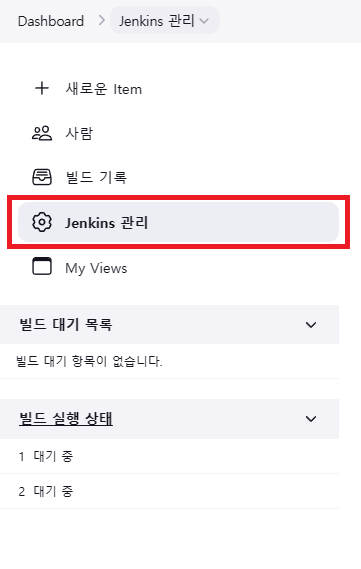
2.1.1. Jenkins 관리(Configure)선택
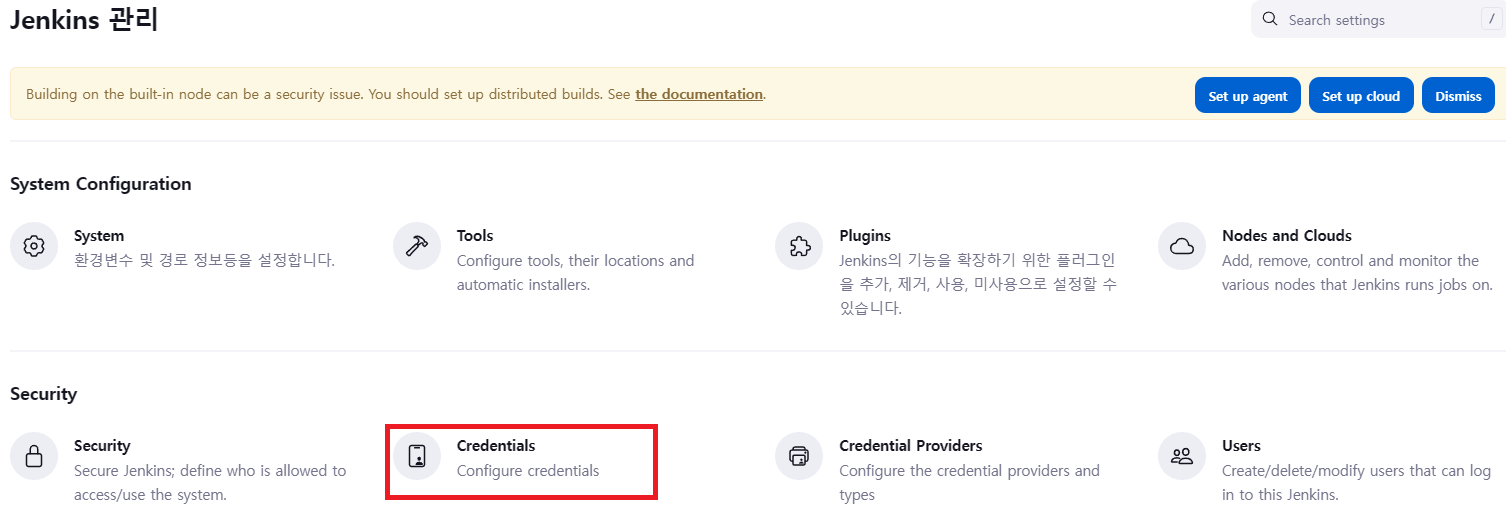
2.1.2. Credentials 클릭
2.1.3. Global 클릭

2.1.4. Add Credentials 클릭

2.1.5.값 입력
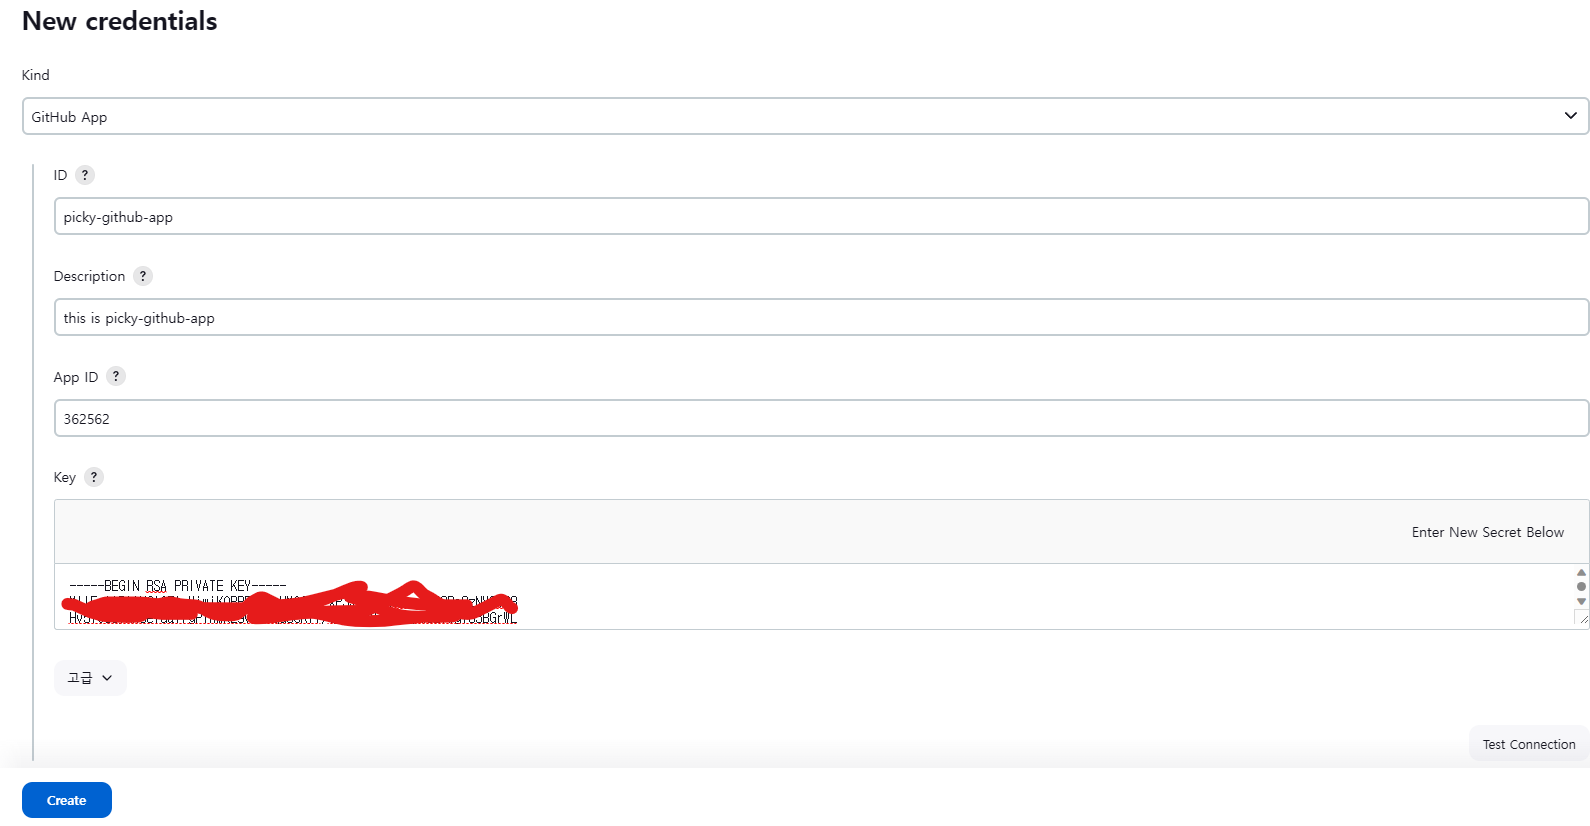
2.1.5.1. Kind 선택
GitHub App 선택
2.1.6.1. 원하는 id 입력
ex) my-github-app
2.1.7.1. Description 추가
ex) this is my-github-app
2.1.8.1. App ID 입력
1. GitHub Organization에서 Settings 클릭

2. GitHub Apps 클릭
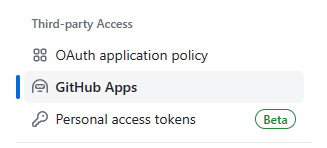
3. developer setting에서 GitHub Apps 클릭
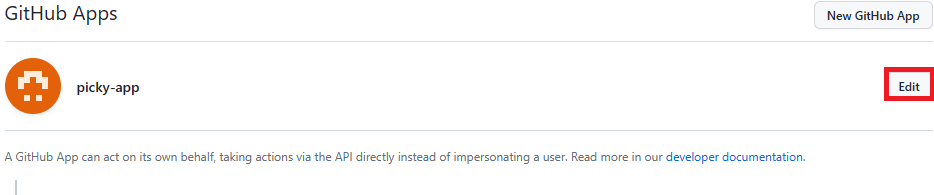
4. Configure 클릭

5. Edit 클릭
6. App id 복사
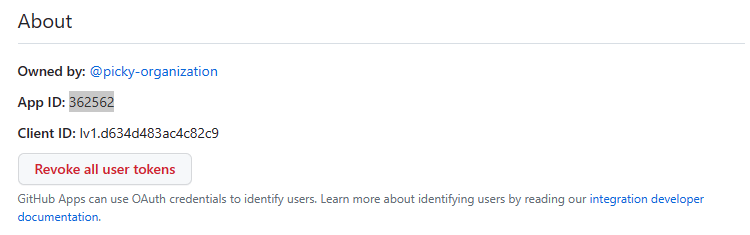
7. jenkins에 App id 입력
8. new-key.pem 입력
9. Create
2.2. jenkins item 생성
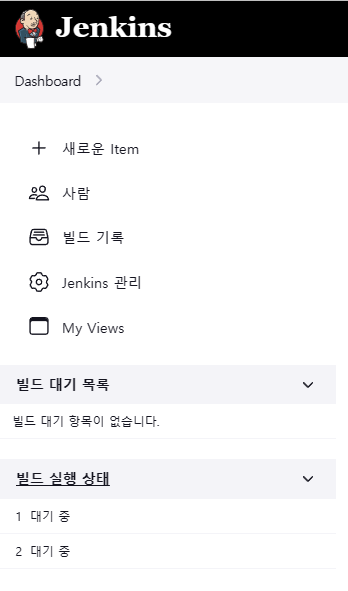
2.2.1. 새로운 item 생성 클릭
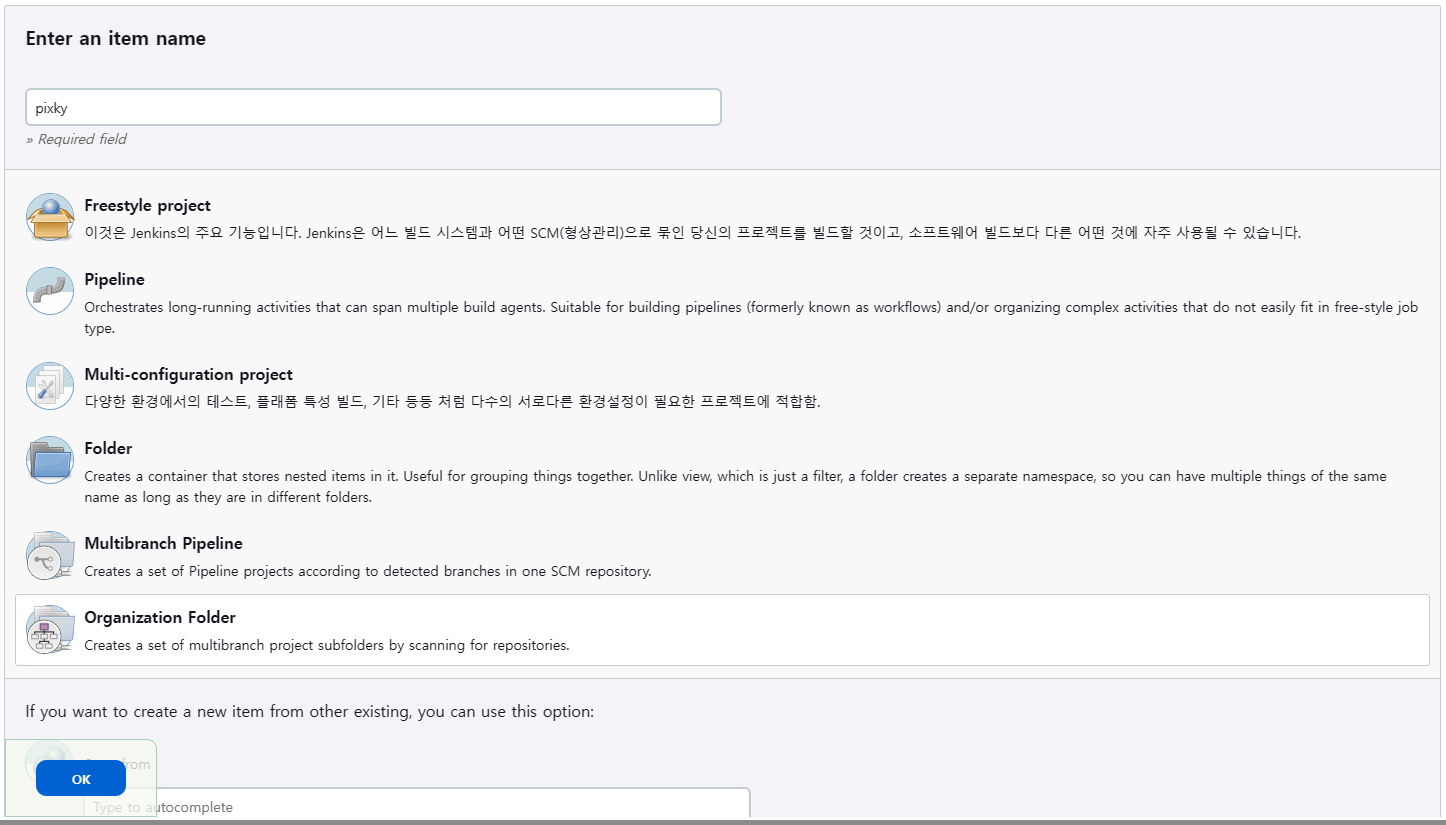
2.2.2. item 생성
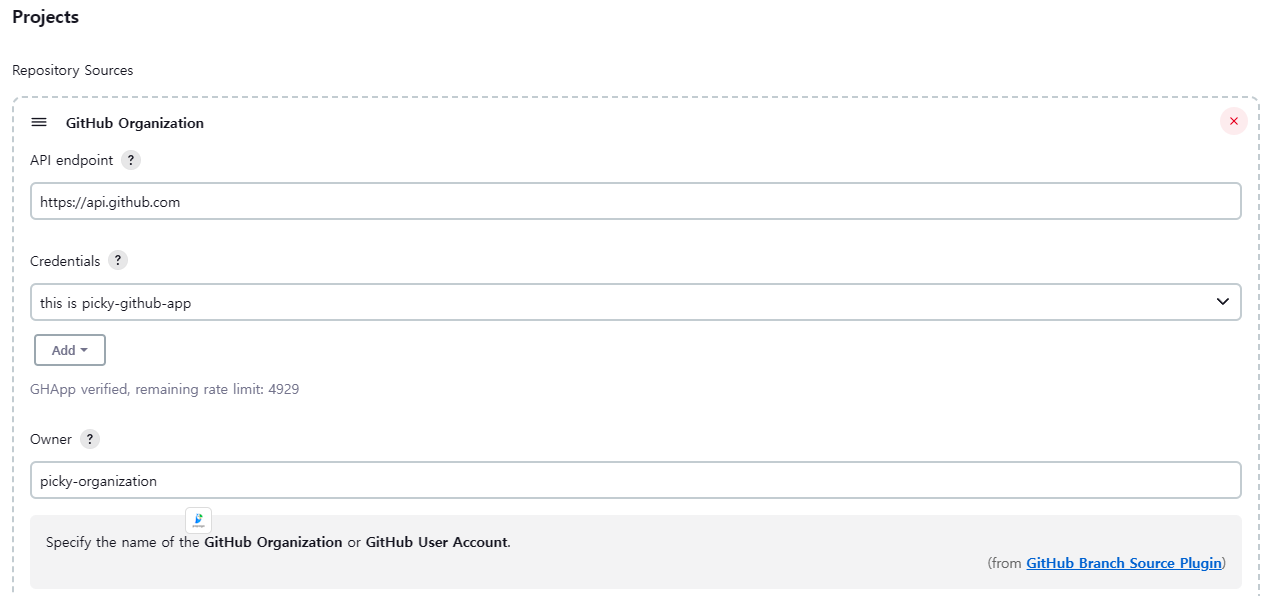
2.2.3. project 값 입력
- Api endpoint : 비워둘 경우 알아서 채워짐
- credentials 앞에 생성한 것 선택
- owner : organization 이름 입력
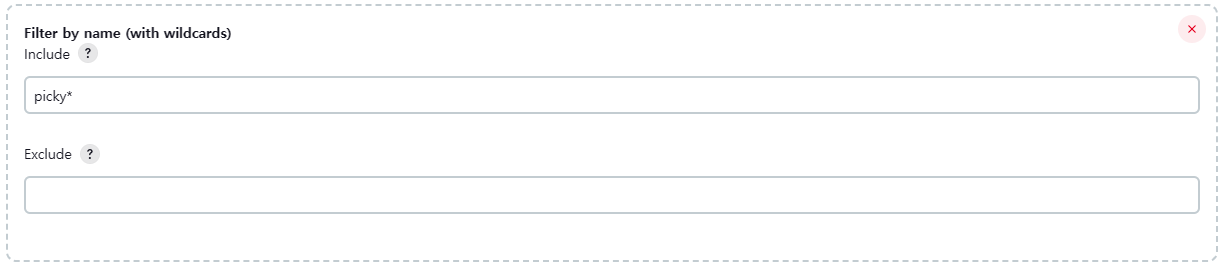
- 특정 레포지토리만 가져오도록 하도록 세팅
GitHub Organization -> Add 클릭 -> Repository -> filter by name (with wildcards)
2.2.4 원할 경우 쭉 내린뒤 특정 branch만 필터링
GitHub Organization -> Add 클릭 -> -> Winthin repository -> filter by name (with wildcards)

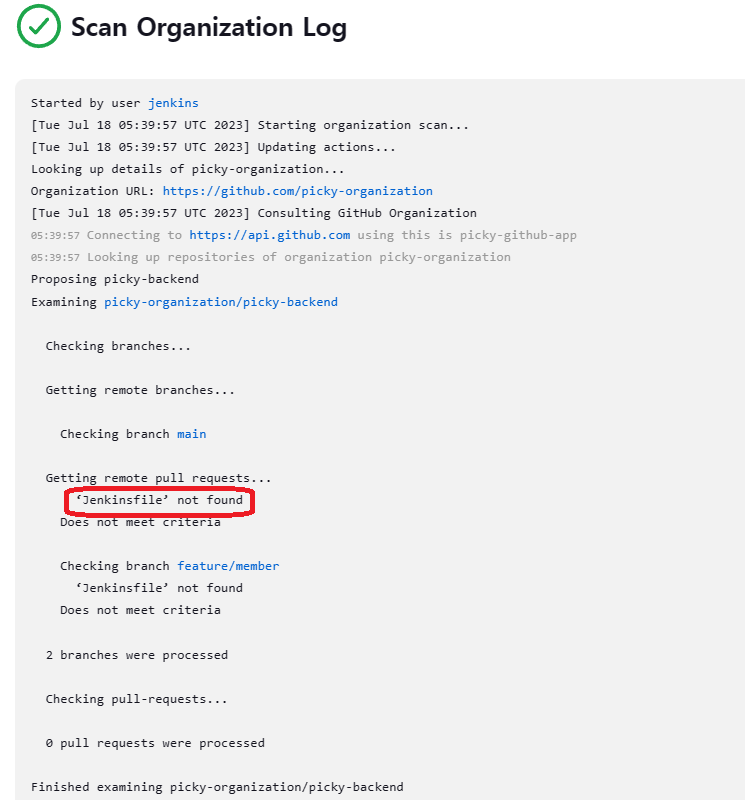
2.2.4 생성후 스캔
레포지토리는 잘 스캔 되지만 Jenkinsfile을 찾을 수가 없어서 CI를 수행 할 수 없다.
3. Jenkinsfile 생성 및 테스트
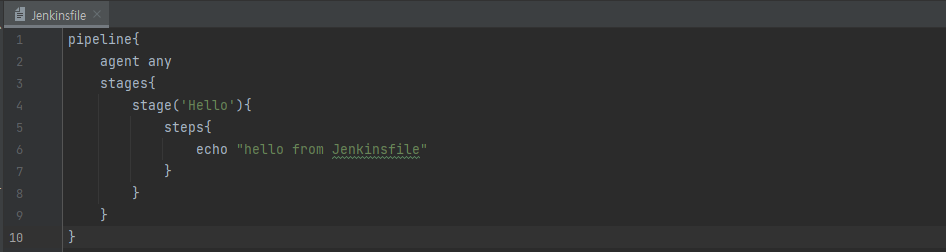
3.1. repository 최상위에 Jenkinsfile 생성 & 작성
3.2. 테스트를 위한 branch 생성 후 이동
git switch -c feature/jenkins3.3. commit후 push
git commit -a -m "[test] Jenkinsfile 테스트"
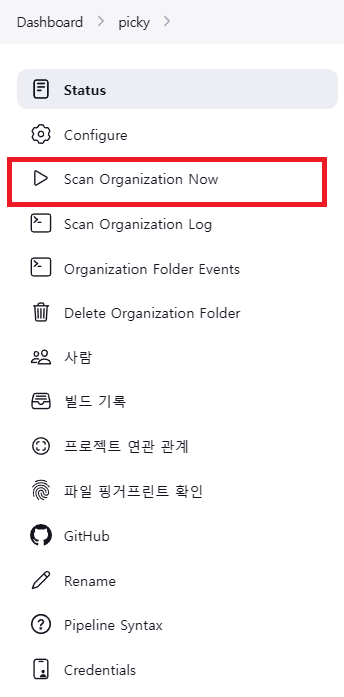
git push3.4. Scan Organization Now
Jenkinsfile을 올린 후 다시 scan 해본다.
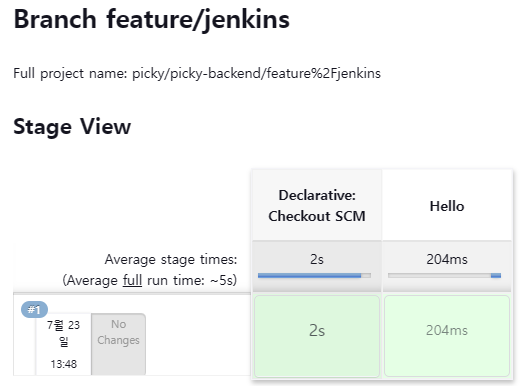
3.5. 확인
picky-backend repository에 feature/jenkins branch가 확인 된다.
3.6 빌드 결과
4. Jenkinsfile stage 작성 완료
def PROJECT_NAME = 'picky-0.0.1-SNAPSHOT
pipeline{
    agent any
    stages{
        stage('Prepare'){
            steps {
                sh 'gradle clean'
            }
        }
        stage('Build') {
            steps {
                sh 'gradlew build -x test'
            }
        }
        stage('Test') {
            steps {
                sh 'gradlew test'
            }
        }
        stage('Deploy Prepare'){
            steps{
                sh 'sudo kill $(pgrep -f ${PROJECT_NAME})'
            }
        }
        stage('Deploy') {
            steps {
                sh 'nohup java -jar ./build/libs/${PROJECT_NAME}.jar &'
            }
        }
    }
}