프로젝트를 진행하며 alert창을 써야할 일이 많아졌다. 토큰이 없어 권한이 없다거나 삭제를 해야할때 경고창 등 사용해야할 경우가 늘어남에 따라 JS에서 지원하는 기본 alert창을 쓰기가 싫어졌다.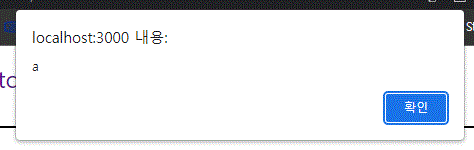
너무나 투박하다. ㅠㅠ
여기서 우리는 Sweetalert를 사용해보자. 우선 설치를 먼저하도록 하자.
npm install sweetalert2위 명령어로 간단하게 설치할 수 있다. 그 후
import Swal from "sweetalert2";원하는 페이지에 위와같이 라이브러리를 불러와 사용하면 된다. 공식페이지에서 확인해본 결과 타이머, 아이콘, 취소 버튼등 다양한 기능을 지원하고 API까지 연결할 수 있다!
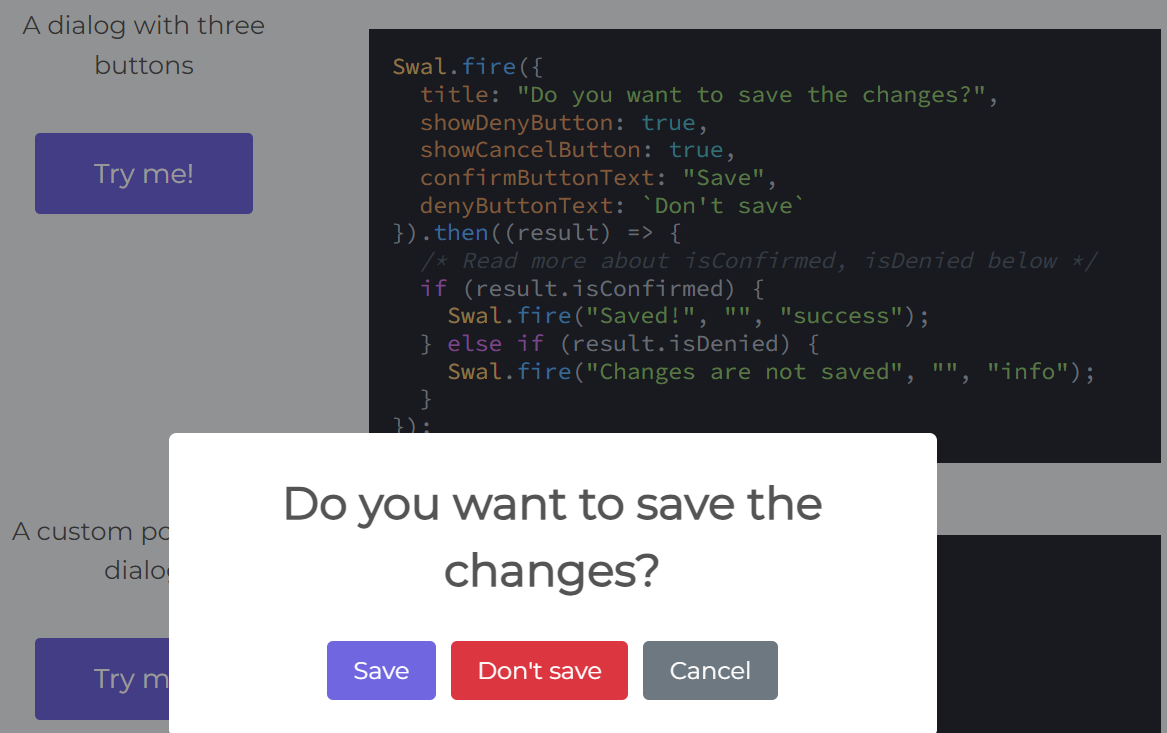
'A dialog with three buttons'와 같이 코드를 작성하면 유저가 원하는 글구의 alert를 작성할 수 있고, 또한 'result.isConfirmed'와 같이 원하는 기능도 추가가 가능하다.
불편한 점 발생

내가 구현해햐 하는 ALert는 사진과 같은데, 단순히 Swal에서 CSS를 설정해주기에는 한계가 많다. 바뀌지 않는 부분도 많고 세세한 설정이 먹히지 않기 떄문이었다 ㅠㅠ
해결방법
그래서 나는 그냥 CSS 파일을 만들어 불러오기로 했다.
.popup {
  display: flex;
  align-items: center;
  justify-content: center;
  height: 150px;
  width: 252px;
  font-size: 10px;
  color: #c2c2c2;
  font-weight: bold;
  border-radius: 20px;
}

.confirmButton {
  color: black;
  background-color: white;
  border-width: 2px;
  padding: 8px 30px;
  border-color: black;
  border-radius: 50px;
  margin-right: 20px;
  font-weight: bold;
  font-size: 13px;
}
.cancelButton {
  padding: 8px 30px;
  border-radius: 50px;
  color: white;
  background-color: red;
  border-width: 2px;
  border-color: red;
  font-weight: bold;
  font-size: 13px;
}
.title {
  color: black;
  font-size: 15px;
  font-weight: bold;
}
.htmlContainer {
  font-size: 20px;
}
const swalButton = Swal.mixin({
    customClass: {
      popup: "popup", // 전체
      confirmButton: "confirmButton", // 취소
      cancelButton: "cancelButton", // 삭제
      title: "title", // 타이틀
      htmlContainer: "htmlContainer", // 내용
    },
    buttonsStyling: false,
  });
미리 swalButton이라는 함수에 custom할 Swal Alert를 선언해주고 위 css를 적용한다!
const handleSubmit = useCallback(
    async (event: React.FormEvent) => {
      event.preventDefault();
      if (!token) {
        swalButton
          .fire({
            title: "로그인 필요한 서비스입니다.",
            text: "로그인이 하시겠습니까?",
            showCancelButton: true,
            confirmButtonColor: "blue",
            cancelButtonColor: "#d33",
            confirmButtonText: "취소",
            cancelButtonText: "로그인",
          })
          .then((result) => {
            if (result.dismiss === Swal.DismissReason.cancel) {
              localStorage.setItem("prevUrl", window.location.href);
              navigate("/login");
            }
          });
        return;
      }
      try {
		...
그 다음 Alert가 필요한 함수에 넣어주면 끝이다! 다른 블로그들을 뒤져봐도 자세히 커스터마이징 하는 방법을 찾기가 어려웠는데, 이렇게 해주니 간단하게 해결할 수 있었다~

점진적 과부하