코드로 작성한 Collection View는 아래에서 확인하실 수 있습니다.
https://velog.io/@panther222128/UICollectionView-Programmatically-Practice
XIB를 활용한 Collection View 구현은 아래 링크에서 내용을 확인하실 수 있습니다.
https://velog.io/@panther222128/UICollectionView-with-XIB-Practice
https://developer.apple.com/documentation/uikit/uicollectionview
"An object that manages an ordered collection of data items and presents them using customizable layouts."
정렬된 데이터 집합을 관리하는 객체로 커스텀이 가능한 레이아웃을 사용하면서 데이터를 보여줍니다.
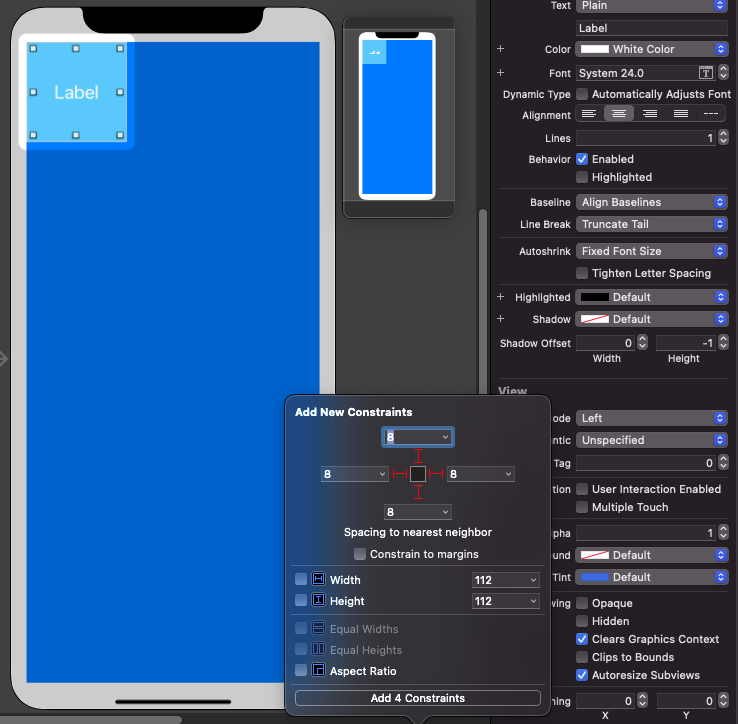
아래는 스토리보드에서 CollectionView를 추가하고 이미지 밑에 적을 예정인 CollectionView 객체와 CollectionViewCell 객체를 연결한 모습입니다. 또한, Autolayout도 설정된 상태입니다.


커스텀 UICollectionView를 생성했습니다. UICollectionViewDelegate와 UICollectionViewDataSource 프로토콜을 채택했습니다. 프로토콜에서 CustomCell을 100개 생성할 것이며, 이후 생성하게 될 CustomCell의 label에 원하는 글자를 넣어줬습니다.
class CollectionViewPractice: UICollectionView {

    init(collectionView: UICollectionView, frame: CGRect) {
        let layout = UICollectionViewLayout()
        super.init(frame: frame, collectionViewLayout: layout)
        initializeCollectionView()
    }

    required init?(coder: NSCoder) {
        super.init(coder: coder)
        initializeCollectionView()
    }

    func initializeCollectionView() {
        self.delegate = self
        self.dataSource = self
    }

}

extension CollectionViewPractice: UICollectionViewDelegate, UICollectionViewDataSource {

    func collectionView(_ collectionView: UICollectionView, numberOfItemsInSection section: Int) -> Int {
        return 100
    }

    func collectionView(_ collectionView: UICollectionView, cellForItemAt indexPath: IndexPath) -> UICollectionViewCell {
        let customCell = collectionView.dequeueReusableCell(withReuseIdentifier: "customCell", for: indexPath) as! CollectionViewCell
        customCell.label.text = "무야호~"
        return customCell
    }

}
아래 이미지처럼 셀에 label 하나를 추가했습니다. 스토리보드 내에서 오른쪽 창을 통해 글자 색상과 폰트 사이즈, 가운데 정렬을 설정했습니다. Auto layout도 설정했습니다.
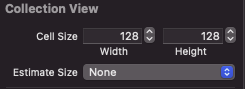
셀의 사이즈를 설정하려면 스토리보드 내 Cell이 아닌 CollectionView에서 셀의 사이즈를 조절합니다. 아래 이미지처럼 원하는 Cell Size를 입력하고 Estimate Size를 None으로 변경합니다.
아래처럼 셀 객체를 만들었습니다. 셀에 label 하나가 들어갈 것이니 스토리보드로부터 label을 연결합니다.
class CollectionViewCell: UICollectionViewCell {

    @IBOutlet weak var label: UILabel!

    override init(frame: CGRect) {
        super.init(frame: frame)
        configureCell()
    }

    required init?(coder: NSCoder) {
        super.init(coder: coder)
        configureCell()
    }

    func configureCell() {
        self.backgroundColor = .blue
    }

}
ViewController의 모습은 아래와 같습니다. 스토리보드에서 연결한 collectionViewPractice에 이전에 생성했던 CollectionViewPractice를 따르도록 했습니다.
class ViewController: UIViewController {
@IBOutlet weak var collectionViewPractice: CollectionViewPractice!
override func viewDidLoad() {
super.viewDidLoad()
}
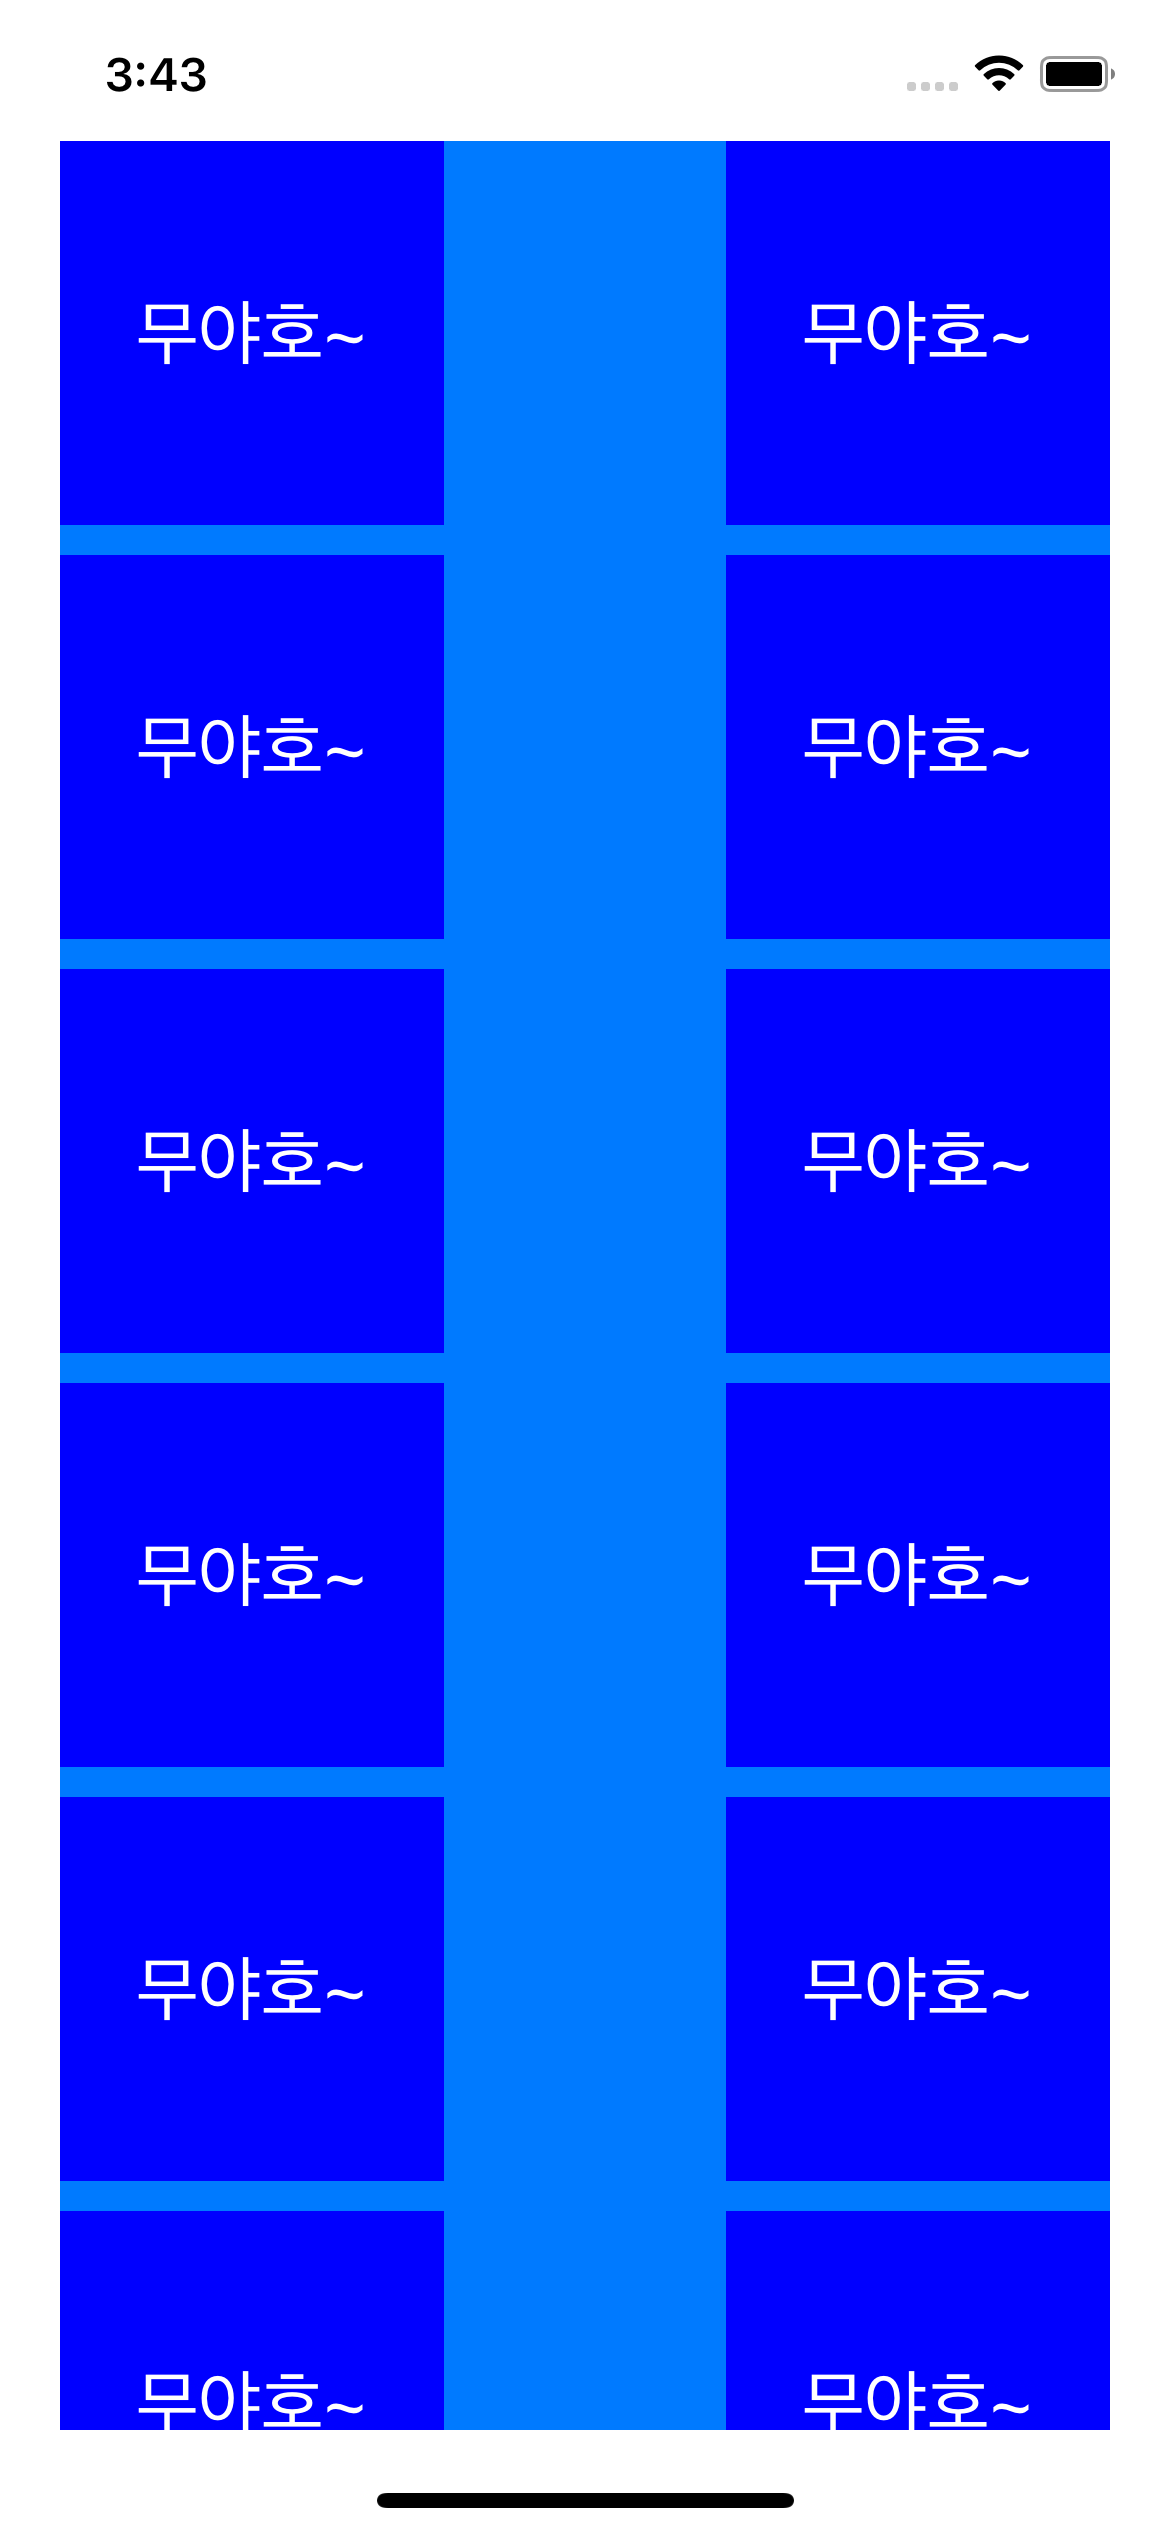
}결과는 아래와 같습니다.
UICollectionView의 Protocol
UICollectionViewDelegate
https://developer.apple.com/documentation/uikit/uicollectionviewdelegate
"The methods adopted by the object you use to manage user interactions with items in a collection view."
사용자가 CollectionView에 있는 items과 상호작용할 때 발생하는 일을 다루는 프로토콜입니다. Documentation 아래를 보면 didSelectItemAt, willDisplay 등이 보이는데, 대부분 설명에 'Tells the delegate that ~ '으로 시작하는 것으로 보아 어떤 이벤트가 발생했다고 delegate를 전달하는 모양입니다.
UICollectionViewDataSource
https://developer.apple.com/documentation/uikit/uicollectionviewdatasource
"The methods adopted by the object you use to manage data and provide cells for a collection view."
Data 관리와 Cell을 제공하는 역할을 합니다. 사실 생각해보면 CollectionView 자체가 어떤 정보를 담고 보여야 하는데, 어떤 것을 몇 개나 어떻게 보여줄지를 결정하는 것은 당연하다고 생각할 수 있습니다.