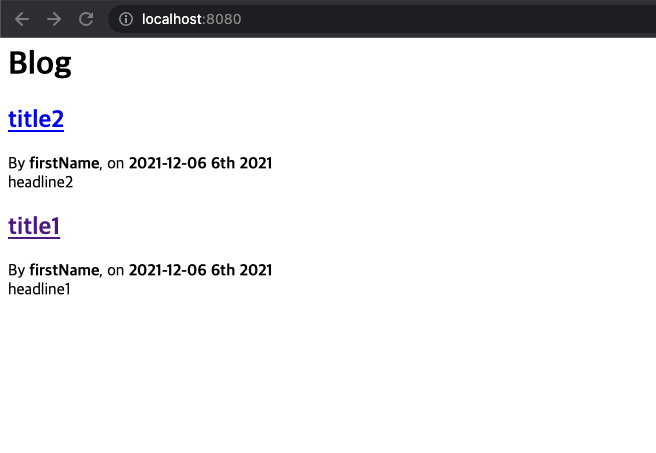
무스타치 템플릿 수정하기
src/main/resources/templates/blog.mustache
{{> header}}
<h1>{{title}}</h1>
<div class="articles">
{{#articles}}
<section>
<header class="article-header">
<h2 class="article-title"><a href="/article/{{slug}}">{{title}}</a></h2>
<div class="article-meta">By <strong>{{author.firstName}}</strong>, on <strong>{{addedAt}}</strong></div>
</header>
<div class="article-description">
{{headline}}
</div>
</section>
{{/articles}}
</div>
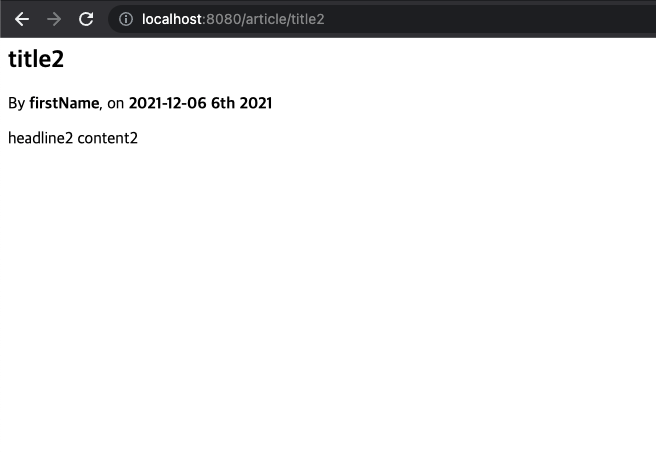
{{> footer}}새 템플릿 article을 추가해준다
src/main/resources/templates/article.mustache
{{> header}}

<section class="article">
    <header class="article-header">
        <h1 class="article-title">{{article.title}}</h1>
        <p class="article-meta">By  <strong>{{article.author.firstName}}</strong>, on <strong>{{article.addedAt}}</strong></p>
    </header>
    <div class="article-description">
        {{article.headline}}
        {{article.content}}
    </div>
</section>

{{> footer}}
그리고 HtmlController를 업데이트 해준다.
src/main/kotlin/com/example/demo/HtmlController.kt
package com.example.demo

import com.example.demo.blog.Article
import com.example.demo.blog.ArticleRepositoriy
import com.example.demo.blog.User
import com.example.demo.blog.format
import org.springframework.http.HttpStatus
import org.springframework.stereotype.Controller
import org.springframework.ui.Model
import org.springframework.ui.set
import org.springframework.web.bind.annotation.GetMapping
import org.springframework.web.bind.annotation.PathVariable
import org.springframework.web.server.ResponseStatusException

@Controller
class HtmlController (private val repository: ArticleRepositoriy) {

    @GetMapping("/")
    fun blog(model: Model): String {
        model["title"] = "Blog"
        model["articles"] = repository.findAllByOrderByAddedAtDesc().map {
            it.render()
        }
        return "blog"
    }

    @GetMapping("/article/{slug}")
    fun article(@PathVariable slug: String, model: Model): String{
        val article = repository
            .findBySlug(slug)
            ?. run{ this.render() }
            ?:throw ResponseStatusException(HttpStatus.NOT_FOUND, "This article does not exist")
        model["title"] = article.title
        model["article"] = article
        return "article"
    }

    fun Article.render() = RenderArticle(
        slug,
        title,
        headline,
        content,
        author,
        addedAt.format()
    )

    data class RenderArticle(
        val slug: String,
        val title: String,
        val headline: String,
        val content: String,
        val author: User,
        val addedAt: String
    )
}
자동으로 autowired가 적용되기 때문에 @Autowired를 사용하지 않아도 된다
DB에 데이터를 넣어보자
src/main/kotlin/com/example/demo/BlogConfiguration.kt
package com.example.demo.blog

import org.springframework.boot.ApplicationRunner
import org.springframework.context.annotation.Bean
import org.springframework.context.annotation.Configuration

@Configuration
class BlogConfiguration {

    @Bean
    fun databaseInitializer(userRepository: UserRepository,
                            articleRepository: ArticleRepositoriy) =
        ApplicationRunner{
            val user = userRepository.save(User("login", "firstName", "lastName"))
            articleRepository.save(Article("title1", "headline1", "content1", user))
            articleRepository.save(Article("title2", "headline2", "content2", user))
        }
}
마지막으로 제대로 작동하는지 테스트코드를 작성하고 진행해보자
src/test/kotlin/com/example/blog/IntegrationTests.kt
package com.example.demo

import com.example.demo.blog.toSlug
import org.assertj.core.api.Assertions.assertThat
import org.junit.jupiter.api.AfterAll
import org.junit.jupiter.api.BeforeAll
import org.junit.jupiter.api.Test
import org.springframework.beans.factory.annotation.Autowired
import org.springframework.boot.test.context.SpringBootTest
import org.springframework.boot.test.web.client.TestRestTemplate
import org.springframework.boot.test.web.client.getForEntity
import org.springframework.http.HttpStatus

@SpringBootTest(webEnvironment = SpringBootTest.WebEnvironment.RANDOM_PORT)
class IntegrationTests(@Autowired val restTemplate: TestRestTemplate){
    @BeforeAll
    fun setup(){
        println(">> Setup")
    }

    @Test
    fun `Assert blog page title, content and status code`() {
        println(" >> Assert blog page test, content and status code")
        val entity = restTemplate.getForEntity<String>("/")
        assertThat(entity.statusCode).isEqualTo(HttpStatus.OK)
        assertThat(entity.body).contains("<h1>Blog</h1>")
    }

    @Test
    fun `Assert article page title, content and status code`() {
        println(">> Assert article page title, content and status code")
        val title = "title1"
        val entity = restTemplate.getForEntity<String>("/article/${title.toSlug()}")
        assertThat(entity.statusCode).isEqualTo(HttpStatus.OK)
        assertThat(entity.body).contains(title, "headline", "content")
    }

    @AfterAll
    fun teardown(){
        println(">> Tear down")
    }
}
테스트 코드가 성공하면 http://localhost:8080/에서 문제없이 작동하는 블로그를 볼 수 있다
JPA를 통해 데이터를 조회하고, 무스타치 템플릿엔진을 통해 웹페이지를 생성했으며, 통합테스트까지 진행해보았다
Reference

https://kktrkkt.github.io/