이전 포스트 branch 생성에 이어 이번엔 Pull Request를 해보자!
PR
순서
1. branch 생성
2. pull
3. 작업
4. add, commit, push
5. Pull Request
1. branch 생성
2. pull
✅ branch 이동하기 전, 꼭 pull 하는거 잊지 말기!
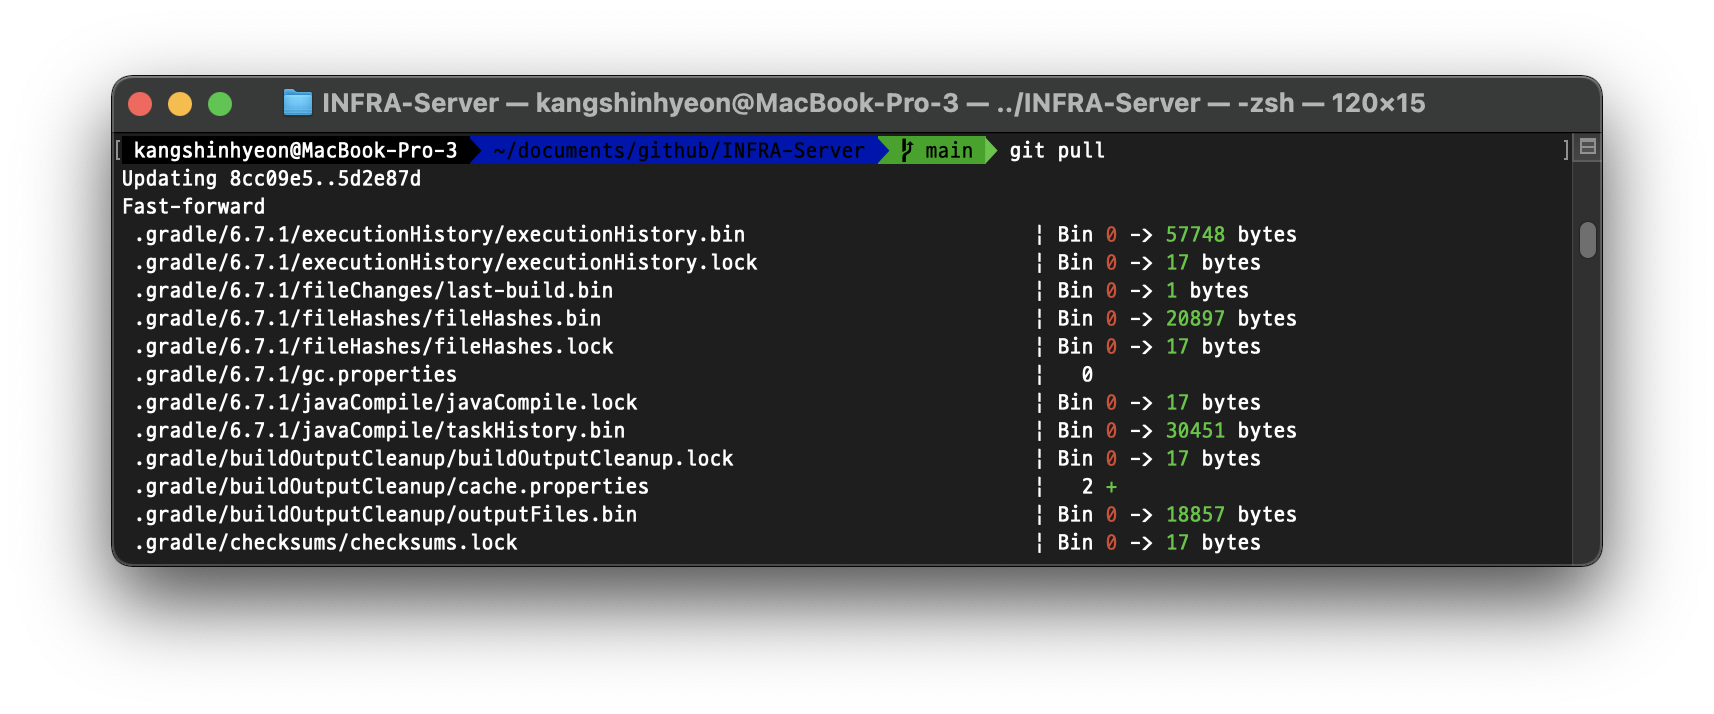
(main branch에서 shinhyeon branch로 이동하기 전, main에서 pull 한 모습)
3. 작업
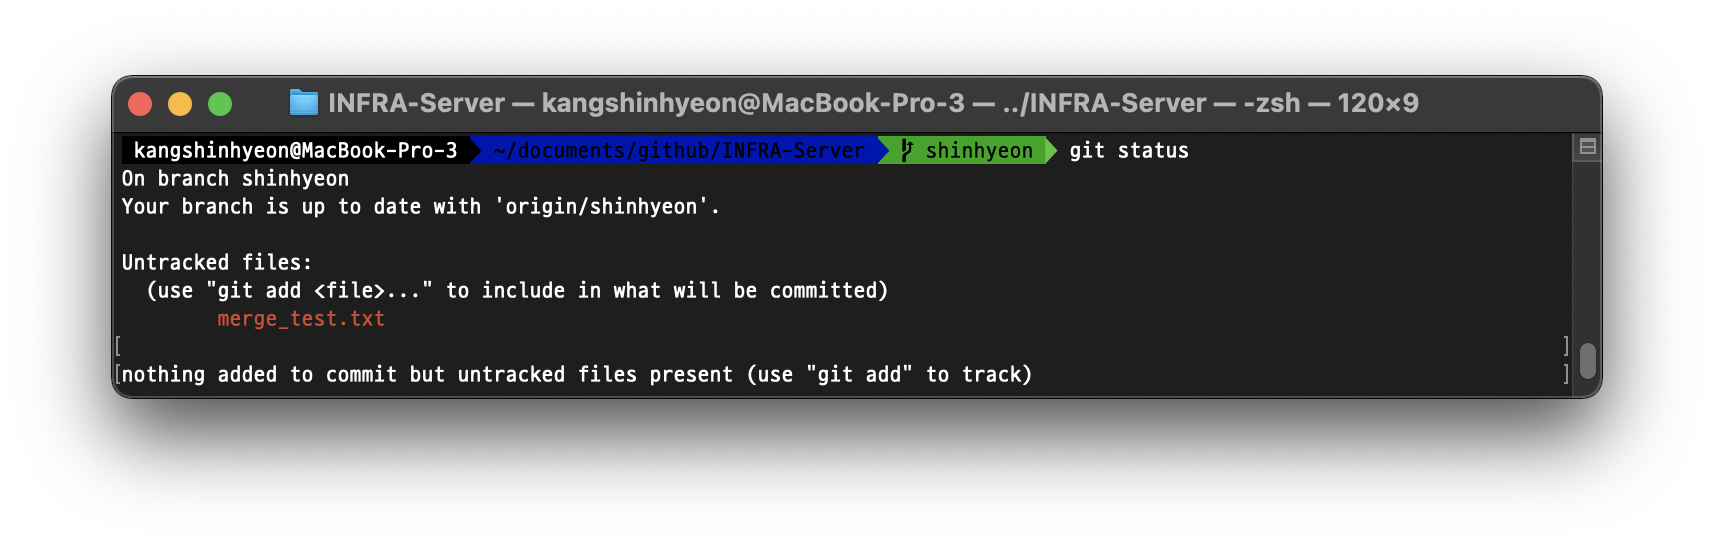
새로운 txt 파일을 생성한 모습
4. add, commit, push
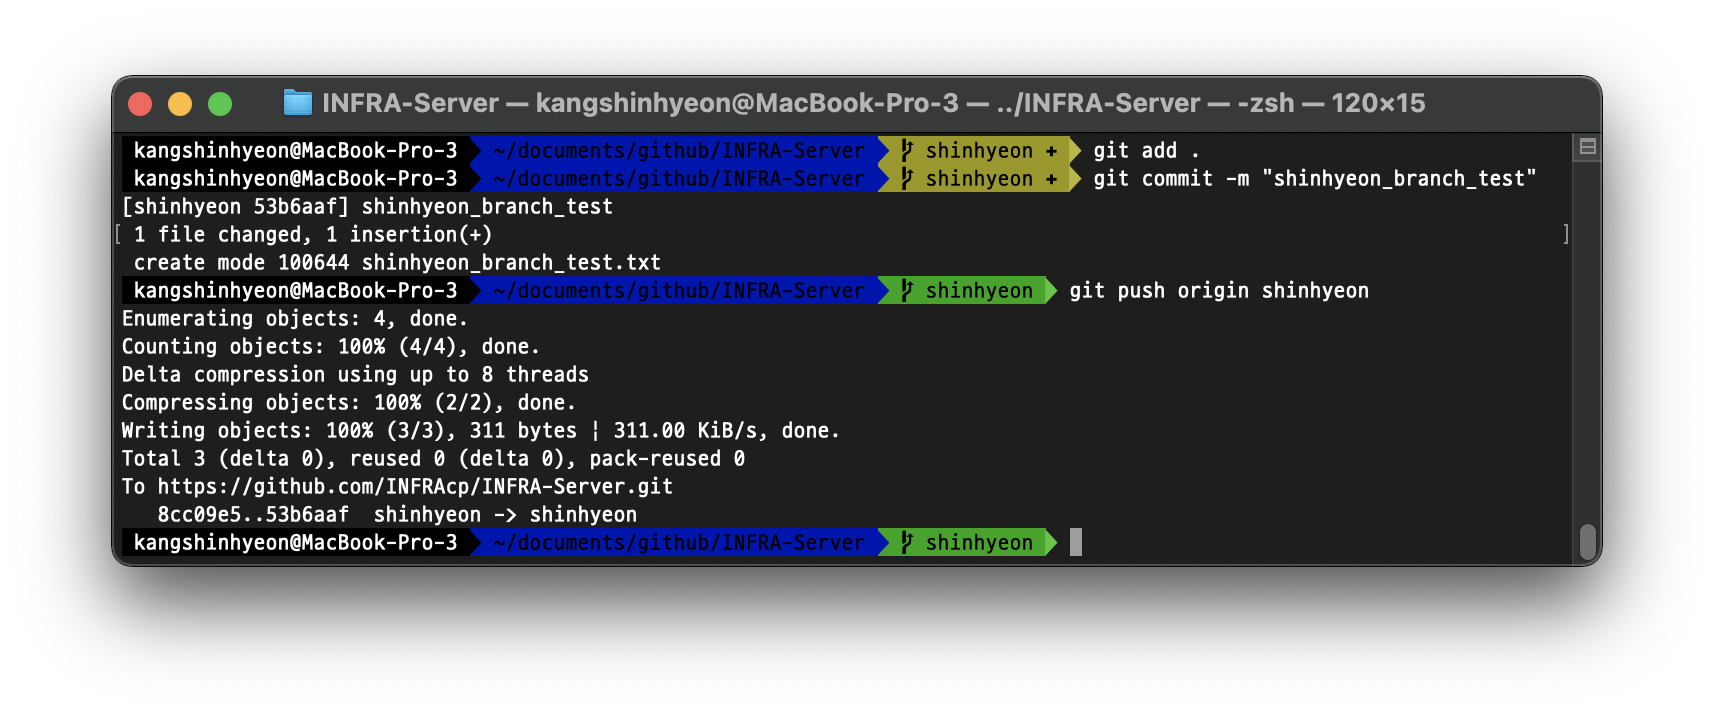
git add.
git commit -m " "
git push origin (branch 이름)
✅ push 진행시에 branch 이름을 꼭 명시해야 함
여기까지만 수행하면 내 branch에 push만 되는거고 main에 merge하기 위해서는 다음 과정을 수행해야 한다.
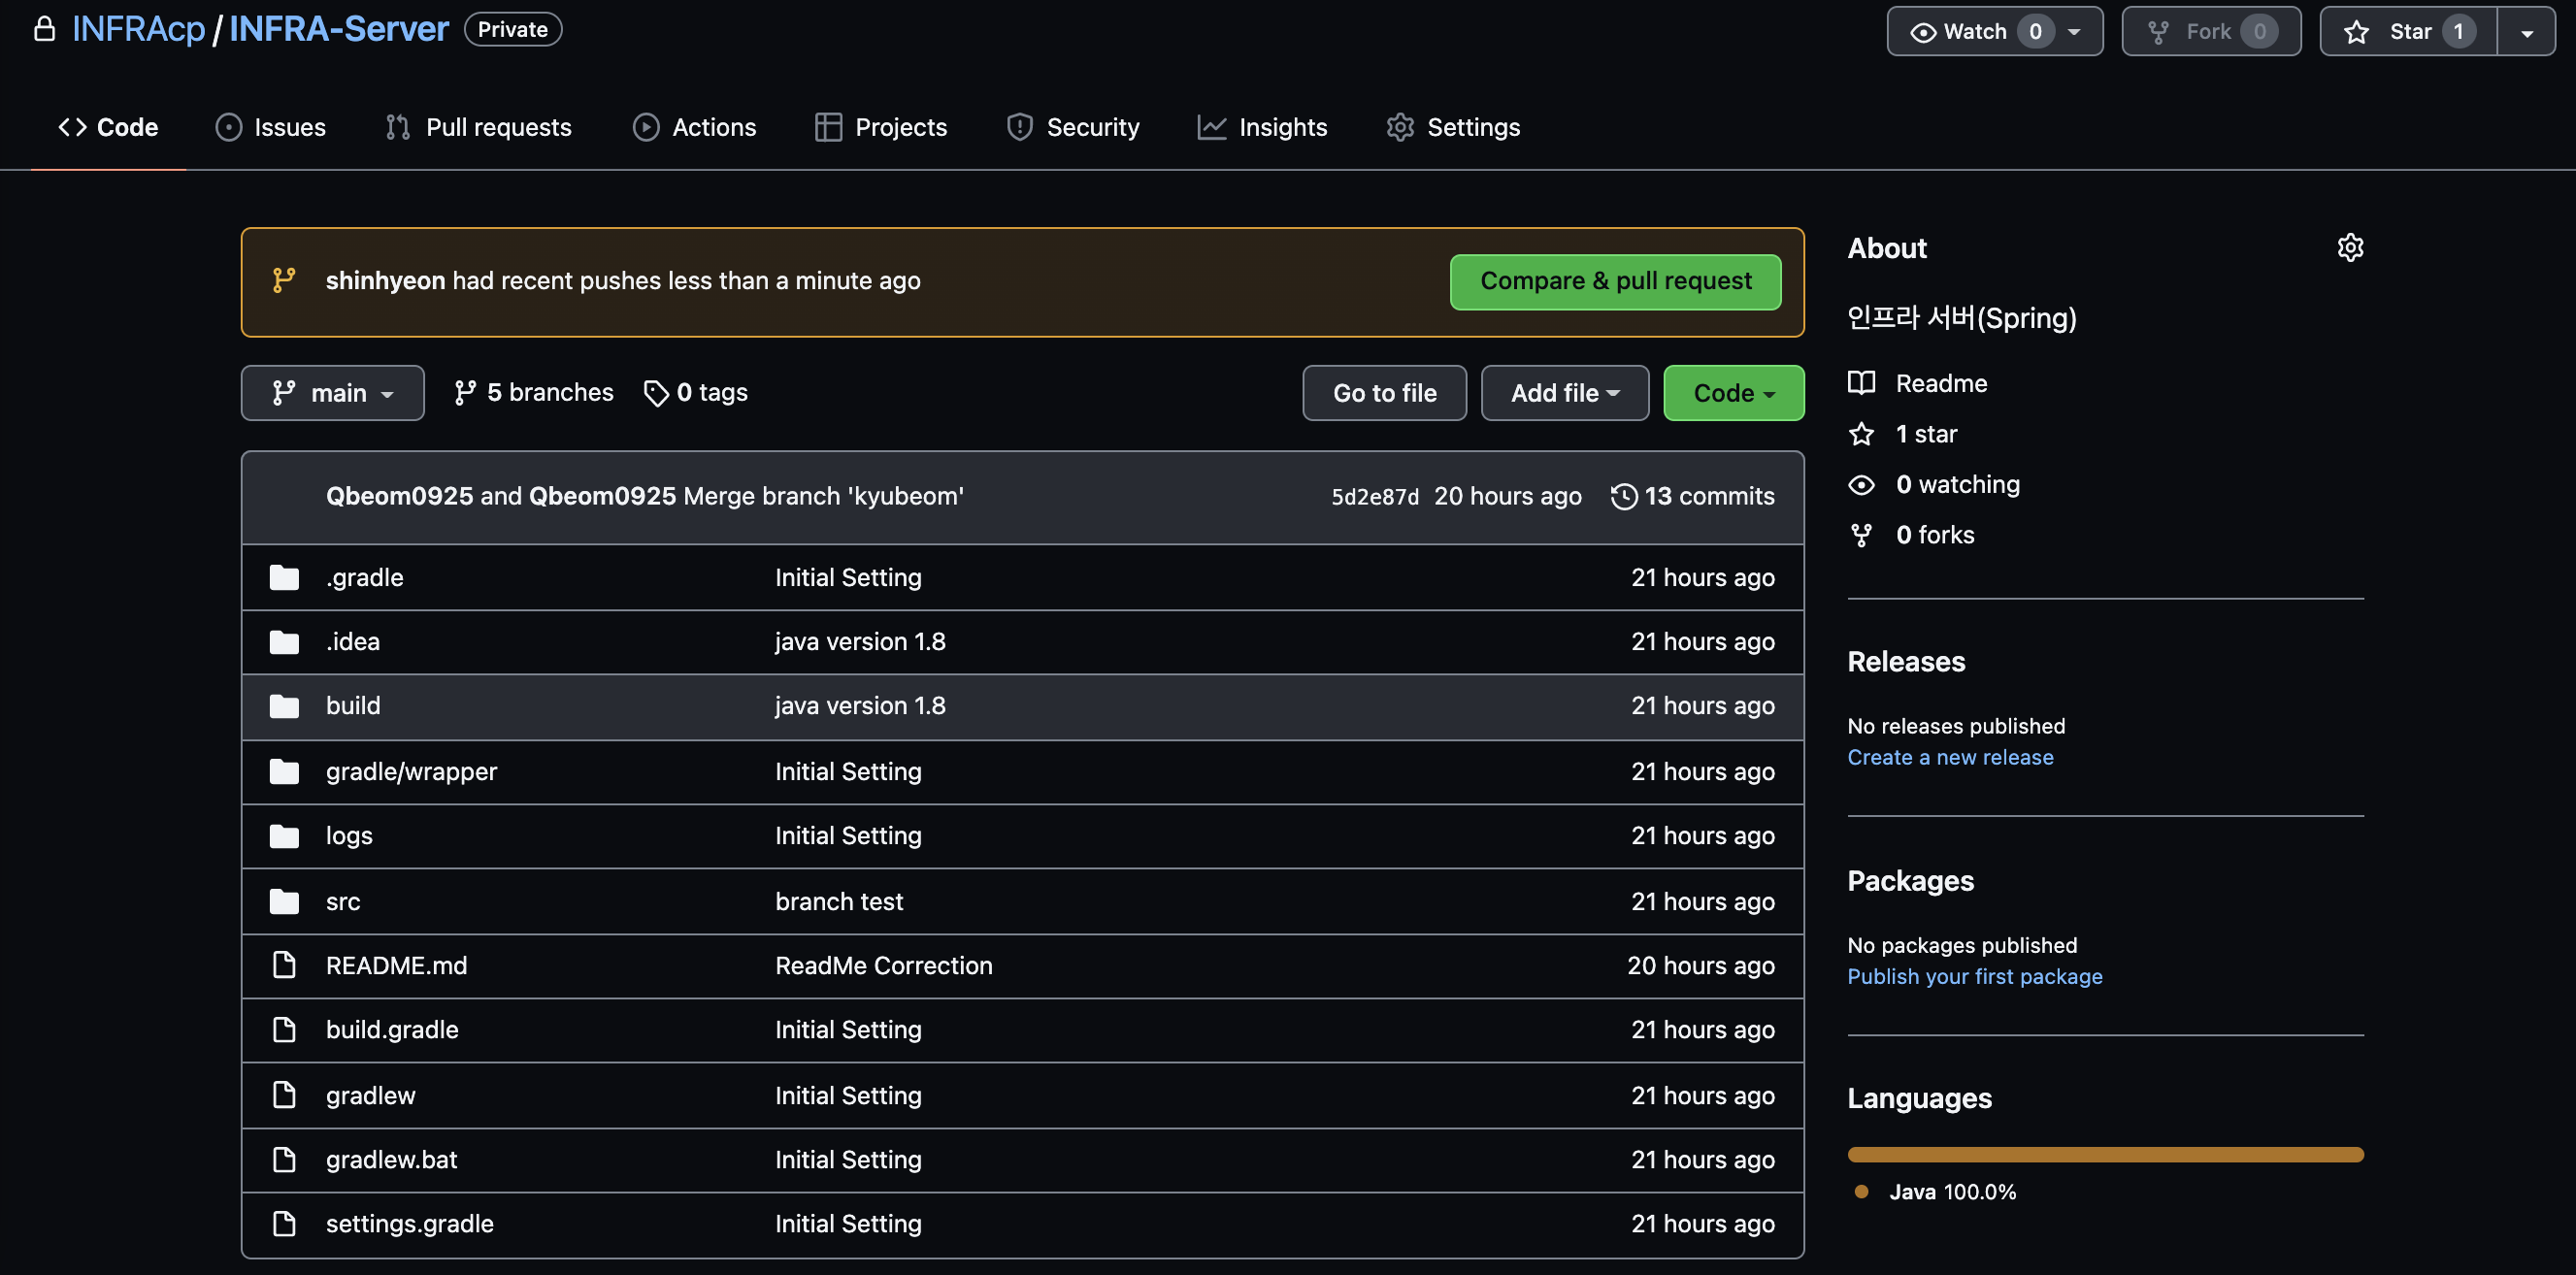
5. Pull Request
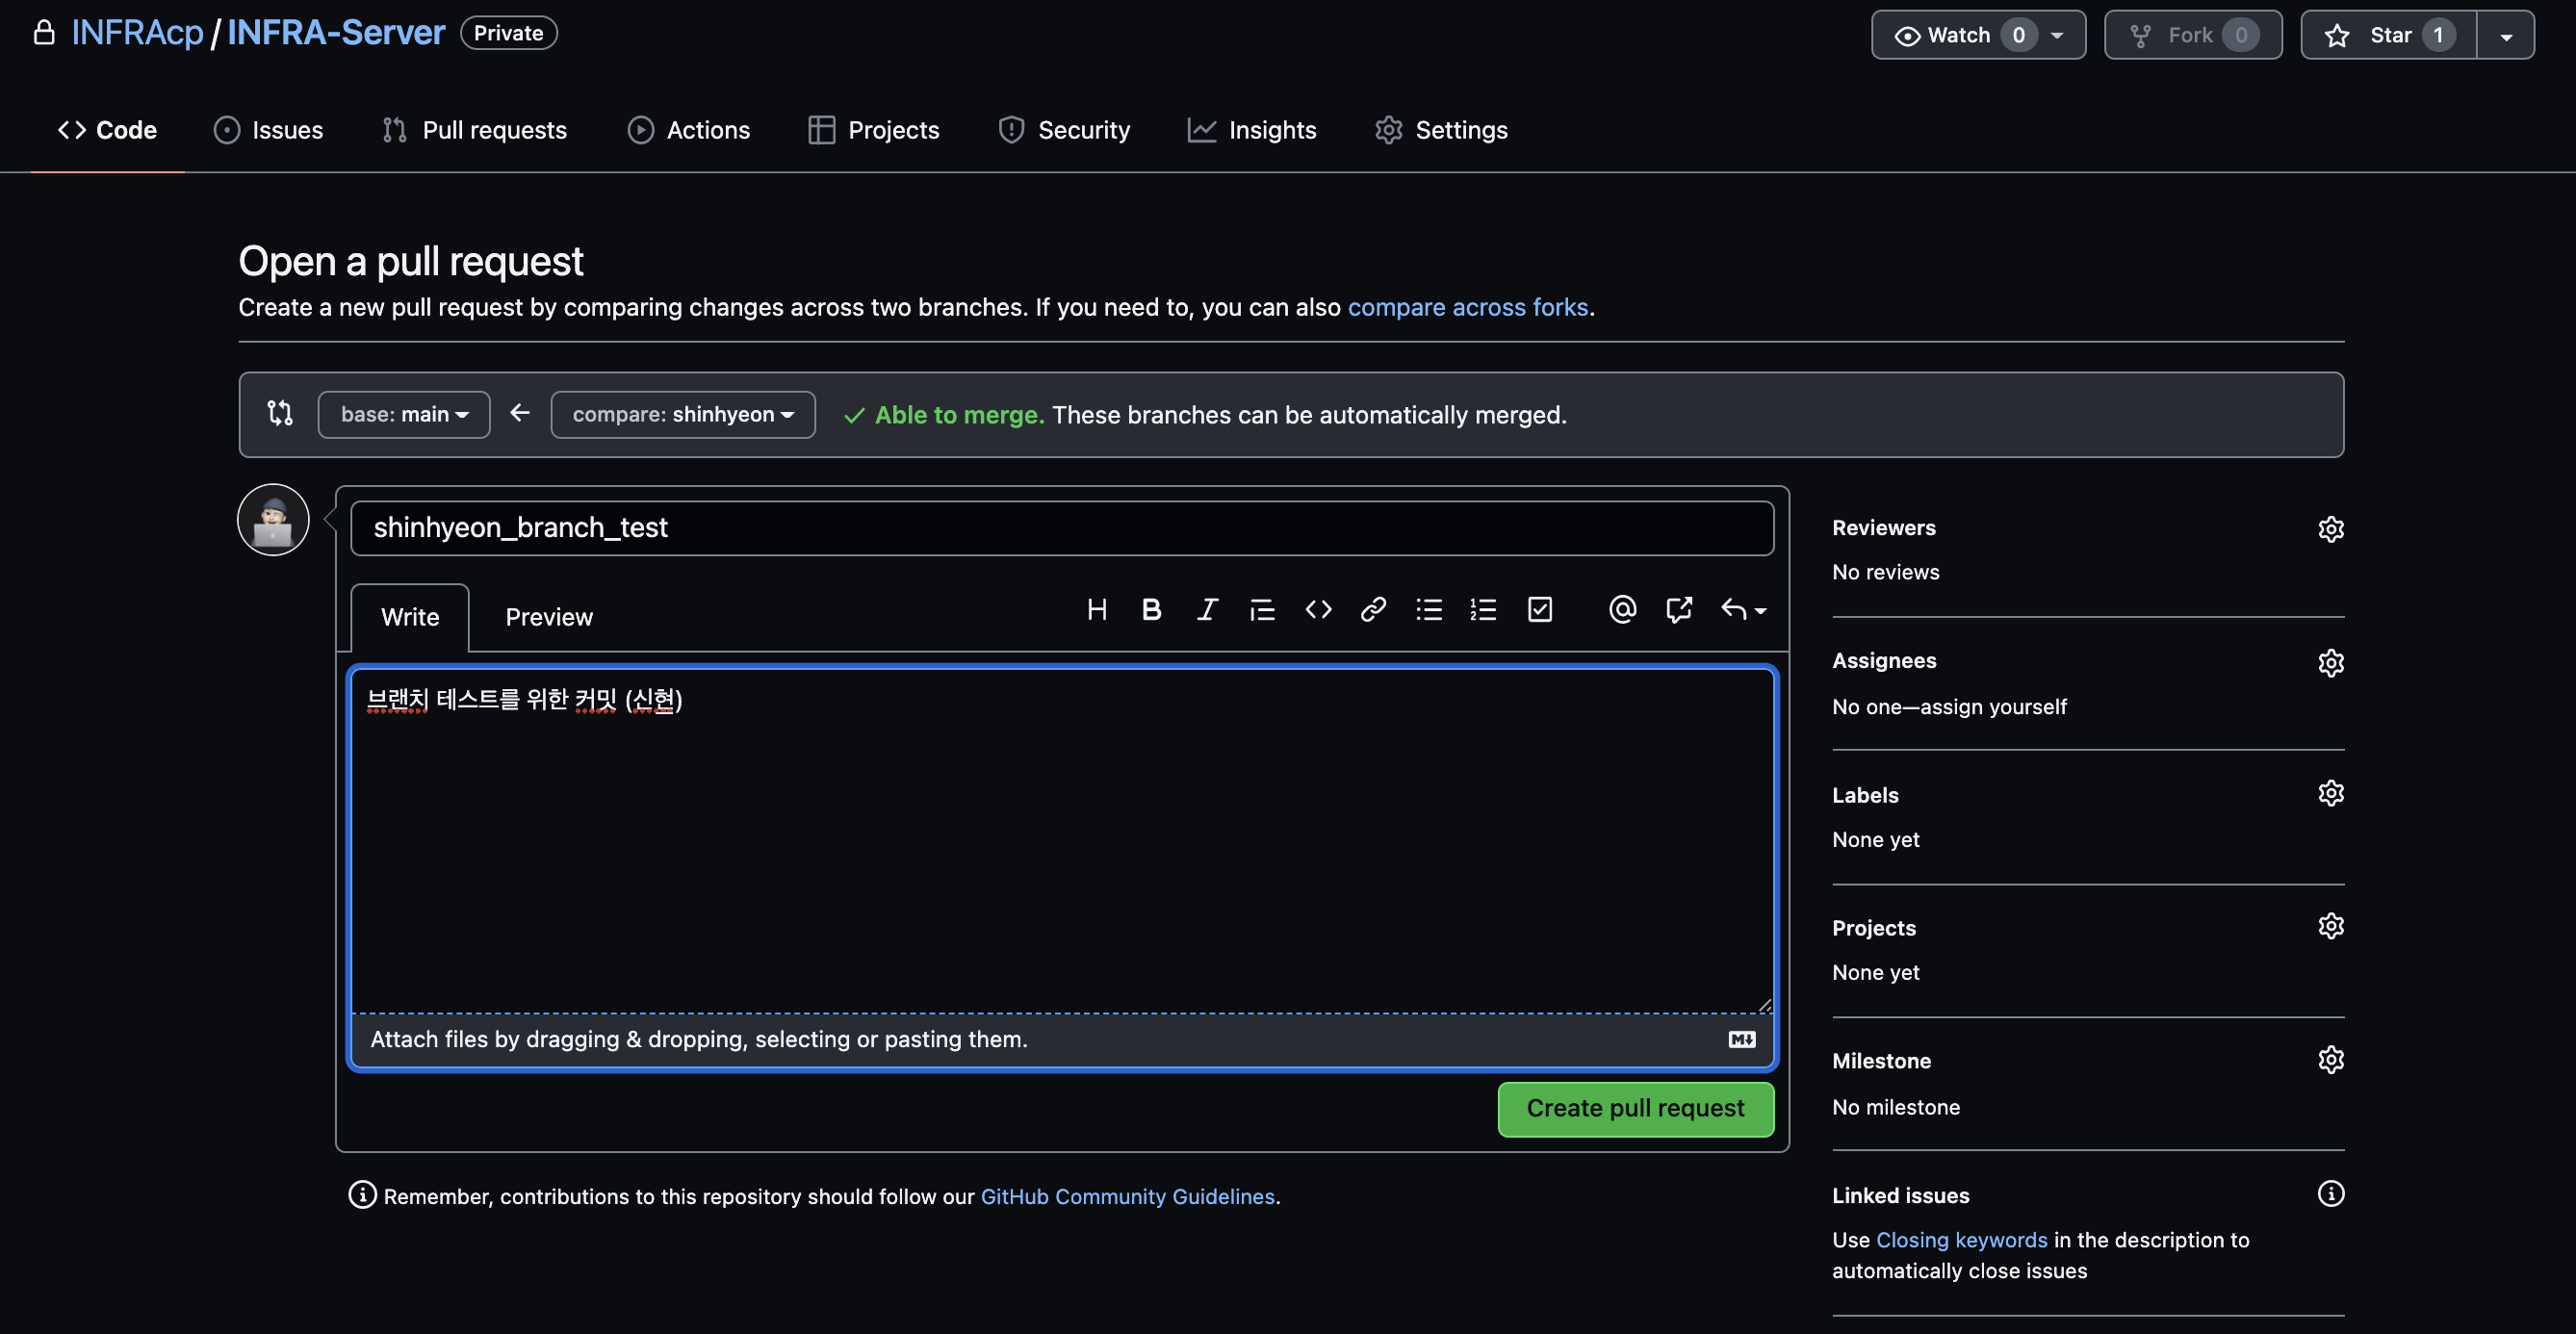
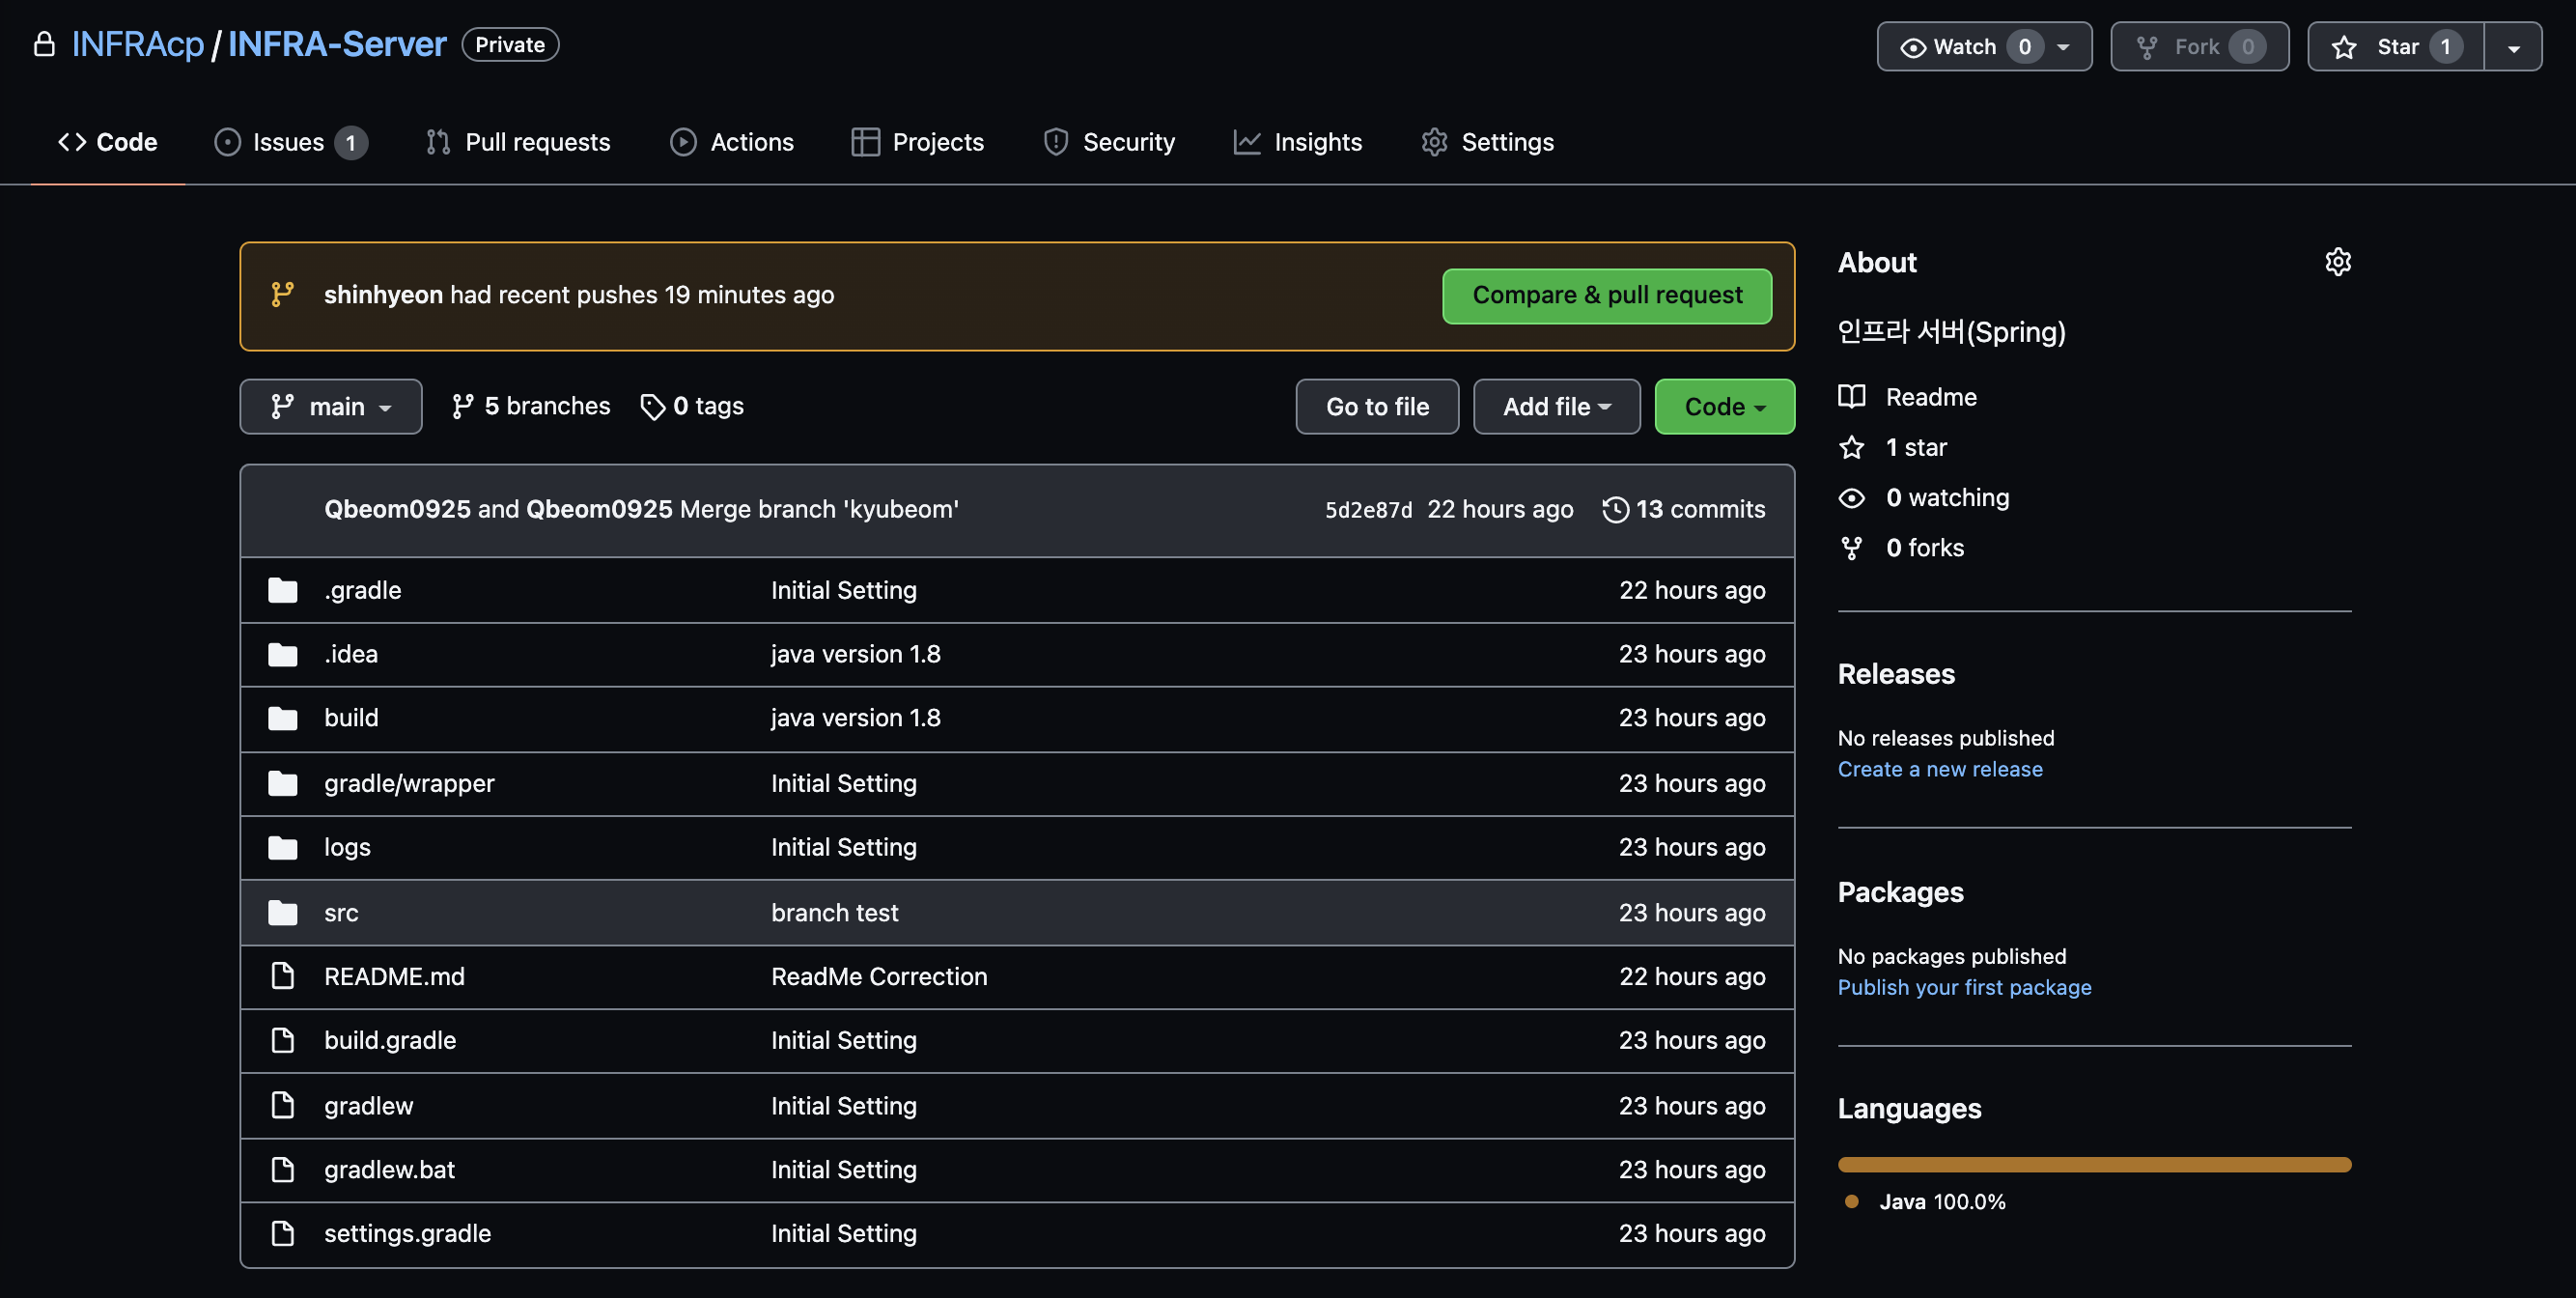
push 후 github에 들어오면 다음과 같이 Compare & pull request가 활성화 되어 있음
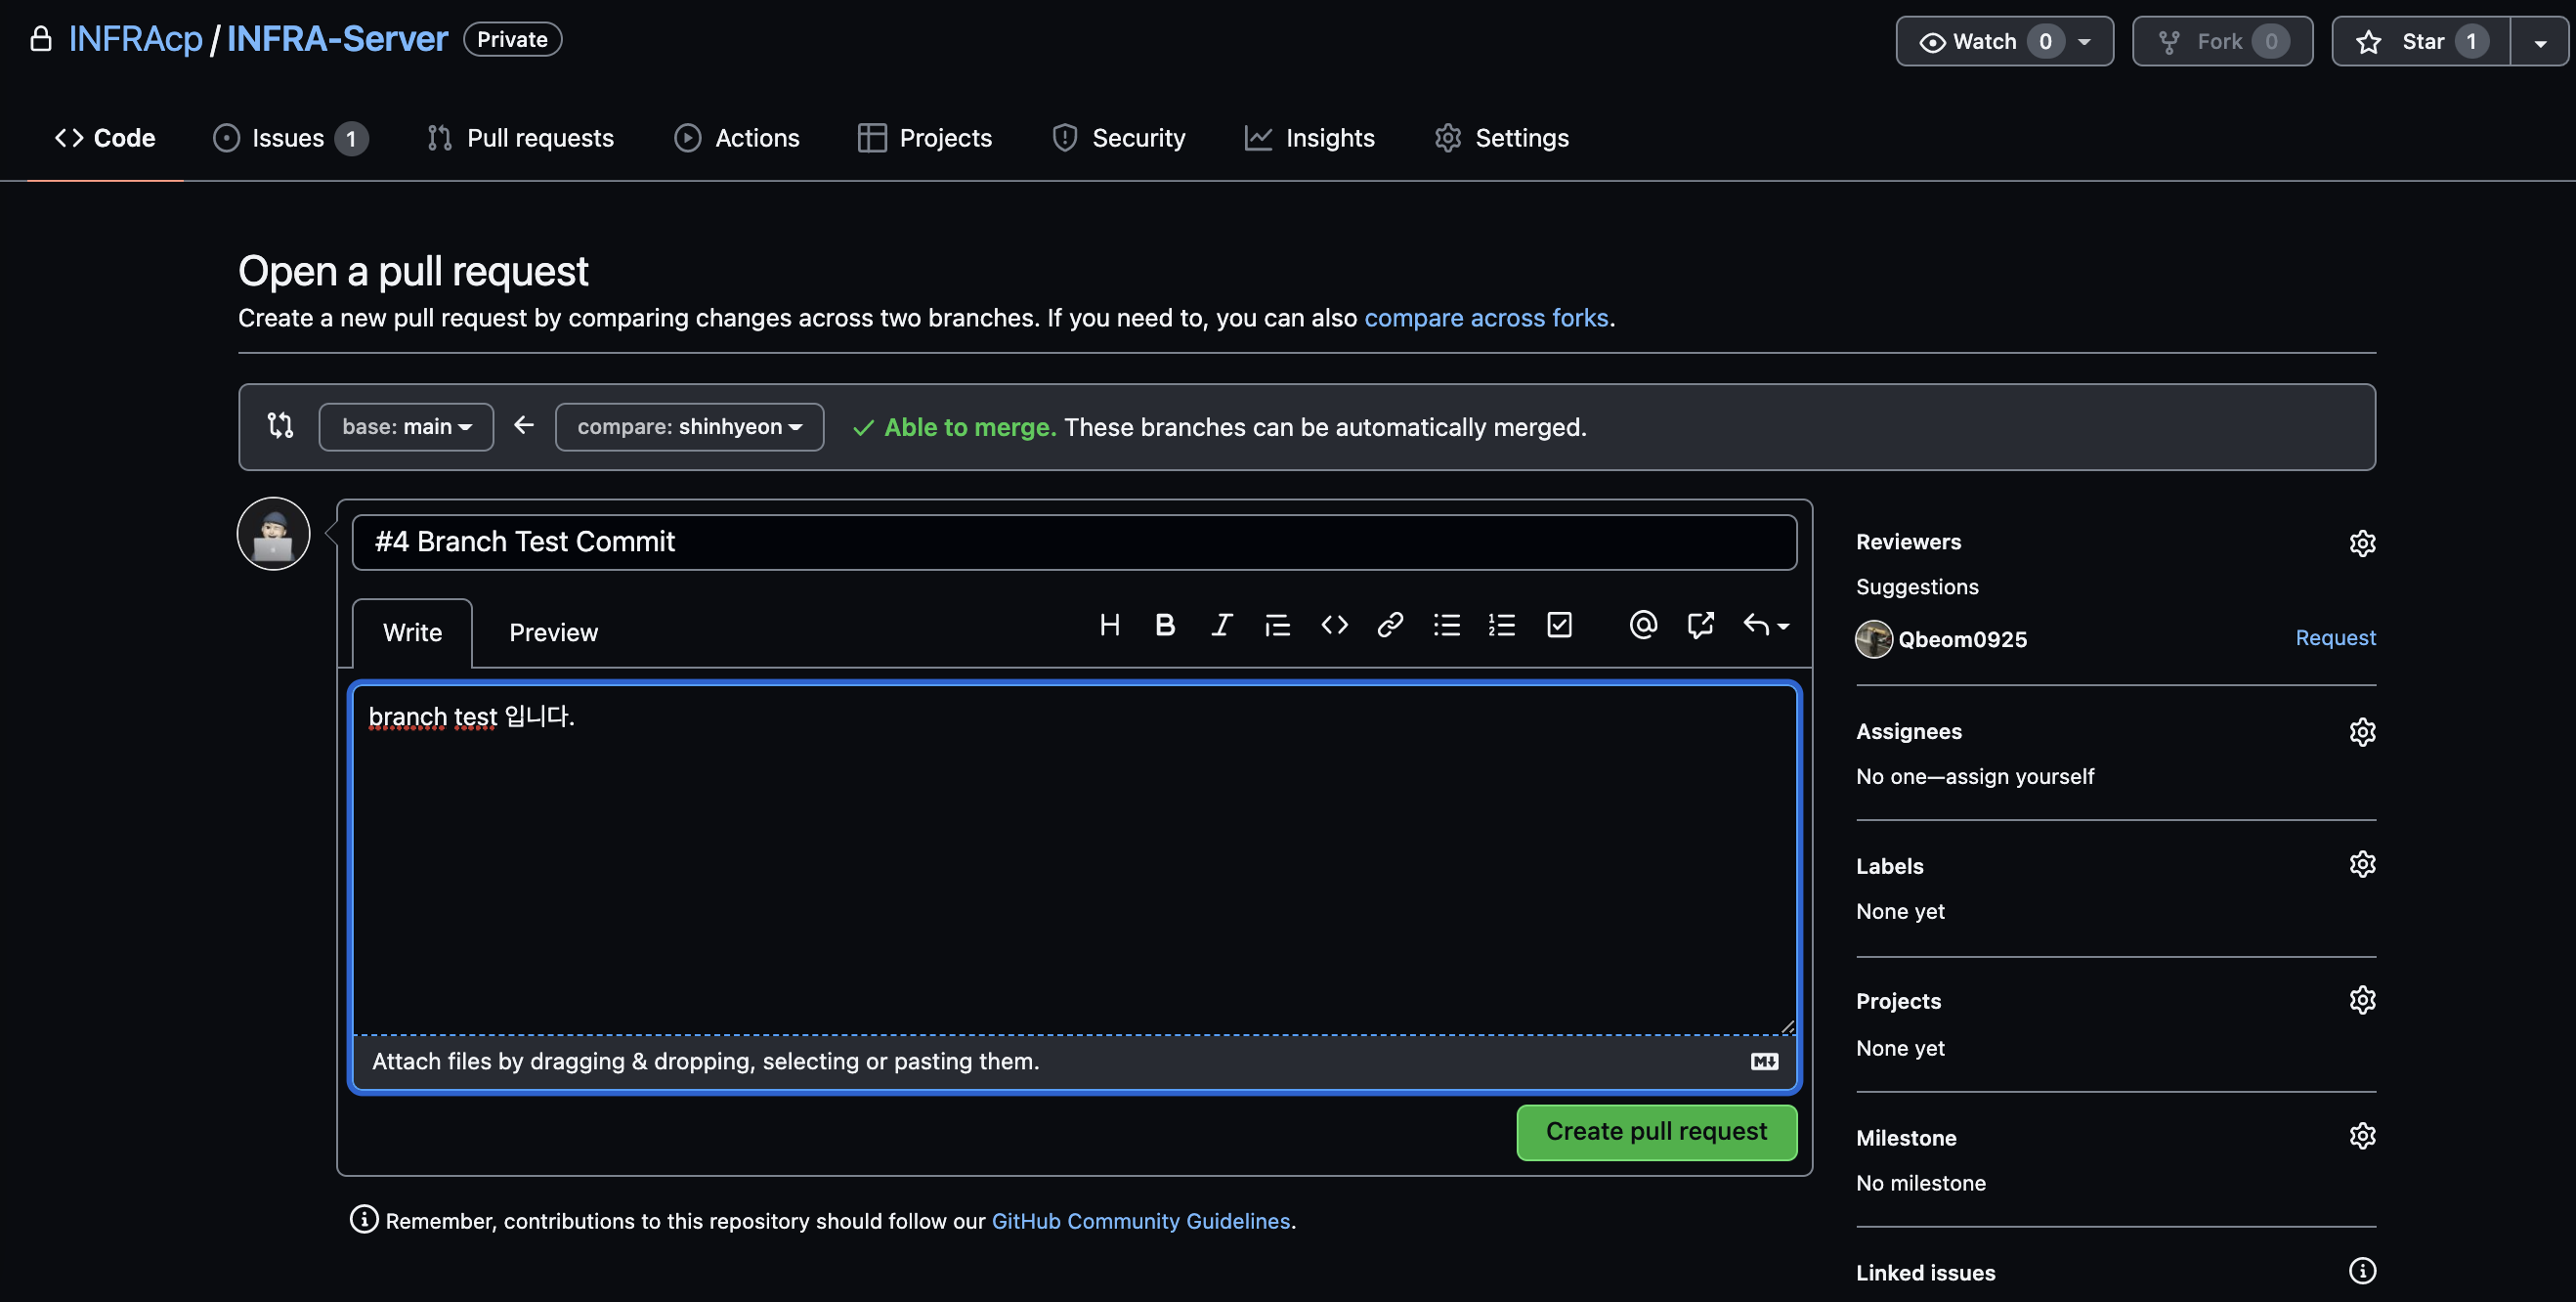
메시지를 작성하고 Create pull request를 누르면
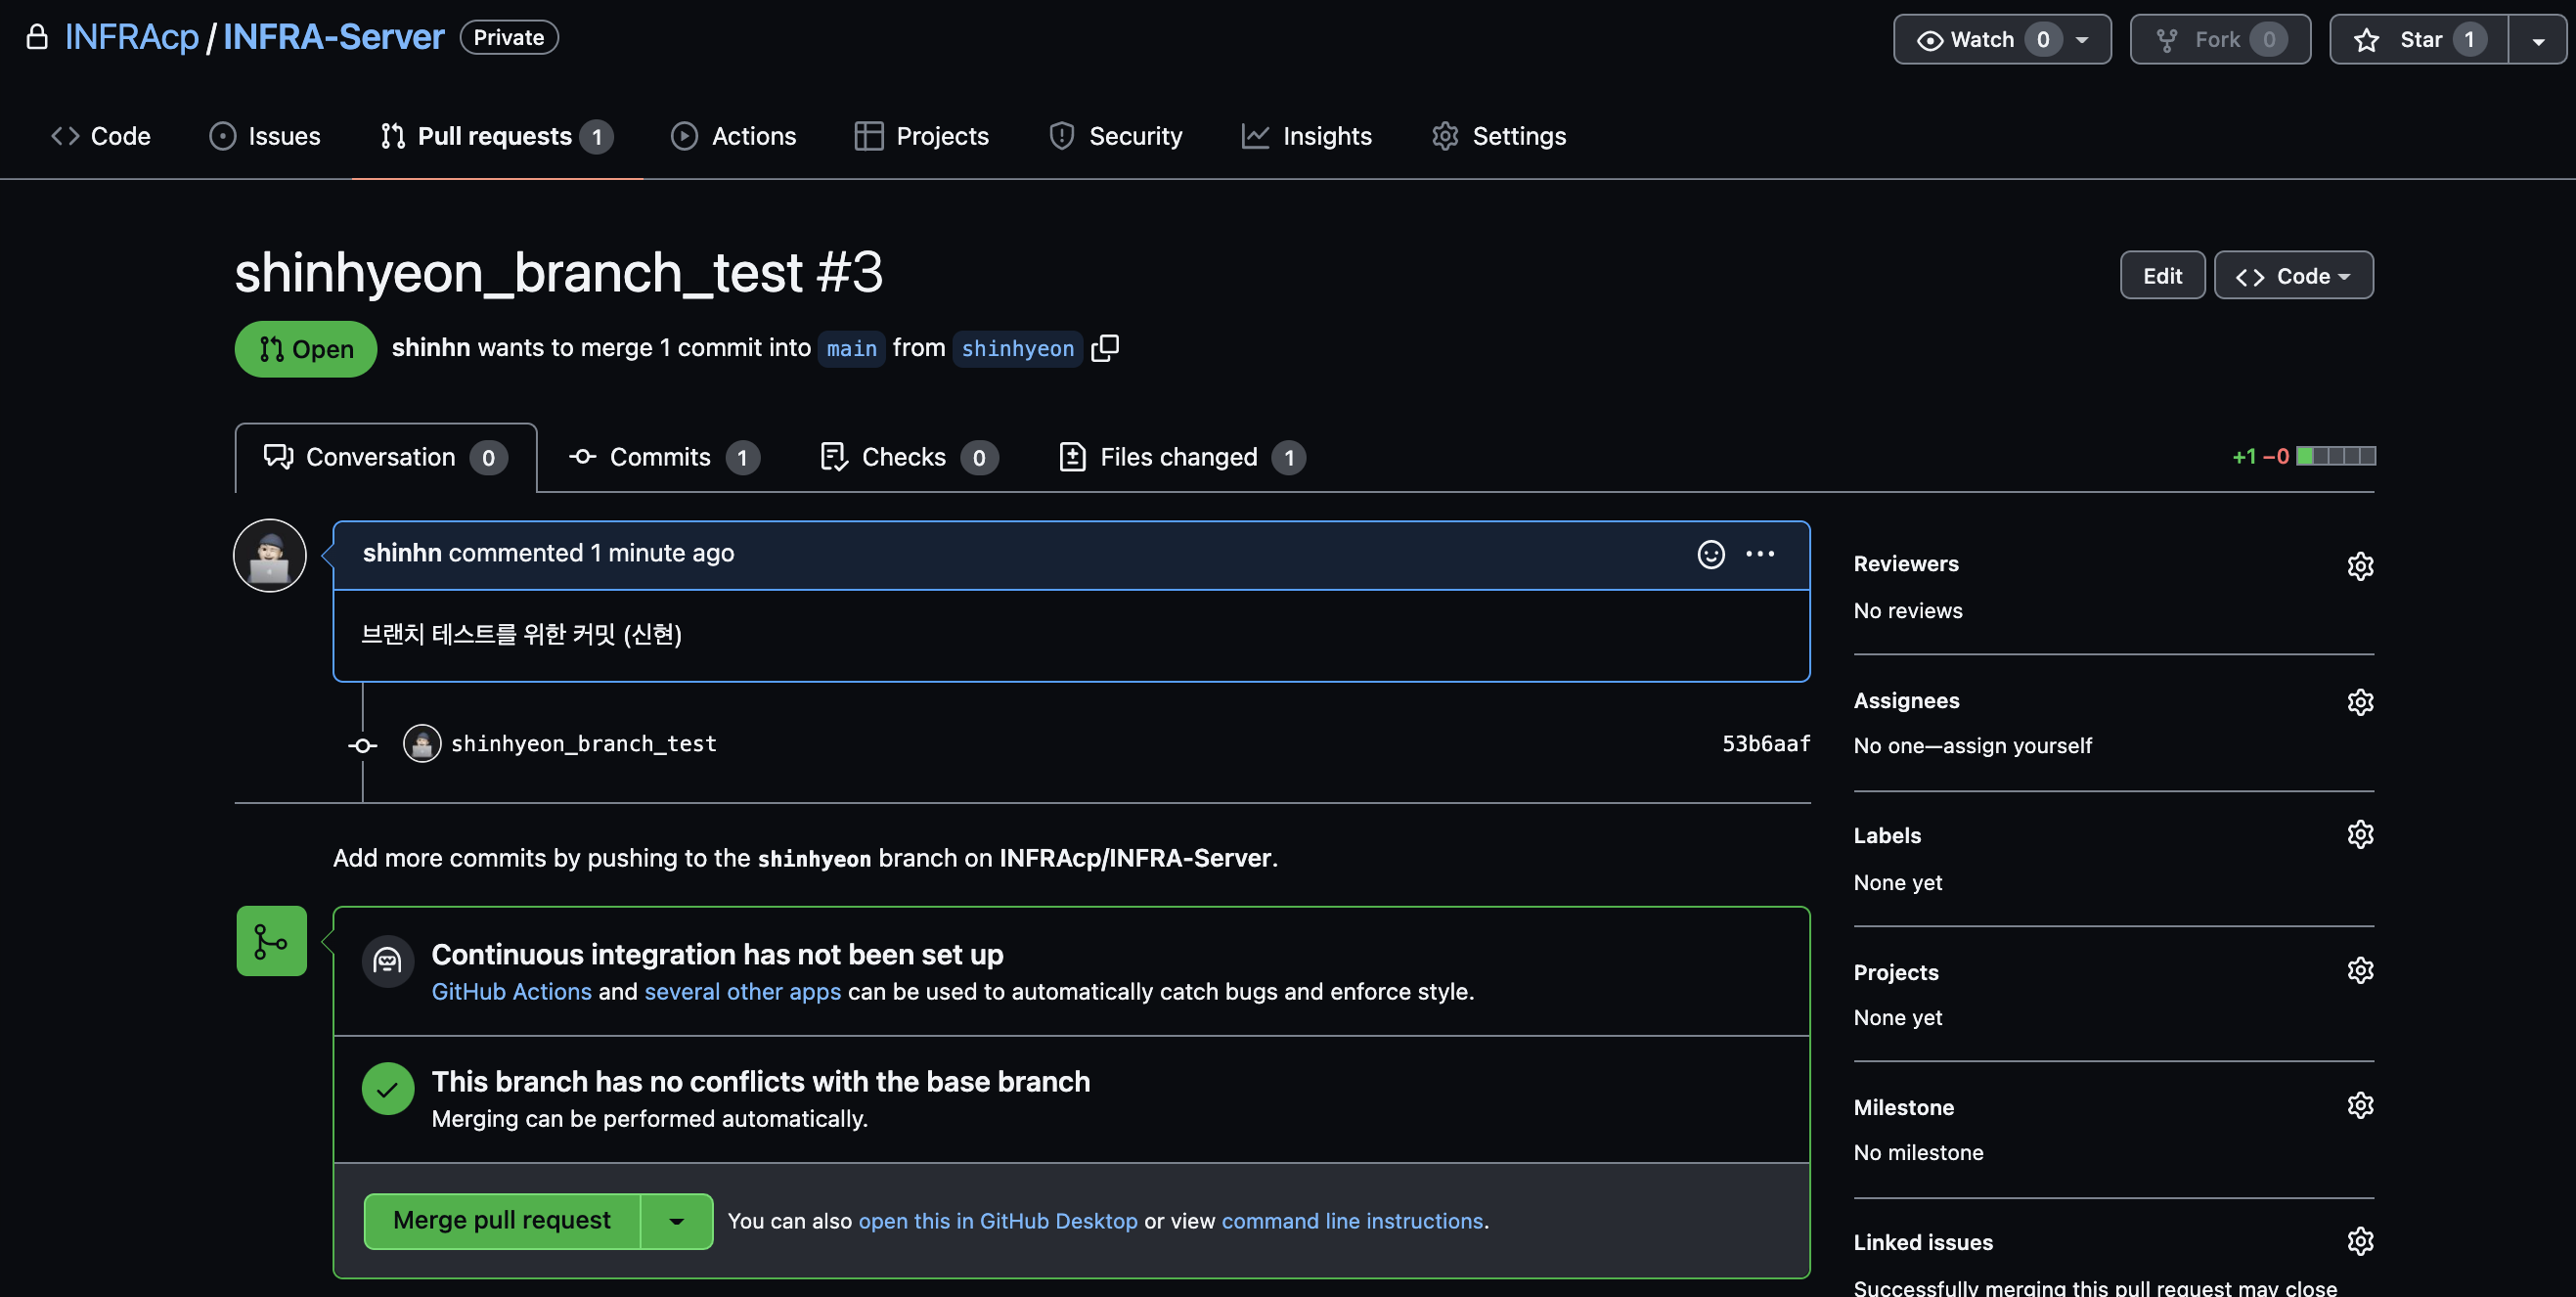
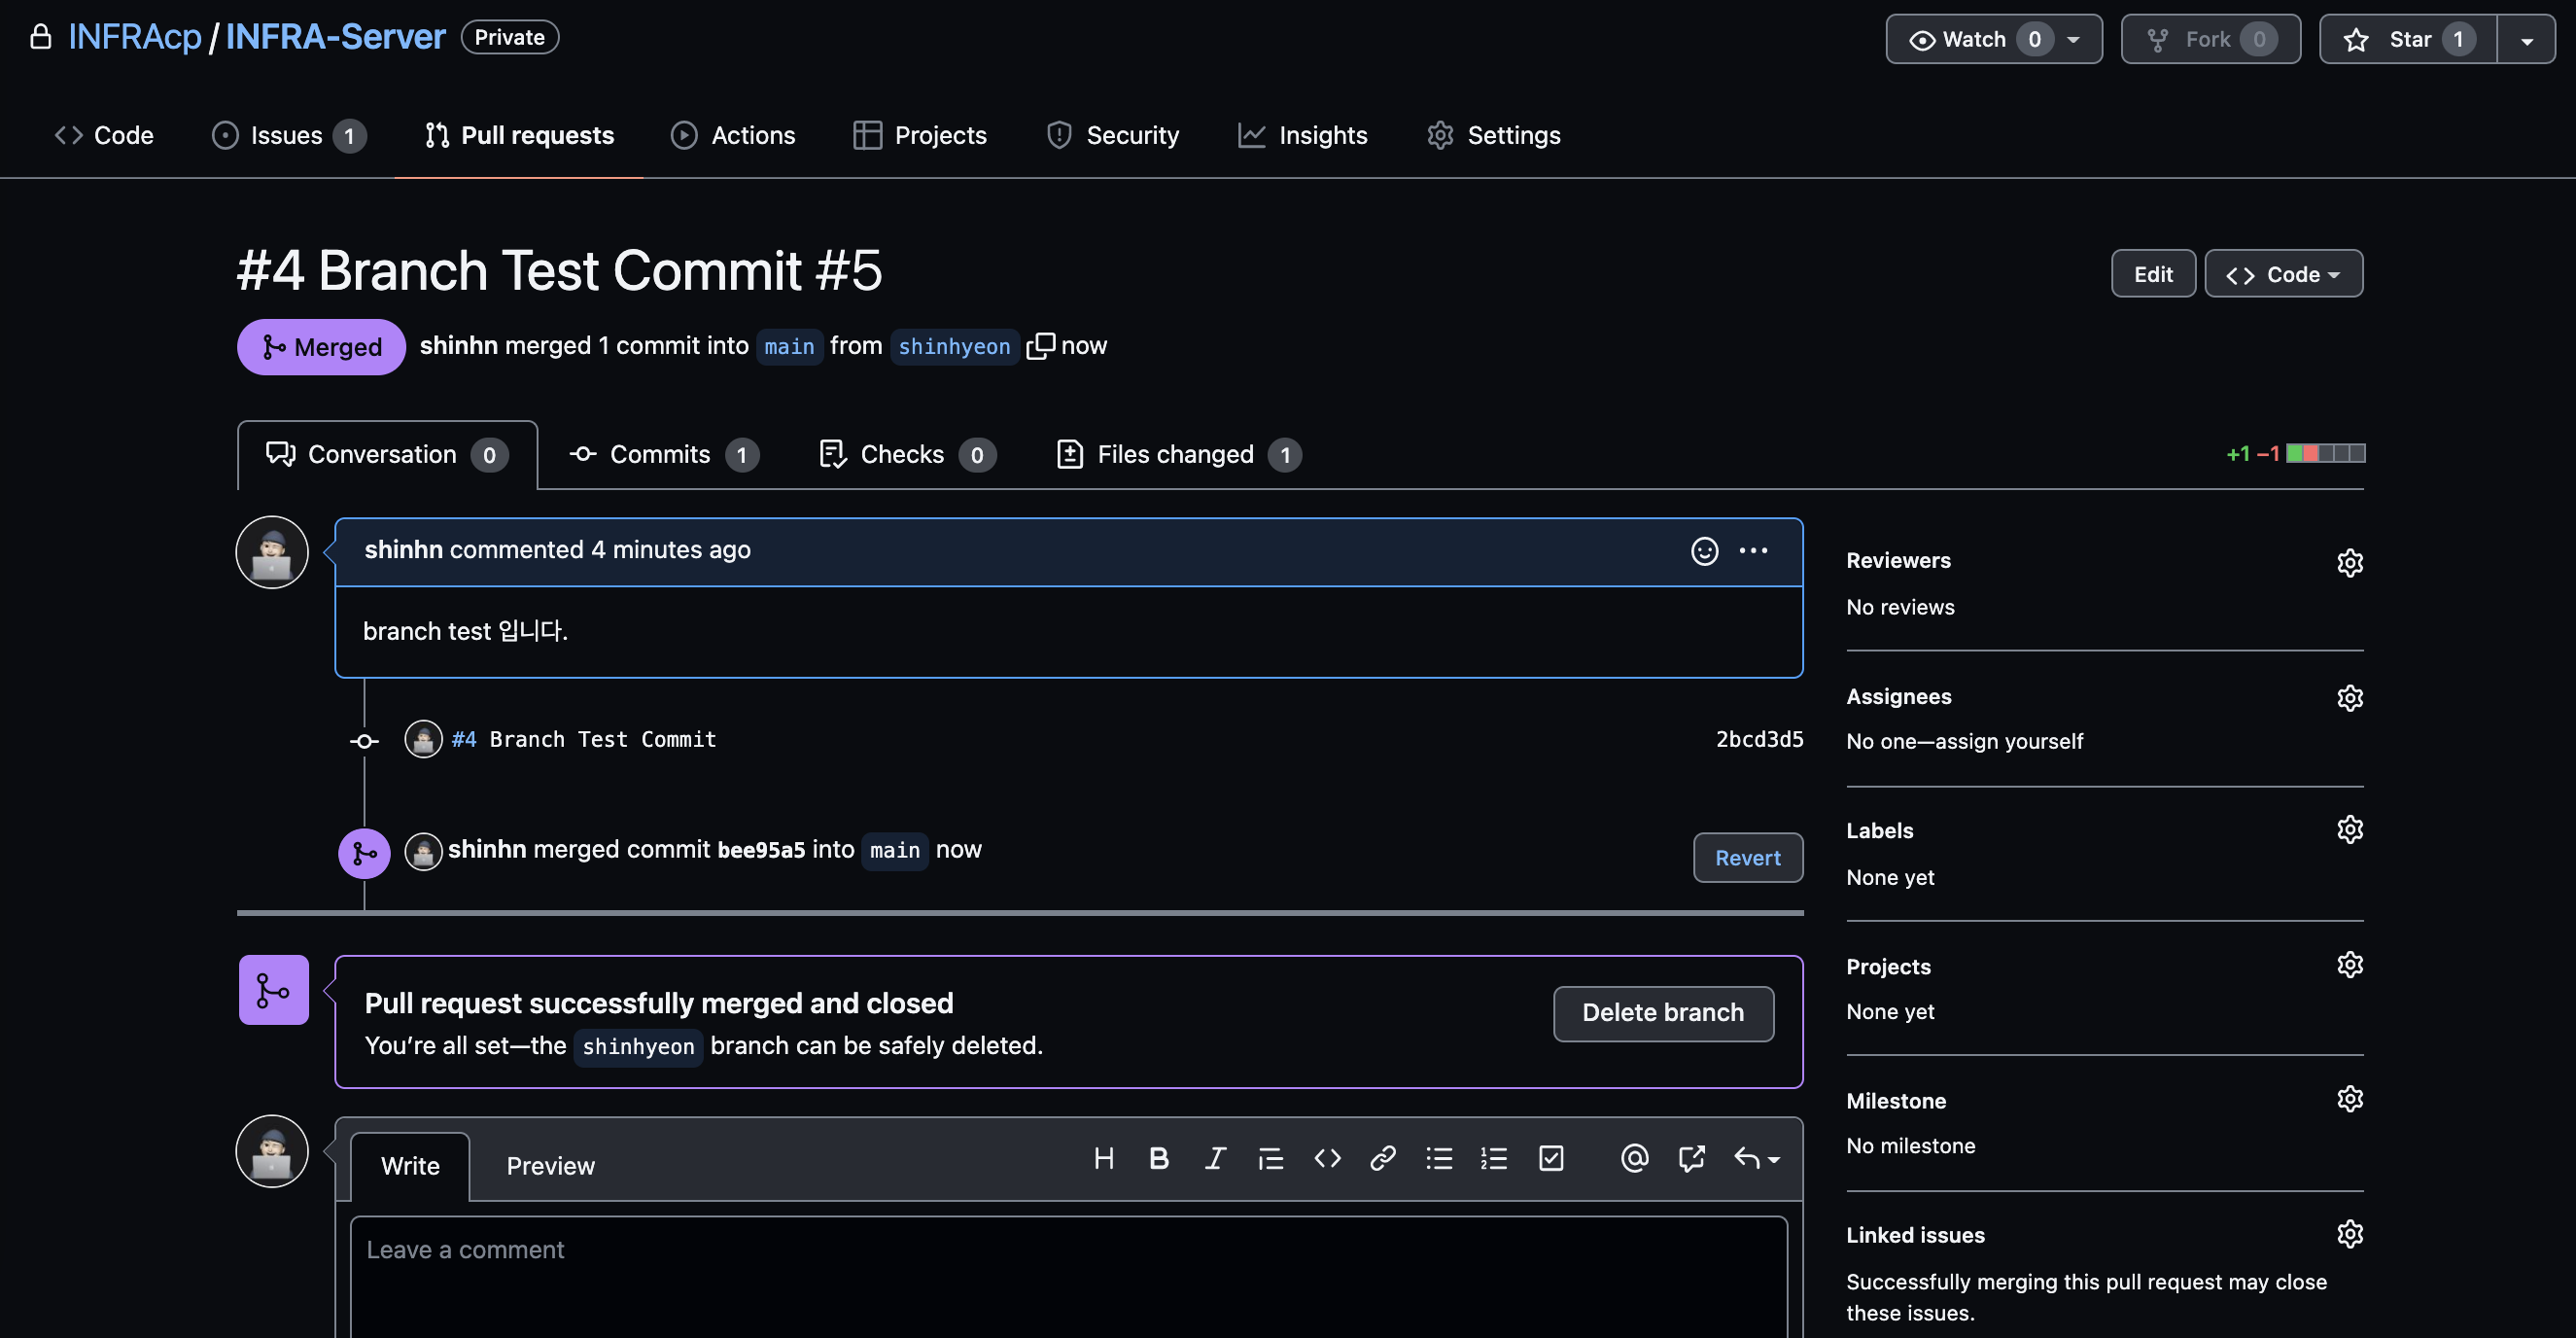
원본 저장소 관리자가 merge 여부를 승인하면 원래 원격 저장소에 변경사항이 반영되고 pull request의 상태는 closed로 변경된다.
다시 추가 작업할 경우, 1 ~ 5 과정을 반복하면 된다.
issue & PR
issue를 만들어서 PR하는 방법도 있다.
순서
(branch 생성)
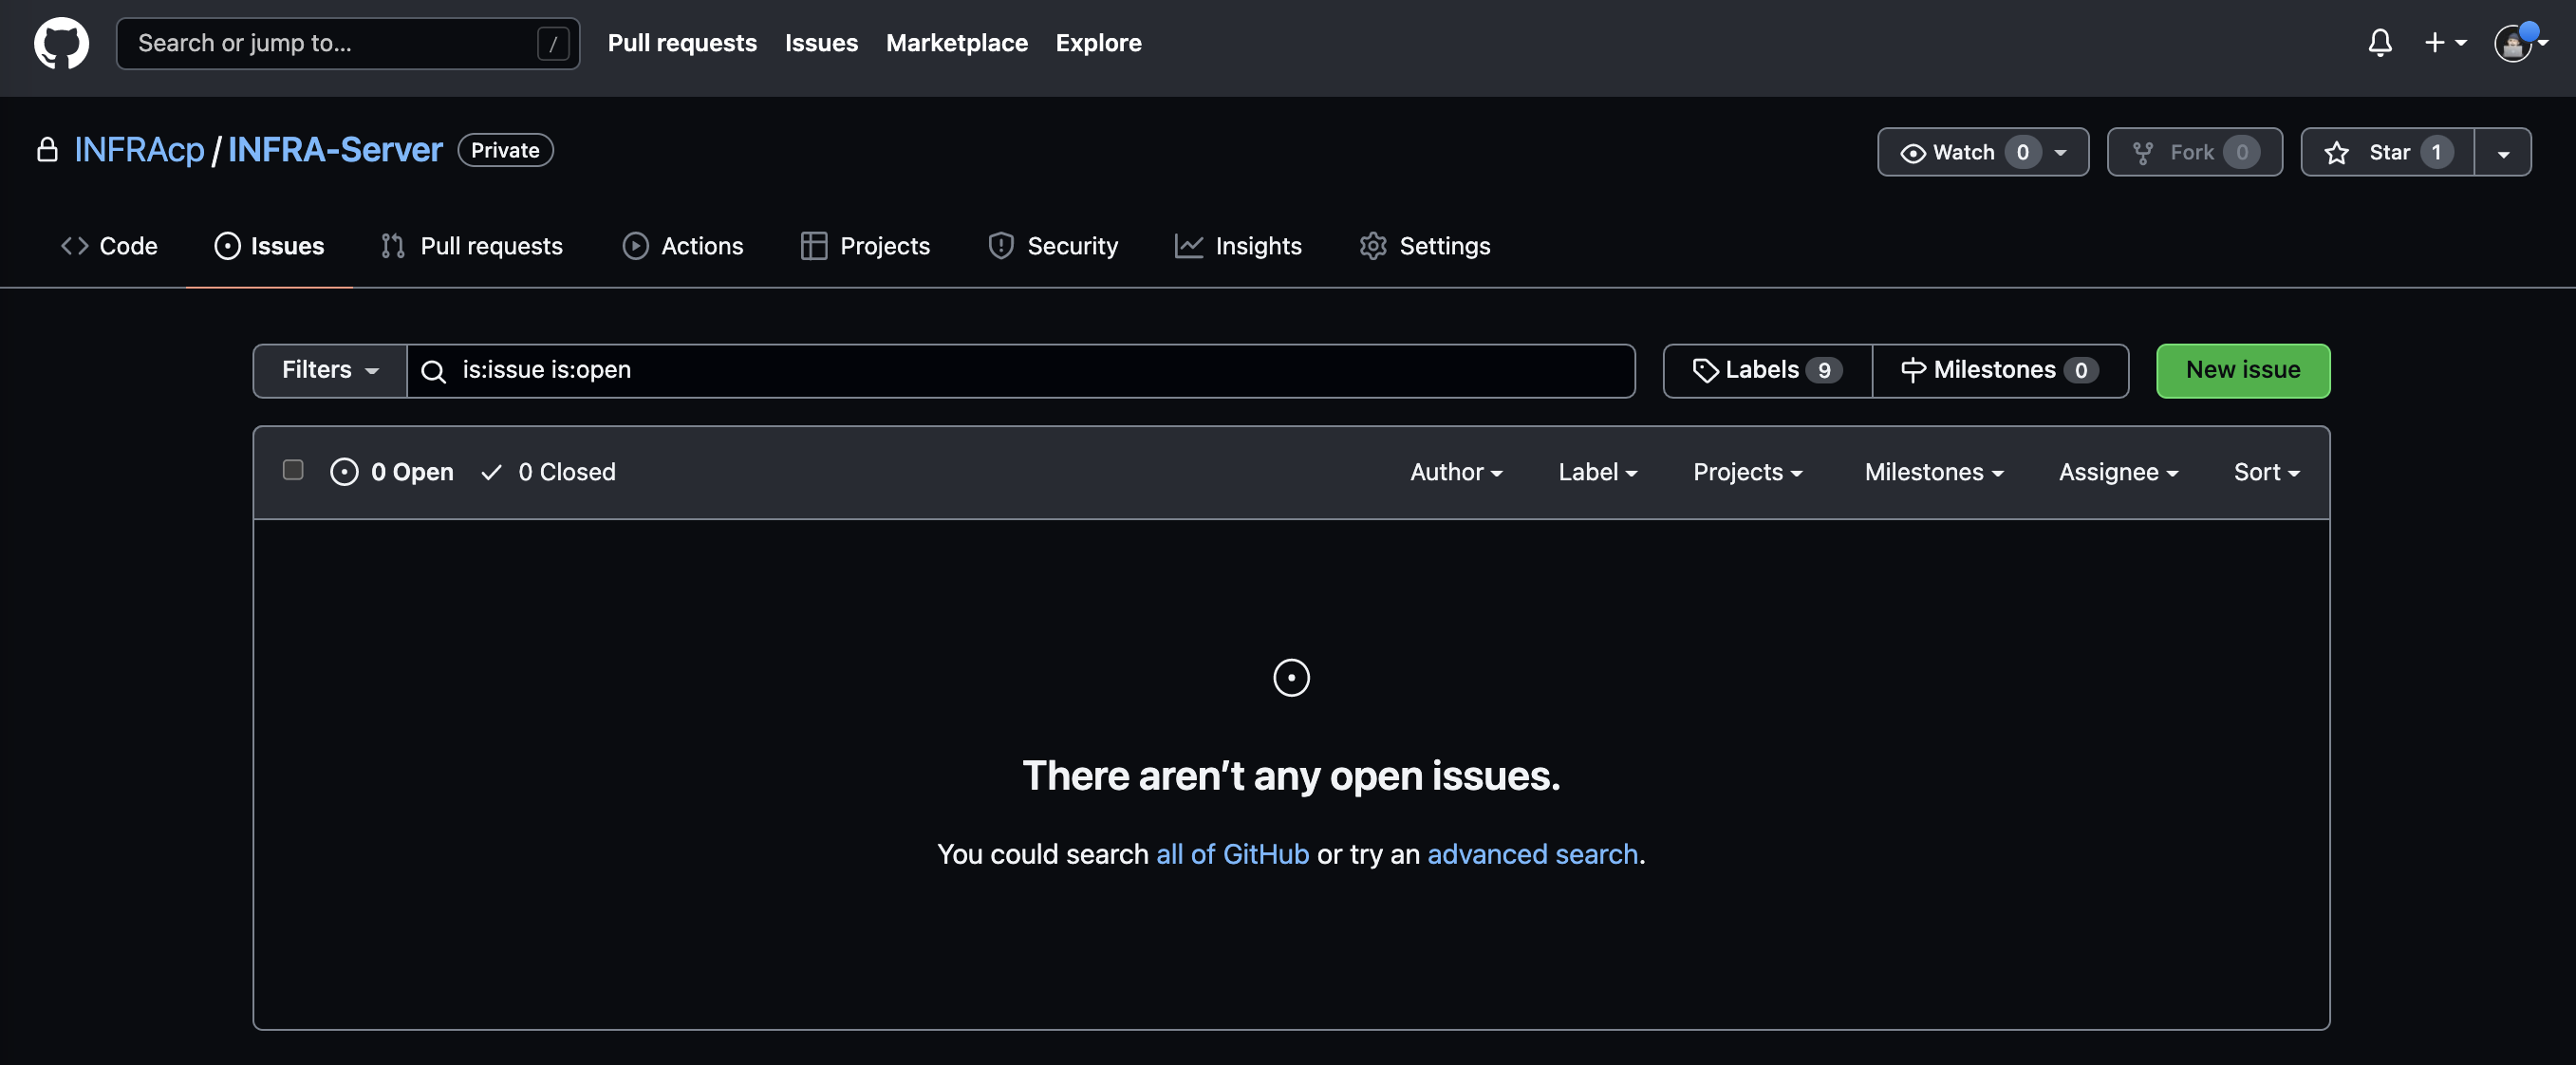
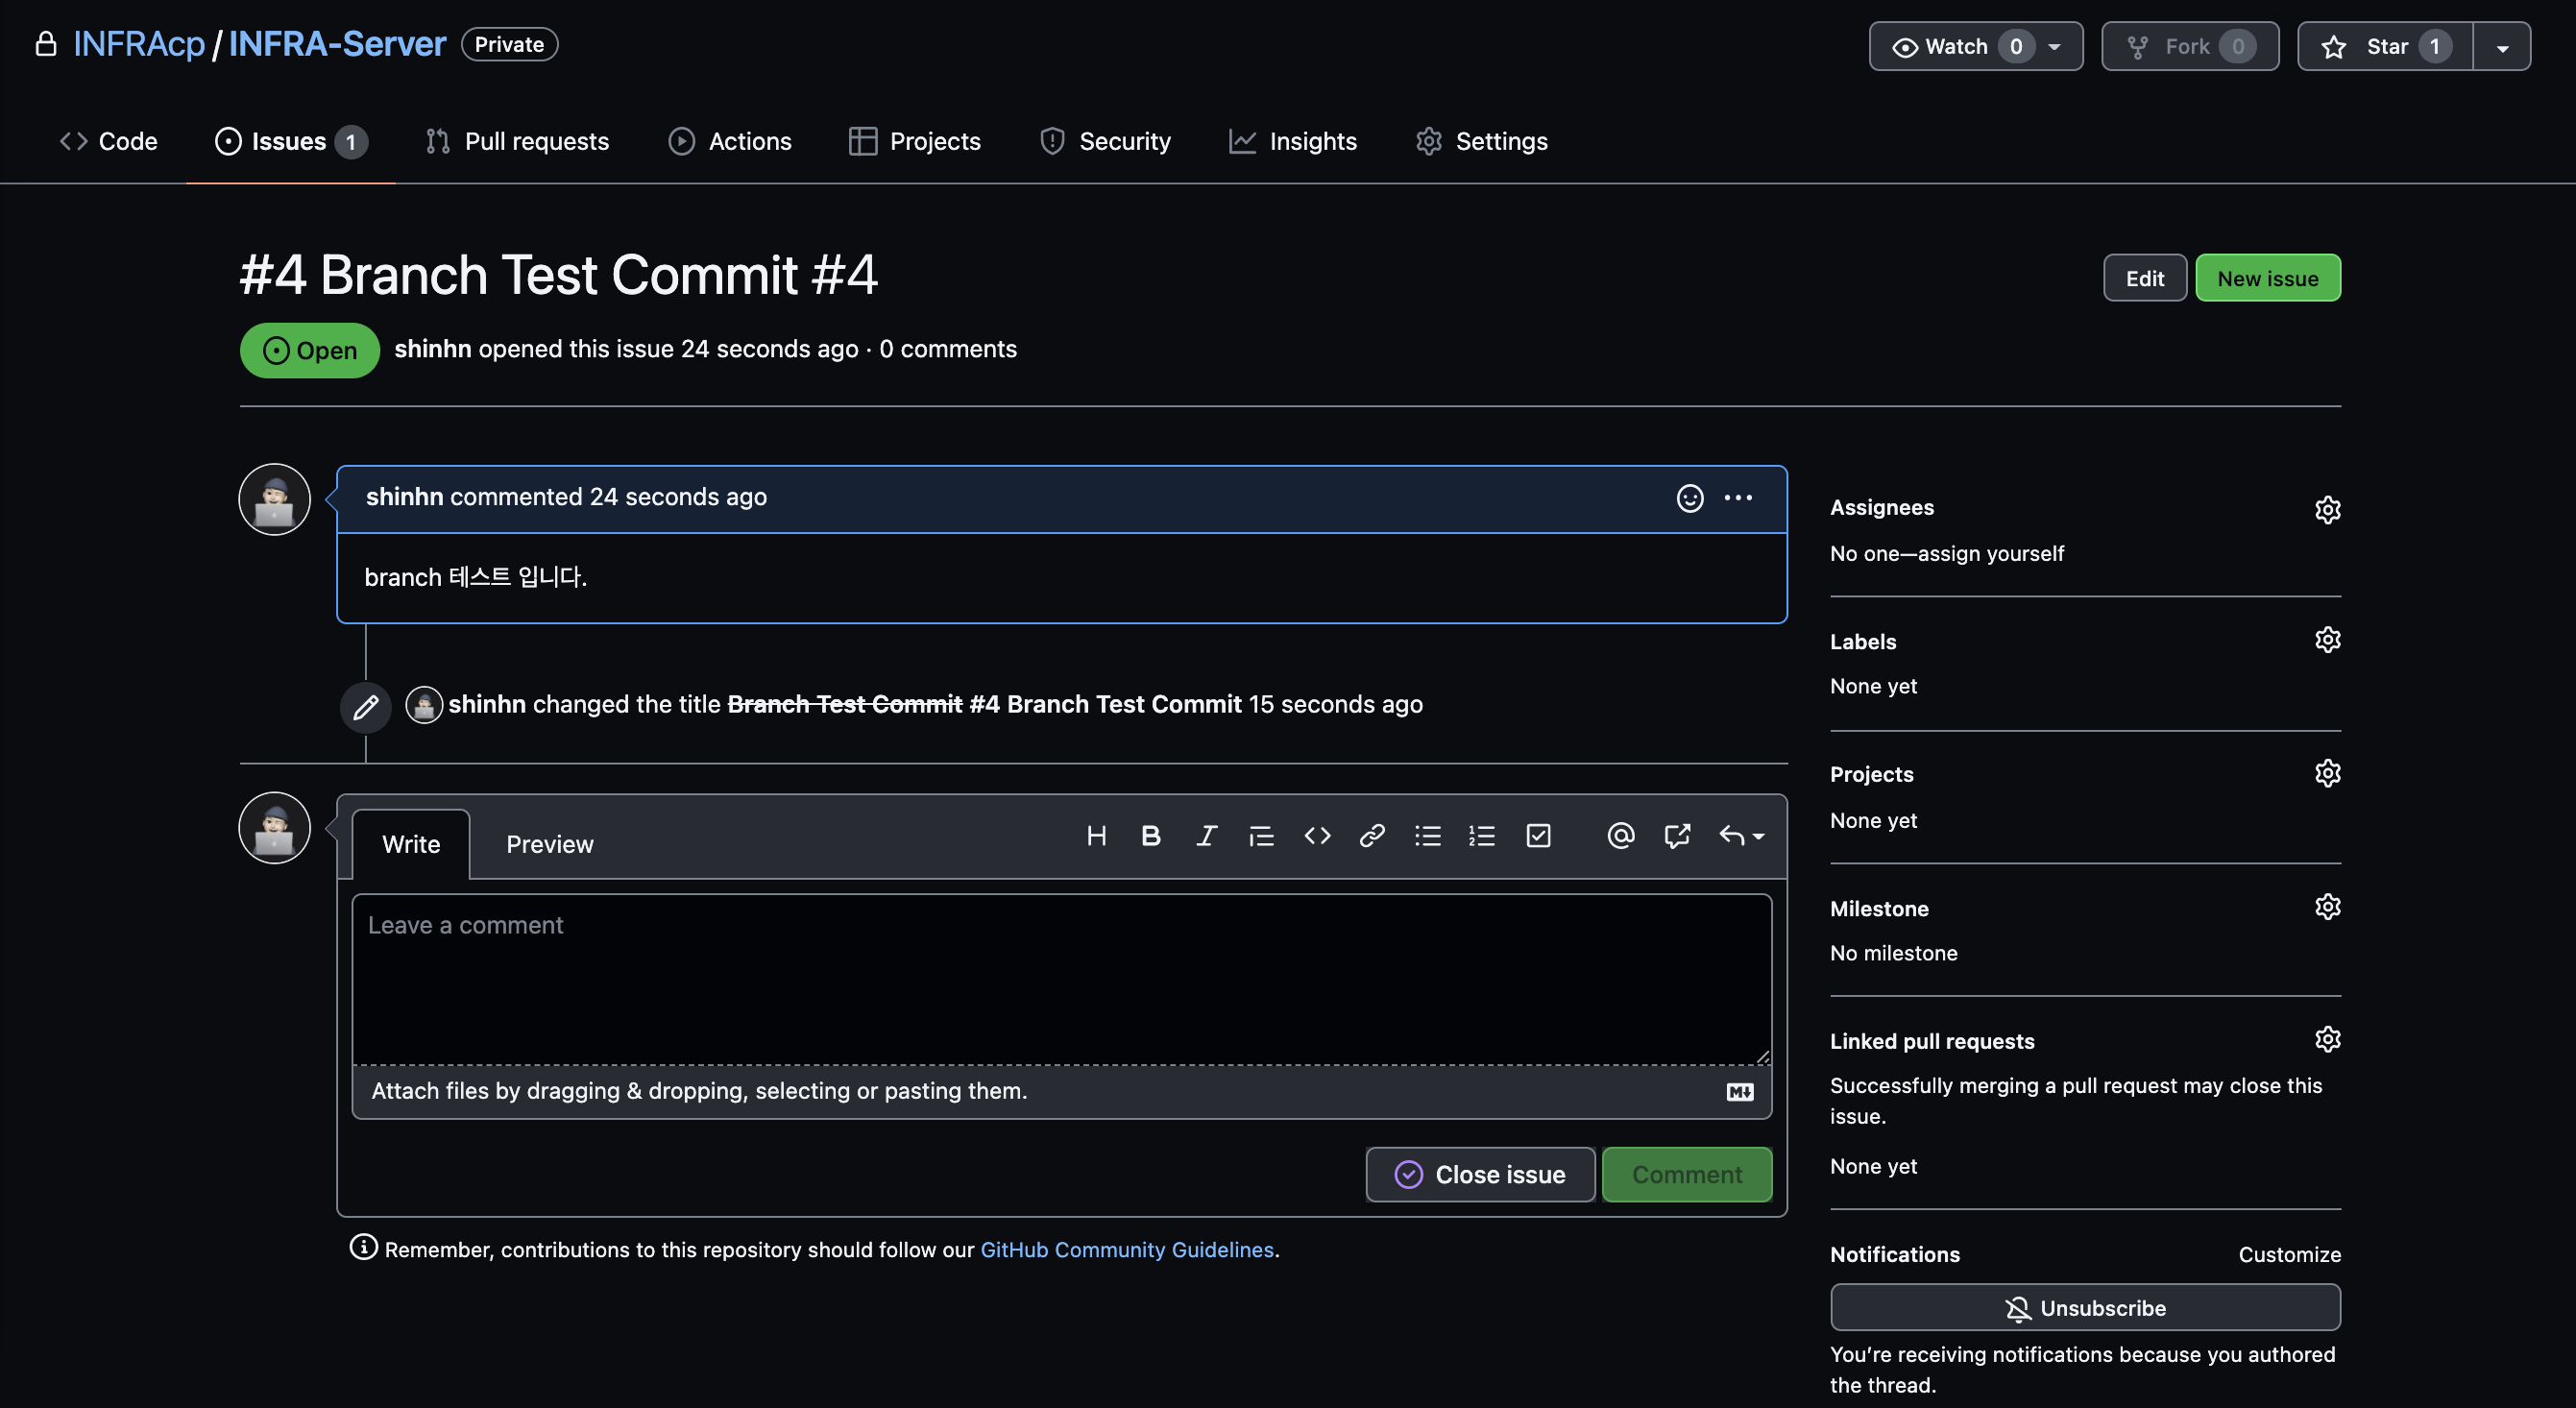
1. issue 생성
2. 작업
3. add, commit, push
4. Pull Request
issue 란?
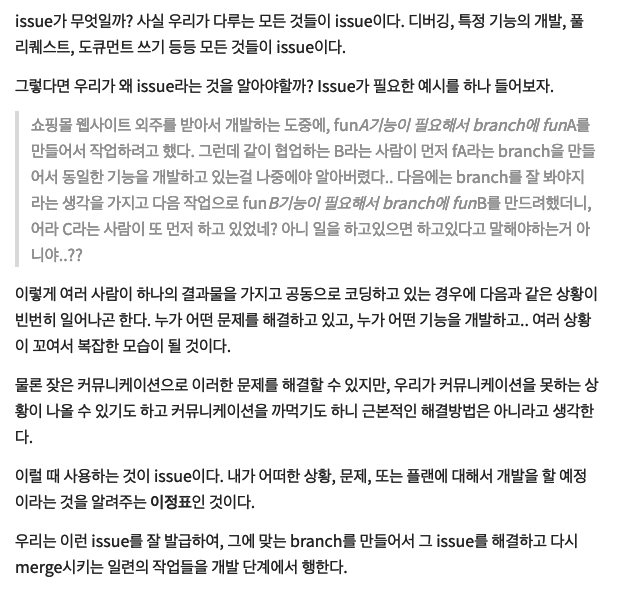
좋은 설명인거 같아 가져옴
출처 : https://samsara-ku.dev/common_sense/importance-of-git-issue/
1. issue 생성
2. 작업
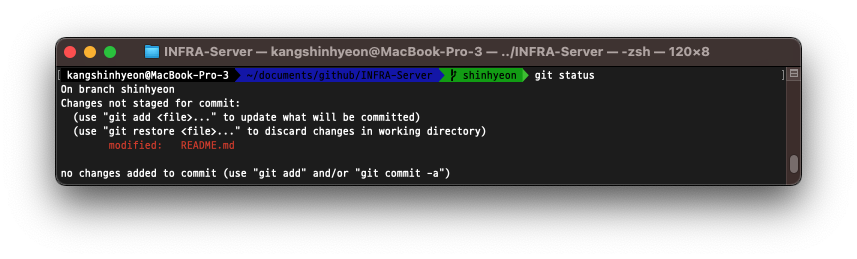
3. add, commit, push
참고로, 위에서 PR했던 branch를 삭제하고 다른 branch를 새로 만들어서 테스트 함 (branch 이름은 동일)
기존 branch 삭제
git branch -d shinhyeon새로운 branch를 생성하여 commit하고 push 하니, error 발생
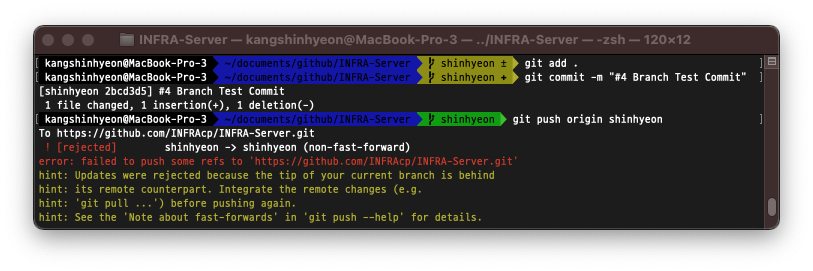
🔥 error
- 원격 repo에는 새로 만든 branch가 반영이 안되어 있으니 초기 설정해줌
git push -u origin shinhyeon -> error- github상에서 기존 repo를 지우고

다시
git push -u origin shinhyeon해주니 해결
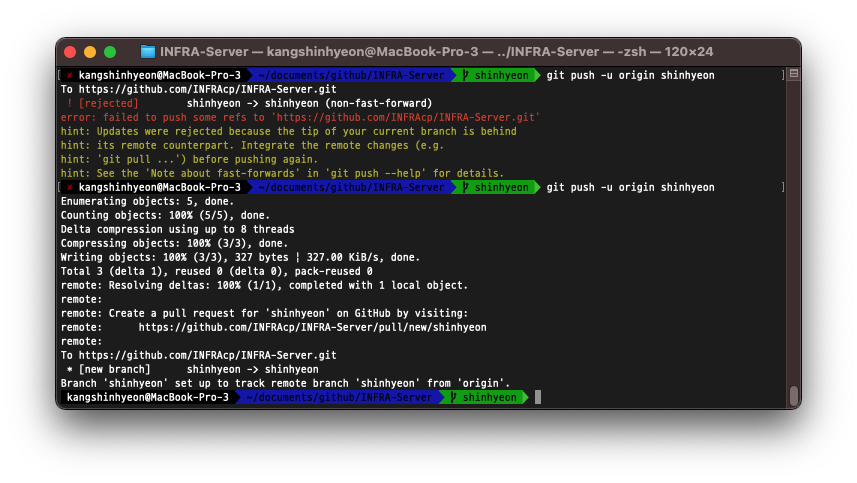
main으로 checkout 한뒤에 삭제해야 하는데 shinhyeon에서 삭제해서 그런거 같음.
문제 해결 후, push 해주면 위와 동일하게 PR 수행 가능
git push origin shinhyeon4. Pull Request
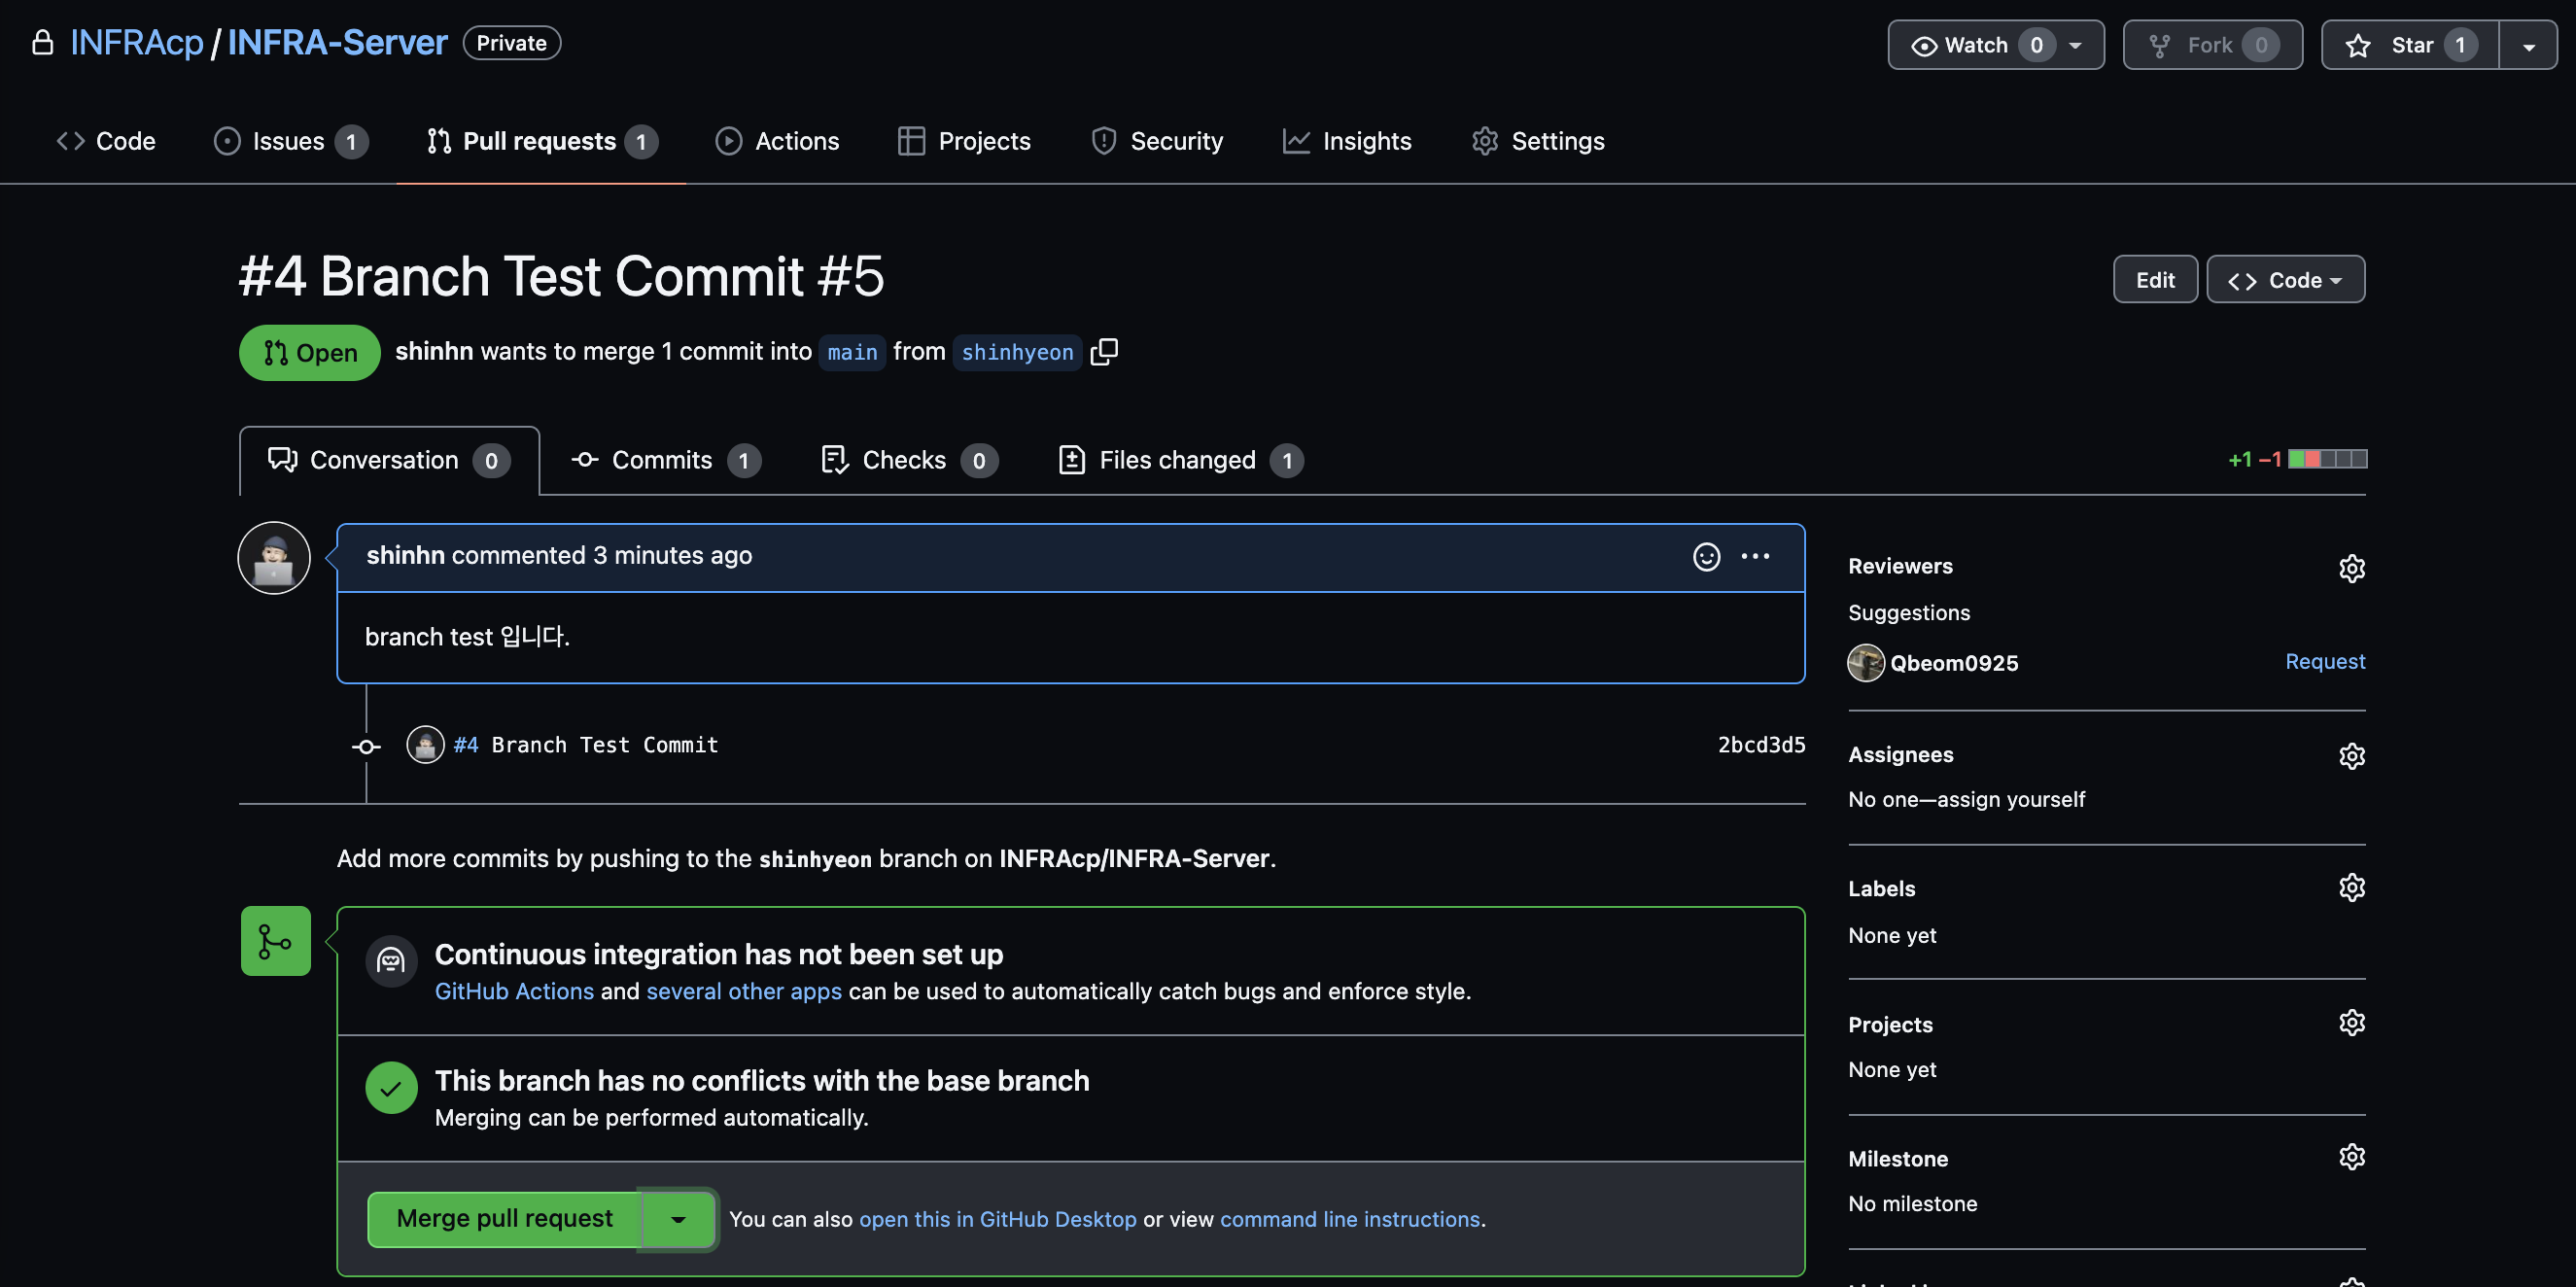
지금은 나(collaborator)한테 merge 권한이 있기 때문에 merge 해봄
(참고) 여러 branch에서 작업한 내용 확인
git log --graph --all --decorate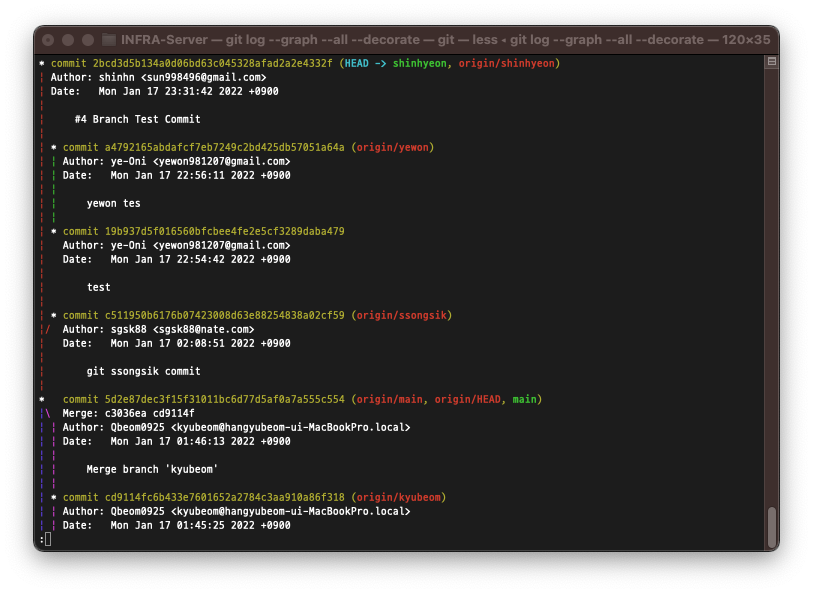
References.
https://wayhome25.github.io/git/2017/07/08/git-first-pull-request-story/
https://ebbnflow.tistory.com/260