
1. s3란?
AWS Simple Storage Service(S3)는 인터넷용 스토리지 서비스이며 개발자가 더 쉽게 웹 규모 컴퓨팅 작업을 수행할 수 있도록 설계되었다.
2. S3 초기설정 및 업로드
Spring, aws-S3 연동 초기 설정 및 참고 코드
위 블로그 포스트에 Spring, aws-S3 연동에 대해 정말 잘 나와있다.
블로그에 있는 코드를 살짝 변경하여 업로드시 db에 이미지 주소가 업데이트 되도록 했다.
코드
- S3Controller
    @PostMapping("/prphoto/{user_id}")
    public String uploadPrphoto(@PathVariable("user_id") String user_id, @RequestParam("images") MultipartFile multipartFile) throws IOException {
        // s3에 업로드
        String imgPath = s3Service.uploadPrphoto(multipartFile, "prphoto");
        // db에 반영 (user_prPhoto)
        s3Service.uploadPrphoto(imgPath, user_id);

        return "업로드 완료";
    }
- S3Service
	private final AmazonS3Client amazonS3Client;
    private final S3Dao s3Dao;

    @Value("${cloud.aws.s3.bucket}")
    public String bucket;

    public String uploadPrphoto(MultipartFile multipartFile, String dirName) throws IOException{
        File uploadFile = convert(multipartFile).orElseThrow(() -> new IllegalArgumentException("파일 전환 실패"));

        return uploadPrphoto(uploadFile, dirName);
    }
    // S3로 파일 업로드하기
    private String uploadPrphoto(File uploadFile, String dirName) {
        String fileName = dirName + "/" + UUID.randomUUID() + uploadFile.getName();   // S3에 저장된 파일 이름
        String uploadImageUrl = putS3(uploadFile, fileName); // s3로 업로드
        removeNewFile(uploadFile);
        return uploadImageUrl;
    }

    // S3로 업로드
    private String putS3(File uploadFile, String fileName) {
        amazonS3Client.putObject(new PutObjectRequest(bucket, fileName, uploadFile).withCannedAcl(CannedAccessControlList.PublicRead));
        return amazonS3Client.getUrl(bucket, fileName).toString();
    }

    // 로컬에 저장된 이미지 지우기
    private void removeNewFile(File targetFile) {
        if (targetFile.delete()) {
            log.info("File delete success");
            return;
        }
        log.info("File delete fail");
    }

    private Optional<File> convert(MultipartFile multipartFile) throws IOException{
        File convertFile = new File(System.getProperty("user.dir") + "/" + multipartFile.getOriginalFilename());
        // 바로 위에서 지정한 경로에 File이 생성됨 (경로가 잘못되었다면 생성 불가능)
        if (convertFile.createNewFile()) {
            try (FileOutputStream fos = new FileOutputStream(convertFile)) { // FileOutputStream 데이터를 파일에 바이트 스트림으로 저장하기 위함
                fos.write(multipartFile.getBytes());
            }
            return Optional.of(convertFile);
        }

        return Optional.empty();

    }


    public void uploadPrphoto(String imgPath, String user_id){
        s3Dao.uploadPrPhoto(imgPath, user_id);
    }
- S3Dao
public void uploadPrPhoto(String imgPath, String user_id) {
        String uploadPrPhotoQuery = "UPDATE User set user_prPhoto = ? where user_id = ?";
        Object[] uploadPrPhotoParam = new Object[]{imgPath, user_id};

        this.jdbcTemplate.update(uploadPrPhotoQuery, uploadPrPhotoParam);
    }
🔥 error1
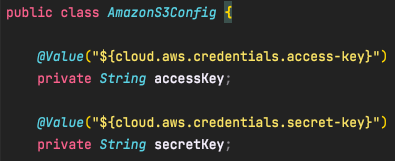
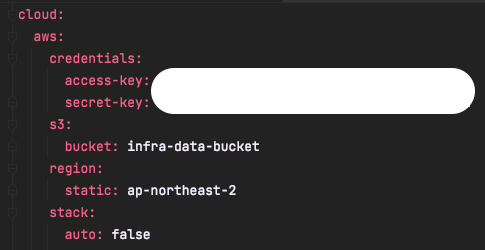
AmazonS3Config 에서 access & secret key를 불러오는 코드가 문제가 있었다.
블로거나 댓글 반응을 보면 다들 문제가 없는거 같은데 나는 문제가 생겨서
AmazonS3Config 와 aws.yml 의 access & secret key 변수명을 정확히 일치시켜줬다.
🔥 error2
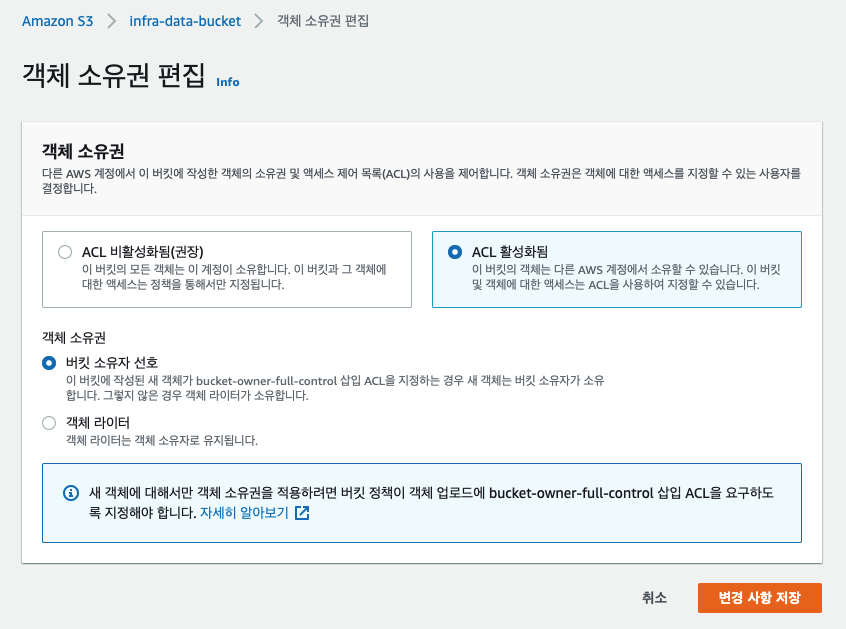
이번에는 ACL 관련 오류가 생겼다.
error code :
The bucket does not allow ACLs (Service: Amazon S3; Status Code: 400; Error Code: AccessControlListNotSupported;ACL 을 허용하지 않는다고 하여 객체 소유권 편집에서 다른 aws 계정에서도 소유할 수 있도록 ACL을 활성화시켜 해결하였다.
(근데 비활성화를 권장하는거 보니 옳은 방법은 아닌듯함..)
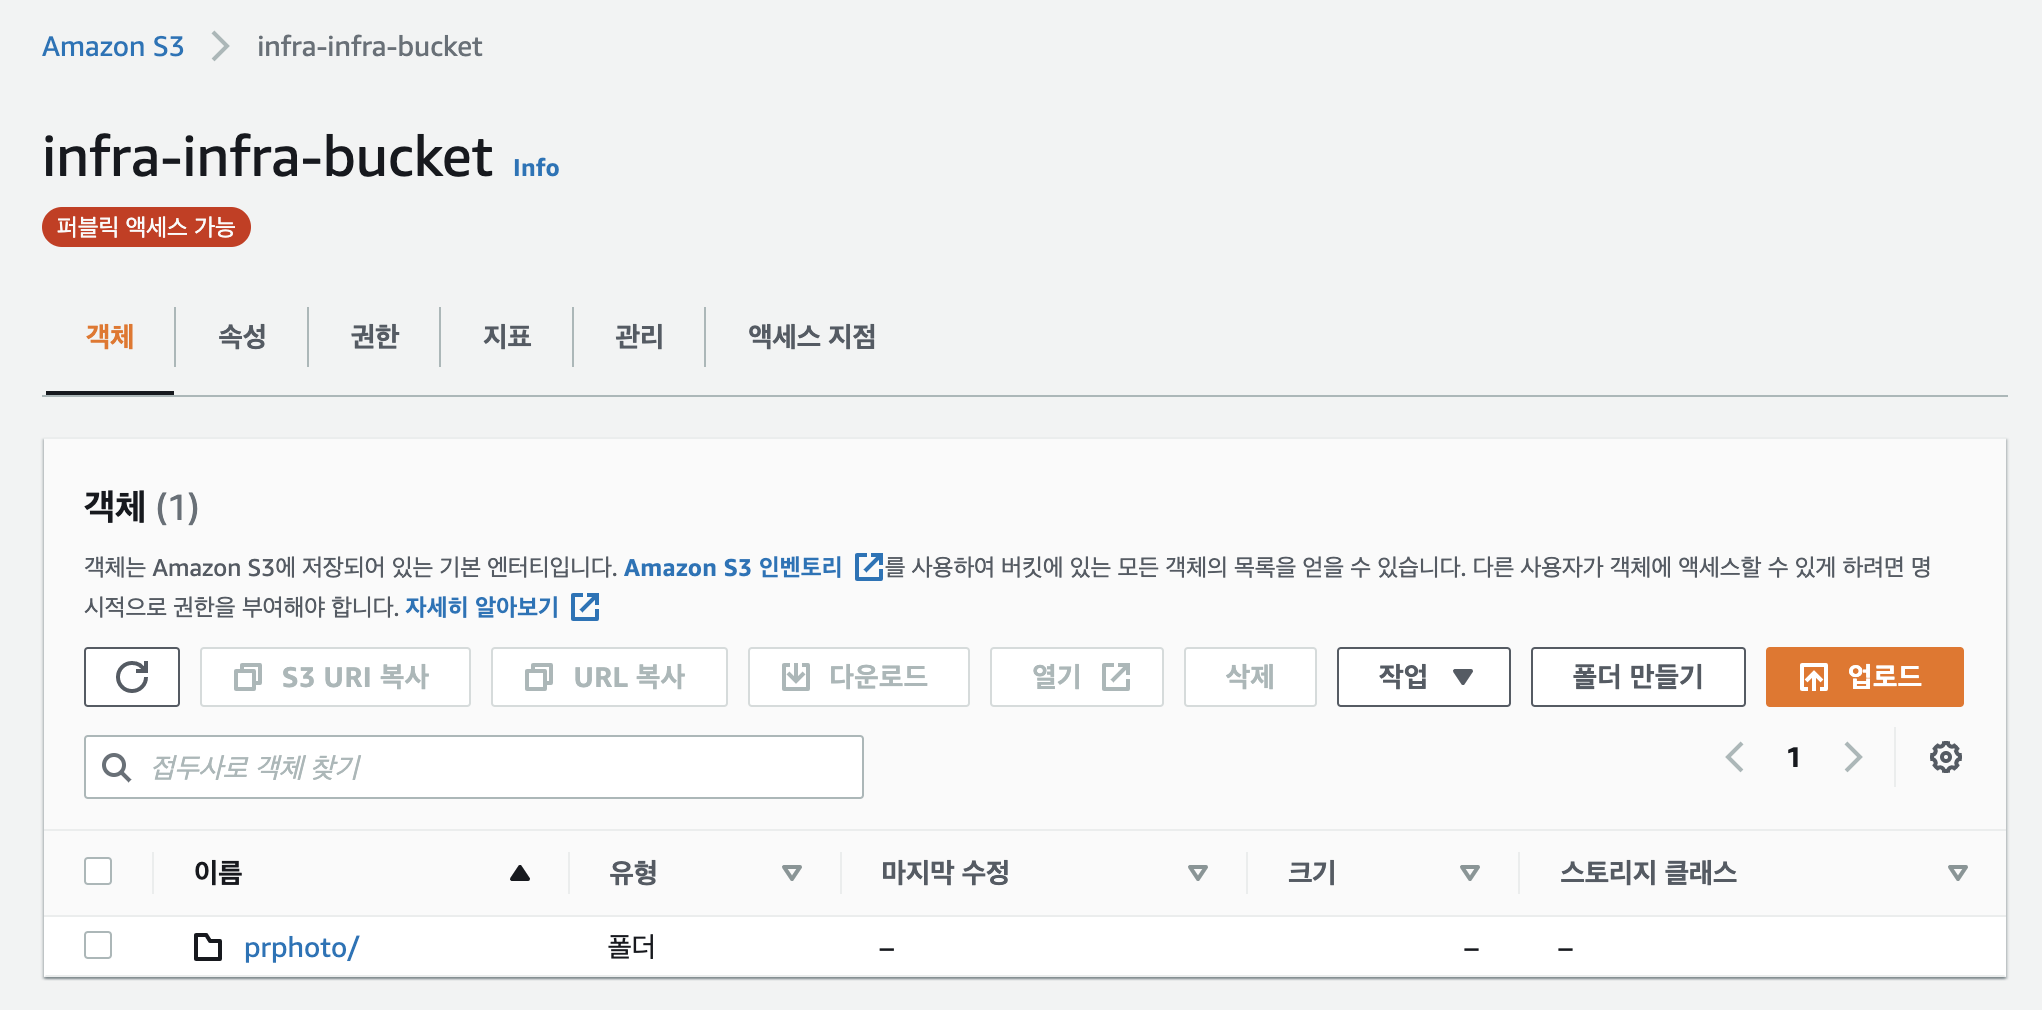
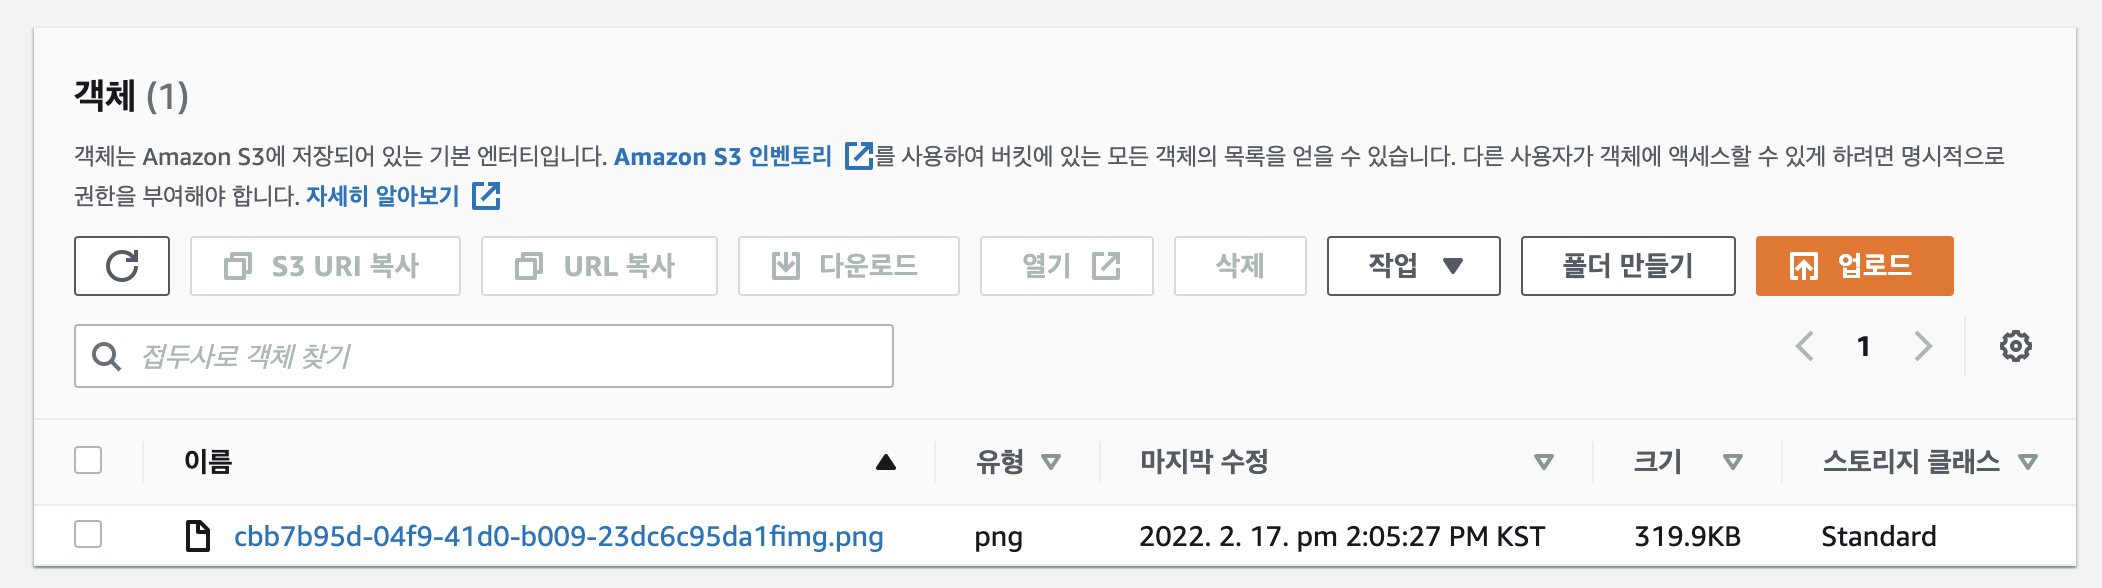
test
- postman
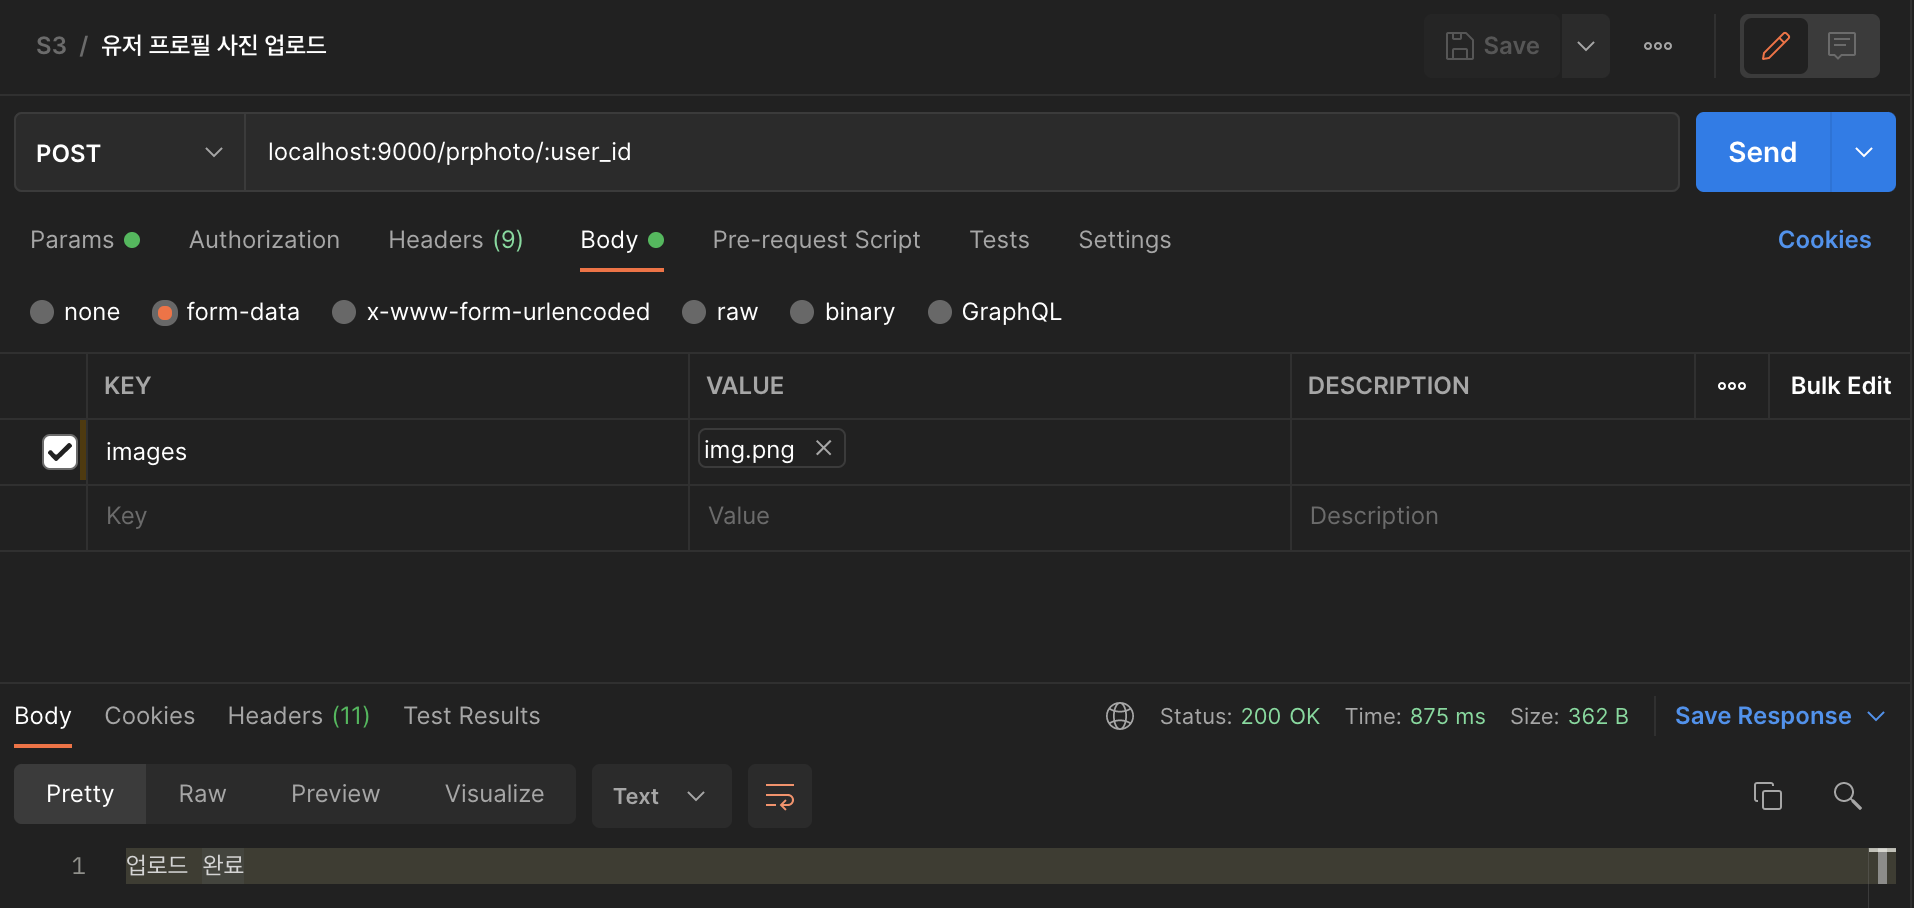
- s3
3. 이미지 불러오기
업로드시 db에 이미지 주소를 저장해놨기 때문에 이미지를 불러오는 코드는 간편하게 db에서 이미지 주소만 빼오면 된다.
코드
- S3Controller
@GetMapping("/prphoto/{user_id}")
    public String getPrphoto(@PathVariable("user_id") String user_id){
        String imgPath = s3Provider.getPrphoto(user_id);
        return imgPath;
    }
- S3Provider
public String getPrphoto(String user_id){
        String imgPath = s3Dao.getPrphoto(user_id);
        return imgPath;
    }
- S3Dao
public String getPrphoto(String user_id) {
        String getPrphotoQuery = "SELECT user_prPhoto from User Where user_id = ?";

        return this.jdbcTemplate.queryForObject(getPrphotoQuery, new String[]{user_id}, String.class);
    }
test
- postman
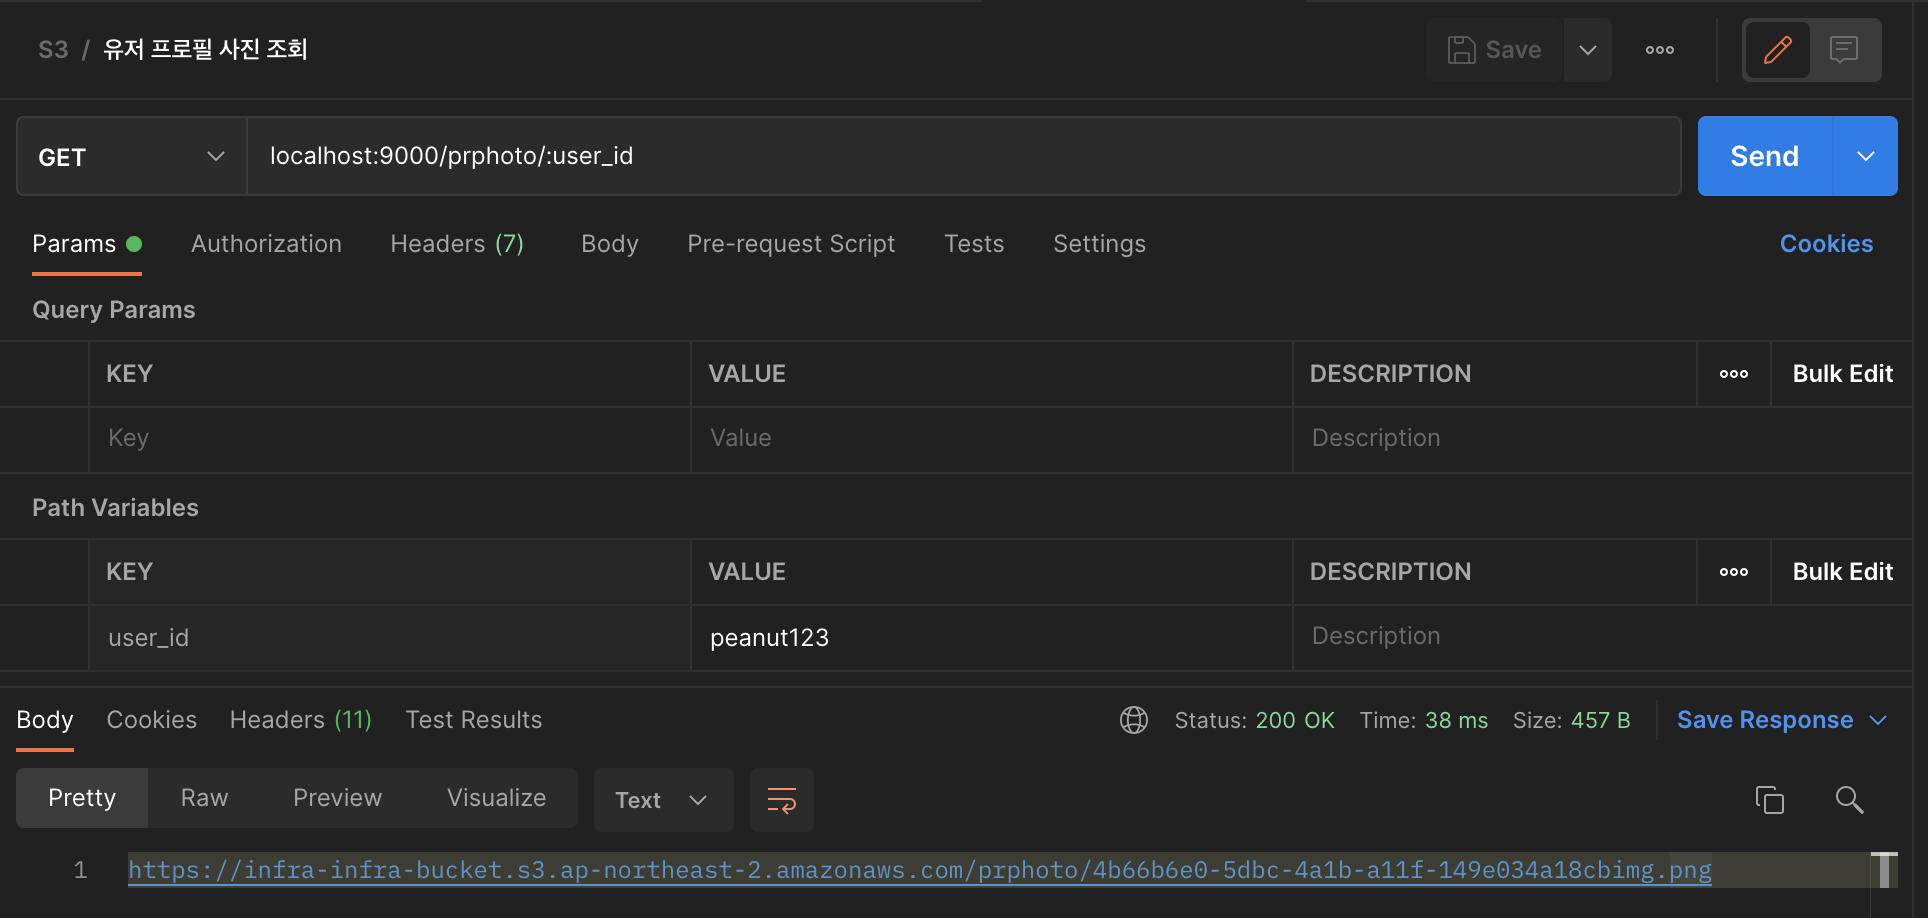
- html
db에서 받아온 이미지 주소를 html img 태그 src에 넣어 이미지가 잘 나오는지 확인했음
<img src="https://infra-infra-bucket.s3.ap-northeast-2.amazonaws.com/prphoto/cbb7b95d-04f9-41d0-b009-23dc6c95da1fimg.png">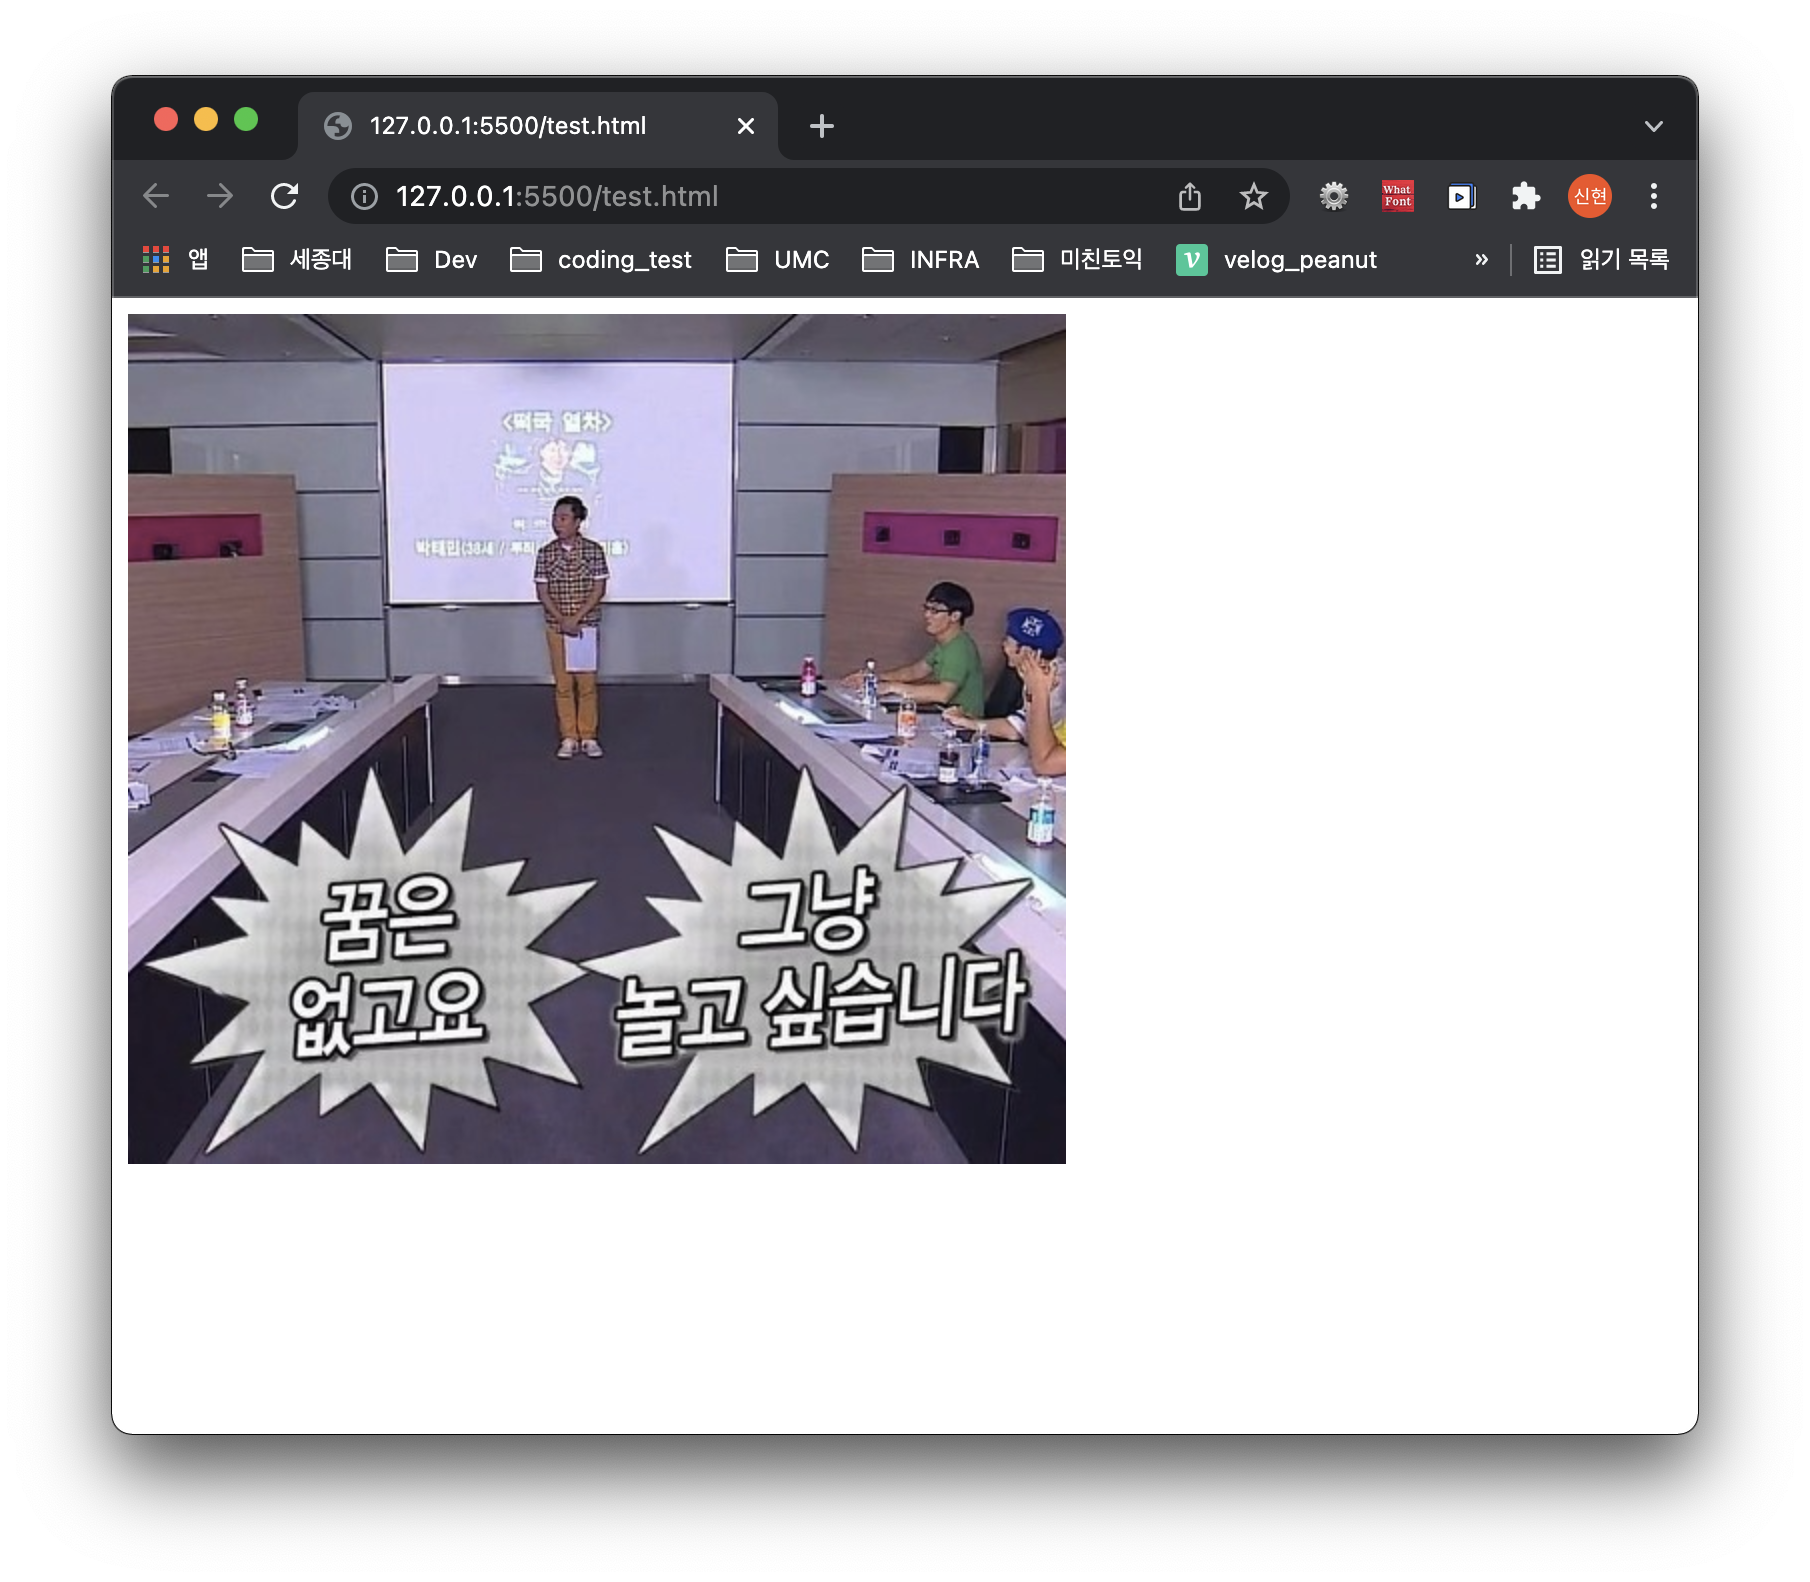

땅콩의 모험 (server)