구현할 것
인터넷 영상 통화 서비스를 구현하려고 하는데
Firebase를 Signaling Server로 사용하고
express.js를 서버로 HTTPS 통신을 위한 ssl 설정을 하고
vite로 빌드하며
vanilaJS로 구현을 해보자.
프로젝트 빌드
터미널에서 빠른 빌드를 위한 vite를 사용해서 구현해보자.
% npm init vite로 vanilaJS 프로젝트를 빌드하자.
> npx
> create-vite

✔ Project name: … webRTC
✔ Package name: … vanila-rtc
✔ Select a framework: › Vanilla
✔ Select a variant: › JavaScript

Scaffolding project in /Users/...

Done. Now run:

  cd webRTC
  npm install
  npm run dev
해당 명령어를 실행한 폴더에 webRTC라는 폴더가 생겼을 것이다.
vscode에서 해당 폴더를 열어 이어서 진행해보자.
추가로 설치할 패키지
npm install express
서버로 사용할 express를 설치해주자.
.gitignore
# local HTTPS
dev.key
dev.cert
server-local.js
서명에 사용할 키 파일이 깃허브에 올라가지 않도록 추가해주자.
server.js - ver.CommonsJS
프로젝트 루트 디렉토리에 server.js파일을 설정해주자.
서버는 express.js를 사용해서 HTTPS 통신이 가능하도록 SSL 인증을 설정한다.
import fs from 'fs';
import https from 'https';
import express from 'express';
import path from 'path';
import { fileURLToPath } from 'url';

// __dirname and __filename are not available in ES modules, so we need to set them up
const __filename = fileURLToPath(import.meta.url);
const __dirname = path.dirname(__filename);

const app = express();
const port = 3000;

// Load your SSL certificates
const key = fs.readFileSync(path.join(__dirname, 'dev.key'));
const cert = fs.readFileSync(path.join(__dirname, 'dev.cert'));
const options = {
  key: key,
  cert: cert
};

// Serve static files from the 'public' directory
app.use(express.static(path.join(__dirname, 'public')));

// Example: Serve your existing HTML/JS files
app.get('/', (req, res) => res.sendFile(path.join(__dirname, 'public', 'index.html')));

// Create HTTPS server
https.createServer(options, app).listen(port, () => {
  console.log(`Server is running on https://localhost:${port}`);
});
인증서 발급
HTTPS 통신을 하려면 SSL 인증이 필요하다.
dev.key, dev.cert
내부망에서 통신한다면 자체서명 인증서를
외부에 서비스를 한다면 도메인에 인증서를 발급받아
루트 디렉토리에 dev.key, dev.cert를 추가해주자.
./public/index.html
루트 디렉토리에 index.html파일을 ./public 폴더로 옮겨주자.
왜냐하면 express.js는 public에 있는 리소스를 읽을 수 있기 때문이다.
루트 디렉토리의 index.html파일은 인식하지 못한다.
<!DOCTYPE html>
<html lang="en">
<head>
<meta charset="UTF-8">
<meta name="viewport" content="width=device-width, initial-scale=1.0">
<title>WebRTC App</title>
<link rel="stylesheet" href="style.css">
</head>
<body>
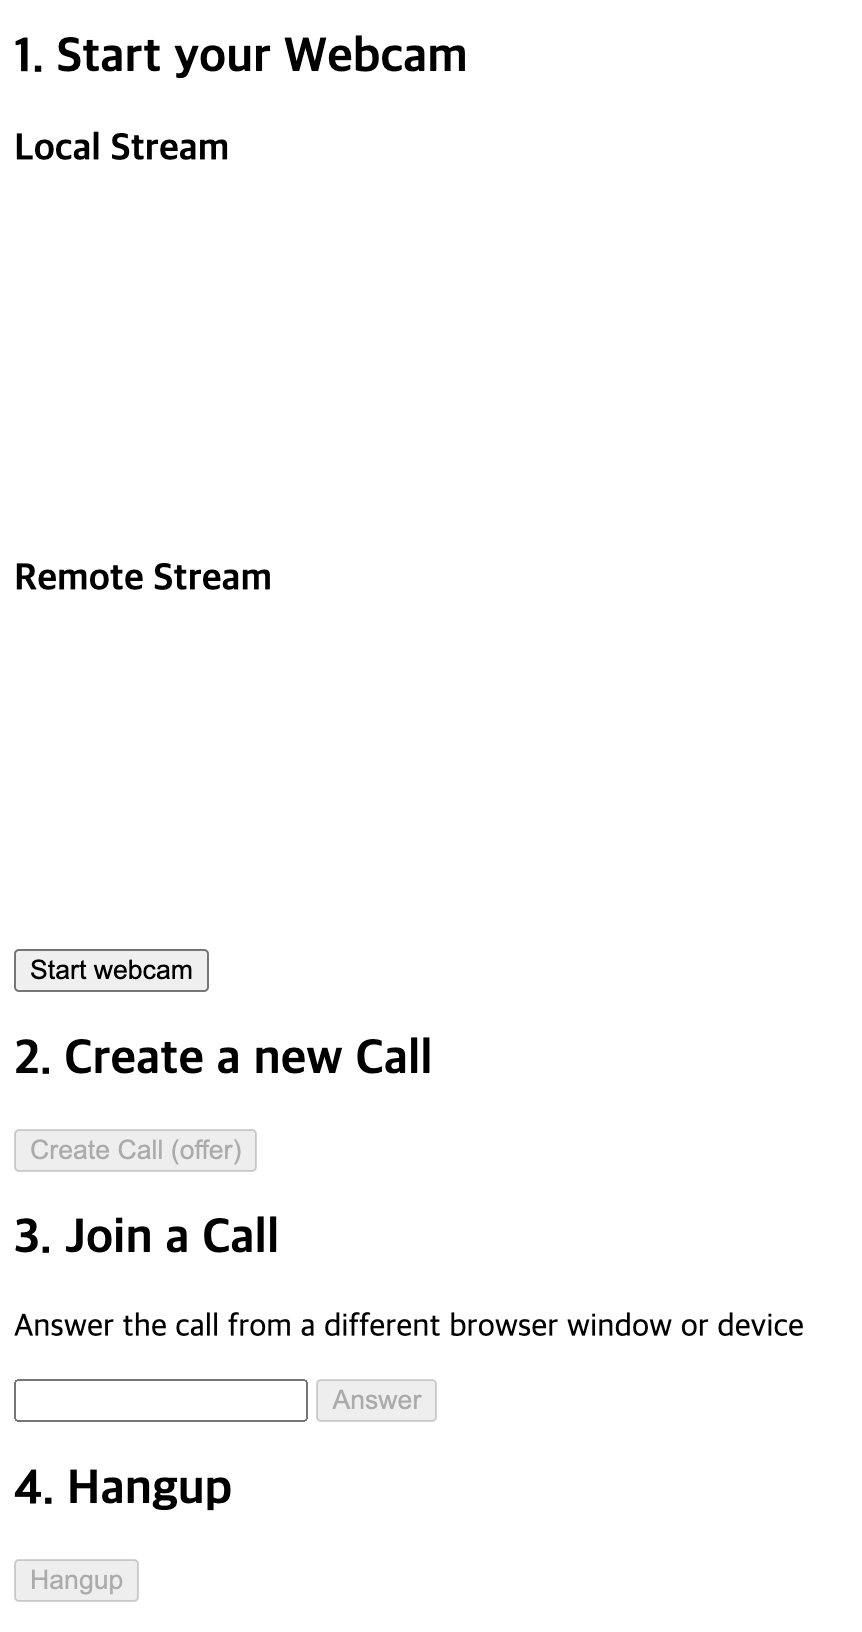
<h2>1. Start your Webcam</h2>
<div class="videos">
<span>
<h3>Local Stream</h3>
<video id="webcamVideo" autoplay playsinline></video>
</span>
<span>
<h3>Remote Stream</h3>
<video id="remoteVideo" autoplay playsinline></video>
</span>
</div>
<button id="webcamButton">Start webcam</button>
<h2>2. Create a new Call</h2>
<button id="callButton" disabled>Create Call (offer)</button>
<h2>3. Join a Call</h2>
<p>Answer the call from a different browser window or device</p>
<input id="callInput" />
<button id="answerButton" disabled>Answer</button>
<h2>4. Hangup</h2>
<button id="hangupButton" disabled>Hangup</button>
<script type="module" src="main.js"></script>
</body>
</html>./public/main.js
import { initializeApp } from 'https://www.gstatic.com/firebasejs/9.6.1/firebase-app.js';
import { getFirestore, collection, doc, getDoc, setDoc, updateDoc, onSnapshot, addDoc } from 'https://www.gstatic.com/firebasejs/9.6.1/firebase-firestore.js';
// Your web app's Firebase configuration
const firebaseConfig = {
};
const app = initializeApp(firebaseConfig);
const firestore = getFirestore(app);
const servers = {
iceServers: [
{
urls: ['stun:stun1.l.google.com:19302', 'stun:stun2.l.google.com:19302'],
},
],
iceCandidatePoolSize: 10,
};
// Global State
const pc = new RTCPeerConnection(servers);
let localStream = null;
let remoteStream = null;
// HTML elements
const webcamButton = document.getElementById('webcamButton');
const webcamVideo = document.getElementById('webcamVideo');
const callButton = document.getElementById('callButton');
const callInput = document.getElementById('callInput');
const answerButton = document.getElementById('answerButton');
const remoteVideo = document.getElementById('remoteVideo');
const hangupButton = document.getElementById('hangupButton');
// 1. Setup media sources
webcamButton.onclick = async () => {
localStream = await navigator.mediaDevices.getUserMedia({ video: true, audio: true });
remoteStream = new MediaStream();
// Push tracks from local stream to peer connection
localStream.getTracks().forEach((track) => {
pc.addTrack(track, localStream);
});
// Pull tracks from remote stream, add to video stream
pc.ontrack = (event) => {
event.streams[0].getTracks().forEach((track) => {
remoteStream.addTrack(track);
});
};
webcamVideo.srcObject = localStream;
remoteVideo.srcObject = remoteStream;
callButton.disabled = false;
answerButton.disabled = false;
webcamButton.disabled = true;
};
// 2. Create an offer
callButton.onclick = async () => {
// Reference Firestore collections for signaling
const callDoc = doc(collection(firestore, 'calls'));
const offerCandidates = collection(callDoc, 'offerCandidates');
const answerCandidates = collection(callDoc, 'answerCandidates');
callInput.value = callDoc.id;
// Get candidates for caller, save to db
pc.onicecandidate = (event) => {
event.candidate && addDoc(offerCandidates, event.candidate.toJSON());
};
// Create offer
const offerDescription = await pc.createOffer();
await pc.setLocalDescription(offerDescription);
const offer = {
sdp: offerDescription.sdp,
type: offerDescription.type,
};
await setDoc(callDoc, { offer });
// Listen for remote answer
onSnapshot(callDoc, (snapshot) => {
const data = snapshot.data();
if (!pc.currentRemoteDescription && data?.answer) {
const answerDescription = new RTCSessionDescription(data.answer);
pc.setRemoteDescription(answerDescription);
}
});
// When answered, add candidate to peer connection
onSnapshot(answerCandidates, (snapshot) => {
snapshot.docChanges().forEach((change) => {
if (change.type === 'added') {
const candidate = new RTCIceCandidate(change.doc.data());
pc.addIceCandidate(candidate);
}
});
});
hangupButton.disabled = false;
};
// 3. Answer the call with the unique ID
answerButton.onclick = async () => {
const callId = callInput.value;
const callDoc = doc(firestore, 'calls', callId);
const answerCandidates = collection(callDoc, 'answerCandidates');
const offerCandidates = collection(callDoc, 'offerCandidates');
pc.onicecandidate = (event) => {
event.candidate && addDoc(answerCandidates, event.candidate.toJSON());
};
const callData = (await getDoc(callDoc)).data();
const offerDescription = callData.offer;
await pc.setRemoteDescription(new RTCSessionDescription(offerDescription));
const answerDescription = await pc.createAnswer();
await pc.setLocalDescription(answerDescription);
const answer = {
type: answerDescription.type,
sdp: answerDescription.sdp,
};
await updateDoc(callDoc, { answer });
onSnapshot(offerCandidates, (snapshot) => {
snapshot.docChanges().forEach((change) => {
if (change.type === 'added') {
const data = change.doc.data();
pc.addIceCandidate(new RTCIceCandidate(data));
}
});
});
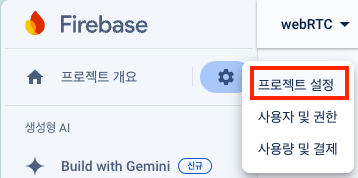
};firebase 설정
firebase configure
firebase에서 프로젝트를 생성하고
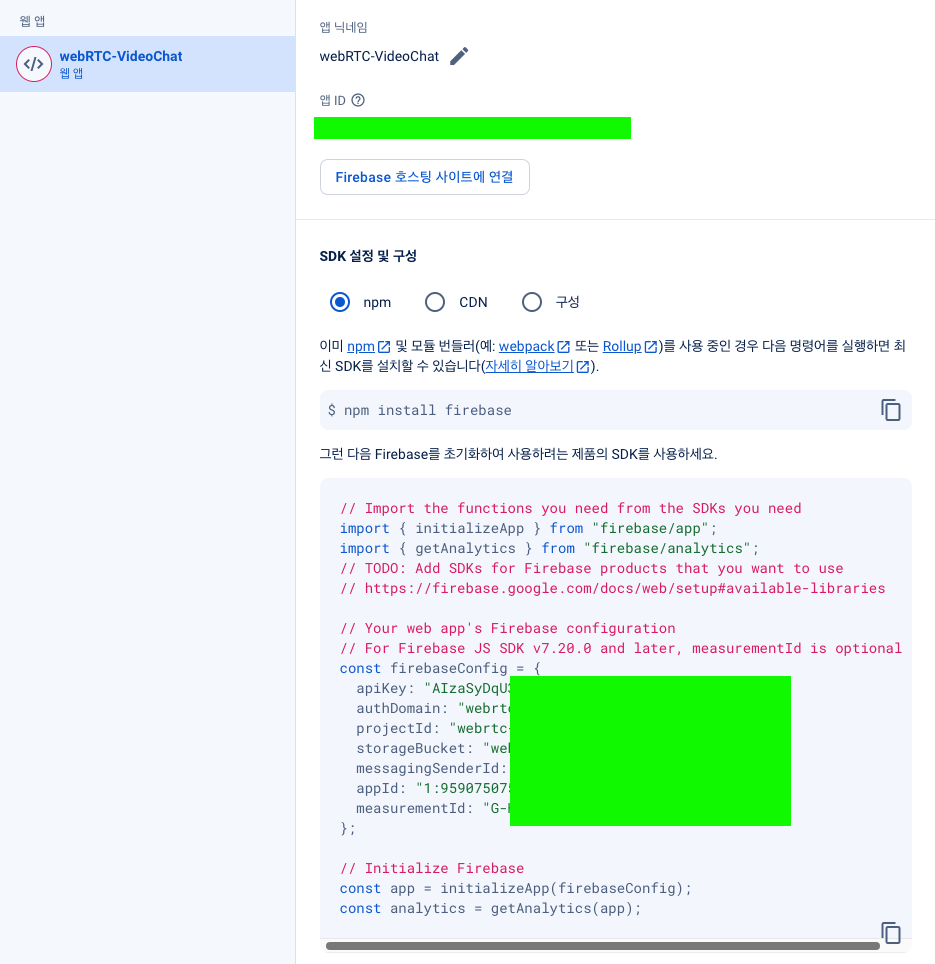
위에 내용을
// Your web app's Firebase configuration
const firebaseConfig = {

};
./public/main.js 여기에 추가해주자.
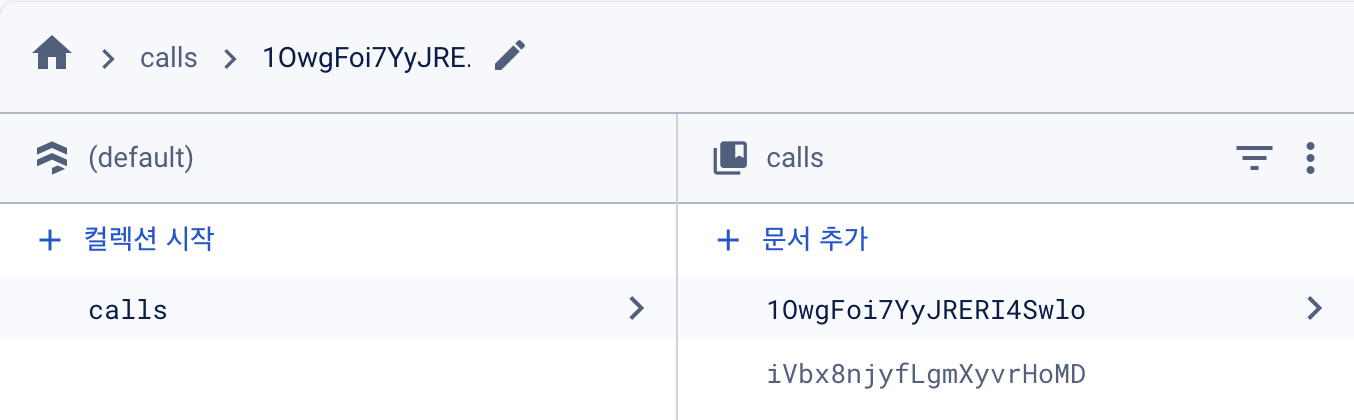
firestore database

firestore도 추가해줘야한다.
이후 실행해서 start webcam -> Create a new call 버튼을
순서대로 누르면 아래처럼 calls 컬렉션에 코드가 추가된다.
서버 시작
node server.js
https://localhost:3000
여기에 접속하면 된다. 만약 공인 인증서에 도메인을 사용했다면
해당 도메인으로 가면 된다.
사용법
클라이언트 2명이서 영상통화를 한다면
클라이언트 A는
- start webcam
- Create Call (offer)
순서로 버튼을 누르고 Join a Call에 코드가 나오면
클라이언트 B는
- start webcam
- Join a Call아래 Answer버튼 옆에
위에 생성된 코드를 넣고 Answer버튼을 클릭하면 된다.
참고자료
https://www.youtube.com/watch?v=WmR9IMUD_CY
https://github.com/fireship-io/webrtc-firebase-demo?tab=readme-ov-file
HTTPS 통신을 추가하도록 인증서 설정을 했고
vite와 node.js버전이 바뀌면서 server.js가 동작이 안되서
ES6문법에 맞게 server.js를 수정해주니 잘 동작하게되었다.