프로젝트
이전 프로젝트에 이어서 이번 프로젝트도 localStorage를 사용했다.
그런데 이전 프로젝트에서는 redux를 사용하지 않아서 생각보다 쉬운 작업이었지만 이번 프로젝트에서는 redux를 사용해서 서칭하기가 힘들었다.
예제들은 redux-toolkit이 아닌 redux로 제작한 예제들이라서 코드를 읽기가 어려웠었다.
그러다가 redux-persist 사용법 이 블로그를 일고나서 redux-persist의 존재를 알게되었고 이 라이브러리를 공부하고, 결국 localStorage에 state들을 저장하는 것을 성공하였다.
예시 코드는 추가 부분에 작성하겠다
Dev Log
오늘은 어떻게 프로젝트에 기여했나요?
- LocalStorage를 사용해서 state들 저장
- axios작업
오늘의 프로젝트에서 힘든 점은 무엇인가요?
- LocalStorage에 저장을 저번 프로젝트에서는 redux를 사용하지 않고 react로만 했어서 state를 저장하면 되었지만,
이번 프로젝트는 redux를 사용해서 LocalStorage를 사용하는 방법을 서칭하는 것이 어려웠다.
내일은 프로젝트에 기여하기 위해 무엇을 해야 하나요?
- Order페이지 axios 작업
추가
Redux-React App을 처음 사용할때를 기준으로 예시를 들겠다.
npx create-react-app my-app --template redux 위의 명령어를 통해 my-app이라는 app을 만든다.
우선 cd my-app명령어를 통해 my-app으로 들어가서,
npm i redux-persist명령어를 통해 redux-persist를 설치한다.
우리가 수정해야하는 파일은 src/app/store.js와 src/index.js 두 가지 파일이다.
아래와 같이 수정한다.
// src/app/store.js

import { configureStore } from '@reduxjs/toolkit';
import storage from 'redux-persist/lib/storage';
import { combineReducers } from 'redux';
import { persistReducer } from 'redux-persist';
import thunk from 'redux-thunk';
import counterReducer from '../features/counter/counterSlice';

const reducers = combineReducers({
  counter: counterReducer,
});

const persistConfig = {
  key: 'root',
  storage,
};

const persistedReducer = persistReducer(persistConfig, reducers);

const store = configureStore({
  reducer: persistedReducer,
  middleware: [thunk]
});

export default store;
// src/index.js

import React from 'react';
import ReactDOM from 'react-dom';
import './index.css';
import App from './App';
import store from './app/store';
import { Provider } from 'react-redux';
import { PersistGate } from 'redux-persist/integration/react';
import { persistStore } from 'redux-persist';
import * as serviceWorker from './serviceWorker';

let persistor = persistStore(store);

ReactDOM.render(
  <React.StrictMode>
    <Provider store={store}>
      <PersistGate loading={null} persistor={persistor}>
        <App />
      </PersistGate>
    </Provider>
  </React.StrictMode>,
  document.getElementById('root')
);

serviceWorker.unregister();
결과
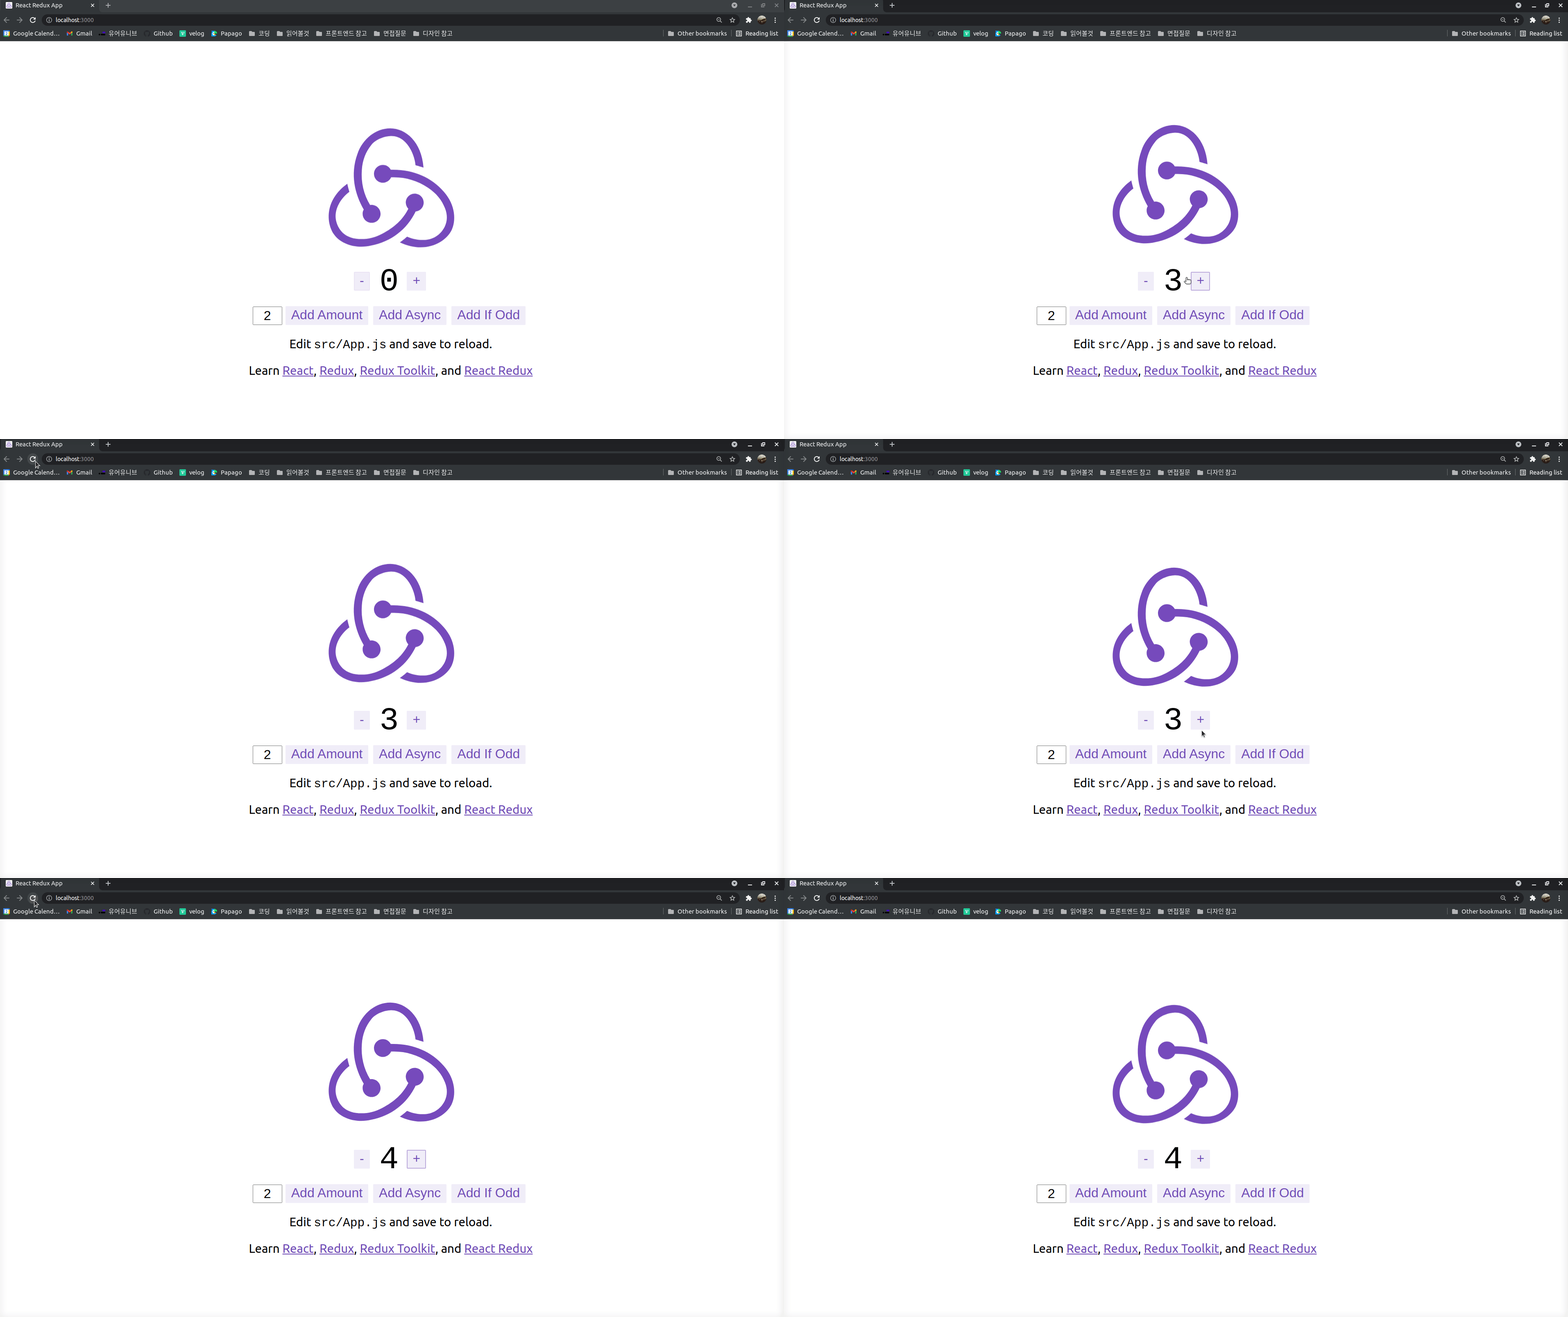
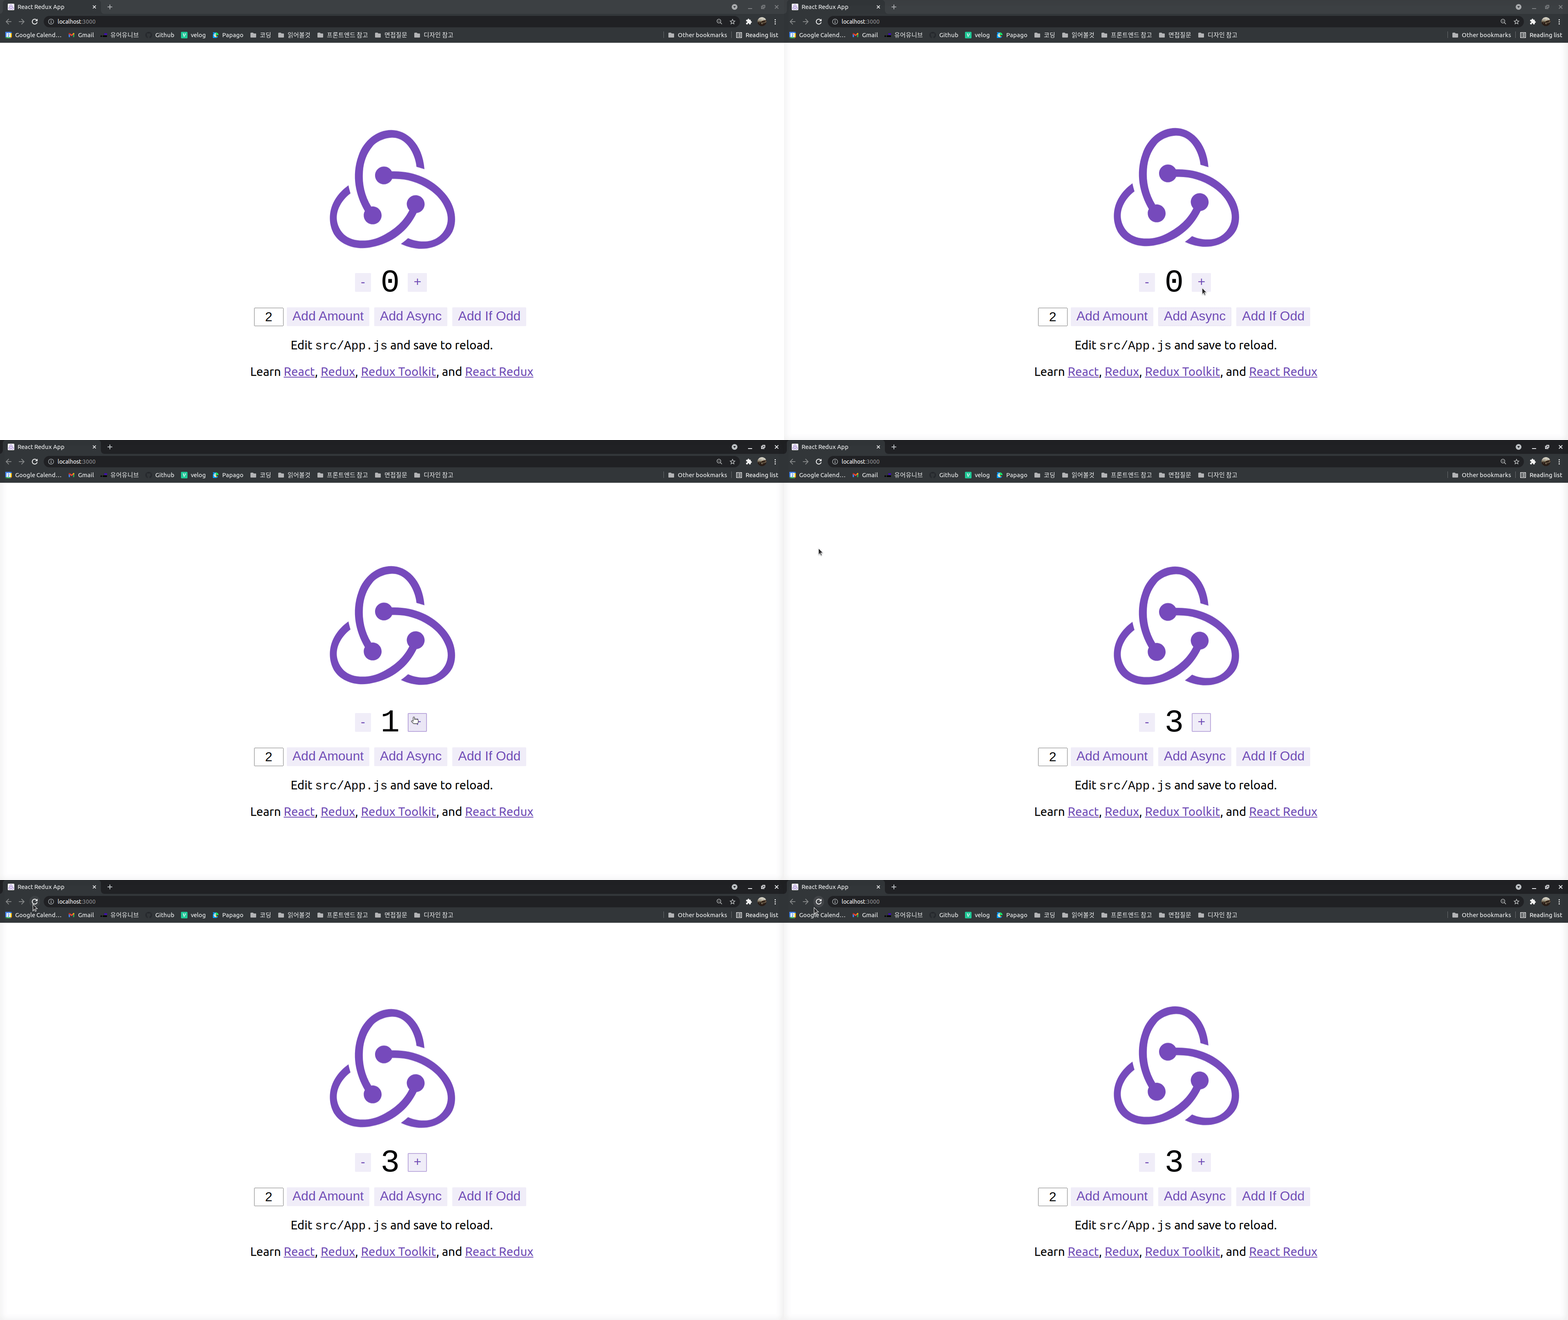
새로고침을 하여도 숫자가 저장되어있다.


