백엔드도 프론트엔드를 알고있어야 하는 것 같다.
그래서 React를 공부하려고 했으나, 쉽고 빠르게 배울 수 있는 프론트 기술인 Svelte를 알게 되어서 찍먹하게 되었다.
Svelte
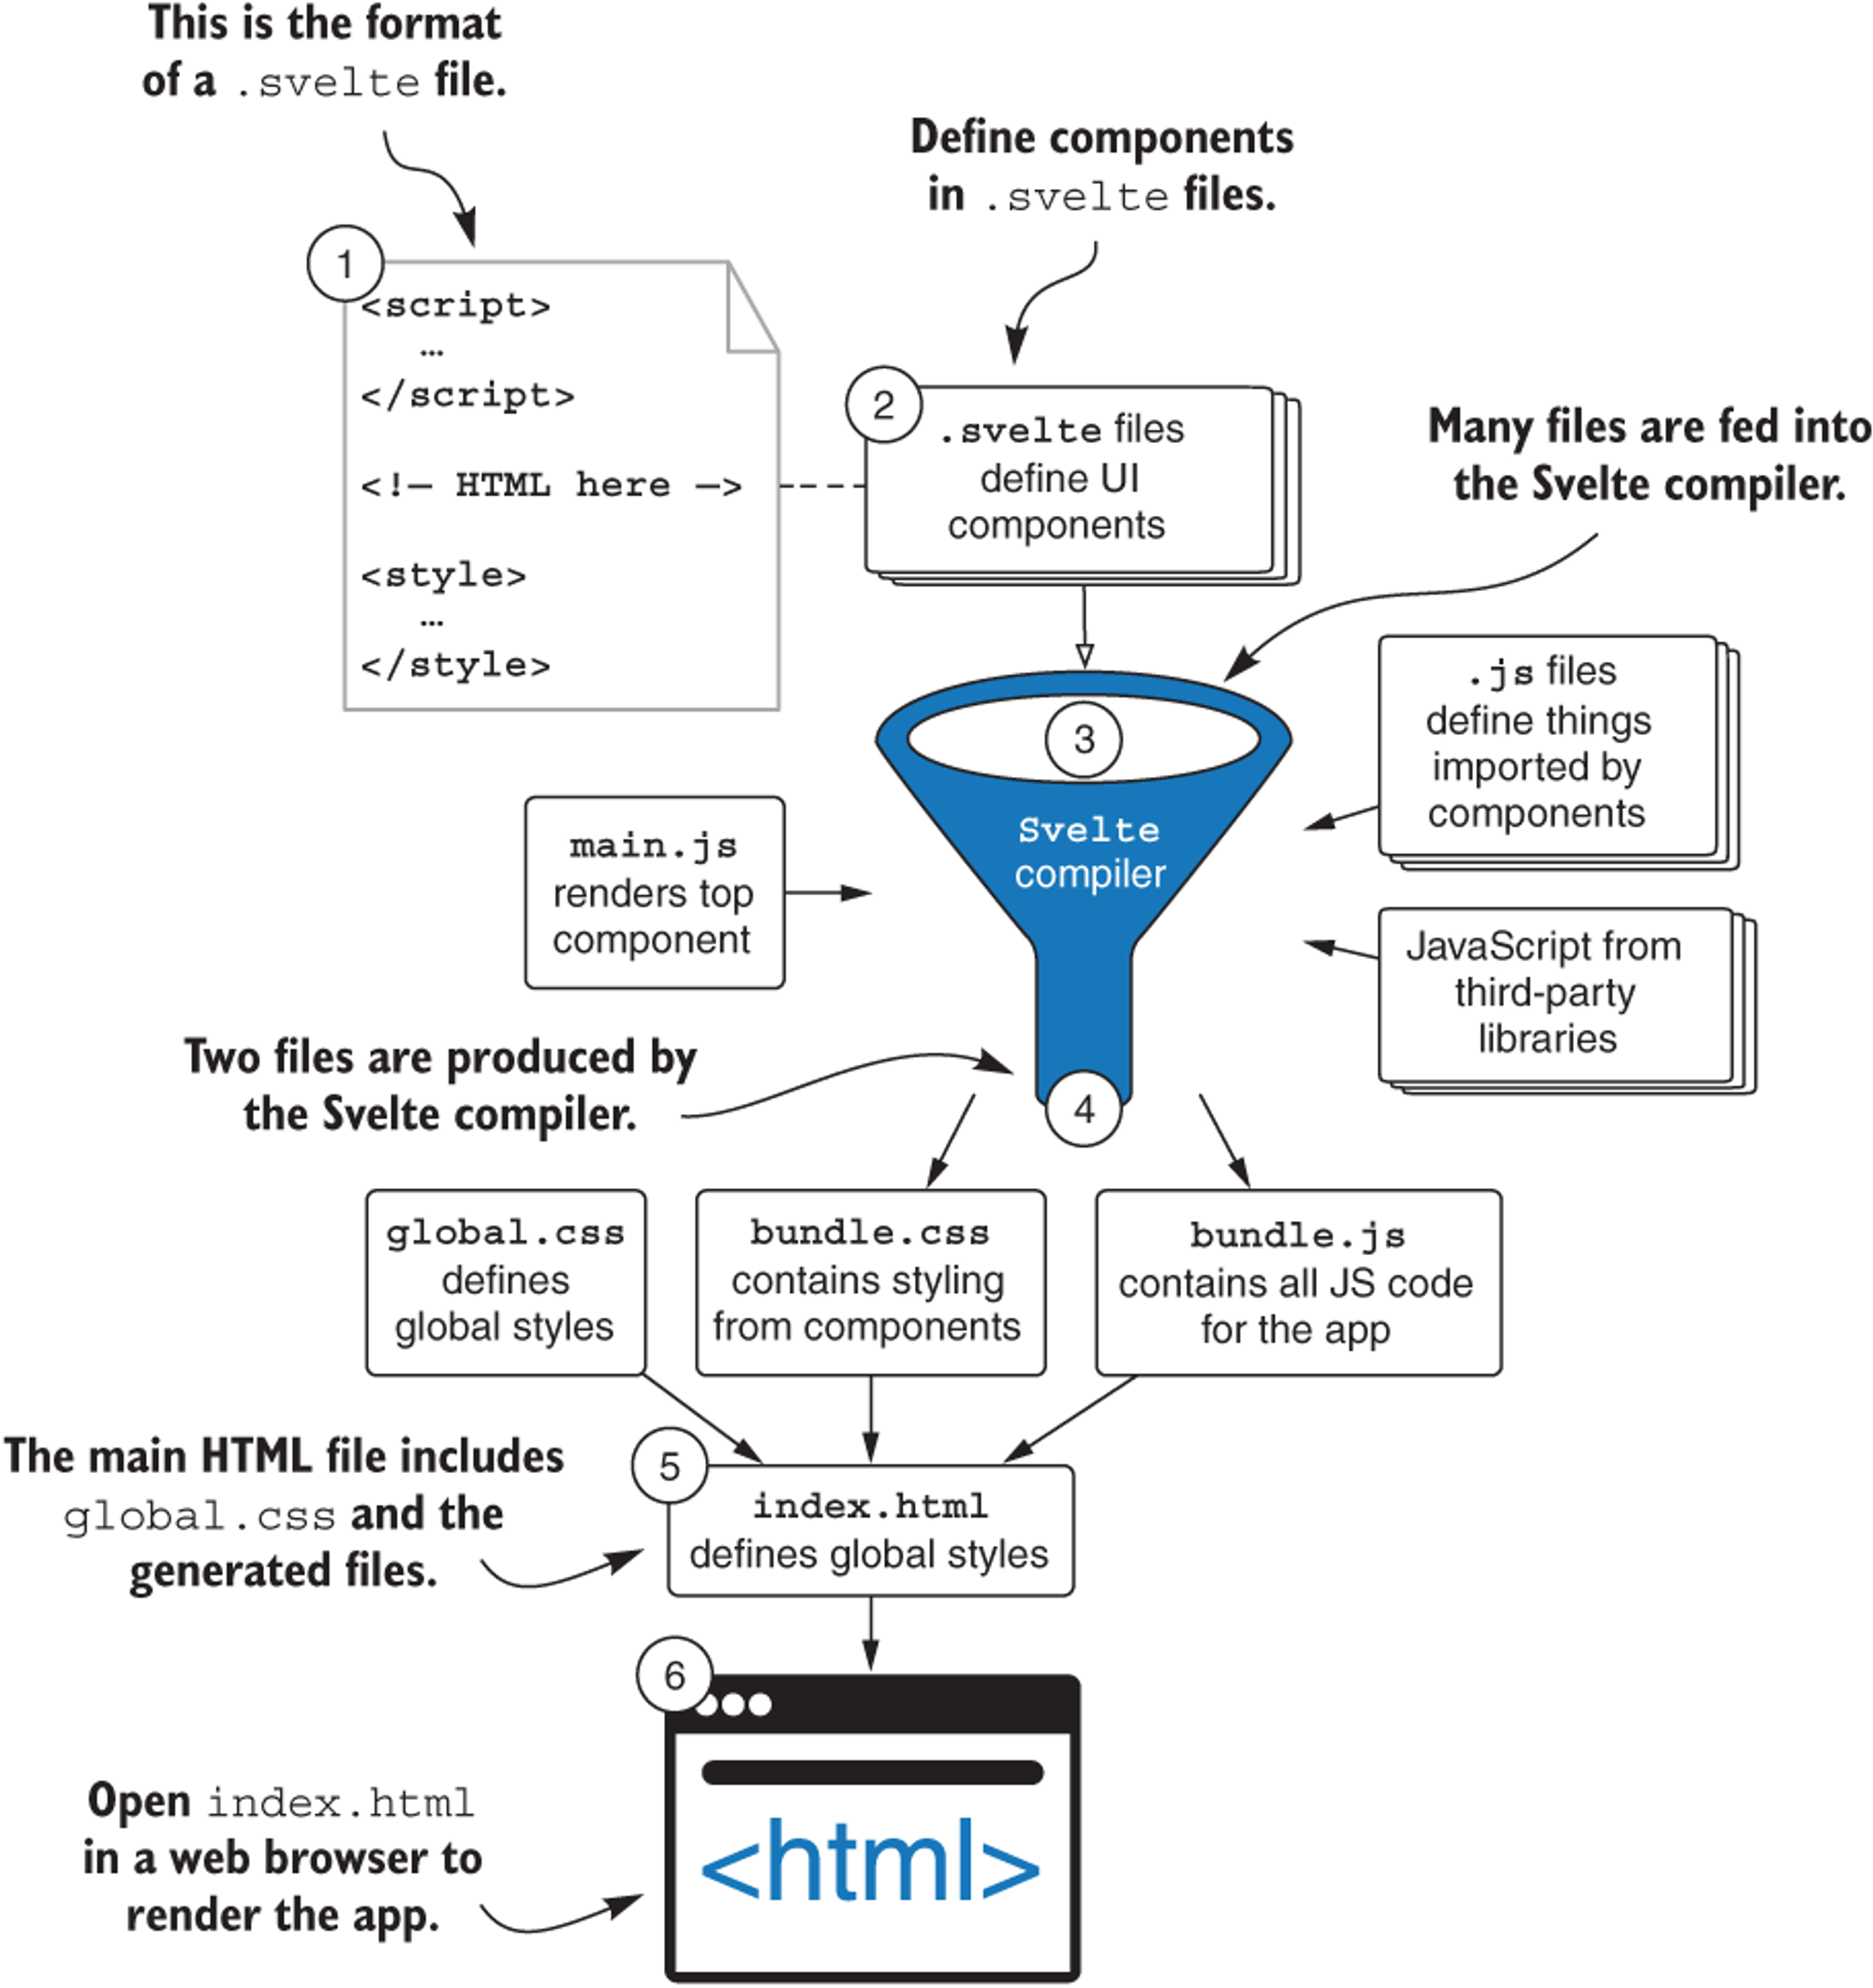
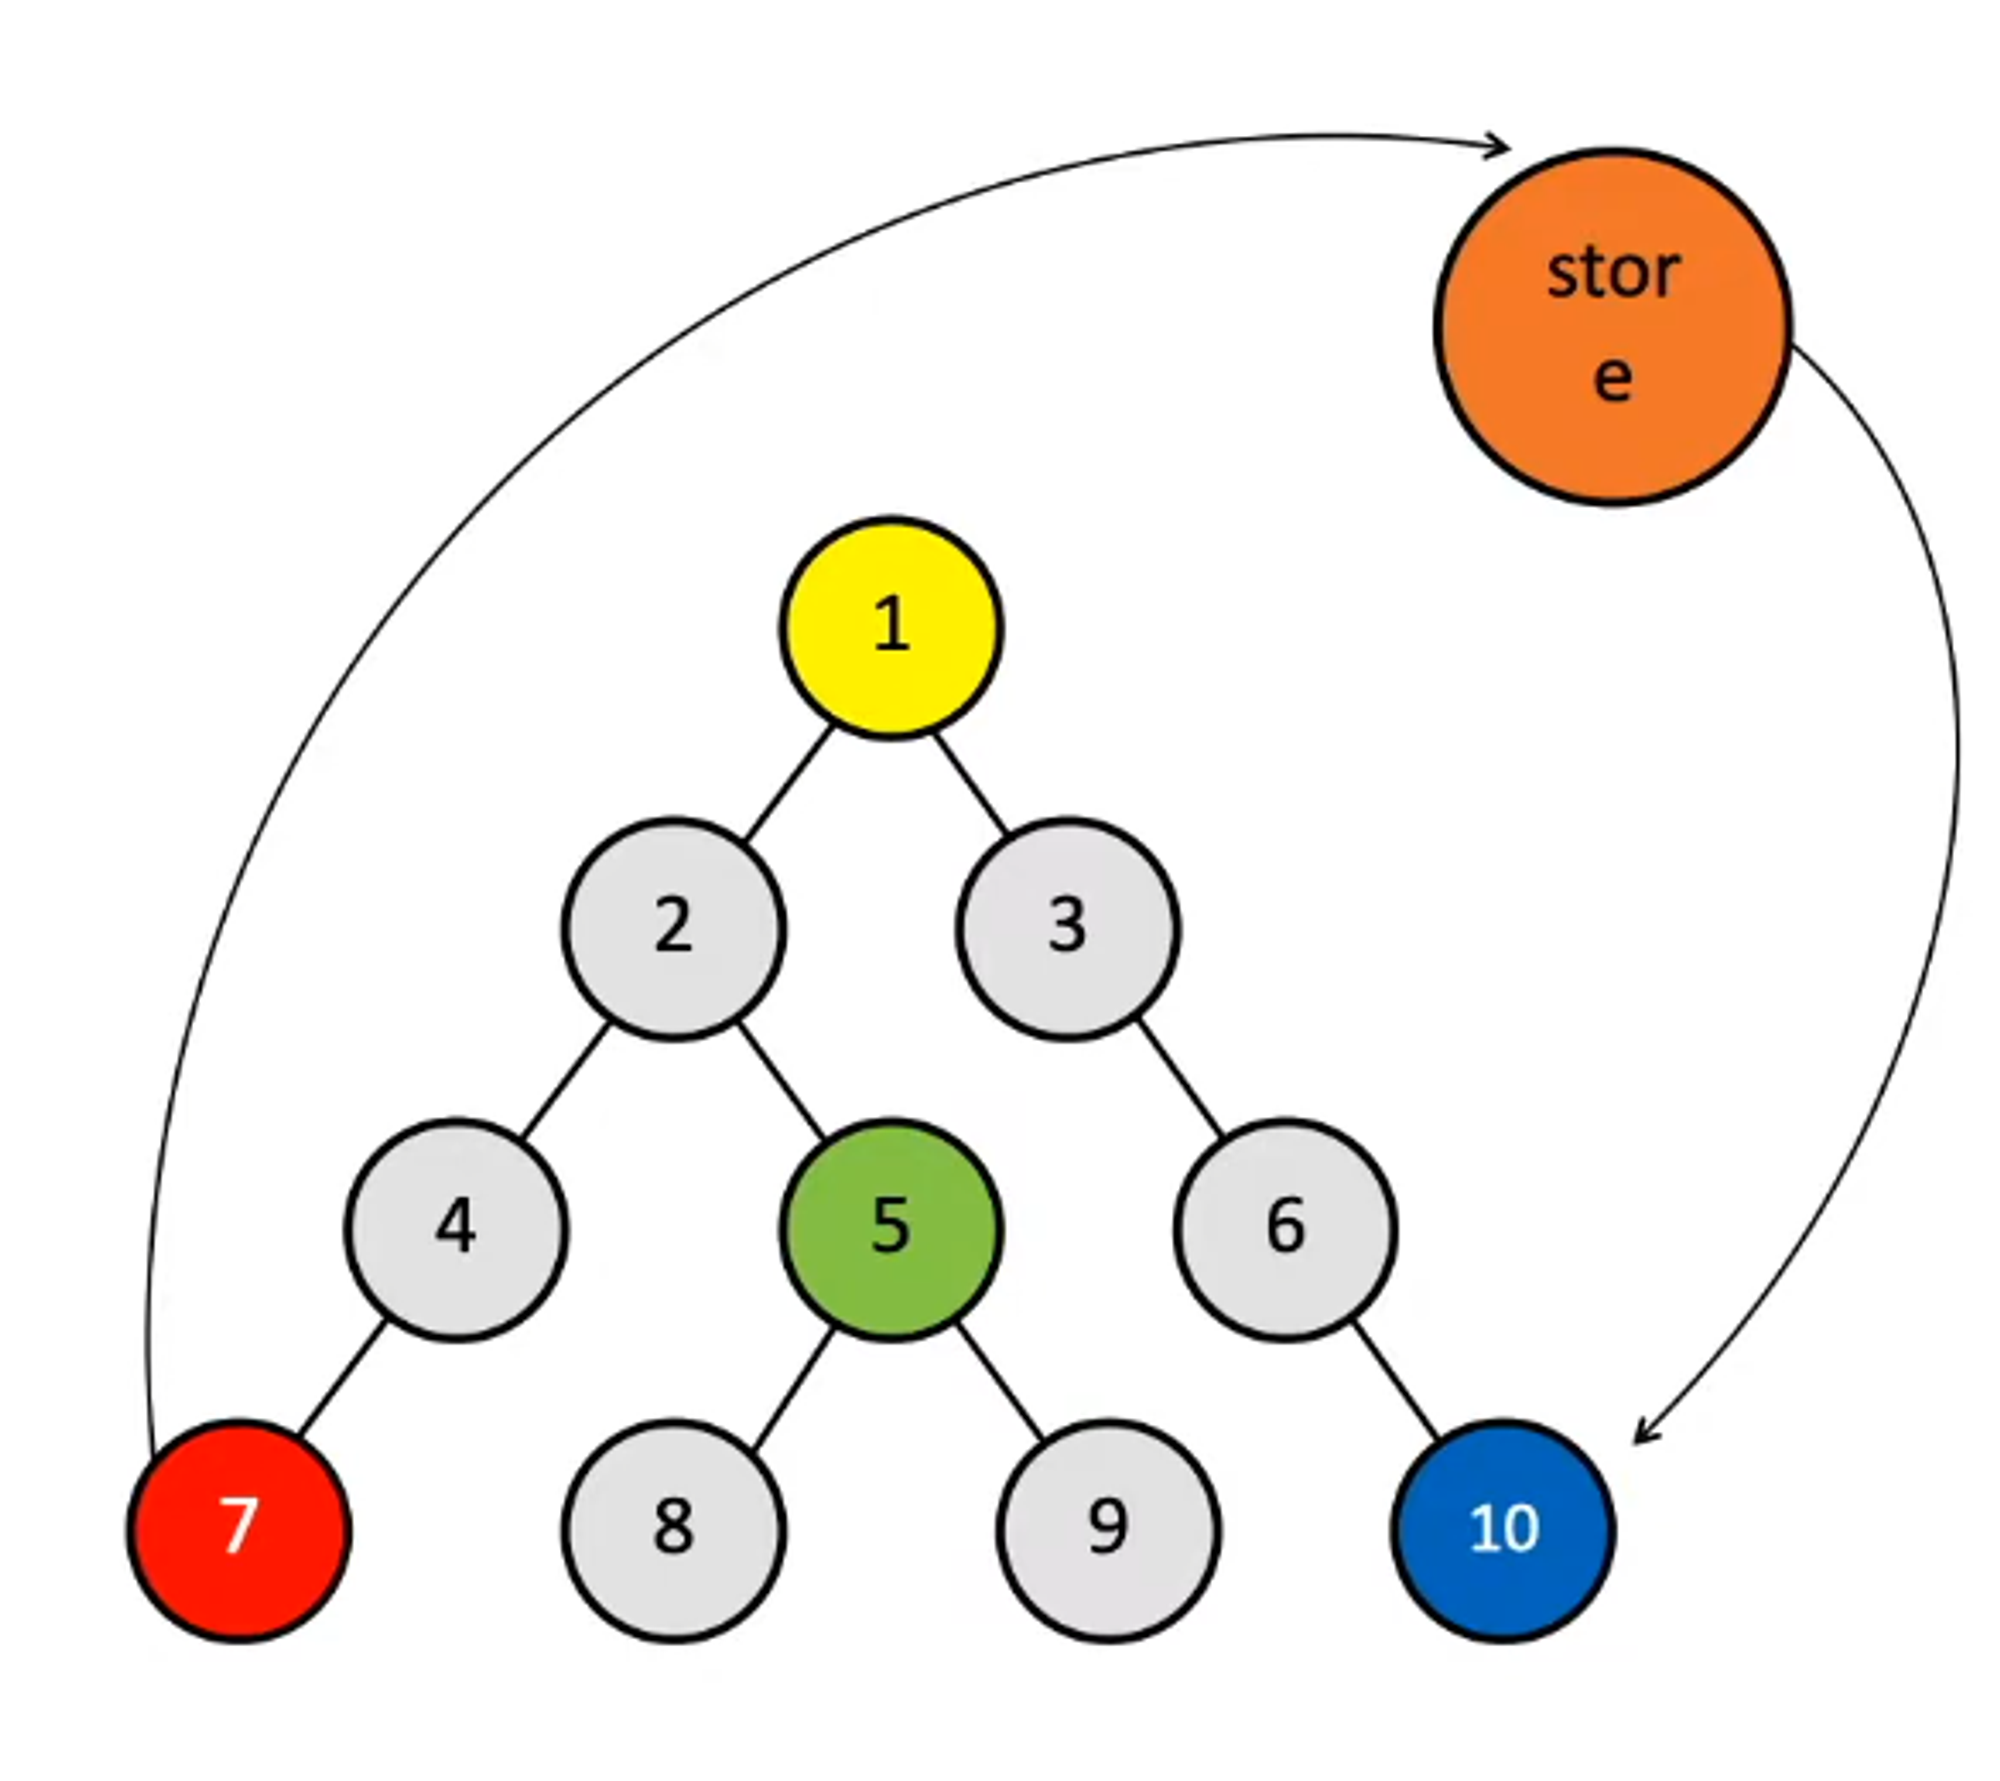
- 스벨트는 컴파일러라고도 불린다.
- 그림과 같이,
.svlete파일을 html 요소로 변환해주기 때문
- 그림과 같이,
- Virtual DOM을 사용하지 않음
문법
Statement
<script>
	let number = 10;
</script>

{number}
Component

<script>
	// 무조건 대문자로 시작해야 됨. 파일 명은 상관없
	import Nested from './Nested.svelte';
</script>

<p>This is a paragraph.</p>
<Nested />

<style>
	p {
		color: goldenrod;
		font-family: 'Comic Sans MS', cursive;
		font-size: 2em;
	}
</style>
Reactivity
<script>
	let count = 0;

	$: if (count >= 10) {
		alert('count is dangerously high!');
		count = 0;
	}

	$: {
		// count값이 바뀌면, 해당 블록 코드가 다 실행됨
		// 안바뀌면, 실행안
		console.log(`the count is ${count}`);
		console.log(`this will also be logged whenever count changes`);
	}

	function handleClick() {
		count += 1;
	}
</script>

<button on:click={handleClick}>
	Clicked {count}
	{count === 1 ? 'time' : 'times'}
</button>
Reactive Value(반응형 변수)
- 특정 변수의 상태에 따라 상태값을 변화시키는 기법
<script>
	let count = 0;
	// let doubled = count * 2 ; count가 10이 되어도 doubled는 항상 0임

	$: doubled = count * 2; // dount값에 따라 값이 바뀜

	function increment() {
		count += 1;
	}
</script>

<button on:click={increment}>
	Clicked {count}
	{count === 1 ? 'time' : 'times'}
</button>

<p>{count} doubled is {doubled}</p>
Reactive Statements(상태 감지)
<script>
let count = 0;
$: if (count >= 10) {
alert('count is dangerously high!');
count = 0;
}
function handleClick() {
count += 1;
}
</script>
<button on:click={handleClick}>
Clicked {count}
{count === 1 ? 'time' : 'times'}
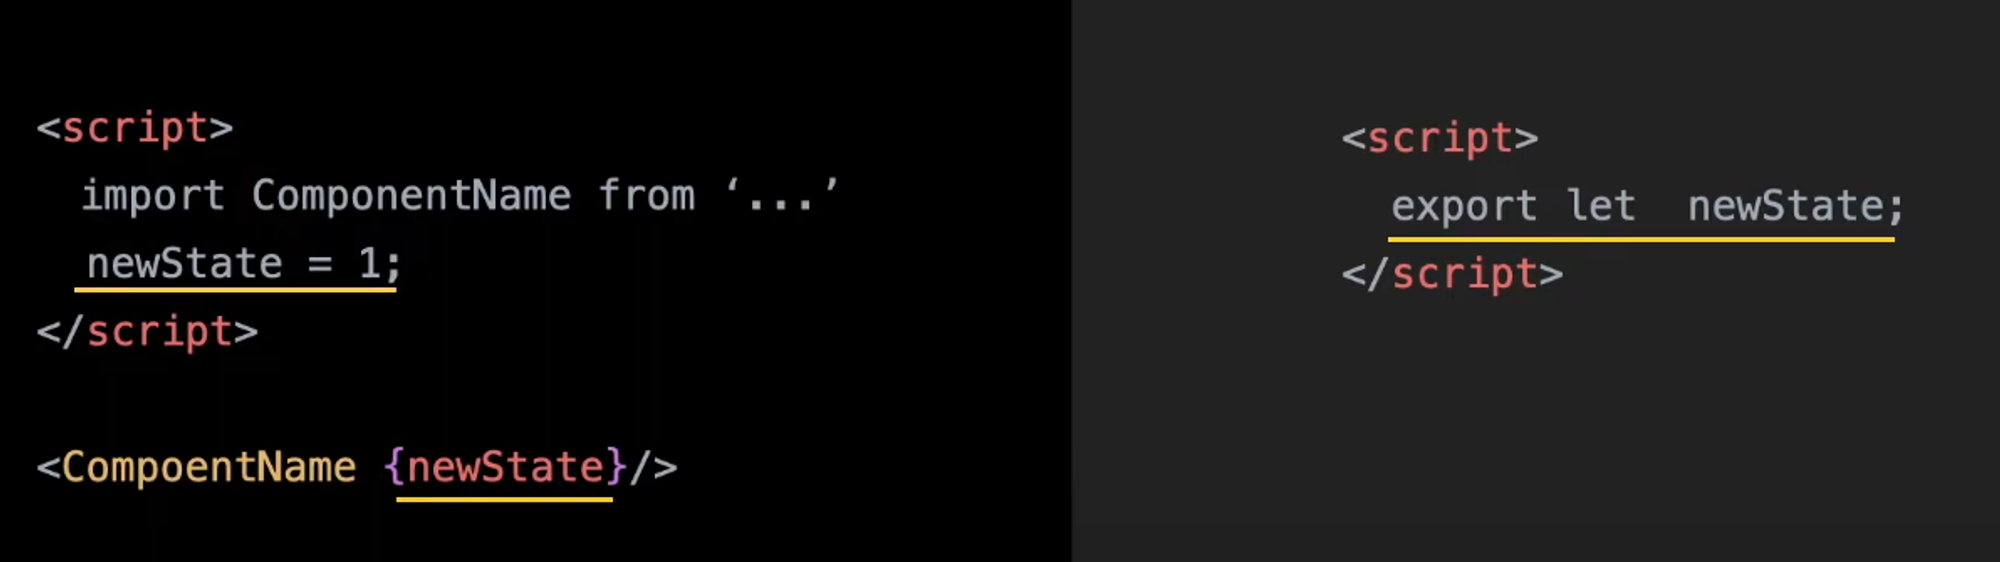
</button>Props
- 단순히 상위 컴포넌트에서 하위 컴포넌트로 값 전달
- 변수, 객체, 배열, 함 등 다 넘겨줄 수 있음
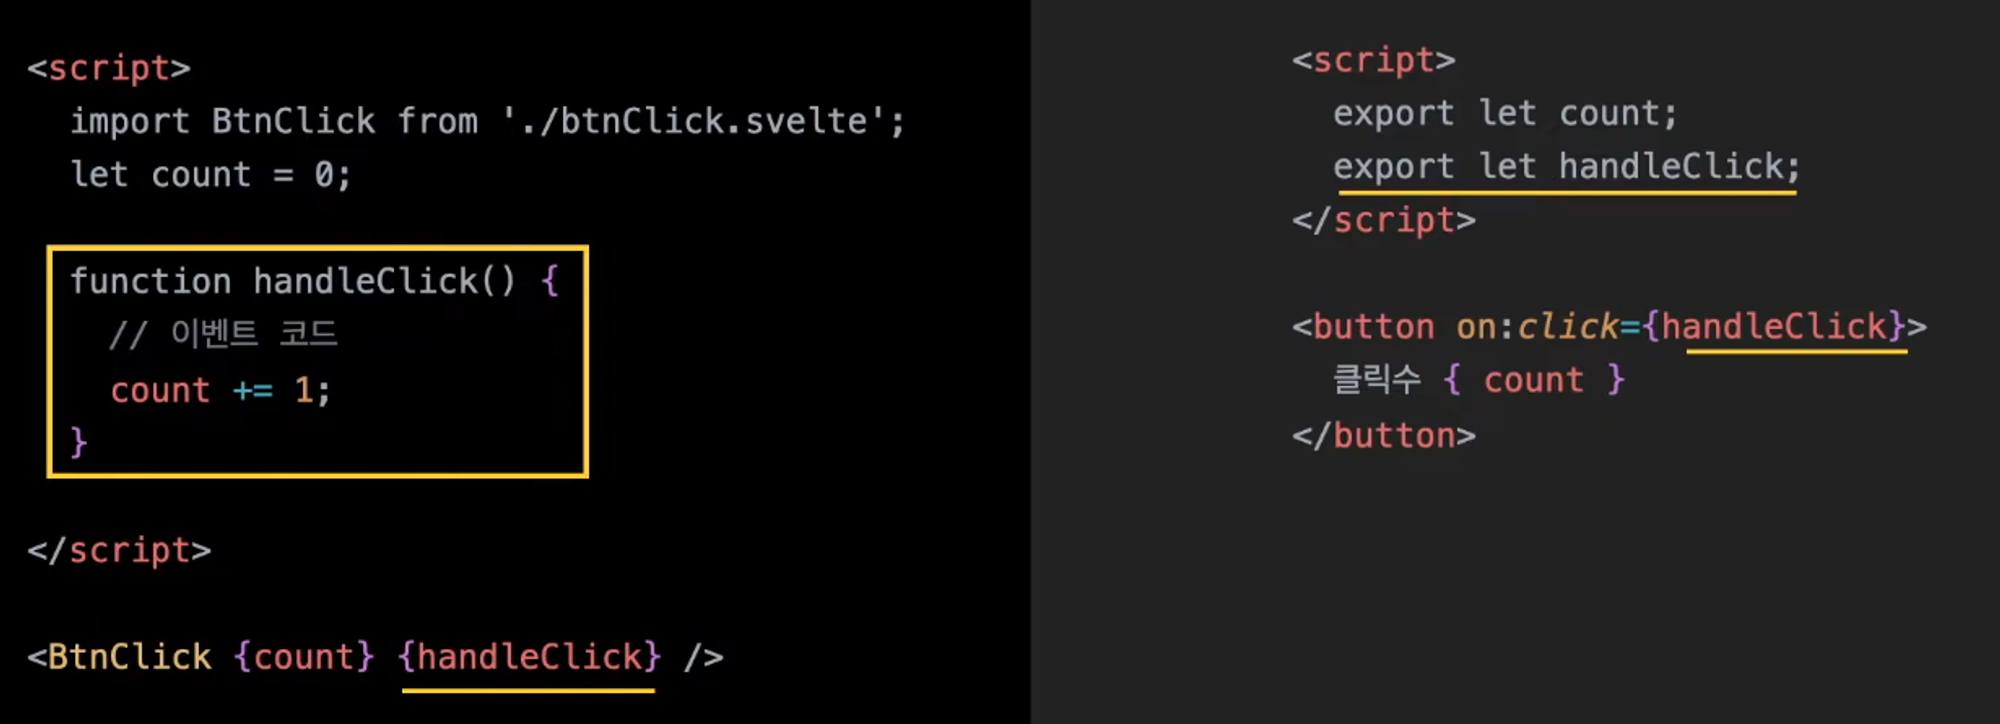
- 하위 컴포넌트에서 상위 컴포넌트의 값 변경(binding)
- 변경하는 함수도 넘겨주면
DOM 제어
if
<script>
let count = 0;
function increment() {
count += 1;
}
</script>
{#if count > 10}
<p>{count} is greater than 10</p>
{:else if count < 5}
<p>{count} is less than 5</p>
{:else}
<p>{count} is between 5 and 10</p>
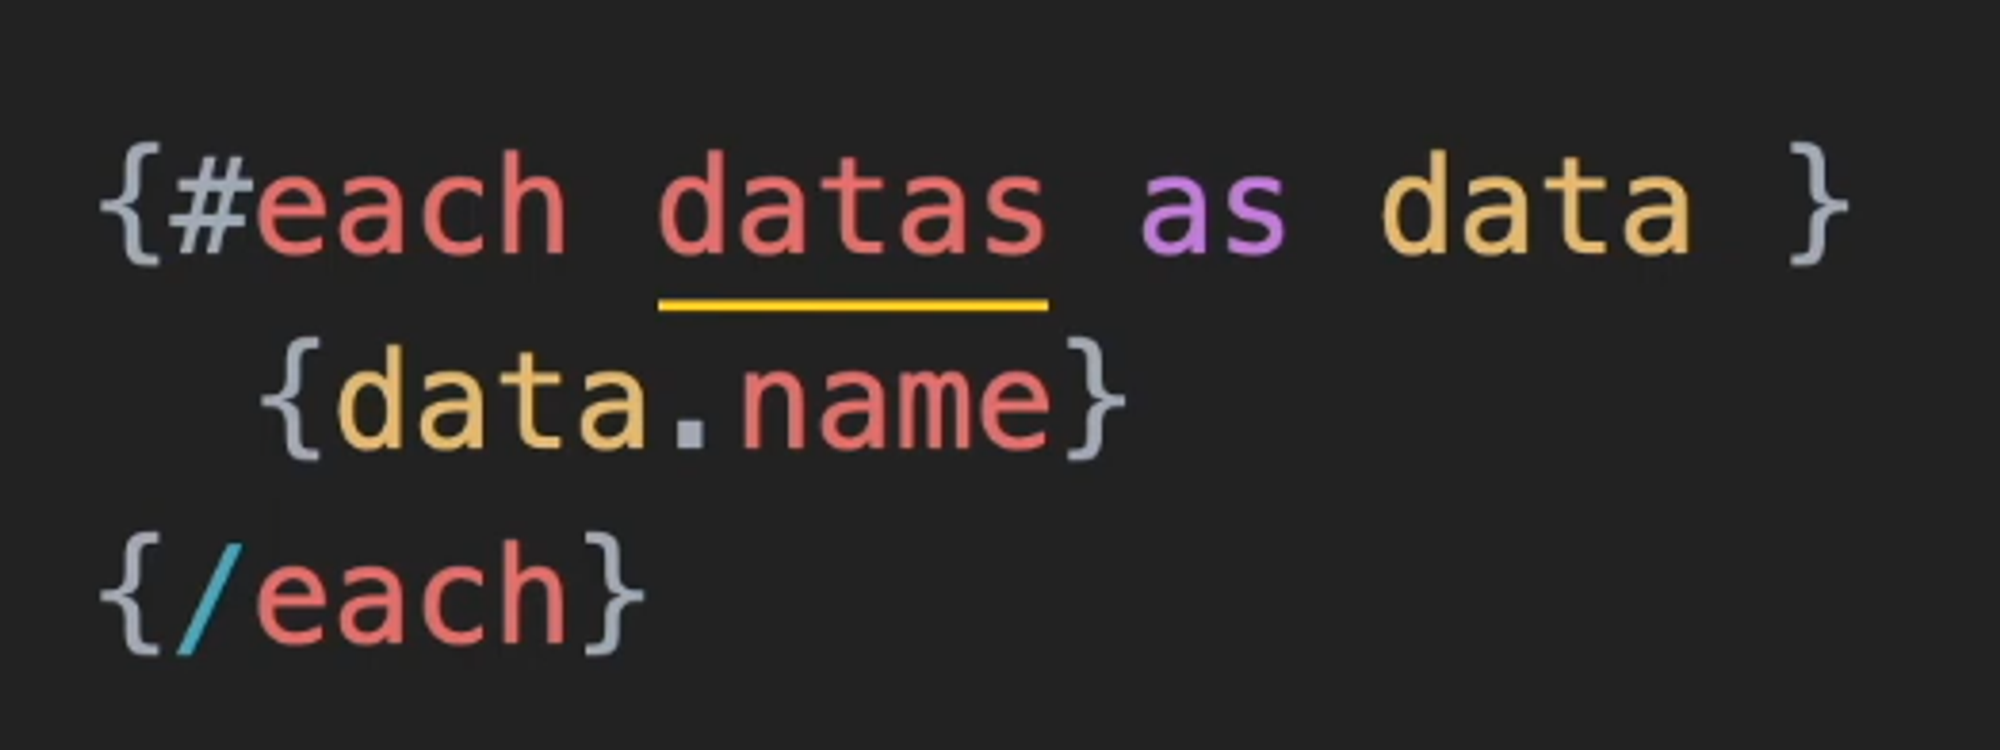
{/if}for
1) 배열 반복
<script>
	const colors = ['red', 'orange', 'yellow', 'green', 'blue', 'indigo', 'violet'];
	let selected = colors[0];
</script>

<div>
	// 변수 명, 인덱스
	{#each colors as color, i}
		<button
			aria-current={selected === color}
			aria-label={color}
			style="background: {color}"
			on:click={() => selected = color}
		>{i + 1}</button>
	{/each}
</div>
2) 객체 반복
- idnetifire나 key를 넣어준다.
<script>
	import Thing from './Thing.svelte';

	let things = [
		{ id: 1, name: 'apple' },
		{ id: 2, name: 'banana' },
		{ id: 3, name: 'carrot' },
		{ id: 4, name: 'doughnut' },
		{ id: 5, name: 'egg' }
	];

	function handleClick() {
		things = things.slice(1);
	}
</script>

<button on:click={handleClick}>
	Remove first thing
</button>

{#each things as thing (thing.id)}
	<Thing name={thing.name} />
{/each}
Await block
<script>
	import { getRandomNumber } from './utils.js';

	let promise = getRandomNumber();

	function handleClick() {
		promise = getRandomNumber();
	}
</script>

<button on:click={handleClick}>
	generate random number
</button>

{#await promise}
	<p>...waiting</p>
{:then number}
	<p>The number is {number}</p>
{:catch error}
	<p style="color: red">{error.message}</p>
{/await}
DOM events
on:(이벤트명)={함수}
<script>
	let count = 0;

	function increment() {
		count += 1;
	}
</script>

<button on:click={increment}>
	Clicked {count}
	{count === 1 ? 'time' : 'times'}
</button>
Event modifiers
|키워드를 통해서 적용 가능- 체이닝도 가능
on:click|once|capture={...}
<button on:click|once={() => alert('clicked')}>
Click me
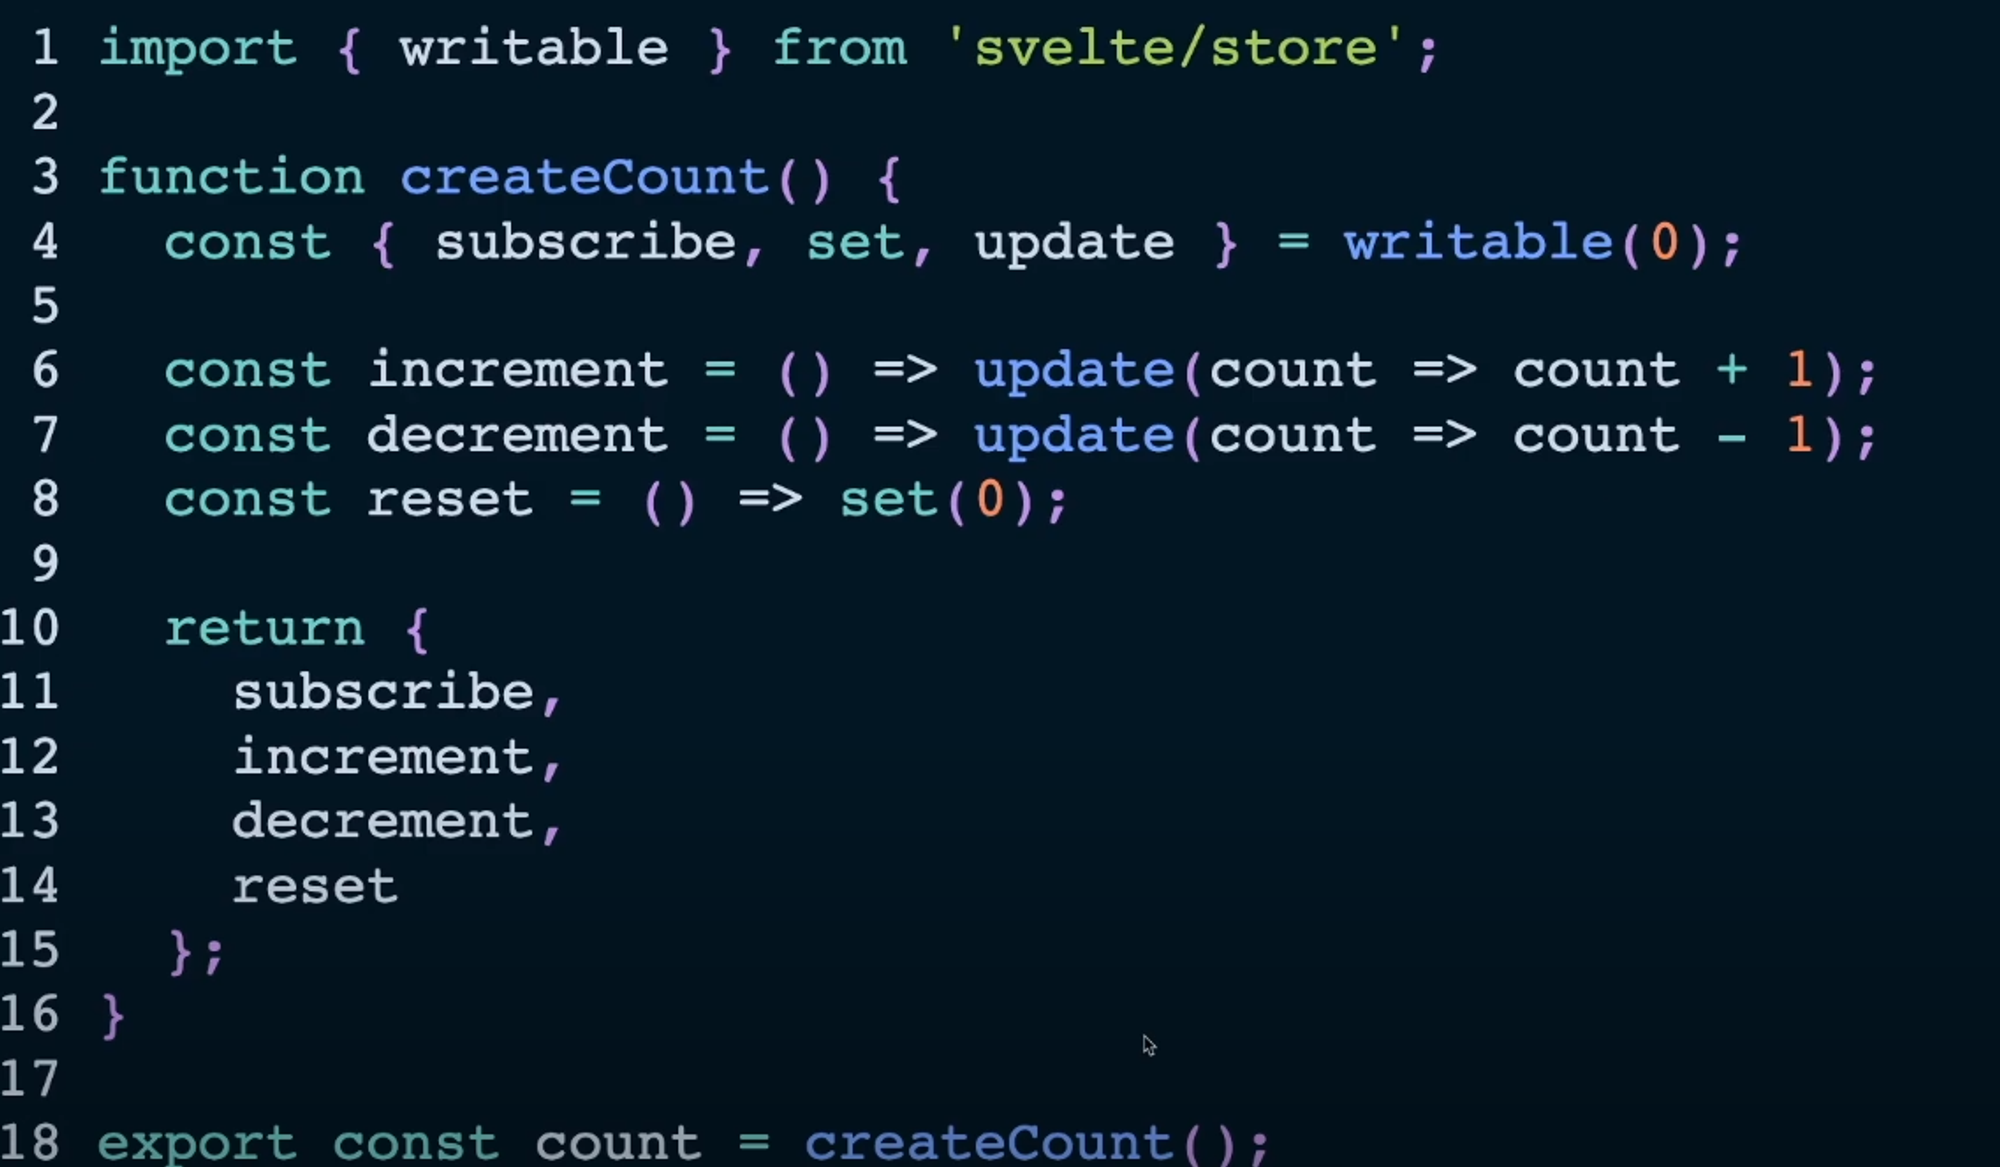
</button>Store: 전역 상태값 저장소
- 이런 식으로 전달 및 접근 가능

writable()
- 읽기/쓰기가 가능한 상태
const {subscribe, set, update} = writable(초기값)- 상태를 읽을 때, subscribe를 통해 접근 가능
count.subscribe((value) => { count_value = value; }); $기호를 통해, auto-subscribe도 가능{$count}stores.jsimport { writable } from 'svelte/store'; // writable()는 매개변수로 넘겨진 값을 제어할 수 있는 여러 함수를 제공 // count 변수에는 set, update, subscribe 함수가 주어짐 export const count = writable(0);- 각각의 컴포넌트들
<script> import { count } from './stores.js'; function increment() { count.update((n) => n + 1); } // store 변수에 직접 접근할 경우, $ 기호를 꼭 붙여줘야 함 //const increment = () => { // $count = $count + 1; //} </script> <button on:click={increment}> + </button> ---------- <script> import { count } from './stores.js'; function decrement() { count.update((n) => n - 1); } // store 변수에 직접 접근할 경우, $ 기호를 꼭 붙여줘야 함 //const decrement = () => { // $count = $count - 1; //} </script> <button on:click={decrement}> - </button> ------------ <script> import { count } from './stores.js'; function reset() { count.set(0); } // store 변수에 직접 접근할 경우, $ 기호를 꼭 붙여줘야 함 //const reset = () => { // $count = 0; //} </script> <button on:click={reset}> reset </button> - 메인 컴포넌트
<script> import { count } from './stores.js'; import Incrementer from './Incrementer.svelte'; import Decrementer from './Decrementer.svelte'; import Resetter from './Resetter.svelte'; let count_value; count.subscribe((value) => { count_value = value; }); </script> <h1>The count is {count_value}</h1> <Incrementer /> <Decrementer /> <Resetter /> - 또는, 다음과 같이 $를 사용해서 바로 접근도 가능
<script>
	import { count } from './stores.js';
	import Incrementer from './Incrementer.svelte';
	import Decrementer from './Decrementer.svelte';
	import Resetter from './Resetter.svelte';
</script>

<h1>The count is {$count}</h1>

<Incrementer />
<Decrementer />
<Resetter />
readable()
- 읽기만 제공
- 매개변수로 주어지는 set 함수로 초기 실행 함수 제공
const value = readable(초기값, 초기 함수)- 해당 상태를 사용하지 않는다면,
초기 함수에서 반환하는stop함수를 실행(맨 마지막 상태값이unsubscribe될 때)
import { readable } from 'svelte/store';

export const time = readable(new Date(), function start(set) {
	const interval = setInterval(() => {
		set(new Date());
	}, 1000);

	return function stop() {
		clearInterval(interval);
	};
});
derived()
- 이미 존재하는 상태를 참조하여 새로운 상태를 만들어낼 때
- 이때, 새롭게 만들어지는 상태는 readable 이다.
const value = derived(state, $state => $state + 1)- state 상태값에 1을 더한 값을 반환한다.
- 매개 변수의 상태값에 접근할 때, $ 기호를 붙여줘야 한다.
import { readable, derived } from 'svelte/store';

export const time = readable(new Date(), function start(set) {
	const interval = setInterval(() => {
		set(new Date());
	}, 1000);

	return function stop() {
		clearInterval(interval);
	};
});

const start = new Date();

export const elapsed = derived(
	time,
	($time) => Math.round(($time - start) / 1000)
);
stores.js 사용자 정의 함수
직관적이고 명확해서 React나 Vue에 비해 배우기 쉽고 빨랐다. 단, 자료가 많이 없고 버전도 초기버전이라 아쉬웠다.
게다가, 채용 시장엔 대부분 React를 요구하기 때문에, 취준 시기에 Svelte를 사용해도 괜찮을지 걱정이 되기도 하였다.
여유가 있다면, 좀 더 깊이 공부해 보면서 프로젝트에 적용해보고싶은 욕심이 난다.

난 Java도 좋고, 다른 것들도 좋아