🚀 Start
이제 로그인 UI를 생성하고, 기능도 추가해보자. 스타일링은 간단하게 레이아웃만 생성해주고, 추후에 모든 UI 생성후 Tailwind CSS를 통해서 스타일링 해주자.
🖥 Client
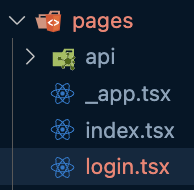
✔️ login page 생성
pages에 login.tsx를 생성하자.
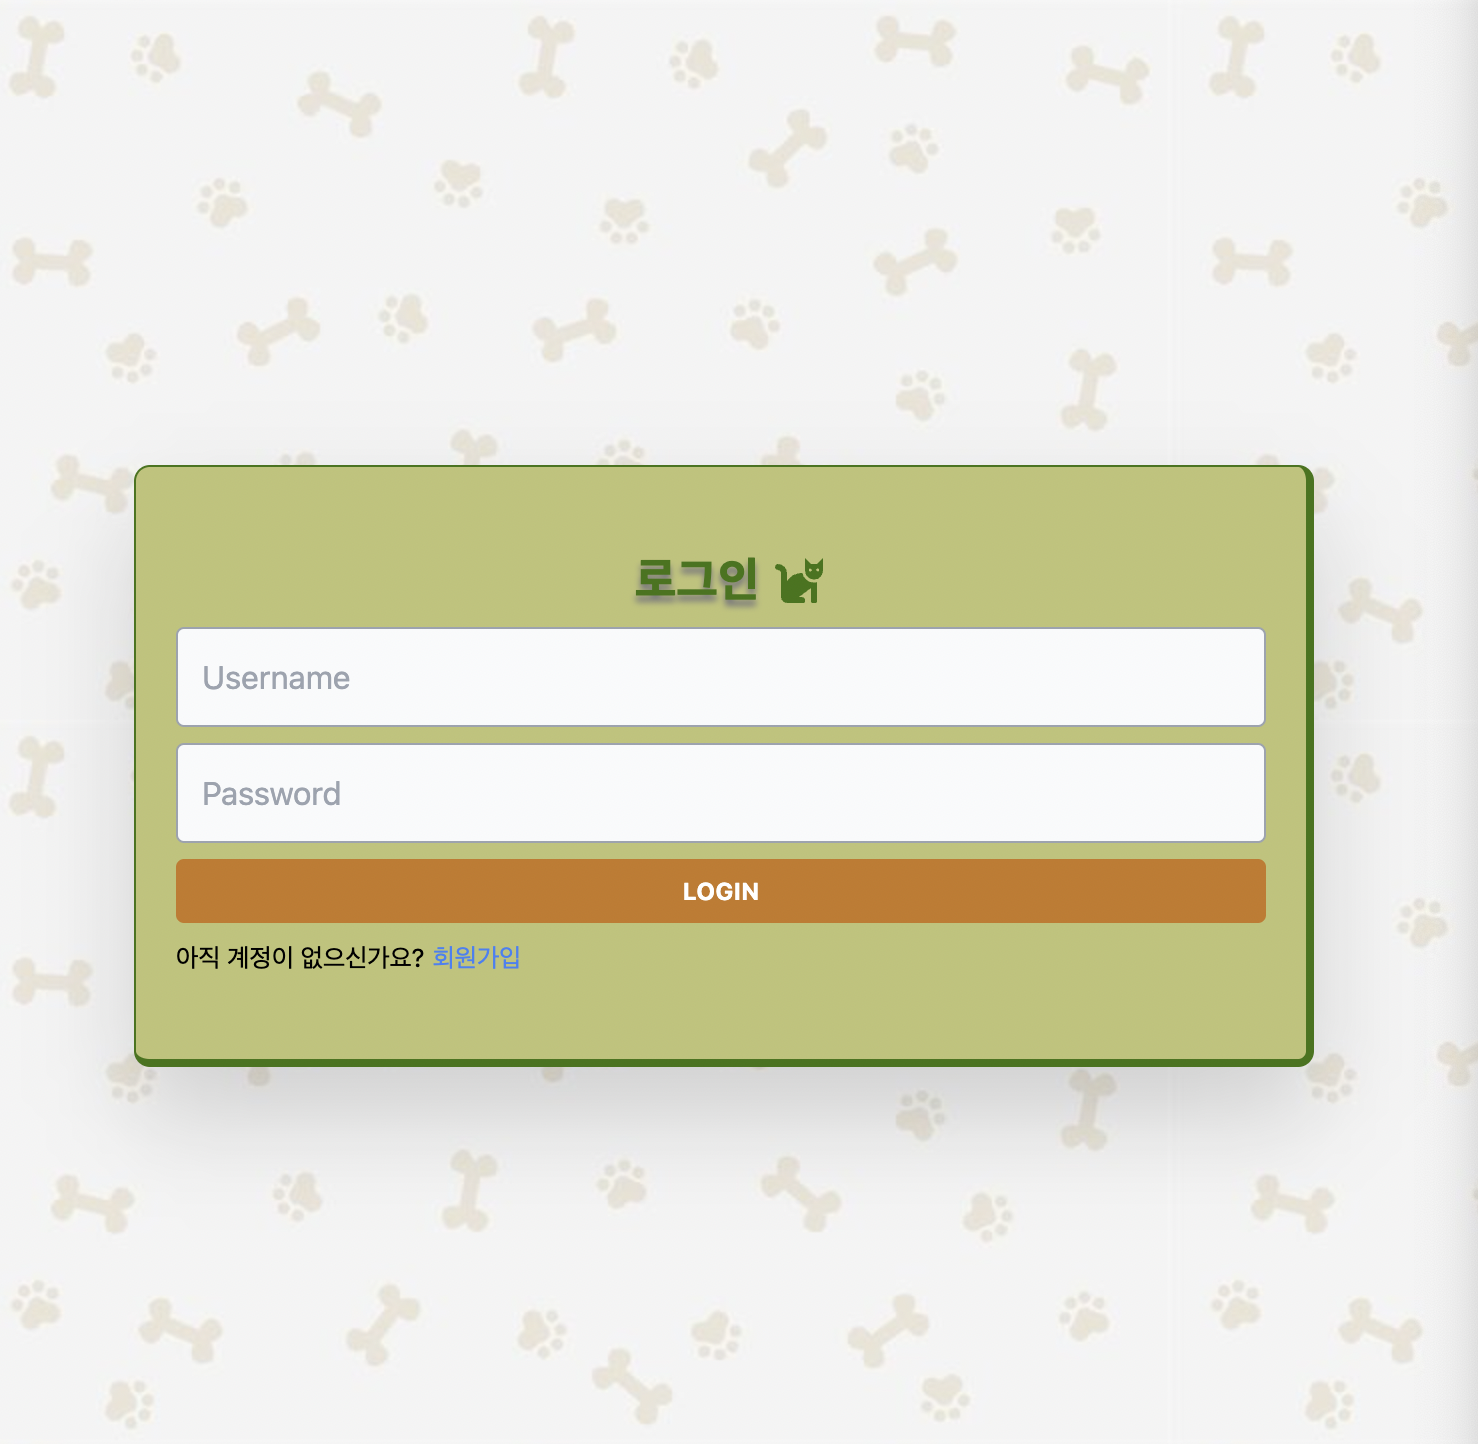
✔️ UI 작성
✅ form 태그 안에는 input태그와 button태그가 존재.
- onSubmit으로 handleSubmit이라는 메서드 호출.
✅ input태그를 재사용할 수 있도록 InputGroup 컴포넌트를 import
- props로 필요한 값들을 전달
✅ 만약 회원가입이 되어있지 않다면 회원가입 페이지로 이동할 수 있도록 Link태그 사용
const login = () => {
 	...
  return (
    <div>
      <div>
        <div>
          <h1>로그인</h1>
          <form onSubmit={handleSubmit}>
            <InputGroup
              placeholder={'Username'}
              value={username}
              setValue={setUsername}
              error={errors.username}
            />
            <InputGroup
              placeholder={'Password'}
              value={password}
              setValue={setPassword}
              error={errors.password}
            />
            <button>Login</button>
          </form>
          <small>아직 계정이 없으신가요? <Link href="/login">회원가입</Link></small>
        </div>
      </div>
    </div>
  );
};

export default login;
✔️ InputGroup 컴포넌트 생성
💡앞서 회원가입 페이지 생성시 InputGroup 컴포넌트를 생성하였다.
👉 PJH's Community Site - Auth
✔️ login 기능 추가
✅ State 생성
- 다음과 같은 state들을 api요청에 담길 데이터들
  const [username, setUsername] = useState('');
  const [password, setPassword] = useState('');
  const [errors, setErrors] = useState<any>({});
✅ form태그의 submit으로 실행되는 handleSubmit 생성
 1️⃣ 백엔드에 로그인을 위한 요청 (password, username을 post)
 3️⃣ error시 setErrors를 통해 reponse값 저장.(에러에 대한 문구)
const handleSubmit = async (event: React.FormEvent) => {
event.preventDefault();
try {
const res = await Axios.post(
'/auth/login',
{
password,
username,
},
{
withCredentials: true,
}
);
} catch (error: any) {
console.log('error:', error);
setErrors(error?.response?.data || {});
}
};💡 withCredentials : true
참고하자 ! 👉 [AXIOS] 📚 CORS 쿠키 전송하기 (withCredentials 옵션)
로그인 시에 아이디와 비밀번호가 서버로 넘어오면 유저의 정보가 맞는지 확인한 후에 cookie
에 token을 발급하게 된다.그 후 다른 페이지에서의 인증도 이 token을 통해 인증이 이뤄지게 된다.
하지만 백엔드와 프론트엔드의 주소가 다른 경우 로그인이 성공하더라도 별다른 에러도 없이 인증이 이루어지지 않는다.
✅ 이유는 도메인 주소가 다르면 쿠키가 전송이 되지 않기 때문이다.
이 방법을 해결하기 위해서...
- 프론트에서는 axios 요청 보낼 때
withCrendentials설정- 백엔드에서는 cors 부분에
credentials true로 설정
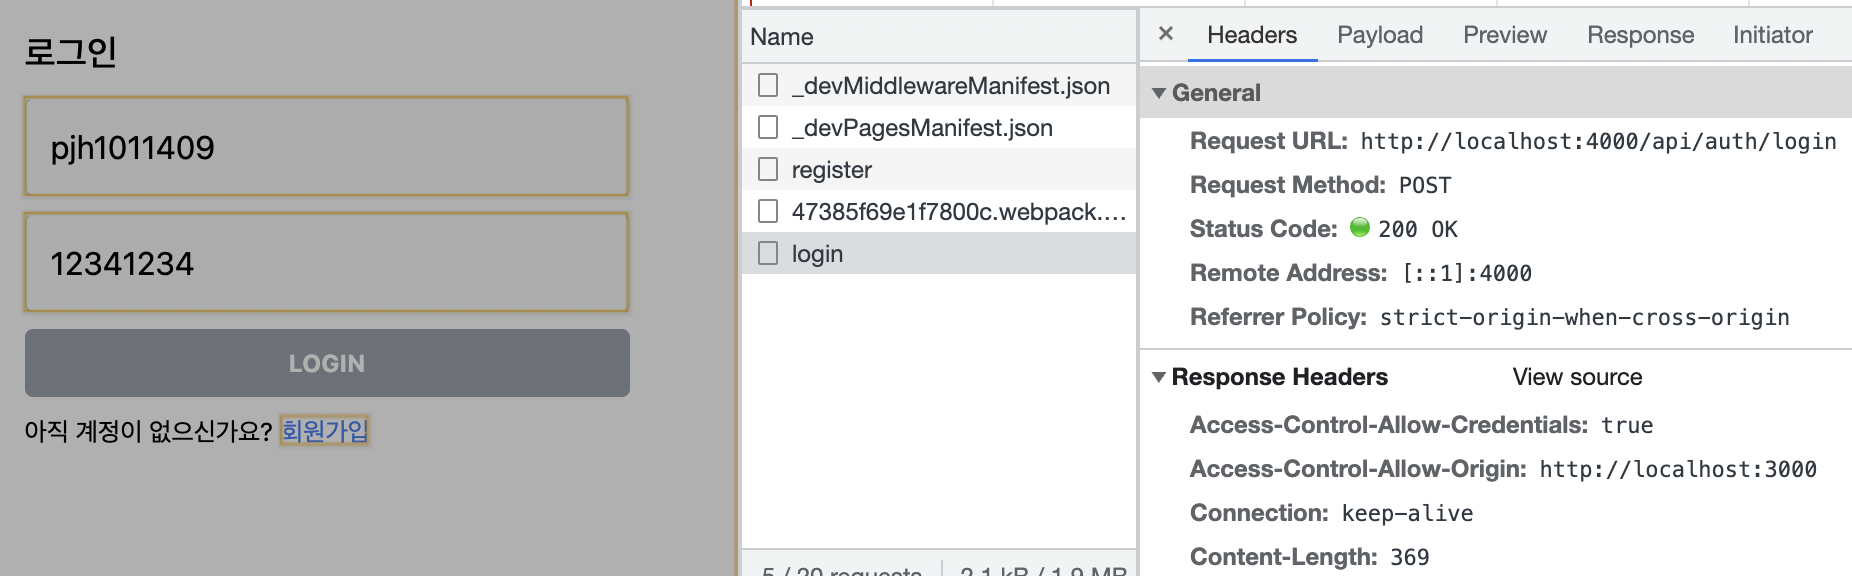
👉 Response Header에Access-Control-Allow-Credentials을 설정.
📡 Server
지금까지 본 것은 client에서 입력한 로그인에 대해서 server로 데이터를 post하고 요청하는 것이었다. 따라서, 그에 맞는 api를 생성하여 response를 보내주자.
✔️ 로그인을 위한 api 생성
✅ 쿠키 전송에 대한 CORS 설정
import cors from 'cors';

const origin = 'http://localhost:3000';

app.use(cors({ origin, credentials: true }));
✅ routes폴더 안에 auth.ts 생성
src/routes/auth.ts

const login = async (req: Request, res: Response) => {
  const {username, password } = req.body;
  console.log(username, password);
}

const router = Router();
router.post('/register', register);
router.post('/login', login);

export default router;
✅ jwt, cookie에 대한 모듈 설치
npm install jsonwebtoken dotenv cookie --save
npm i --save-dev @types/jsonwebtoken @types/cookie
✔️ login 함수 작성
1️⃣ 유저이름과 비밀번호 값이 비워져 있다면 에러를 client에 보내기
2️⃣ database에서 유저 찾기
3️⃣ 유저가 있다면 비밀번호 비교하기([NODE] 📚 bcrypt 모듈 암호화 원리 & 사용법)
4️⃣ 비밀번호가 다르다면 에러 보내기
5️⃣ 비밀번호가 맞다면 토큰 생성
6️⃣ 쿠키저장
- 쿠키의 이름과 값은 항상 인코딩해야 한다.
- 쿠키 하나가 차지하는 용량은 최대 4KB까지이며, 사이트 하나당 약 20여개 허용
const login = async (req: Request, res: Response) => {
  const { username, password } = req.body;
  try {
    const errors: any = {};

    if (isEmpty(username)) errors.username = '사용자 이름은 작성해주세요'; // 1️⃣ 번
    if (isEmpty(password)) errors.password = '비밀번호를 작성해주세요'; // 1️⃣ 번
    if (Object.keys(errors).length > 0) {
      return res.status(400).json(errors);
    }


    const user = await User.findOneBy({ username }); // 2️⃣ 번

    if (!user)
      return res
        .status(404)
        .json({ username: '사용자 이름이 등록되지 않았습니다.' });


    const passwordMatches = await bcrypt.compare(password, user.password);   // 3️⃣ 번


    if (!passwordMatches) { // 4️⃣ 번
      return res.status(401).json({ password: '비밀번호가 잘못되었습니다.' });
    }


    const token = jwt.sign({ username }, process.env.JWT_SECRET);  // 5️⃣ 번


    res.set('Set-Cookie', cookie.serialize('token', token));   // 6️⃣ 번

    return res.json({ user, token });
  } catch (error) {
    console.error(error);
    return res.status(500).json(error);
  }
};
✅ 환경 변수 생성
const token = jwt.sign({ username }, process.env.JWT_SECRET);server/env
PORT= ...
NODE_ENV= ...
APP_URL= ...
ORIGIN= ...
JWT_SECRET= ...✔️ login시 cookie 처리
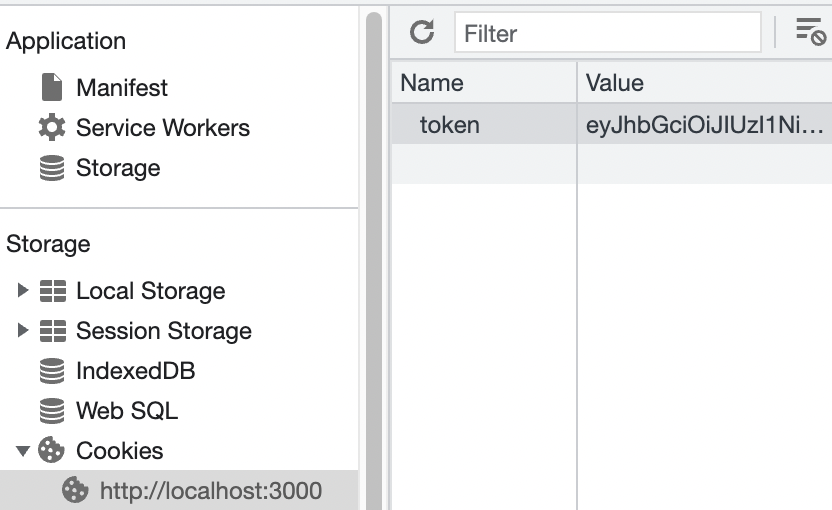
✅ 실제로 로그인시 Header에 token이 잘 담겨오는 것을 확인

✅ 하지만 Application 탭에 쿠키가 담겨 있지 않은 것을 확인할 수 있고, 따라서 쿠키 옵션을 추가해야한다는 것을 알 수 있다.
-
httpOnly
- 자바스크립트 같은 클라이언트 측 스크립트가 쿠키를 사용할 수 없게 한다.
- document.cookie를 통해 쿠키를 볼 수도 없고 조작할 수도 없다.
-
secure
- secure 는 HTTPS 연결에서만 쿠키를 사용할 수 있게 한다.
-
samesite
- 요청이 외부 사이트에서 일어날 때, 브라우저가 쿠키를 보내지 못하도록 막아준다.
- XSRF 공격을 막는 데 유용.
-
expires/max-age
- 쿠키의 만료 시간을 정해준다.
- 이 옵션이 없으면 브라우저가 닫힐 때 쿠키도 같이 삭제.
res.set(
      'Set-Cookie',
      cookie.serialize('token', token, {
        httpOnly: true,
        maxAge: 60 * 60 * 24 * 7,
        path: '/',
      })
    );
✅ Application 탭에 쿠키가 담겨 있는 것 확인 가능
⭐️ Login 확인

📷 Photos