Spring Cloud Config
Spring Cloud Config는 분산 시스템에서 외부화된 구성에 대한 서버 측 및 클라이언트 측 지원을 제공합니다. Config Server를 사용하면 모든 환경에서 애플리케이션의 외부 속성을 관리할 수 있는 중앙 위치를 가집니다.
Spring Cloud Config는 많은 방식들을 지원하는 것 같습니다.
저는 이번에는 GitHub와 함께 사용해볼건데요.
더 자세하고 다양한 방법들은 Docs를 확인하면 될 것 같습니다.
Spring Cloud Config Docs
준비
- Github Repository를 준비합니다. 저는 scc-test라고 이름지었습니다.
- Spring Boot Application을 두 개 준비합니다.
애플리케이션 이름은 저는 scc-server, scc-client로 준비했습니다.
scc-server는 Github와 직접 통신해 설정 정보들을 읽어들여 scc-client로 보내주는 역할을 합니다.
먼저 scc-server 부터 설정해보겠습니다.
SCC-SERVER 준비
-
build.gradle 의존성 추가
ext { set('springCloudVersion', "2021.0.3") } dependencies { implementation 'org.springframework.cloud:spring-cloud-config-server' } dependencyManagement { imports { mavenBom "org.springframework.cloud:spring-cloud-dependencies:${springCloudVersion}" } } -
application.yml
server:
  port: 8888

spring:
  cloud:
    config:
      server:
        git:
          uri: GitHub Repository 주소
          search-paths: scc-client
        encrypt:
          enabled: false
그리고 Repository 루트 경로를 기준으로 yml에서 설정한 search-paths에 설정파일을 위치시킵니다.
설정 파일의 이름은 application이름-profile.yml로 지정하면 됩니다.
저는 Spring Cloud Config 클라이언트 애플리케이션 이름이 scc-client이고 개발환경에서는 dev 프로필을 사용하므로 scc-client-dev.yml로 설정하겠습니다.
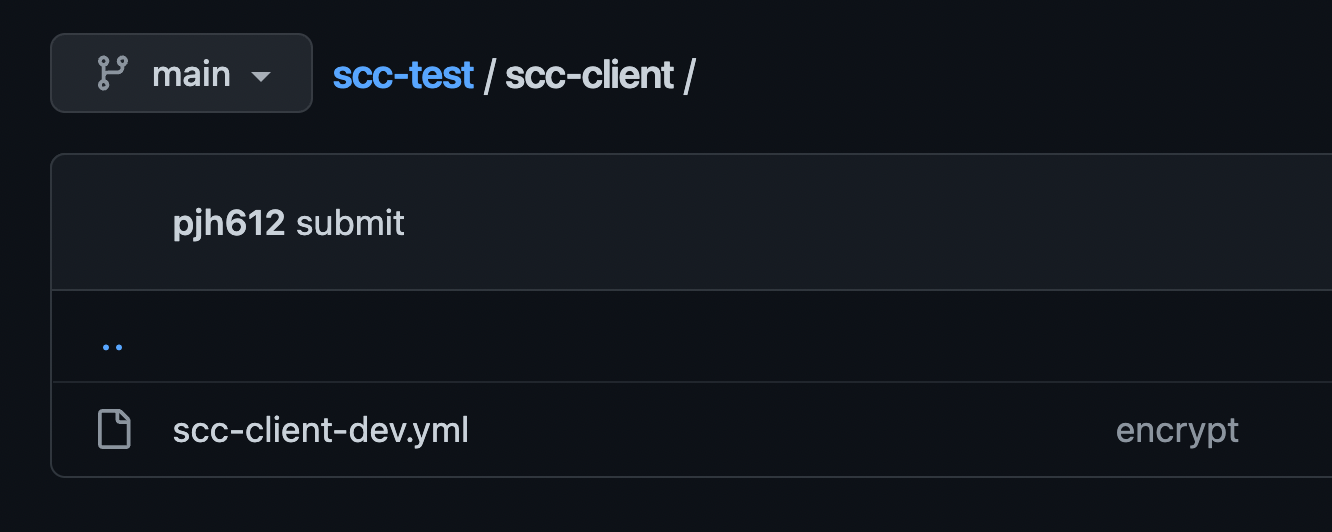
- scc-client-dev.yml
간단한 몇가지 프로퍼티들만 scc-client-dev.yml에 담겠습니다.
DB 계정정보, JWT Secret Key를 담아볼게요.db: username : root password : password jwt: client-secret: EENY5W0eegTf1naQB2eDeyCLl5kRS2b8xa5c4qLdS0hmVjtbvo8tOyhPMcAmtPuQ
이제 Server사이드 준비는 완료 되었습니다. 다음은 Client 사이드 준비를 해볼게요.
SCC-Client 준비
-
build.gradle 의존성 추가
ext { set('springCloudVersion', "2021.0.3") } dependencies { implementation 'org.springframework.boot:spring-boot-starter- web' implementation 'org.springframework.cloud:spring-cloud-config- client' } dependencyManagement { imports { mavenBom "org.springframework.cloud:spring-cloud- dependencies:${springCloudVersion}" } } -
application.yml
spring: application: name: ssc-client profiles: active: dev config: import: "configserver:http://localhost:8888/" cloud: config: name: scc-client profile: default management: endpoints: web: exposure: include: refresh -
프로필을 dev로 지정해줍니다.
-
import부분에는 Spring Cloud Config Server와 통신할 수 있는 도메인 주소를 입력해줍니다.
-
cloud.config.name에는 깃헙 레포 내의 ssc-client 폴더 내에 위치한 불러올 파일의 prefix를 입력합니다. (scc-client-dev.yml -> scc-client)
-
cloud.config.profile을 default로 지정해두면 spring.application.profile.active에서 지정한 profile인 dev로 찾게 됩니다.
실행
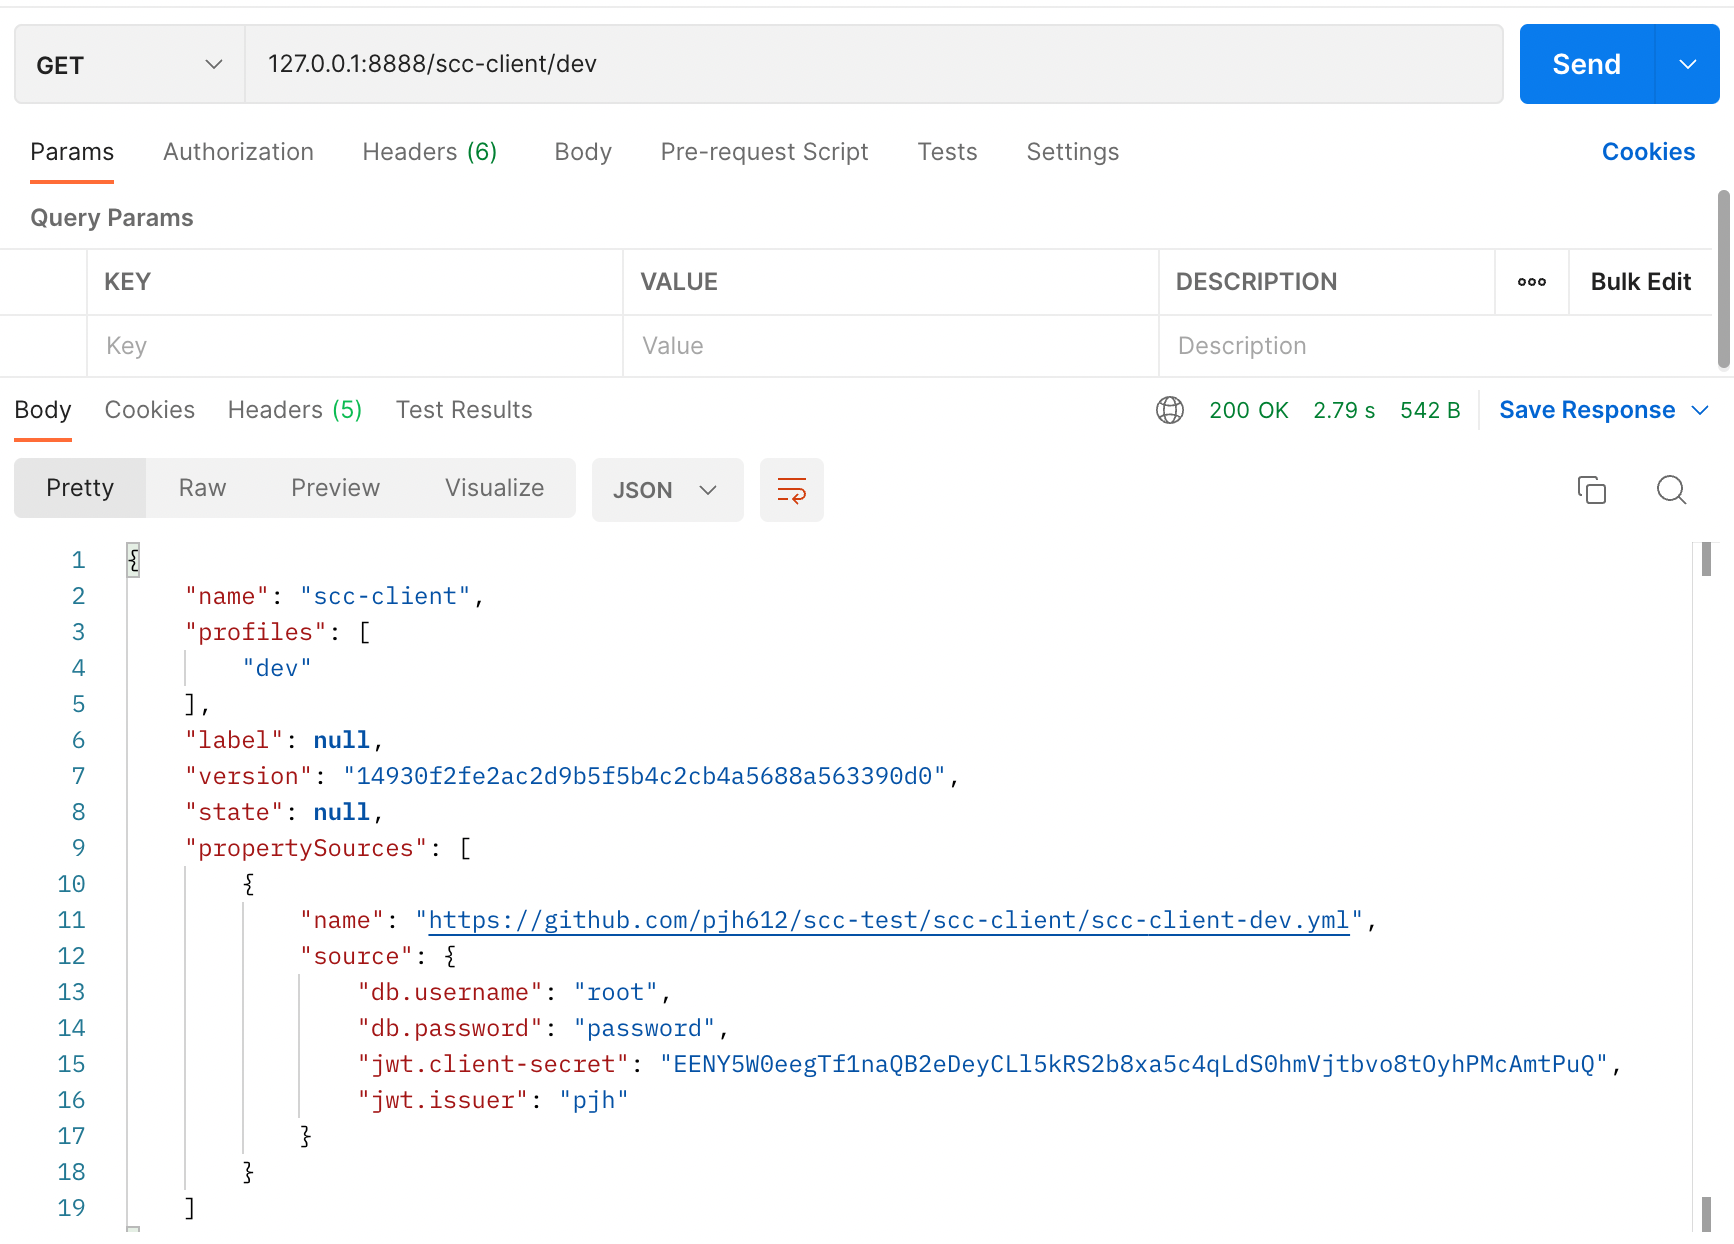
이제 GitHub와 잘 연동이 되었는지 scc-server 애플리케이션을 가동시키고 PostMan으로 확인해보겠습니다.
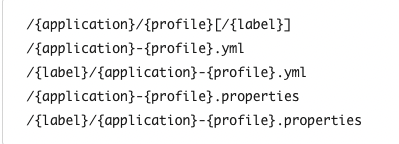
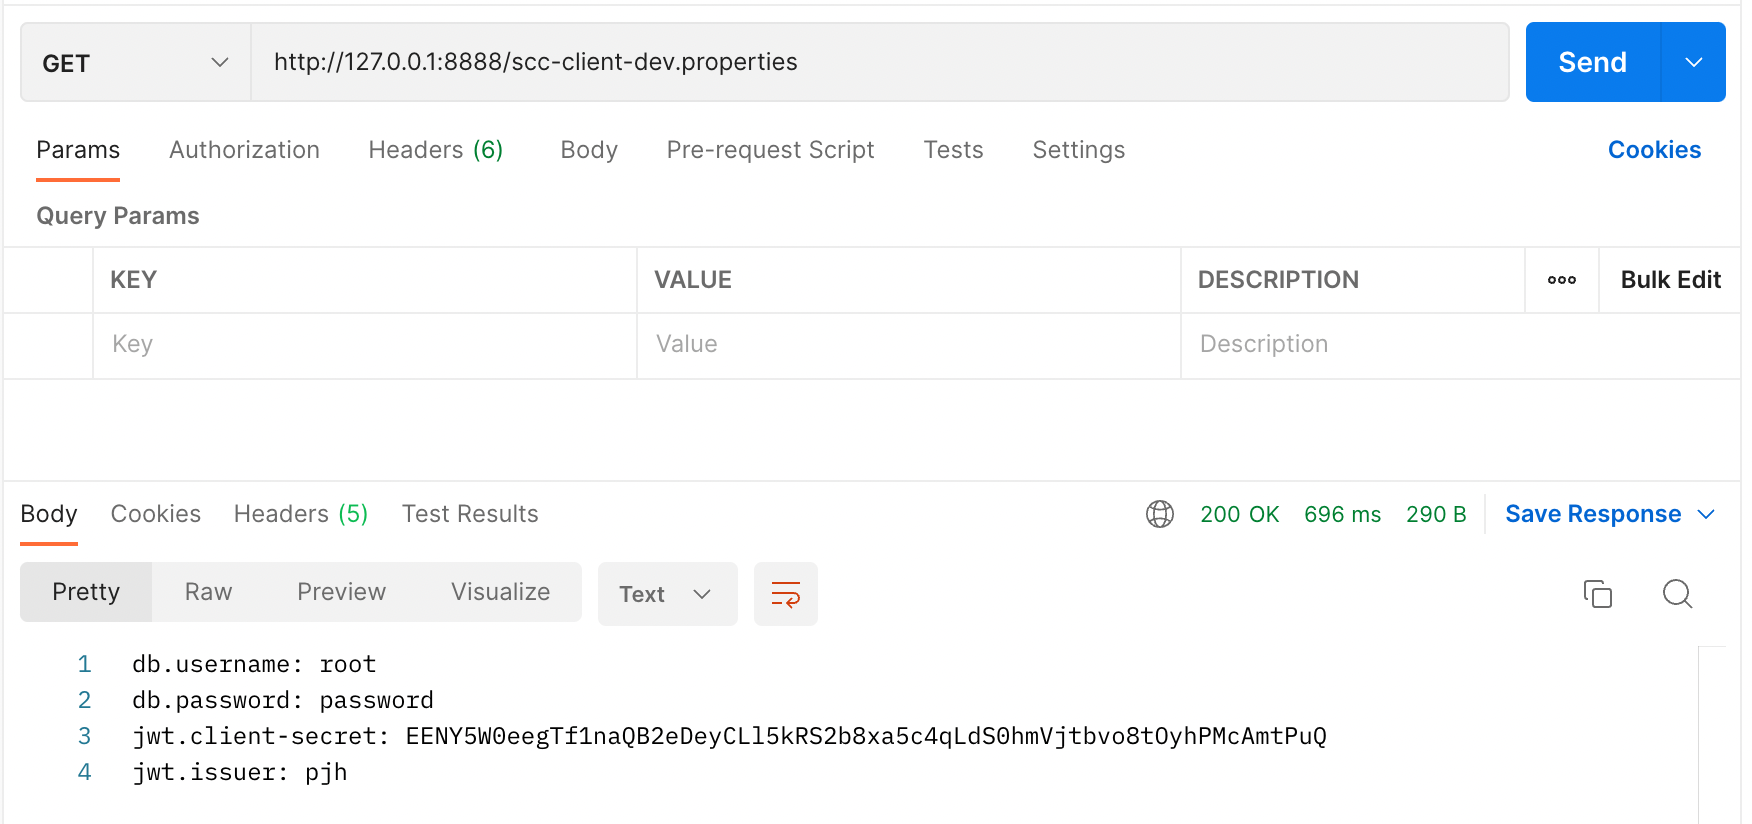
SpringCloud Config는 다음과 같은 형식의 리소스를 제공합니다.
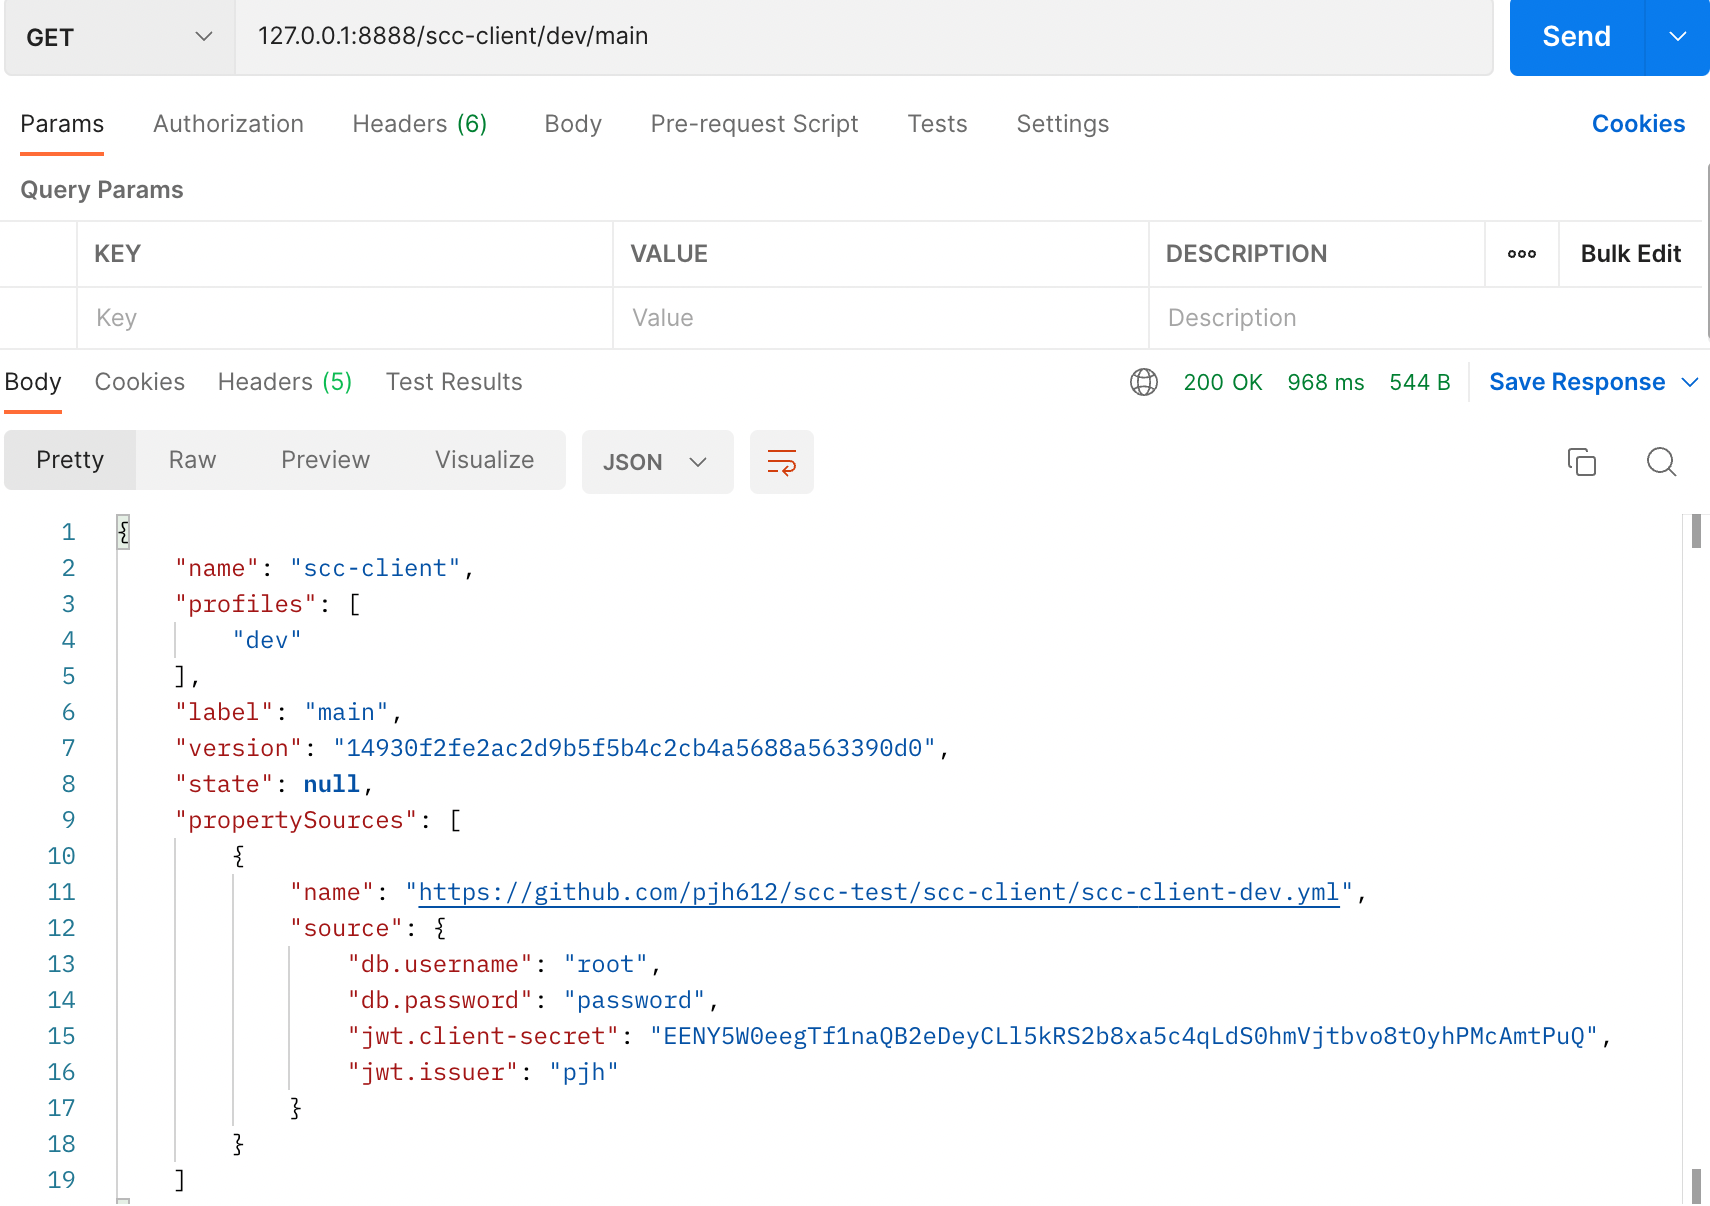
label은 브랜치 명입니다, 현재는 main 브랜치에 리소스들을 위치해놨으니 다음과 같이도 불러올 수 있습니다.
yml로 저장해놨더라도 .properties 형식으로 자동으로 변환도 해줍니다.
Server 사이드에서 문제 없어 보이는 듯하니 Client에서는 평소와 똑같이 프로퍼티들을 클래스로 바인딩 해줍니다.
자세한건 아래 글을 참고합시다.
Yaml의 Property를 Class로 바인딩 해보자
-
JwtProperties.java
@ConstructorBinding @ConfigurationProperties(prefix = "jwt") public record JwtProperties(String clientSecret, String issuer) { } -
PropertiesConfig.java
@EnableConfigurationProperties(JwtProperties.class) @Configuration public class PropertiesConfig { } -
HelloRestController.java
@RestController
public class HelloRestController {

		private final JwtProperties jwtProperties;

		@Value("${jwt.client-secret}")
		private String secret;

		public HelloRestController(JwtProperties jwtProperties) {
			this.jwtProperties = jwtProperties;
		}

		@GetMapping("/hello")
		public String hello() {
			return jwtProperties.clientSecret();
		}

		@GetMapping("/hello2")
		public String hello2() {
			return secret;
		}

        @GetMapping("/hello3")
		public JwtProperties hello3(){
			return jwtProperties;
		}
}
이제 Client도 가동 시켜 RestAPI 요청을 보내보겠습니다.
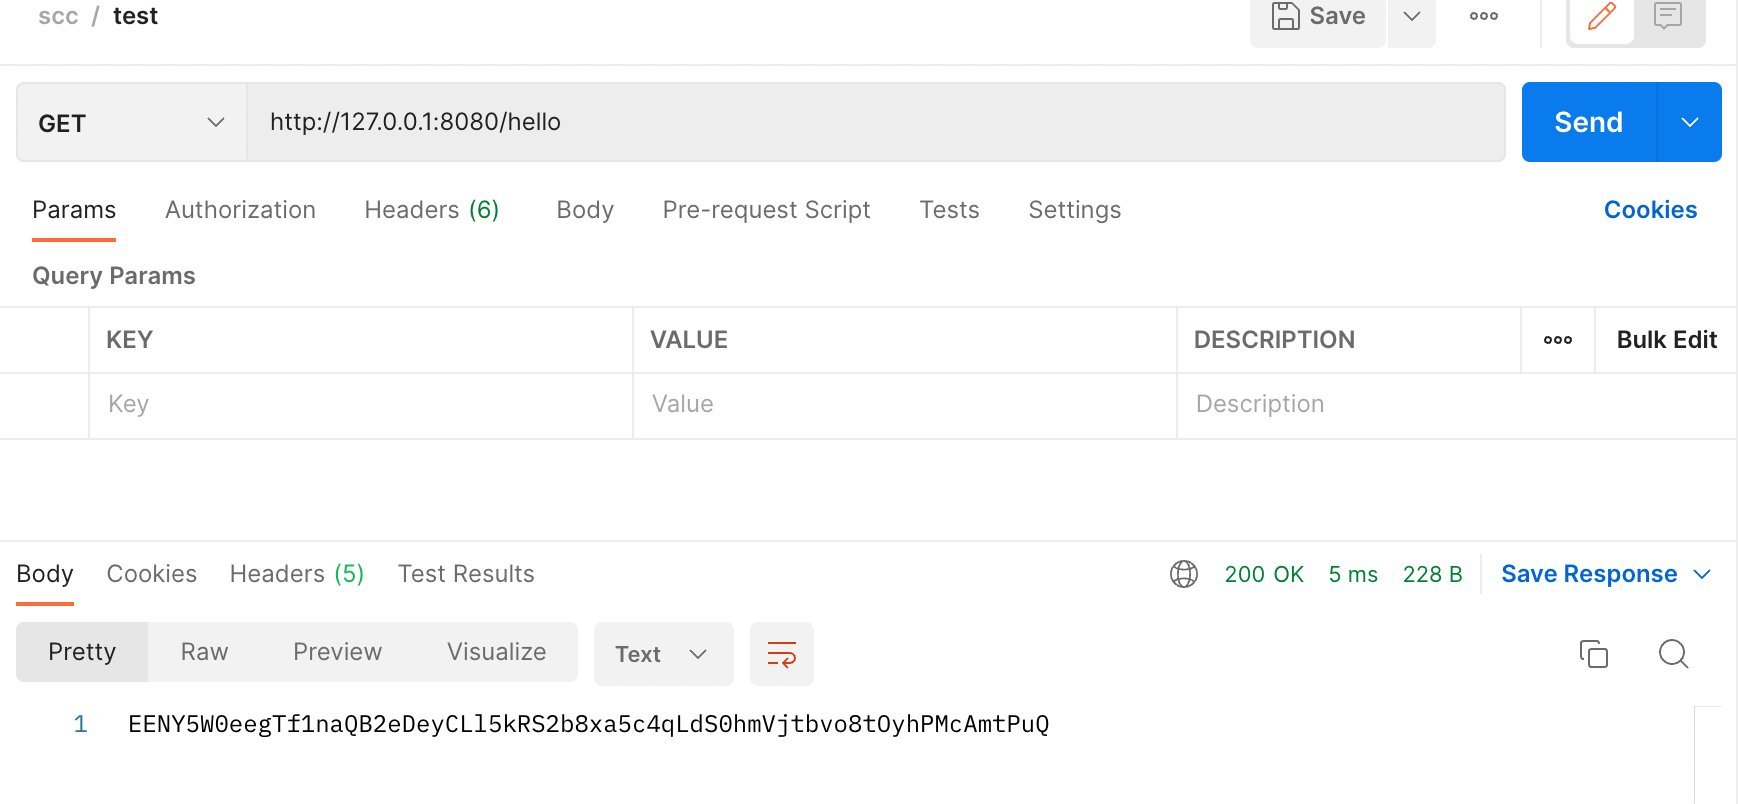
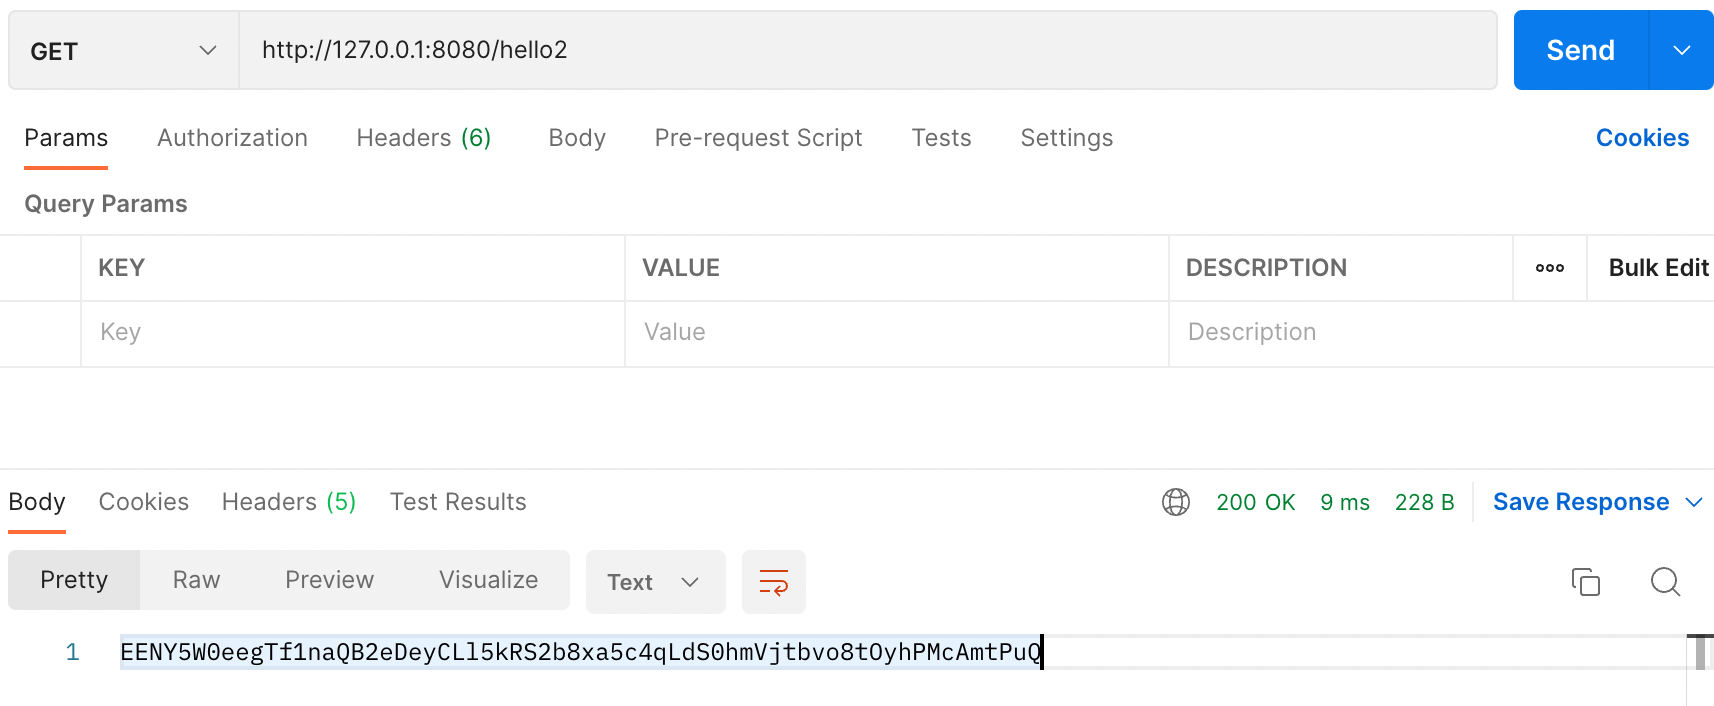
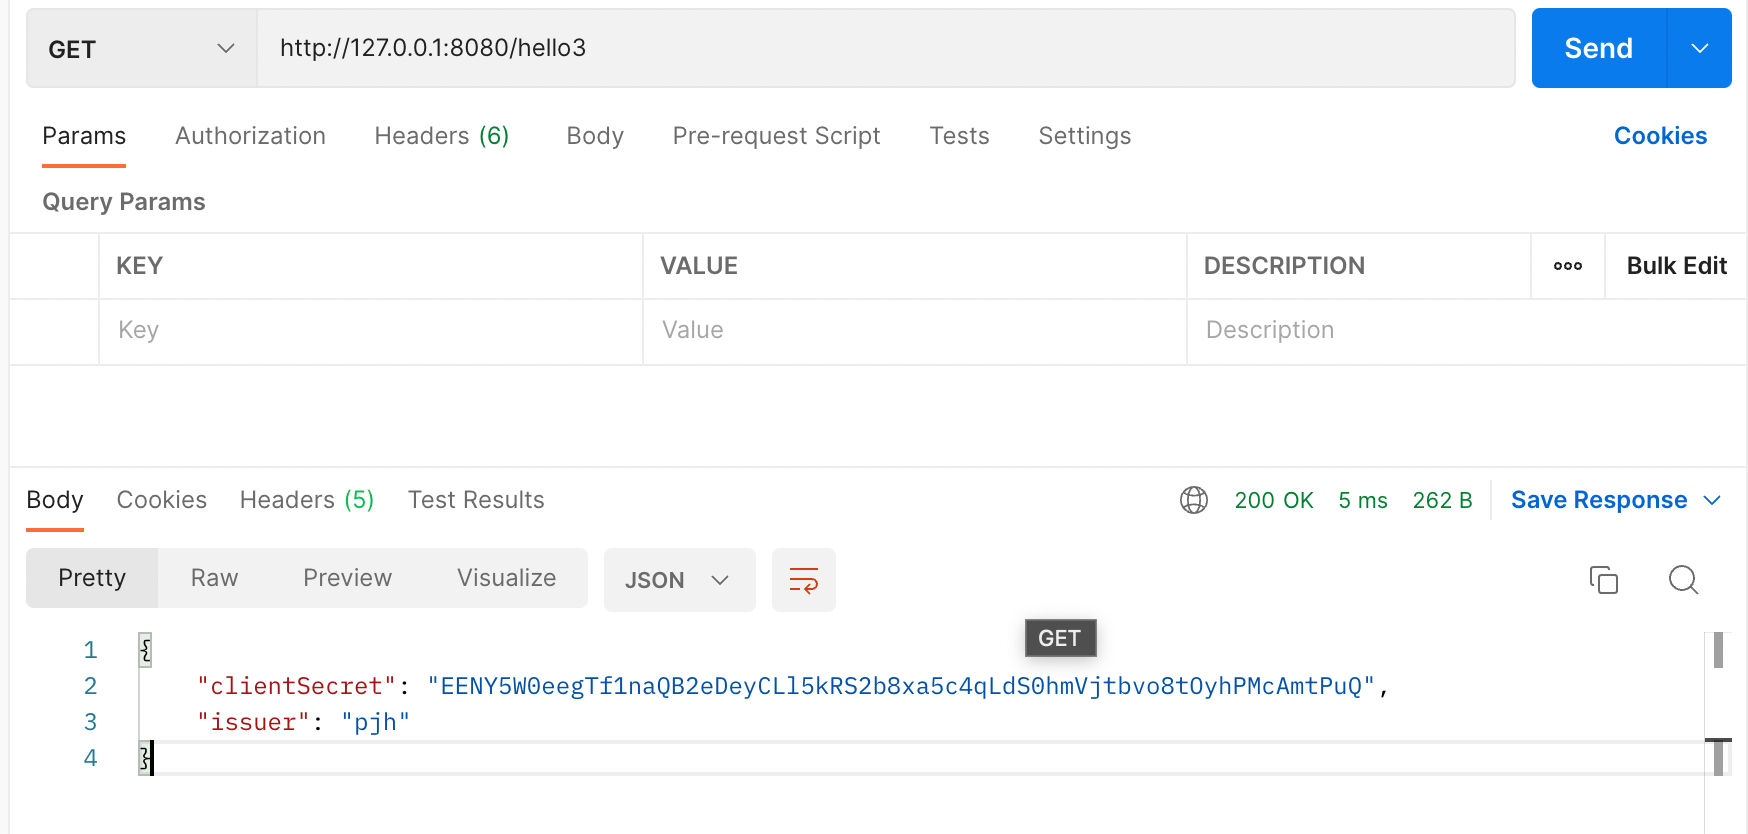
클라이언트 측의 yml파일에는 저러한 정보가 담겨있지 않지만 잘 불러와지는 것을 확인할 수 있었습니다.
결론
별도의 Config서버를 별도로 실행시켜야 하지만 분산 서버 환경에서 통일된 설정 파일을 관리하고 사용할 수 있고 공개 배포된 애플리케이션의 민감한 정보를 ConfigServer로 숨길 수 있다는 점에서 의미가 큰 듯 합니다.
하지만 여기서 끝이 아닙니다. 민감한 정보를 분리를 시켰지만 GitHub Repository에 적나라하게 드러난 민감 정보들은 어떻게 해야될까요?
GitHub에 AWS Key같은 것을 노출 시키면 어떻게 될까요?
저 또한 "누가 내 Repository를 보겠어~" 하며 안일하게 Key를 노출 시켰다가 호되게 당한적이 있습니다. 악의적인 사용자들은 크롤링을 통해 민감한 정보들을 수집하고 악용할 수 있습니다 그래서 더더욱 조심해야 합니다.
암호화가 필요하겠죠?
Spring Cloud Config는 암호화도 지원해줍니다. 다음 포스팅에서는 더 안전하게 정보를 보관하는 법을 알아보겠습니다.
.jpg)