카카오 [Spring Oauth2 Client] 적용하기
1) 카카오 Application 만들기
1) https://developers.kakao.com/ 접속
2) 로그인 후, 내 애플리케이션 으로 이동
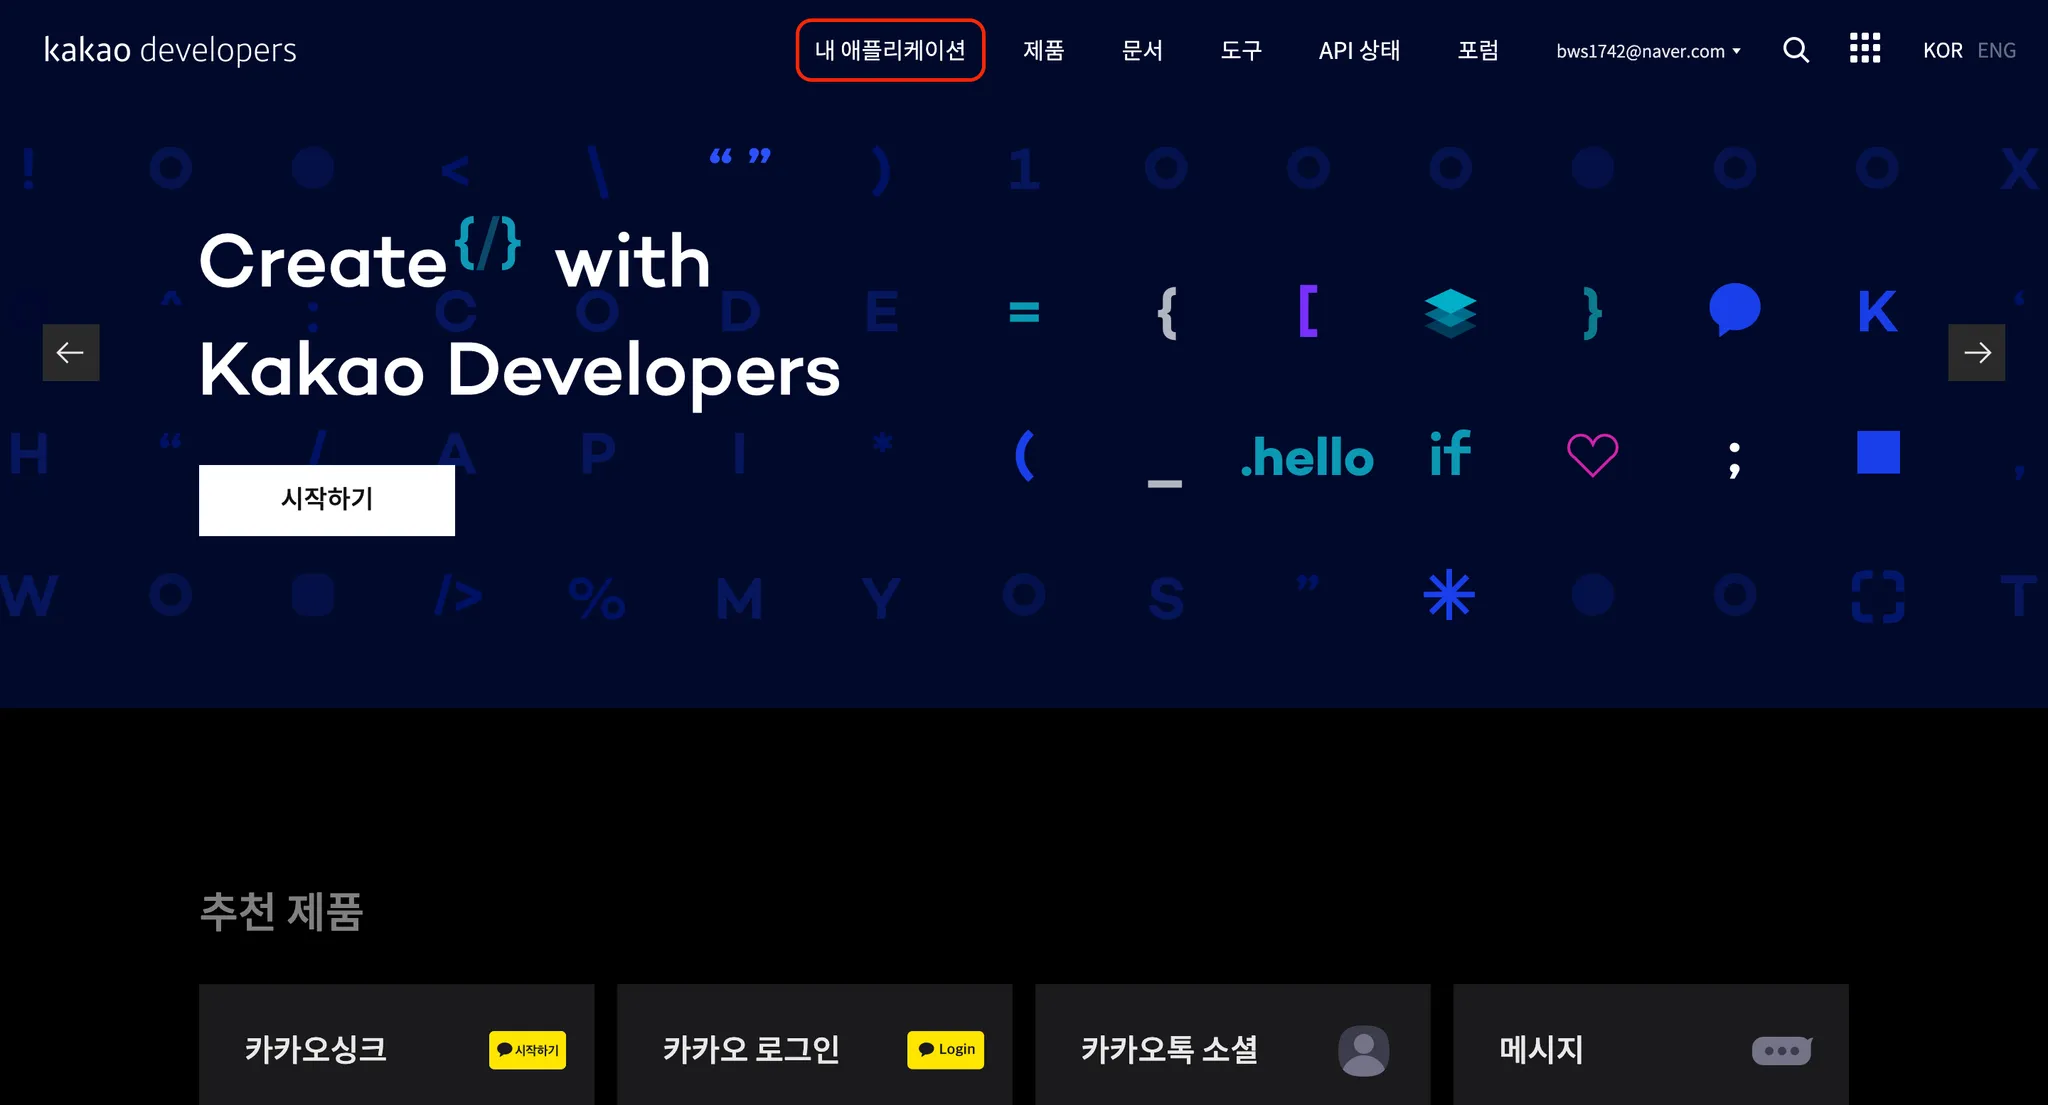
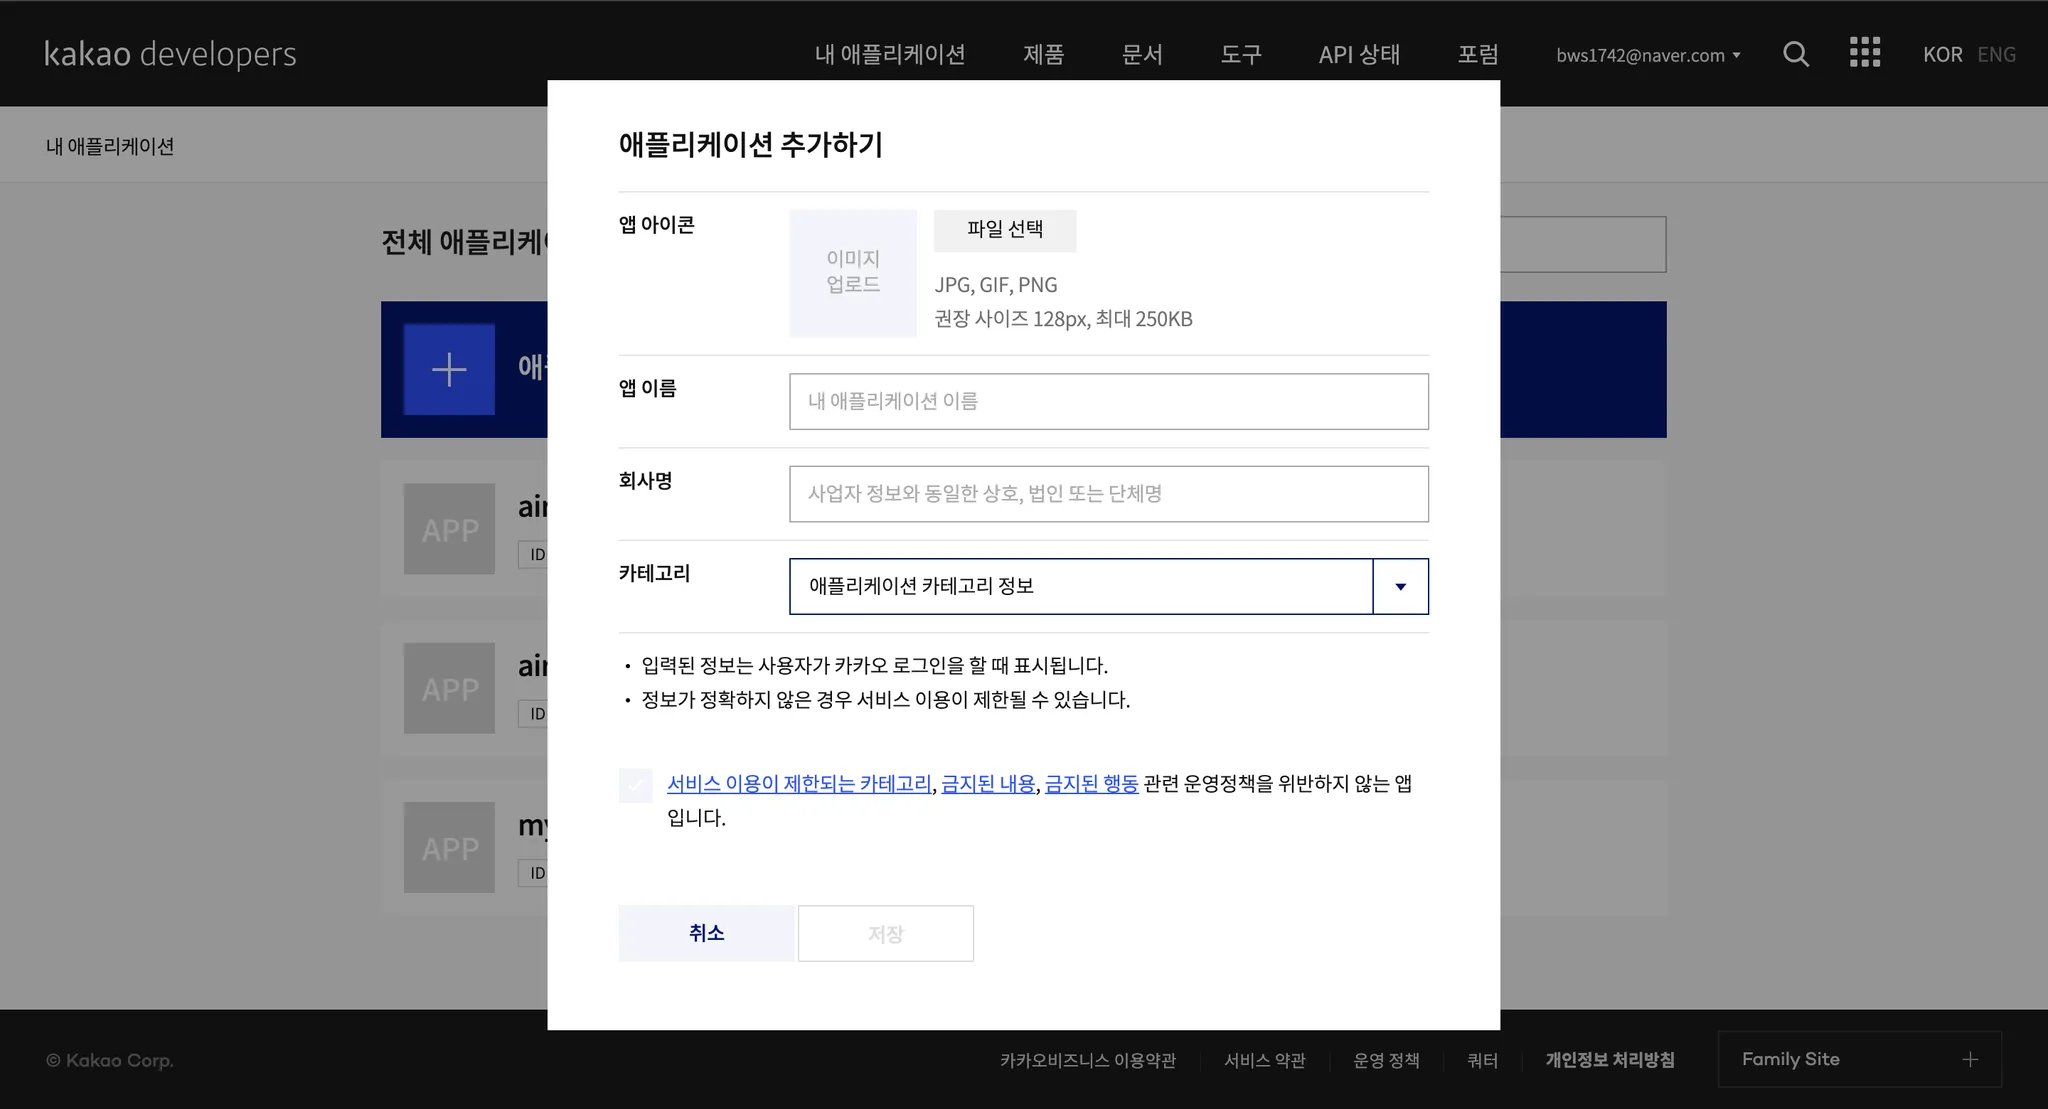
3) 애플리케이션 추가하기 버튼 클릭하여 어플리케이션 추가
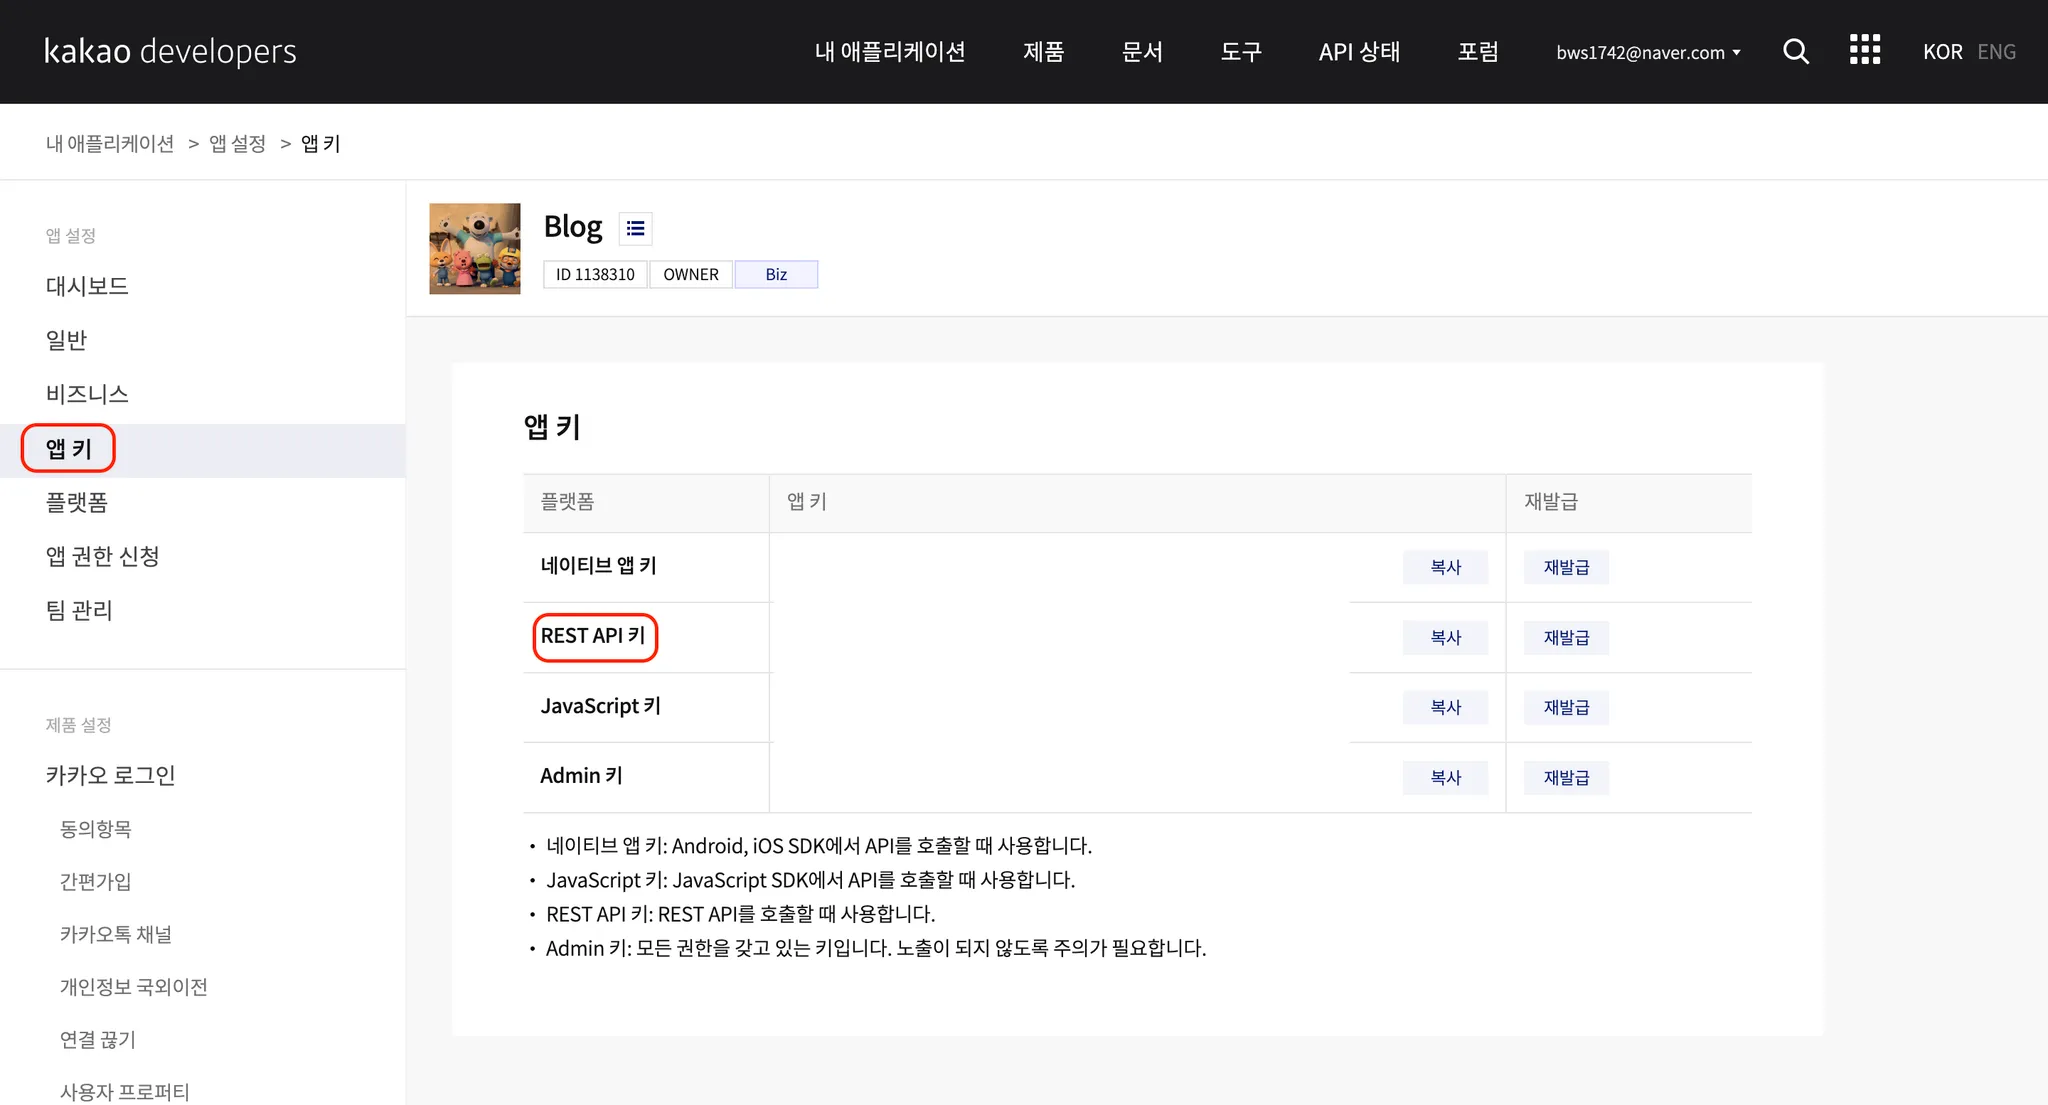
4) Rest API 키 를 알아두자
client_id로 쓰임!
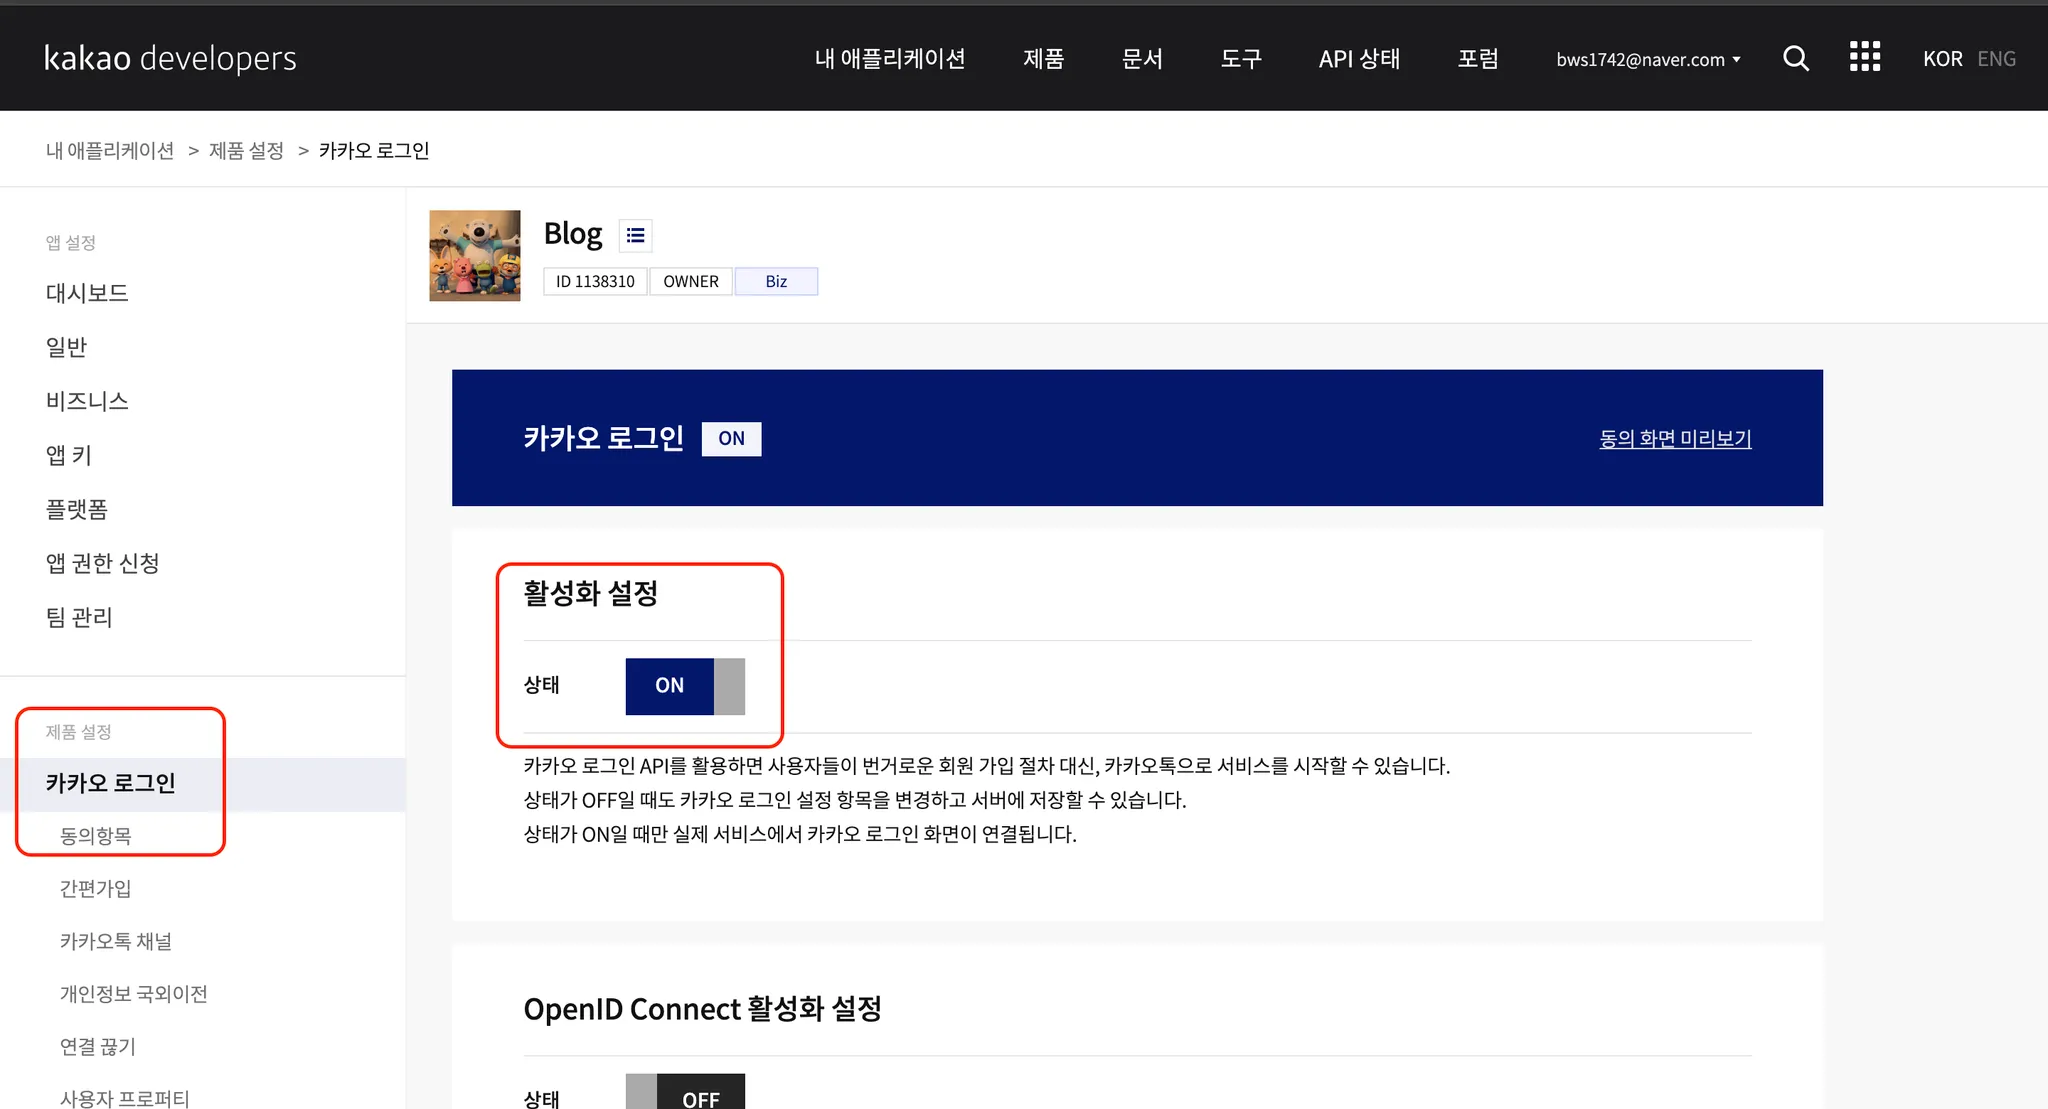
5) 카카오 로그인 페이지에 들어가서 설정
- 상태를
ON으로 변경
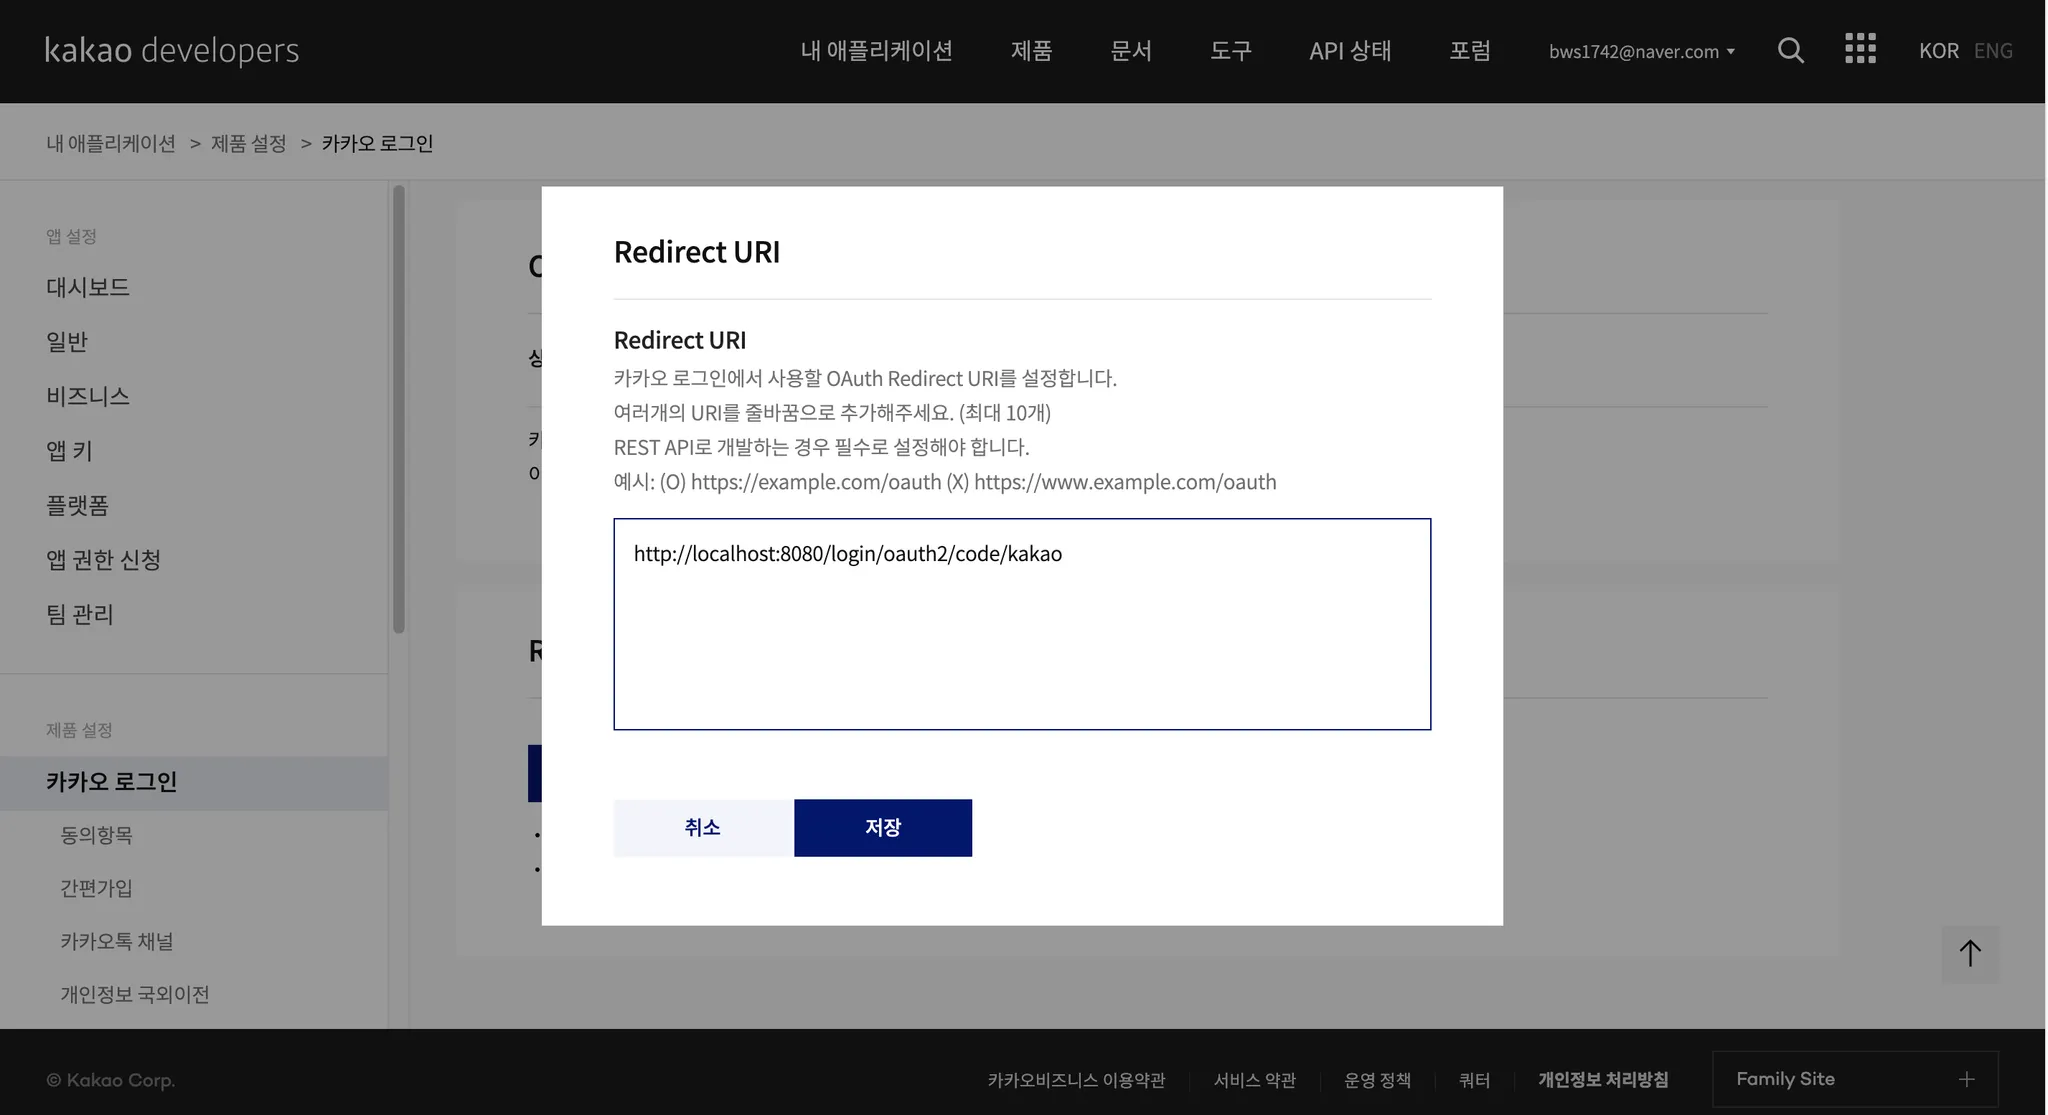
6) Redirect URL 설정
- 현재는
Local환경에서 테스트 해볼것이기 때문에 아래와 같이 설정-
http://localhost:8080/login/oauth2/code/kakao→ 나중에는 domain 이름으로 바꿔주기
-
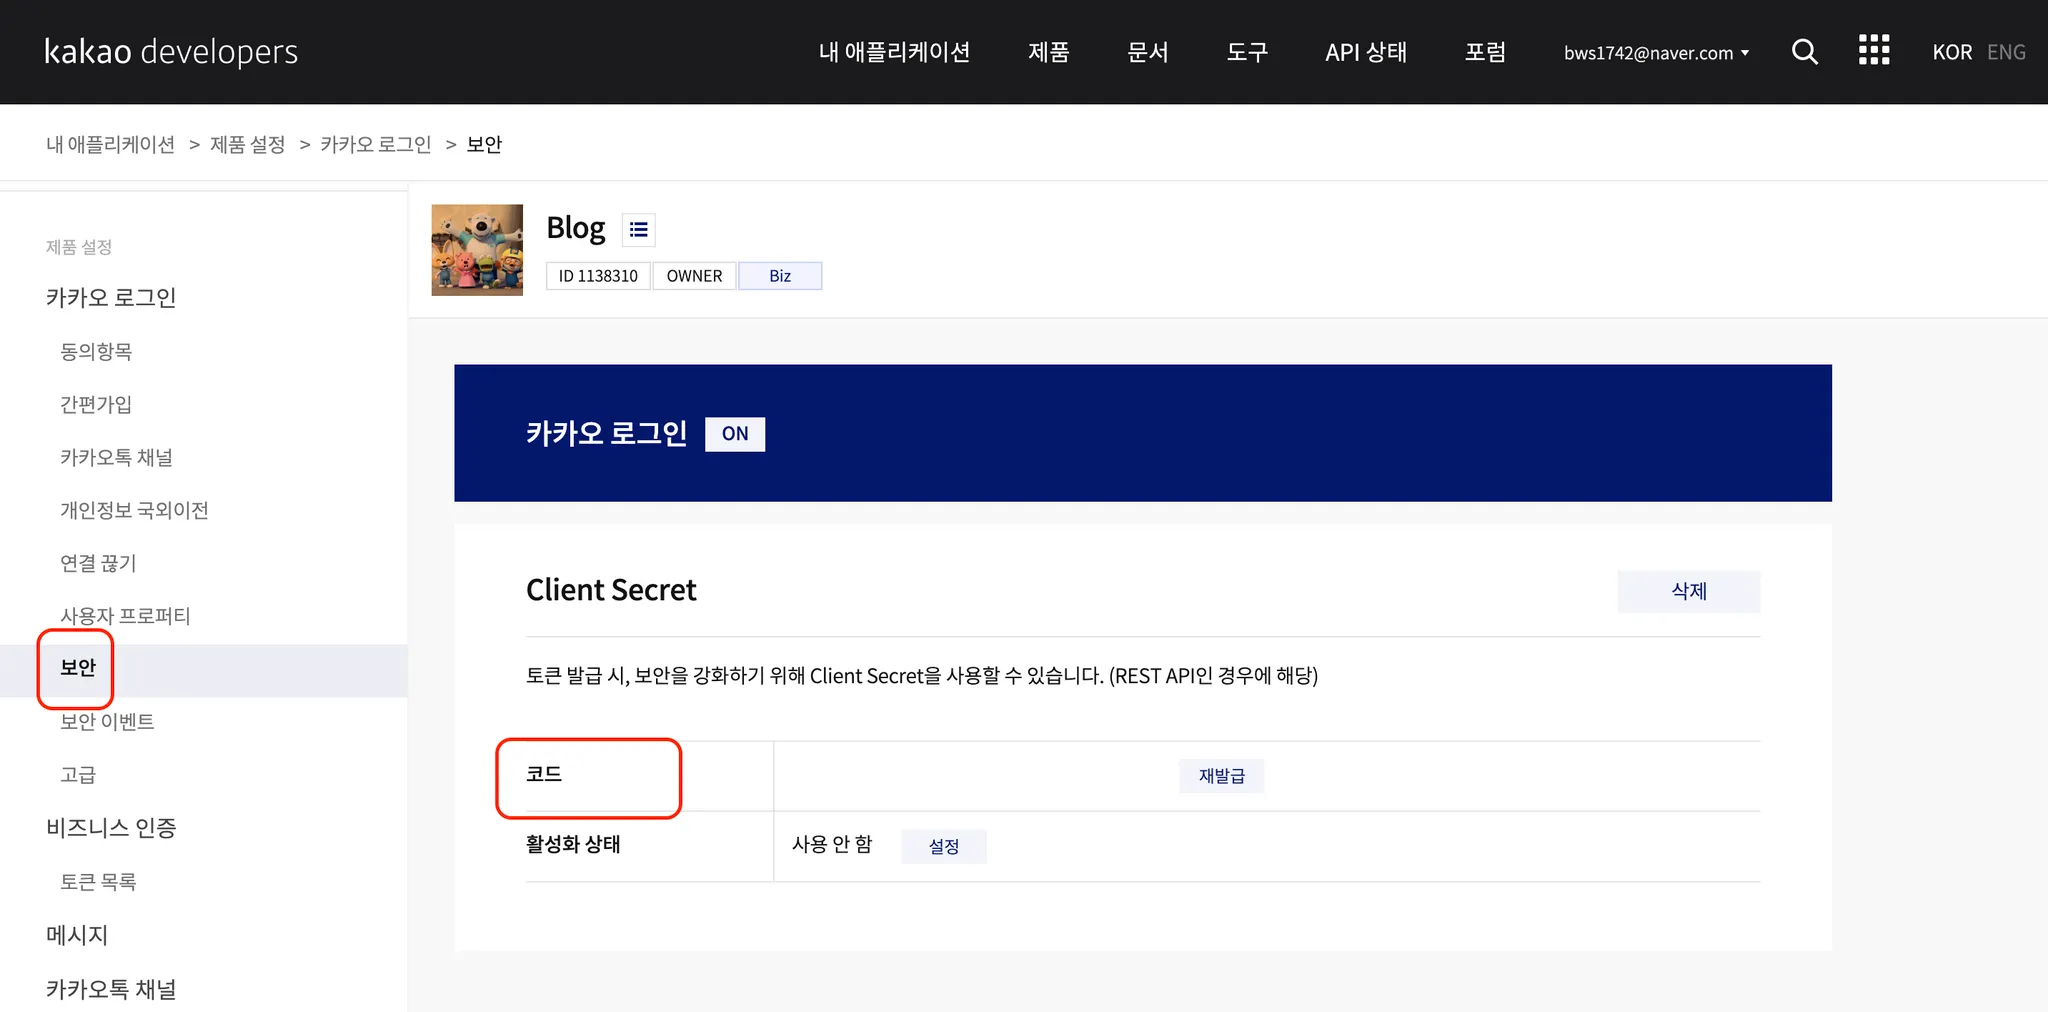
7) 카카오 로그인 → 보안
Client Secret코드 생성 버튼 클릭- 해당 코드는
client_secret으로 사용된다!
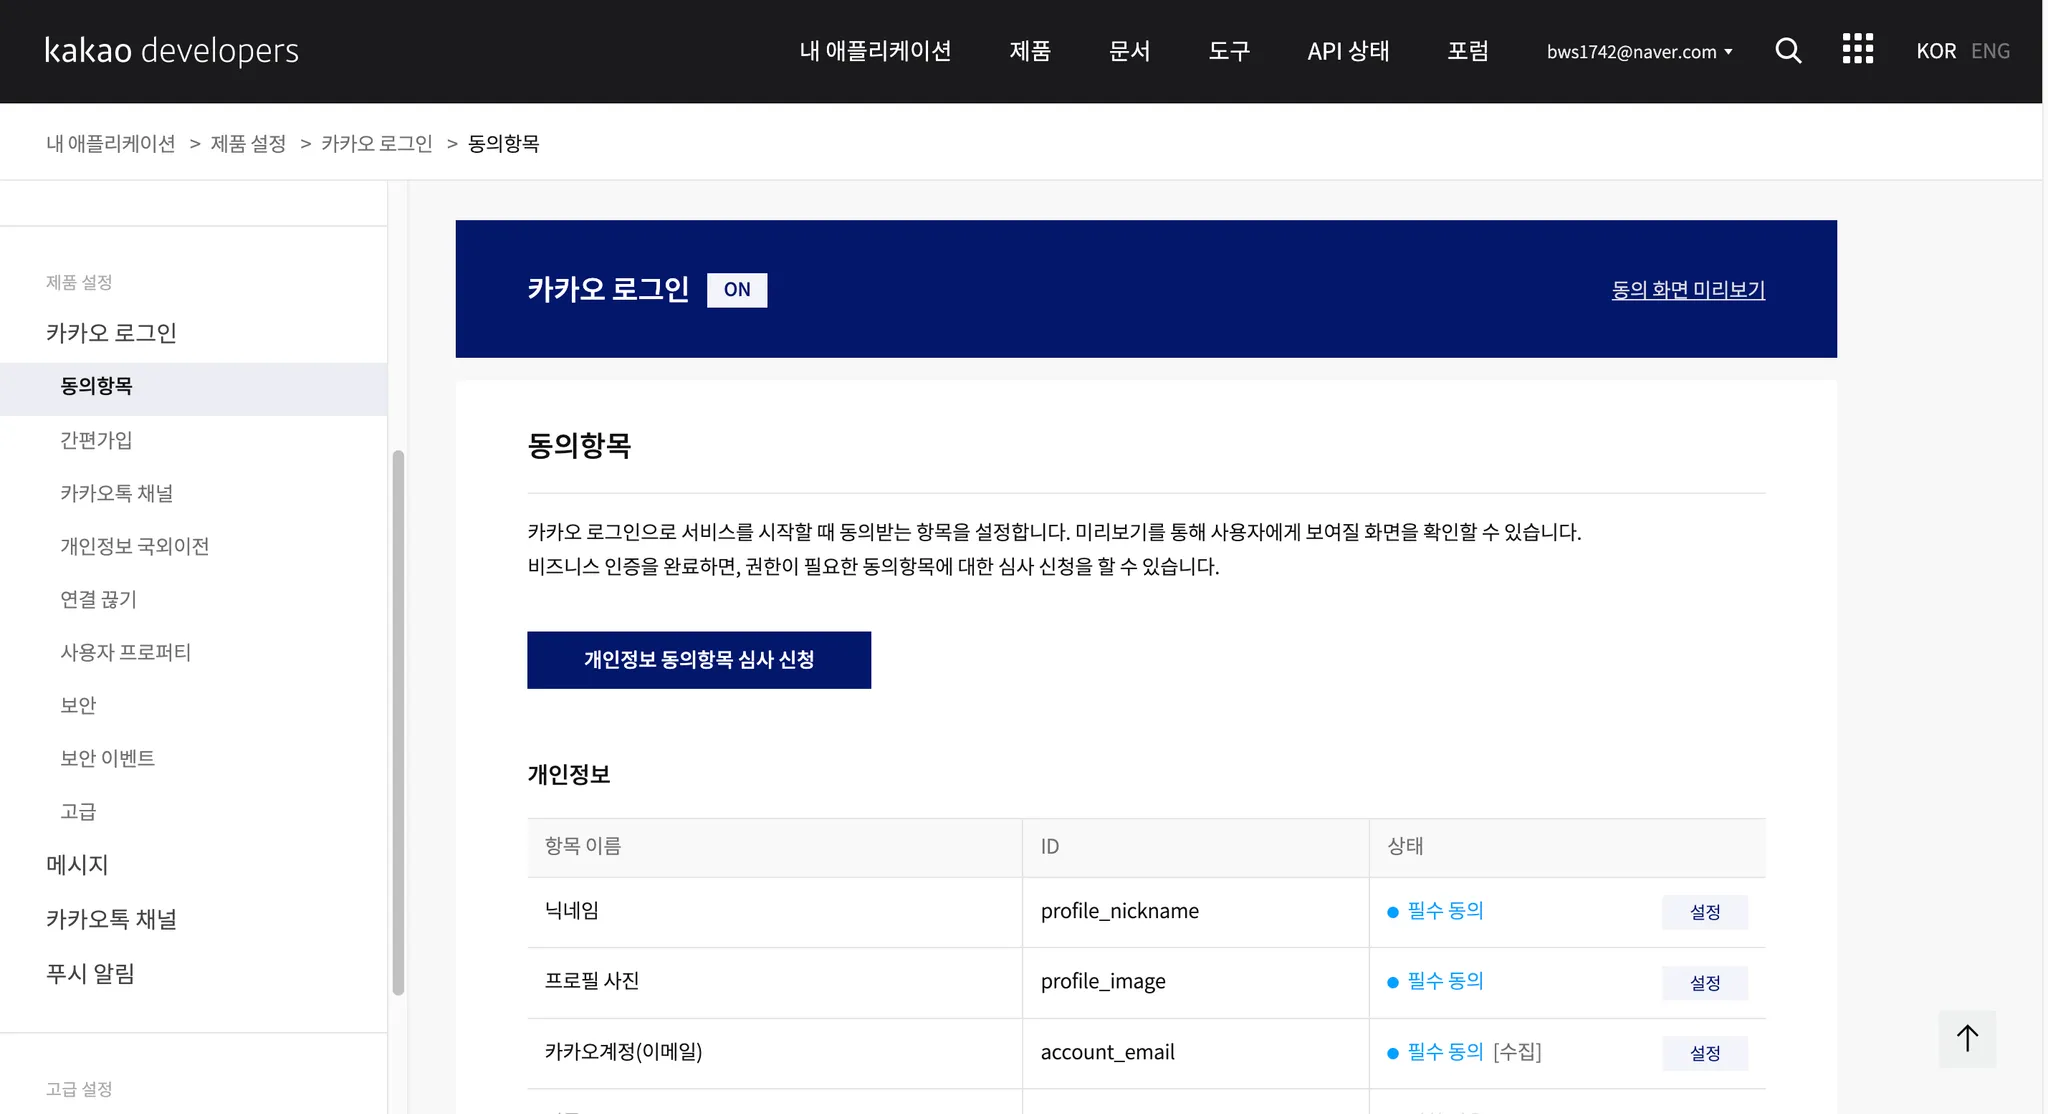
8) 제공 항목 설정
- 기본제공 항목
- 닉네임
- 프로필 사진
- 추가 제공 항목
- 이메일 : 개인정보 동의항목 심사 신청을 해야 사용할 수 있음 → app 사진만 등록하면,
카카오 비즈니스신청을 통해 이메일을 받아올 수 있음
- 이메일 : 개인정보 동의항목 심사 신청을 해야 사용할 수 있음 → app 사진만 등록하면,
- 앱 사진 등록하면 이메일만 가능.. 나머지는 사업장 등록을 해야함 ㅠㅠ
2) Spring Boot Gradle 설정하기
1) oauth2-client 의존성 추가하기
build.gradle
implementation 'org.springframework.boot:spring-boot-starter-oauth2-client'2) application.yaml 작성하기
application.yaml파일에 인증을 위한 값 작성하기
spring:
  security:
    oauth2:
      client:
        registration:
          kakao:
            client-id: cliend-id 작성
            client-secret: client-secret 작성
            client-authentication-method: client_secret_post
            redirect-uri: "{baseUrl}/login/oauth2/code/kakao"
            authorization-grant-type: authorization_code
            client-name: kakao
            scope:
              - profile_nickname
              - profile_image
              - account_email
        provider:
          kakao:
            authorization-uri: https://kauth.kakao.com/oauth/authorize
            token-uri: https://kauth.kakao.com/oauth/token
            user-info-uri: https://kapi.kakao.com/v2/user/me
            user-name-attribute: id
3) SecurityConfig.java 작성하기
@Configuration
@RequiredArgsConstructor
public class SecurityConfig {

    private final KakaoAuthenticationSuccessHandler successHandler;

    @Bean
    public SecurityFilterChain securityFilterChain(HttpSecurity http) throws Exception {
        http
                .authorizeHttpRequests((requests) -> requests
                        // "/admin/**" 경로에 대해서만 인증 필요 [추후 변경]
                        .requestMatchers("/admin/**").authenticated()
                        // 그 외의 경로는 인증 없이 접근 가능
                        .anyRequest().permitAll()
                )
                .oauth2Login((oauth2) -> oauth2
                        .successHandler(successHandler) // 성공 핸들러 등록
                );
        return http.build();
    }
}

열시미 해야쥐