#2.6 useScroll & useFullscreen
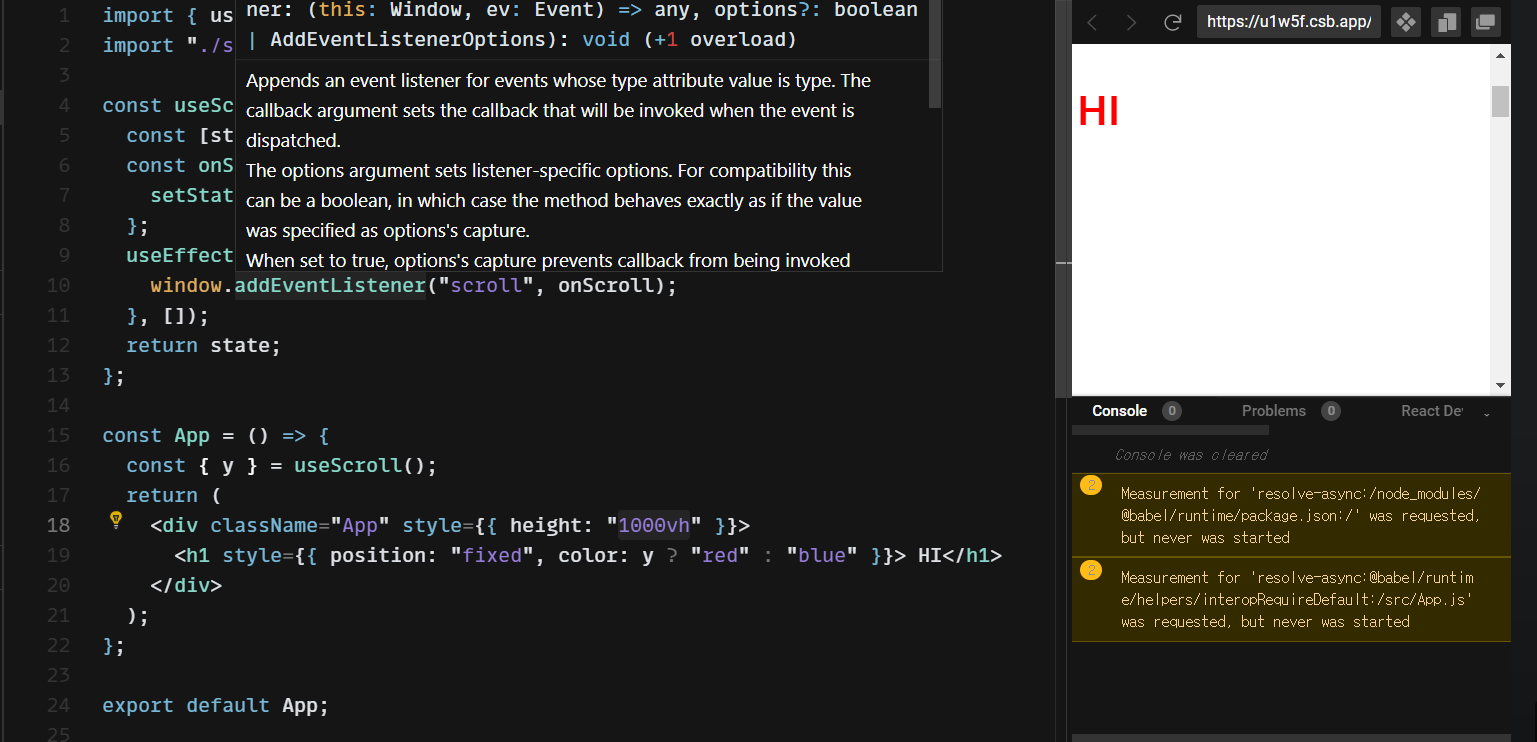
event를 추가했으면 같은 이름과 같은 handler로 지워야 한다.
useScroll
useFullscreen
const useFullscreen = (callback) => {
  const element = useRef();
  const runCb = (isFull) => {
    if (callback && typeof callback === "function") {
      callback(isFull);
    }
  };
  const triggerFull = () => {
    if (element.current) {
      if (element.current.requestFullscreen) {
        element.current.requestFullscreen();
      } else if (element.current.mozRequestFullScreen) {
        element.current.mozRequestFullScreen();
      } else if (element.current.webkitRequestFullscreen) {
        element.current.webkitRequestFullscreen();
      } else if (element.current.msRequestFullscreen) {
        element.current.msRequestFullscreen();
      }
      runCb(true);
    }
  };
  const exitFull = () => {
    const checkFullScreen = document.fullscreenElement;
    if (checkFullScreen !== null) {
      document.exitFullscreen();
      if (document.exitFullscreen) {
        document.exitFullscreen();
      } else if (document.mozCancelFullScreen) {
        document.mozCancelFullScreen();
      } else if (document.webkitExitFullscreen) {
        document.webkitExitFullscreen();
      } else if (document.msExitFullscreen) {
        document.msExitFullscreen();
      }
      runCb(false);
    }
  };
  return { element, triggerFull, exitFull };
};

const App = () => {
  const onChange = (isFull) =>
    console.log(isFull ? "We are in Fullscreen" : "We are not in Fullscreen");
  const { element, triggerFull, exitFull } = useFullscreen(onChange);
  return (
    <div ref={element}>
      <h1>Hello</h1>
      <button onClick={triggerFull}>Make this Fullscreen</button>
      <button onClick={exitFull}>Exit Fullscreen</button>
    </div>
  );
};
#2.7 useNotification
hook을 이용한건 아니지만 함수형프로그래밍을 위한 것이다.
Notification API를 이용한다.
- Notification API Reference
- notification을 이용하기 위해서는 permission을 구해야한다.

#2.8 useAxios
axios는 약간의 customization과 configuration을 허용한다.
import defaultAxios from "axios";
import { useState, useEffect } from "react";

export const useAxios = (opts, axiosInstance = defaultAxios) => {
  const [state, setState] = useState({
    loading: true,
    error: null,
    data: null
  });
  const [trigger, setTrigger] = useState(0);
  if (!opts.url) {
    return;
  }
  const refetch = () => {
    setState({
      ...state,
      loading: true
    });
    setTrigger(Date.now());
  };
  useEffect(() => {
    axiosInstance(opts)
      .then((data) => {
        setState({
          ...state,
          loading: false,
          data
        });
      })
      .catch((error) => {
        setState({ ...state, loading: false, error });
      });
  }, [trigger]);
  return { ...state, refetch };
};

export default useAxios;
#2.9 Publishing to NPM
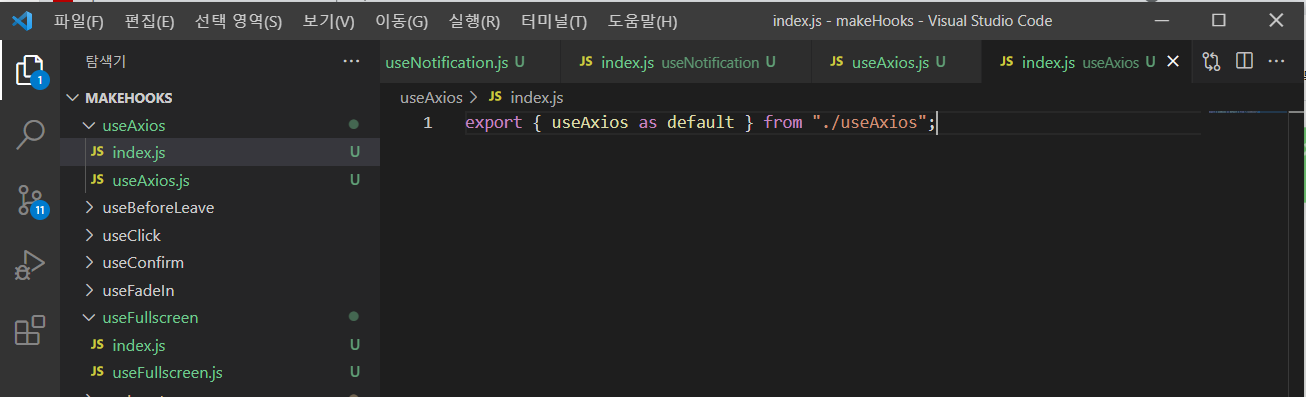
1. VSC로 코드를 가져와서 index.js파일과 함께 폴더를 만든다.
2. 여기는 react가 설치되어 있기 때문에 만들어줘야한다.
3. npm init을 한 후 이름, 설명, 깃허브 주소, 키워드, 저자,license를 등록하면 package.json이 생긴다. (키워드는 중복되지 않게 한다.)
4. package.json에서 "main"은 비우면 안된다.
5. terminal에 npm i react react-dom React를 설치해준다.
6. package.json에서 "dependencies"를 "peerDependencies"로 수정해준다
- user가 이미 설치했다면 다시 설치하지 않는다는것을 의미한다.
7. README.md를 작성해준다.
8. npm사이트에 로그인한 후 Organization을 만든다.
9. VSC에서도 npm login을 통해 npm에 로그인해줘야 한다.
10. npm publish --access public을 하면 완료된다.

뿌셔뿌셔