25일차에 이어 세팅작업 추가 작업
1. reset.css 적용
- 각 브라우저 별로 태그에 대한 디폴트 속성 값이 다르기 때문에 모든 브라우저에서 작동한다는 전제조건하에 css를 초기화 해주는 작업을 해줘야 함
html,
body,
div,
span,
object,
iframe,
h1,
h2,
h3,
h4,
h5,
h6,
p,
blockquote,
pre,
abbr,
address,
cite,
code,
del,
dfn,
em,
img,
ins,
kbd,
q,
samp,
small,
strong,
sub,
sup,
var,
b,
i,
dl,
dt,
dd,
ol,
ul,
li,
fieldset,
form,
label,
legend,
table,
caption,
tbody,
tfoot,
thead,
tr,
th,
td,
article,
aside,
canvas,
details,
figcaption,
figure,
footer,
header,
hgroup,
menu,
nav,
section,
summary,
time,
mark,
audio,
video {
margin: 0;
padding: 0;
border: 0;
outline: 0;
font-size: 100%;
vertical-align: baseline;
background: transparent;
font-weight: normal;
letter-spacing: 1px;
}
* {
box-sizing: border-box;
text-decoration: none;
list-style: none;
color: inherit;
}
*:focus {
outline: none;
border: none;
}
body {
line-height: 1;
}
article,
aside,
details,
figcaption,
figure,
footer,
header,
hgroup,
menu,
nav,
section {
display: block;
}
nav ul {
list-style: none;
}
blockquote,
q {
quotes: none;
}
blockquote:before,
blockquote:after,
q:before,
q:after {
content: "";
content: none;
}
a {
margin: 0;
padding: 0;
font-size: 100%;
vertical-align: baseline;
background: transparent;
}
/* change colours to suit your needs */
ins {
background-color: #ff9;
color: #000;
text-decoration: none;
}
/* change colours to suit your needs */
mark {
background-color: #ff9;
color: #000;
font-style: italic;
font-weight: bold;
}
del {
text-decoration: line-through;
}
abbr[title],
dfn[title] {
border-bottom: 1px dotted;
cursor: help;
}
table {
border-collapse: collapse;
border-spacing: 0;
}
/* change border colour to suit your needs */
hr {
display: block;
height: 1px;
border: 0;
border-top: 1px solid #cccccc;
margin: 1em 0;
padding: 0;
}
input,
select {
vertical-align: middle;
}
textarea {
resize: none;
}2. Eslint와 prettier 연동 작업
Vscode의 extension 기능 중 Eslint와 pretiier라는 것이 존재
Eslint
- 해당되는 언어에 대한 문법 오류를 잡아주는 역할을 해주는 도구
prettier
- 코드를 저장할 때 indentation이라던지 문단 간격, 즉 보기 쉽게 정리 해주는 도구
- Eslint와 prettier 연동 설정 방법
Eslint, prettier 연동 방법 정리
1. 우선 extension에서 Eslint와 prettier를 설치한다.
2. .eslintrc.json 파일을 제일 상위 루트 폴더에 생성하여 아래 코드 작성
{
  "extends": "react-app"
}
3 eslint rule에 따라 formatting도 추가or삭제할 것이므로 eslint관련 패키지도 추가
npm i prettier eslint-config-prettier eslint-plugin-prettier -D4. 그 다음 .eslintrc.json 파일 수정
{
  "extends": ["react-app", "plugin:prettier/recommended"]
}
5. pretttier 셋팅
- 파일->기본설정->설정에 들어간 뒤
- 우측 상단에 파일문서아이콘(화살표 포함)을 눌러 json형태로 바꾼다
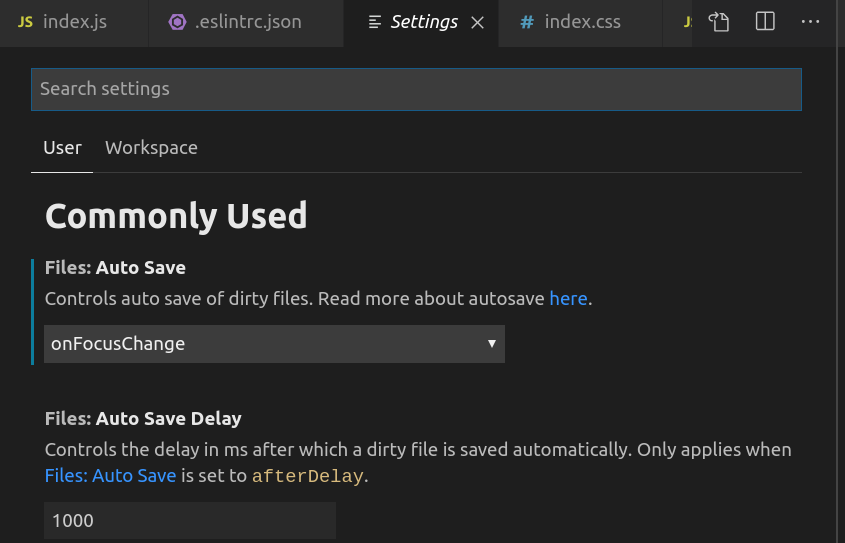
7. 마지막으로 setting.json 파일 안에 아래 코드 추가하면 끝
"editor.formatOnSave": true,
"[javascript]": {
  "editor.formatOnSave": false
},
"eslint.autoFixOnSave": true,
"eslint.alwaysShowStatus": true,
"prettier.disableLanguages": ["js"],
"files.autoSave": "onFocusChange"
import순서, CSS 구조, className 명명 규칙
BEM(Block Element Modifier)이란?
- 클래스명을 지을 때 아무렇게나 하는게 아닌 연관성 있고 보기 쉽게 명명하는 구조
<div class="card">
    <div class="card__header">
        <h2 class="card__header__title">Title text here</h2>
    </div>
    <div class="card__body">
        <img class="card__body__img" src="some-img.png">
        <p class="card__body__text">Lorem ipsum dolor sit amet, consectetur</p>
        <p class="card__body__text">Adipiscing elit.
            <a href="/somelink.html" class="card__body__text__link">Pellentesque amet</a>
        </p>

    </div>
</div>
import 순서
1. import react
2. library ex) Link 같은 것
3. util (config.js)
4. component 아래 있는 것들
5. css 관련된것
CSS 파일 구조
예시
- 같은 타입별로 나눠서 구성하면 나중에 리팩토링 하기에도 편함
.button {
    display:inline-block;
    margin:1em 0;
    padding:1em 4em;

    color:#fff;
    background:#196e76;
    border:0.25em solid #196e76;
    box-shadow:inset 0.25em 0.25em 0.5em rgba(0,0,0,0.3),
               0.5em 0.5em 0 #444;

    font-size:3em;
    font-family:Avenir, Helvetica, Arial, sans-serif;
    text-align:center;
    text-transform:uppercase;
    text-decoration:none;
}
font-face 적용 방법 참고

Front End. Dev