서론
Next.js 로 블로그를 만들다가 메인 페이지에 귀여운 로고가 있으면 좋겠다는 생각이 들었다.
문득, 이전에 봤던 Lottie Animation 을 사용하면 좋을 것 같아서 레퍼런스를 찾아보게 됐다.
Lottie
무려 AirBnb 에서 개발한 라이브러리로, JSON 형식으로 애니메이션을 구현할 수 있다.
After Effects 로 편집한 애니메이션을 Bodymovin 플러그인으로 export 하면 JSON 형식으로
내보낼 수 있다고 하는데..
만드는건 멋진 디자이너 분들이 하실테니까 개발자는 가져다 쓰기만 하면
멋진 애니메이션을 사용할 수 있다.
왜 좋은가요 ?
크로스 플랫폼
Lottie 의 가장 큰 장점 중 하나는 웹, ios, Android 같은 다양한 플랫폼에서
유연하게 사용할 수 있다는 점이다. 귀한 디자이너 분들을 고생시키지 않는다는 점에서
굉장히 훌륭한 장점이라고 할 수 있다.
백터 기반
벡터 기반으로 작동하기 때문에 애니메이션 품질이 굉장히 좋다.
게다가 애니메이션 이미지 파일(GIF, MP4)에 비해 용량이 굉장히 작다.

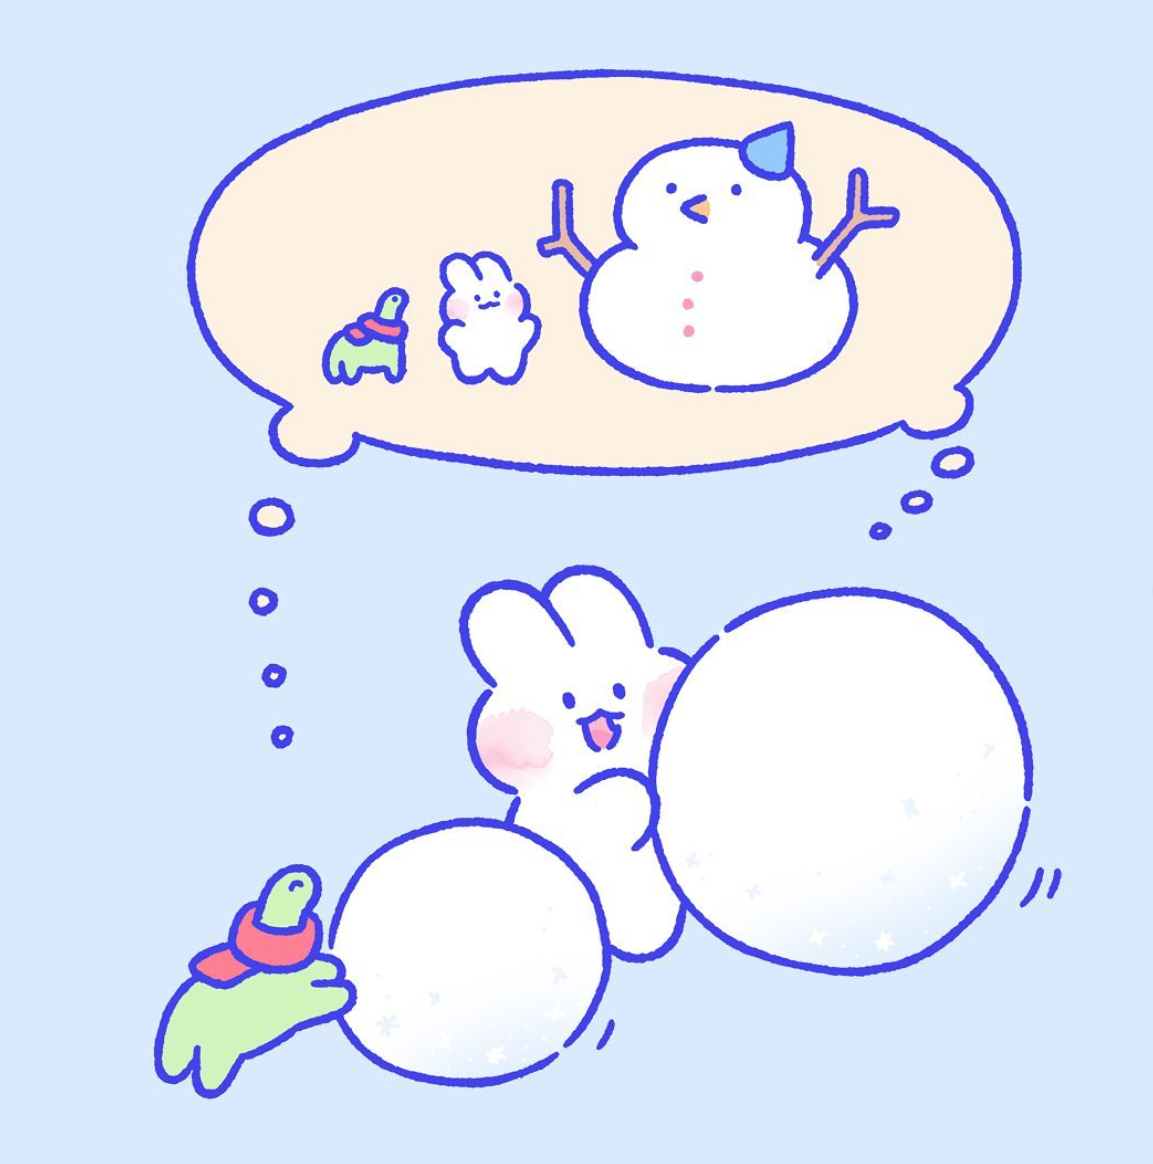
이렇게 귀여운 톡기 애니메이션 GIF 는 745KB 의 용량을 가지고 있다.
그러나 이 톡기의 Lottie JSON 의 용량은 무려 5.1KB 다.
어떻게 쓰나요 ?
lottiefiles
lottiefiles 는 lottie animation 들을 모아놓은 사이트다.
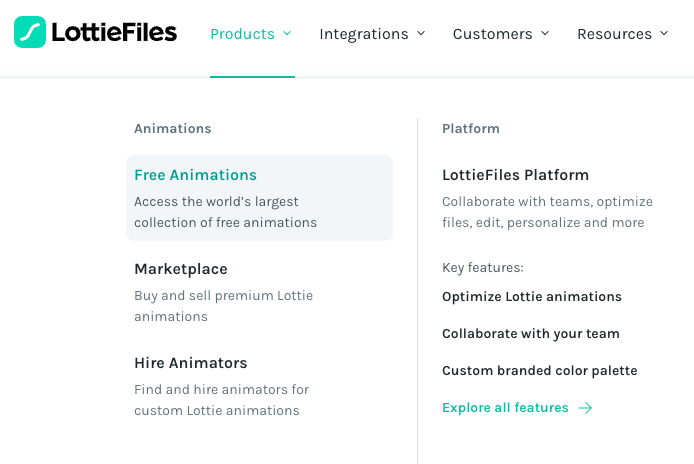
products 의 Animations 의 Free Animations 탭에서 선택하거나
오른쪽 상단의 검색메뉴를 이용하여 찾아볼 수 있다.
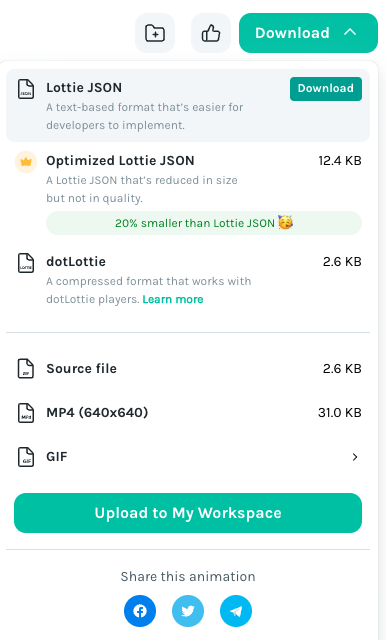
원하는 lottie 를 클릭하면 모달창이 나오는데
오른쪽 상단에 Download 버튼을 클릭하면 Lottie JSON 으로 다운로드 받을 수 있다.
Lottie JSON 파일을 asset 들을 모아놓는 폴더에 저장한다.
나는 public 폴더에 저장했다.
그런 다음,
"use client";
import { Player } from "@lottiefiles/react-lottie-player";

const MainPageAnimation = () => {
  const style = {
    width: "500px",
    height: "500px",
  };
  return <Player loop src="/lotties/main_logo.json" style={style} autoplay />;
};

export default MainPageAnimation;
(next 프로젝트에서 사용한 예시)
react-lottie-player 라는 라이브러리도 있었지만
Warning: ForwardRef: Support for defaultProps will be removed from memo components in a future major release. Use JavaScript default parameters instead.
이런 Warning 메시지를 띄우는 경우가 있어서
lottiefiles 에서 자체적으로 제공하는 lottie-player 를 사용했다.
사용 방법은 위처럼 간단하다.
Player 컴포넌트를 불러와서 저장한 json 파일을 src 에 연결해주면 끝.
이용할 수 있는 properties 는 docs.lottiefiles.com 에서 확인할 수 있다.
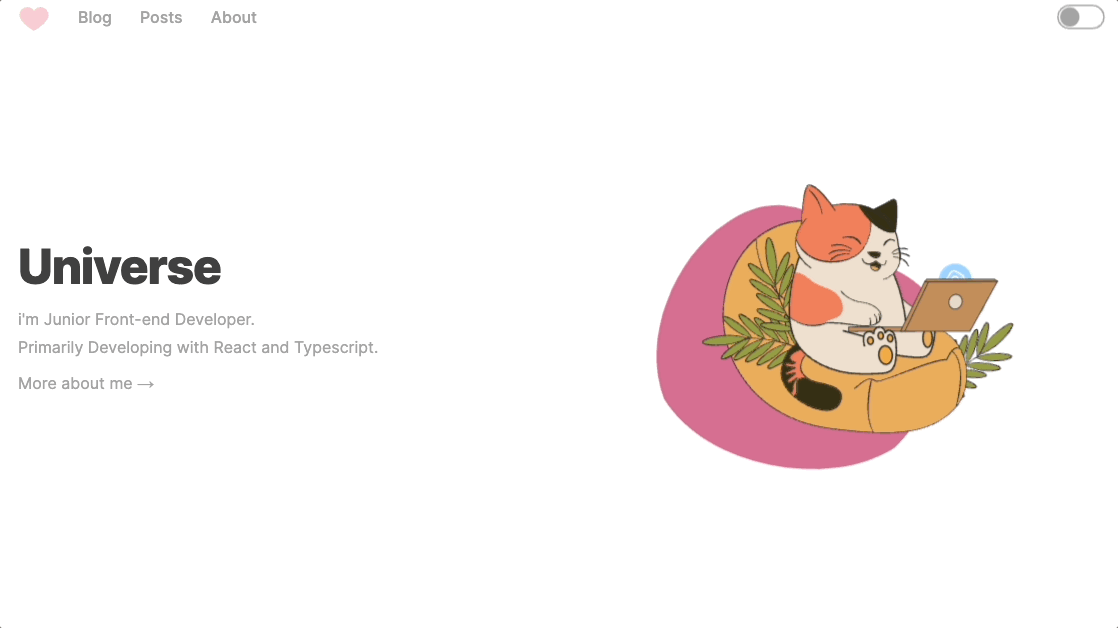
메인 페이지에 귀여운 고양이 애니메이션이 추가됐다!
응용
"use client";
import { Player } from "@lottiefiles/react-lottie-player";
import { useRef, useState } from "react";
import { AnimationItem } from "lottie-web";

const SwtichButtonAnimation = () => {
  const lottieRef = useRef<AnimationItem | null>(null);
  const [isPlaying, setIsPlaying] = useState(false);

  const handleSwitch = () => {
    const player = lottieRef.current;

    if (player) {
      if (isPlaying) {
        player.playSegments([player.totalFrames, 0], true);
        setIsPlaying(false);
      } else {
        player.playSegments([0, player.totalFrames], true);
        setIsPlaying(true);
      }
    }
  };
  const style = {
    width: "50px",
    height: "30px",
  };
  return (
    <span className="cursor-pointer " onClick={handleSwitch}>
      <Player
        speed={3}
        autoplay={false}
        loop={false}
        controls={false}
        keepLastFrame={isPlaying}
        lottieRef={(ref) => {
          if (ref) lottieRef.current = ref;
        }}
        src="/lotties/switch_button.json"
        style={style}
      />
    </span>
  );
};

export default SwtichButtonAnimation;
간단하게 스위치 버튼을 Lottie 애니메이션을 사용해서 만들어보았다.
ref 를 등록하는 방식이 조금 특이하다.
isPlaying 이라는 상태를 만들고 상태값에 따라
초기상태(keepLastFrame : false)일지, 최종상태(keepLastFrame : true) 일지
명시해주고 handleSwitch 함수를 통해서 lottieRef 값을 찾아,
앞부터 재생할건지, 뒤부터 재생할건지 조절해주면 쉽게 구현할 수 있다.