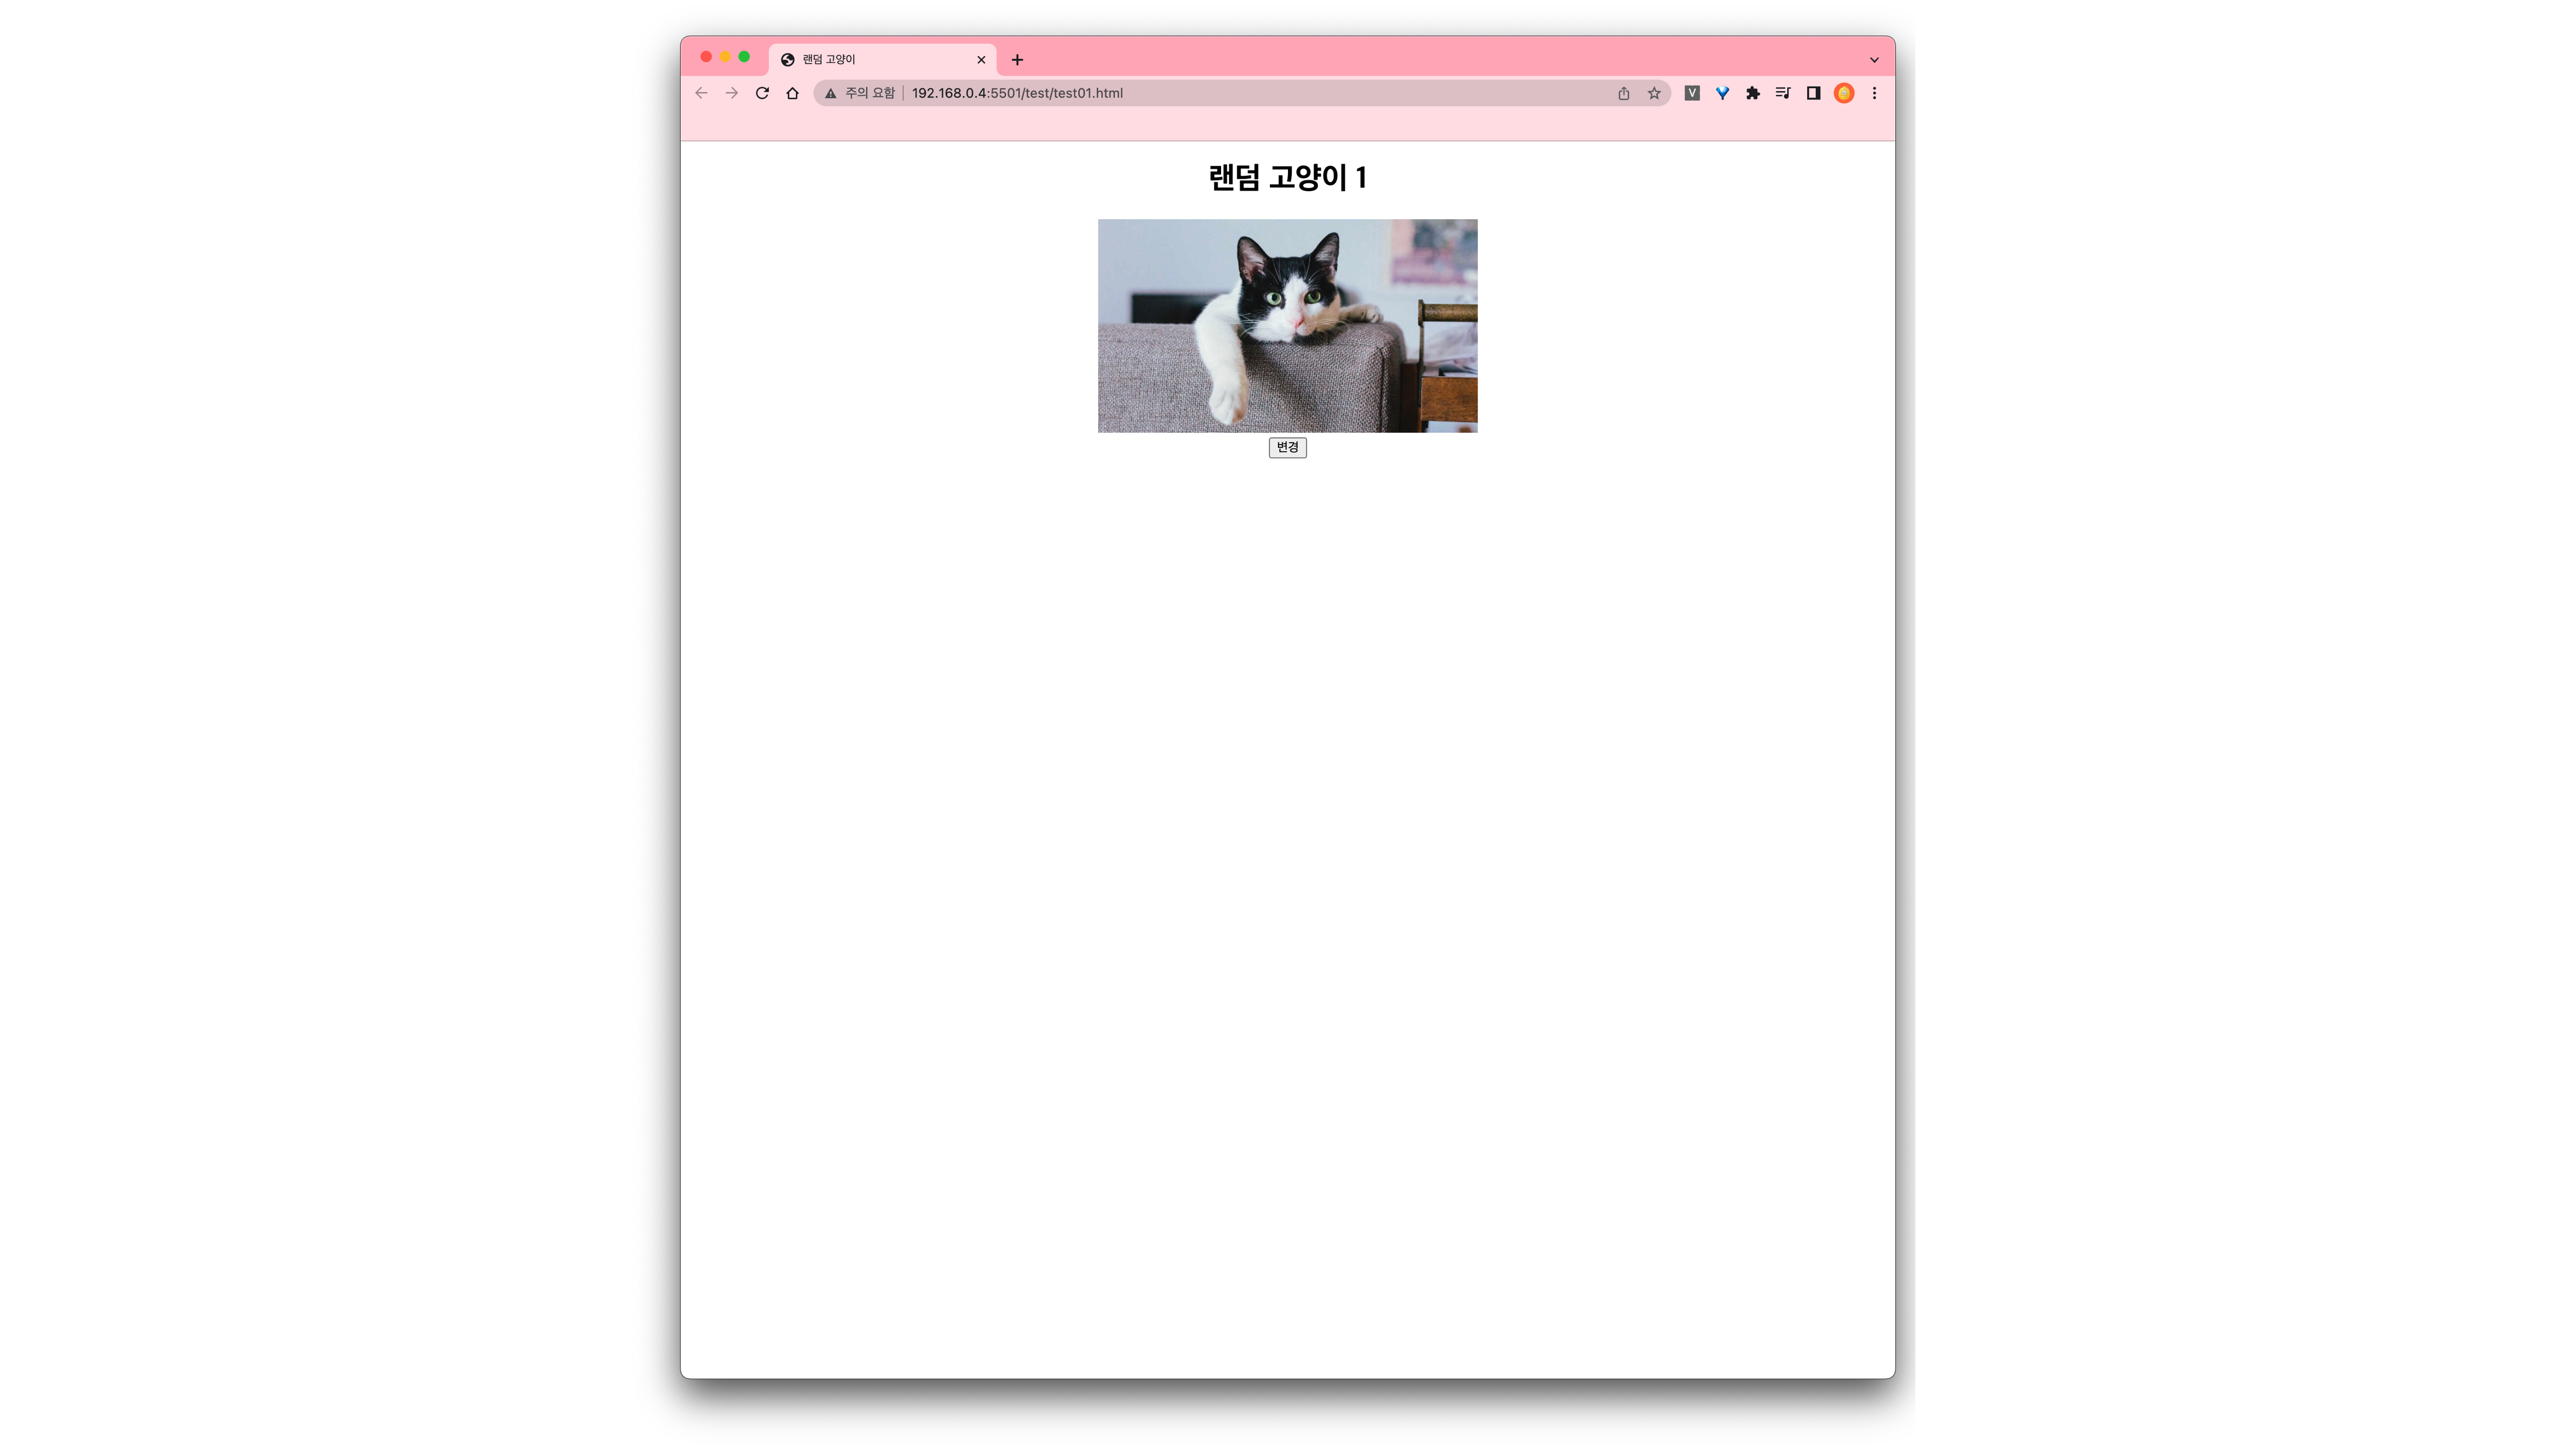
랜덤고양이
어제 만들었던 랜덤고양이의 코드이다.
<!DOCTYPE html>
<html lang="en">
  <head>
    <title>랜덤 고양이</title>
    <style>
      body {
        text-align: center;
      }
    </style>
  </head>
  <body>
    <div id="app"></div>
    <script src="https://unpkg.com/react@17/umd/react.development.js" crossorigin></script>
    <script src="https://unpkg.com/react-dom@17/umd/react-dom.development.js" crossorigin></script>
    <script src="https://unpkg.com/babel-standalone@6/babel.min.js"></script>

    <script type="text/babel">
      const Title = (props) => {
        return <h1>{props.children}</h1>;
      };

      const CatImg = (props) => {
        return (
          <div>
            <img src={props.img} alt='고양이' width='400' />
          </div>
        );
      };

      const Button = ({ handleButtonClick }) => {
        return (
          <button type='submit' onClick={handleButtonClick}>
            변경
          </button>
        );
      };

      const App = () => {
        const [counter, setCounter] = React.useState(1);
        const [catImg, setCatImg] = React.useState(
          "https://media.npr.org/assets/img/2021/08/11/gettyimages-1279899488_wide-f3860ceb0ef19643c335cb34df3fa1de166e2761-s1100-c50.jpg"
        );
        function handleButtonClick() {
          console.log(counter, "번째 지나감");
          setCounter(counter + 1);
          console.log("냥");
          setCatImg("https://static.independent.co.uk/2021/06/16/08/newFile-4.jpg?width=982&height=726&auto=webp&quality=75");
        }

        return (
          <div>
            <Title>랜덤 고양이 {counter}</Title>
            <CatImg img={catImg} />
            <Button handleButtonClick={handleButtonClick} />
          </div>
        );
      };
      const 여기다가그려 = document.querySelector("#app");
      ReactDOM.render(<App />, 여기다가그려);
    </script>
  </body>
</html>
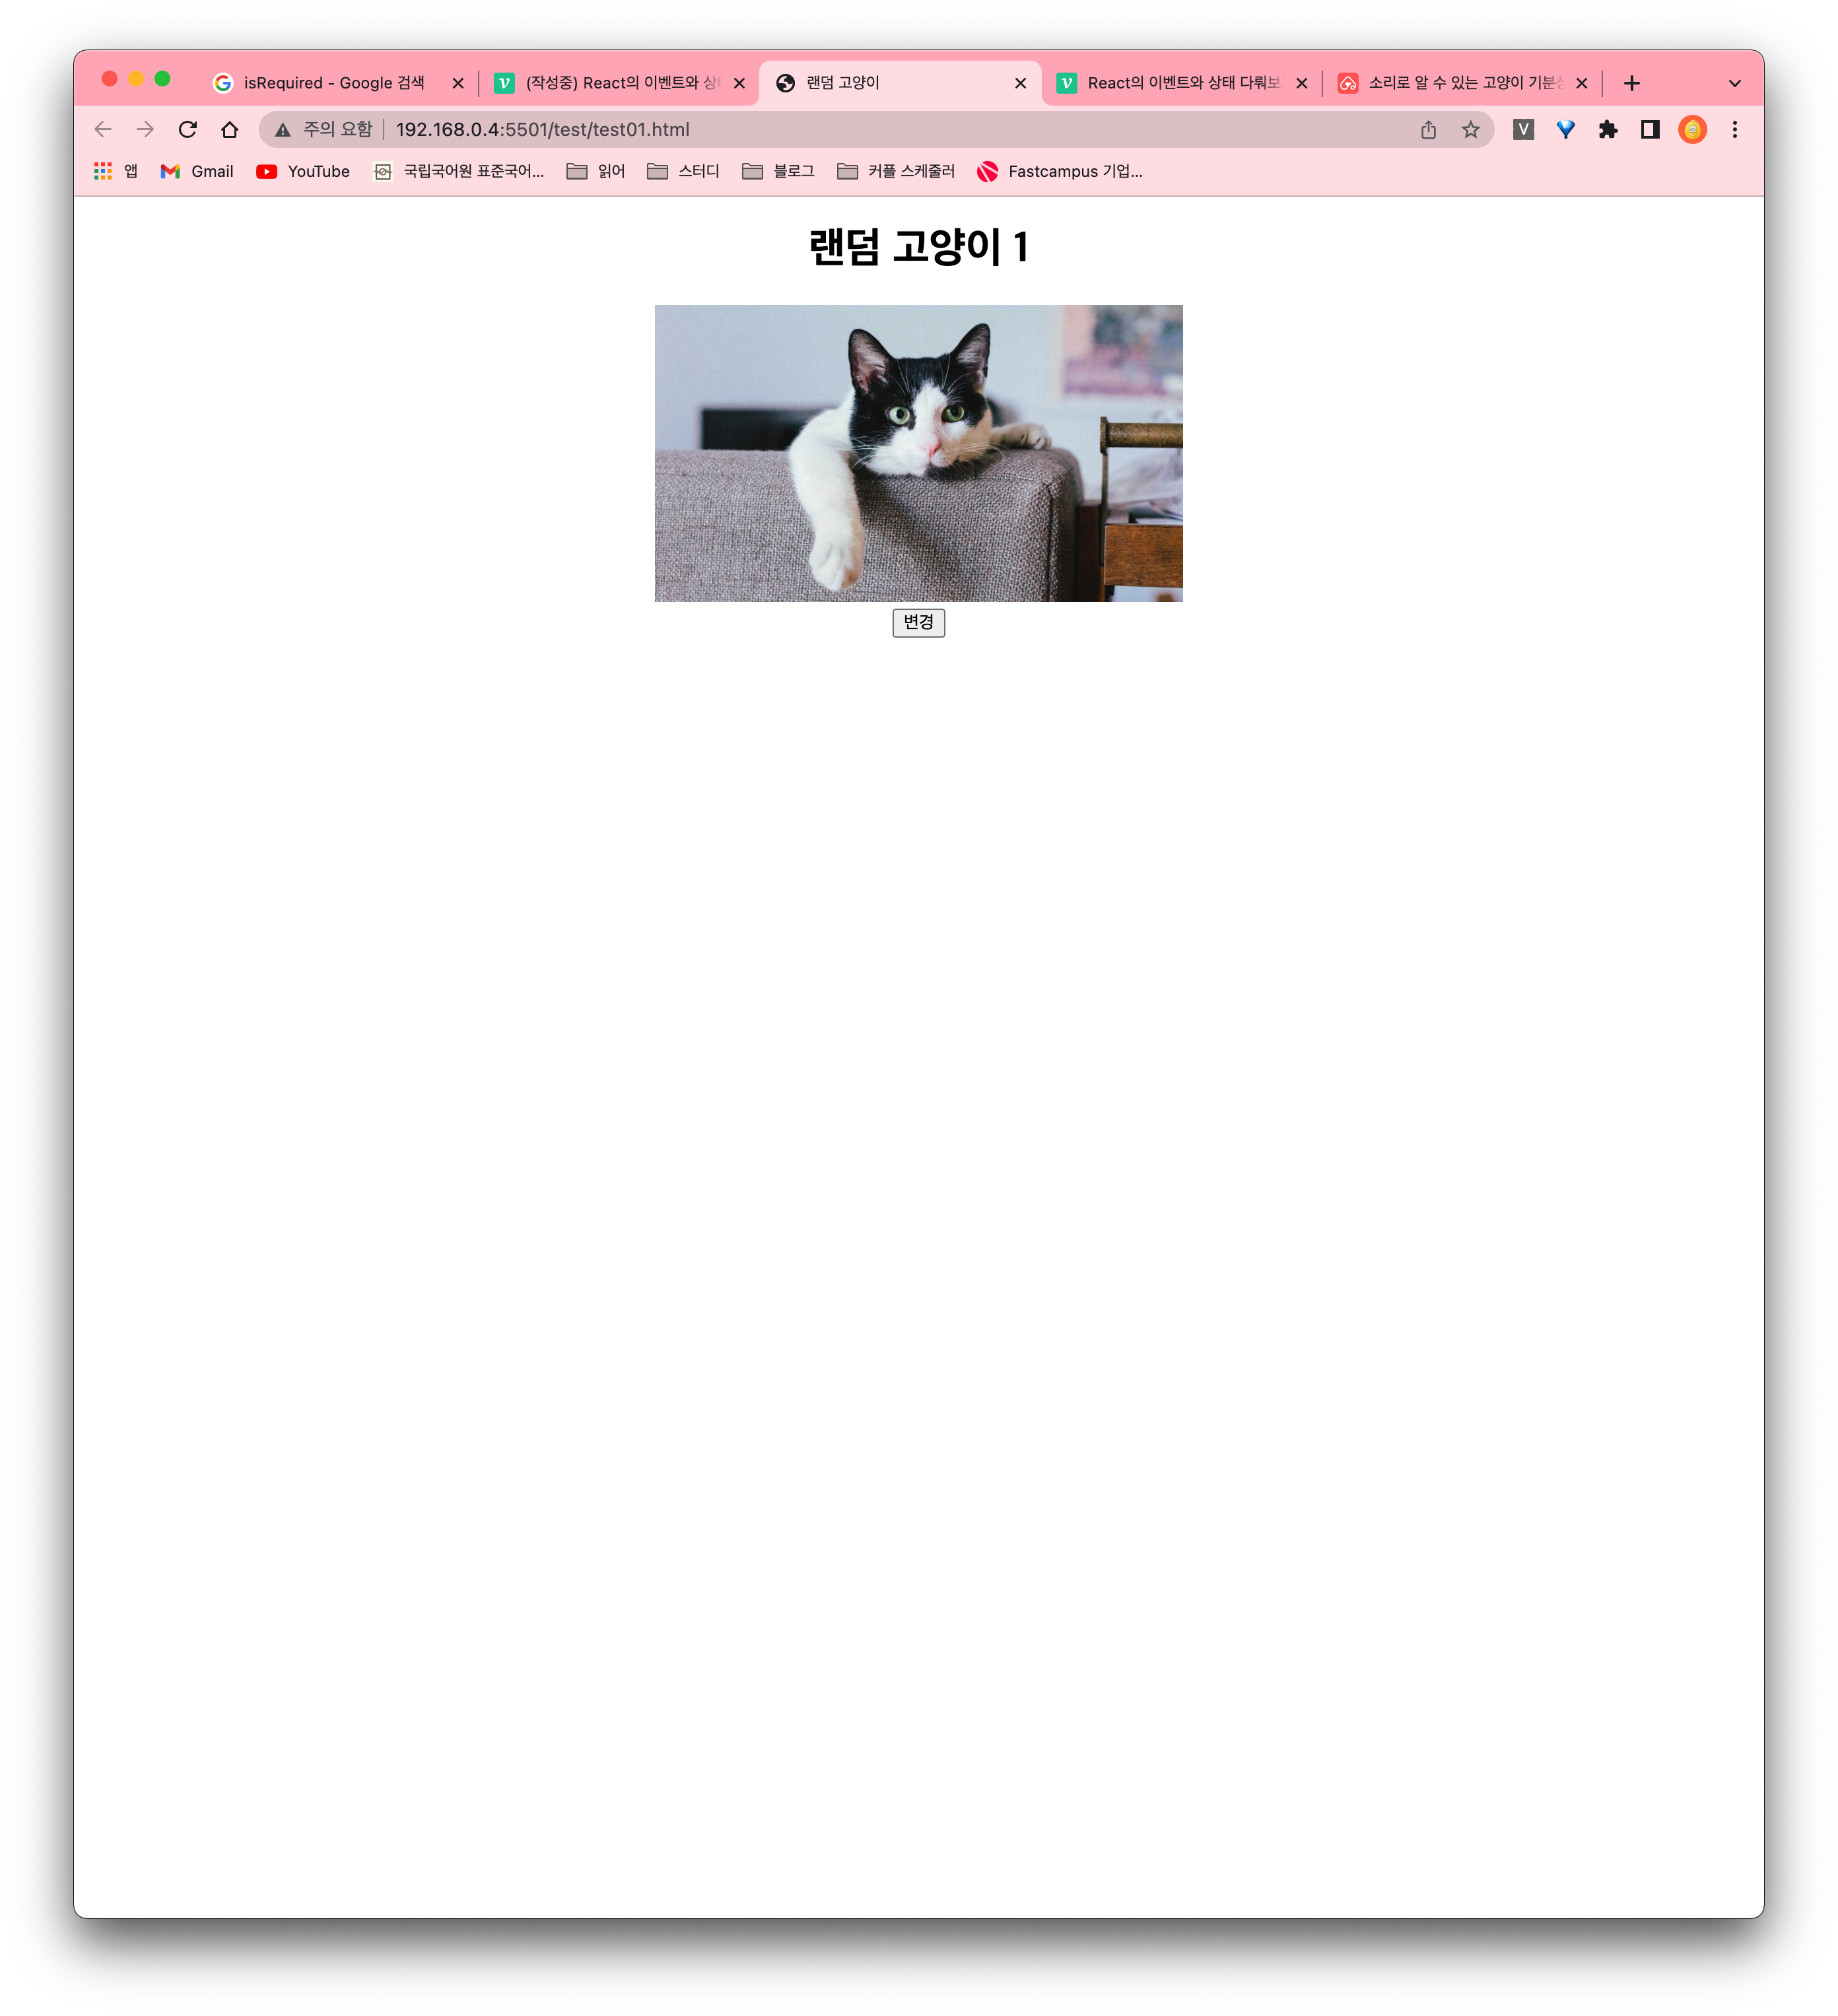
| 실행화면
setCatImg("https://static.independent.co.uk/2021/06/16/08/newFile-4.jpg?width=982&height=726&auto=webp&quality=75");
원래는 setCatimg에 직접 url을 지정하여 다른 사진으로 바뀌게 했었다.
사진 배열을 만들면 되겠다 싶었는데, 괜찮은 방법이 생각났다!
const App = () => {
  // 사진 url을 변수로 지정
  const cat1 =
          "https://media.npr.org/assets/img/2021/08/11/gettyimages-1279899488_wide-f3860ceb0ef19643c335cb34df3fa1de166e2761-s1100-c50.jpg";
  const cat2 =
          "https://static.independent.co.uk/2021/06/16/08/newFile-4.jpg?width=982&height=726&auto=webp&quality=75";
  const cat3 =
          "https://s3.ap-northeast-2.amazonaws.com/elasticbeanstalk-ap-northeast-2-176213403491/media/magazine_img/magazine_280/5-3-1.jpg";

  // 사진 url 변수들을 모은 배열 cats 생성
  const cats = [cat1, cat2, cat3];
  const [counter, setCounter] = React.useState(1);
  const [catImg, setCatImg] = React.useState(
          "https://media.npr.org/assets/img/2021/08/11/gettyimages-1279899488_wide-f3860ceb0ef19643c335cb34df3fa1de166e2761-s1100-c50.jpg"
        );
  function handleButtonClick() {
    console.log(counter, "번째 지나감");
    setCounter(counter + 1);
    console.log("냥");
    // 배열 cats 사용
    setCatImg(cats[counter]);
  }

  return (
    <div>
      <Title>랜덤 고양이 {counter}</Title>
      <CatImg img={catImg} />
      <Button handleButtonClick={handleButtonClick} />
    </div>
  )  }  const 여기다가그려 = document.querySelector("#app")  ReactDOM.render(<App />, 여기다가그려);
사진의 url을 변수로 만들어서 cats라는 이름을 가진 배열에 담았다.
counter 는 버튼을 누르면 숫자가 올라가는 역할을 맡고 있다. cats 배열도 버튼을 누르면 배열의 요소의 숫자가 올라가야 한다.
이걸 엮어서 !
setCatImg(cats[counter])
이렇게 작성해주었다.
| 실행화면
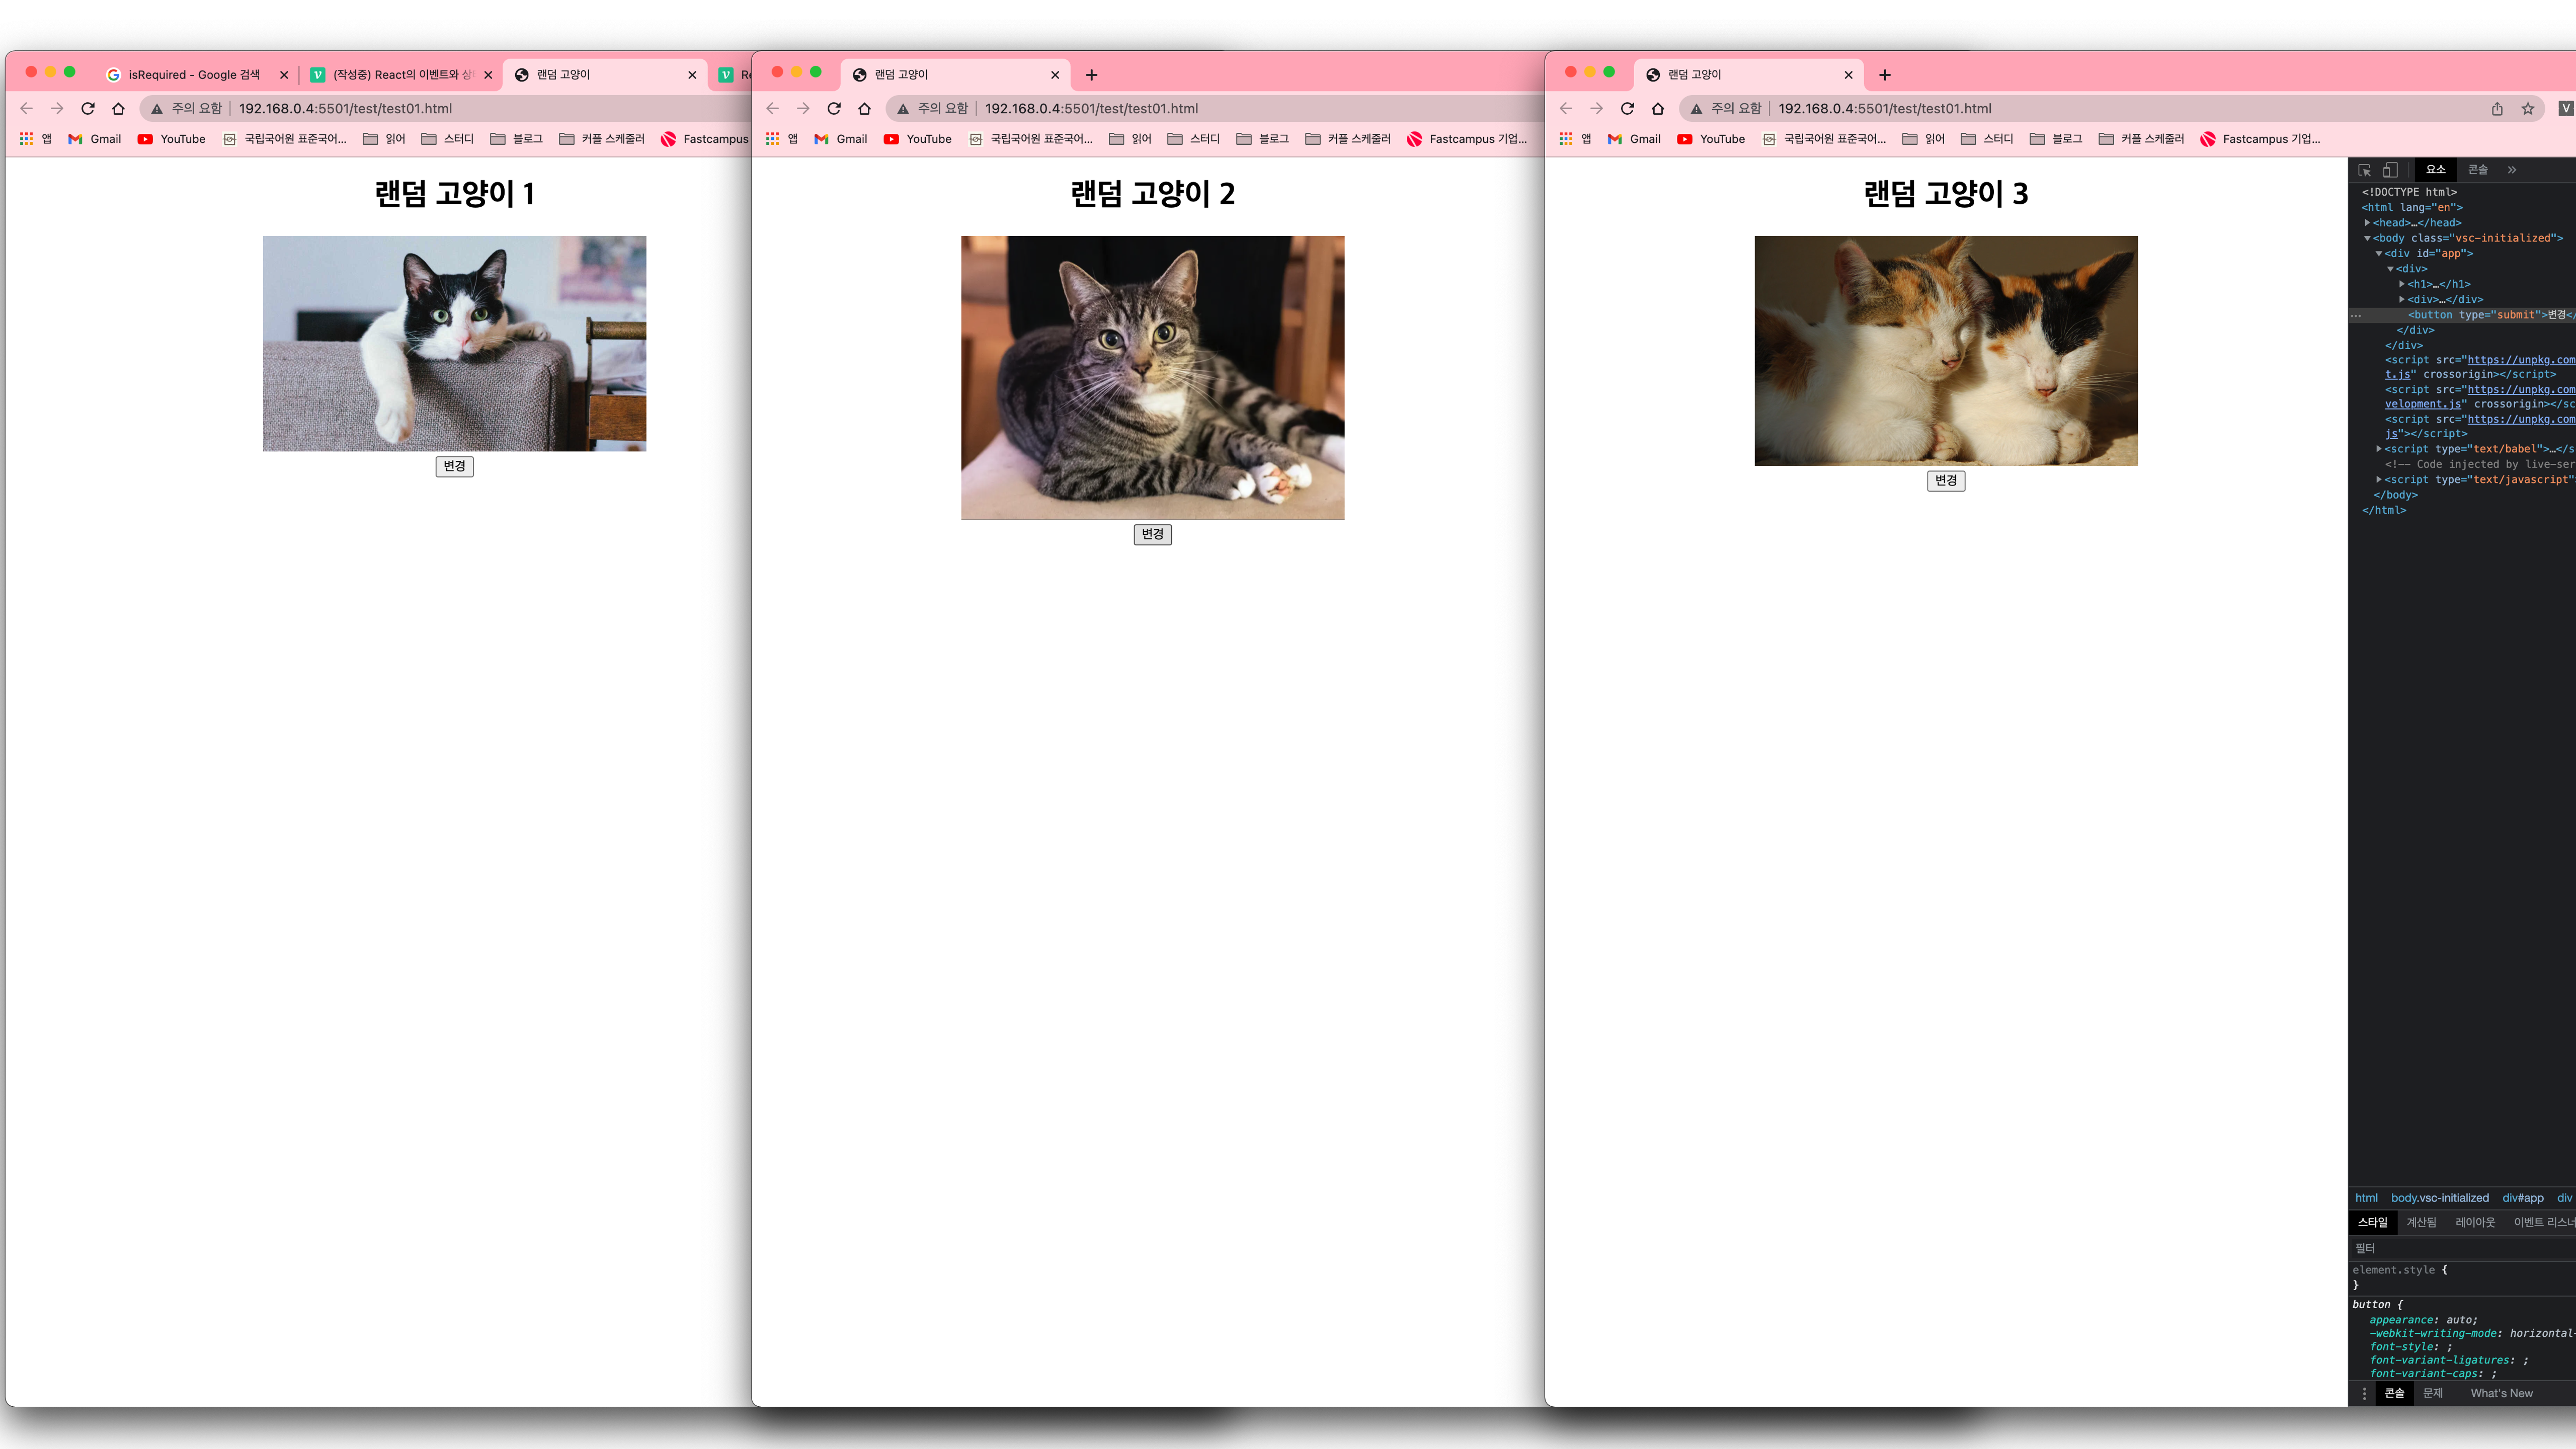
에러없이 고양이 사진이 변경버튼을 누르면 잘 바뀐다.
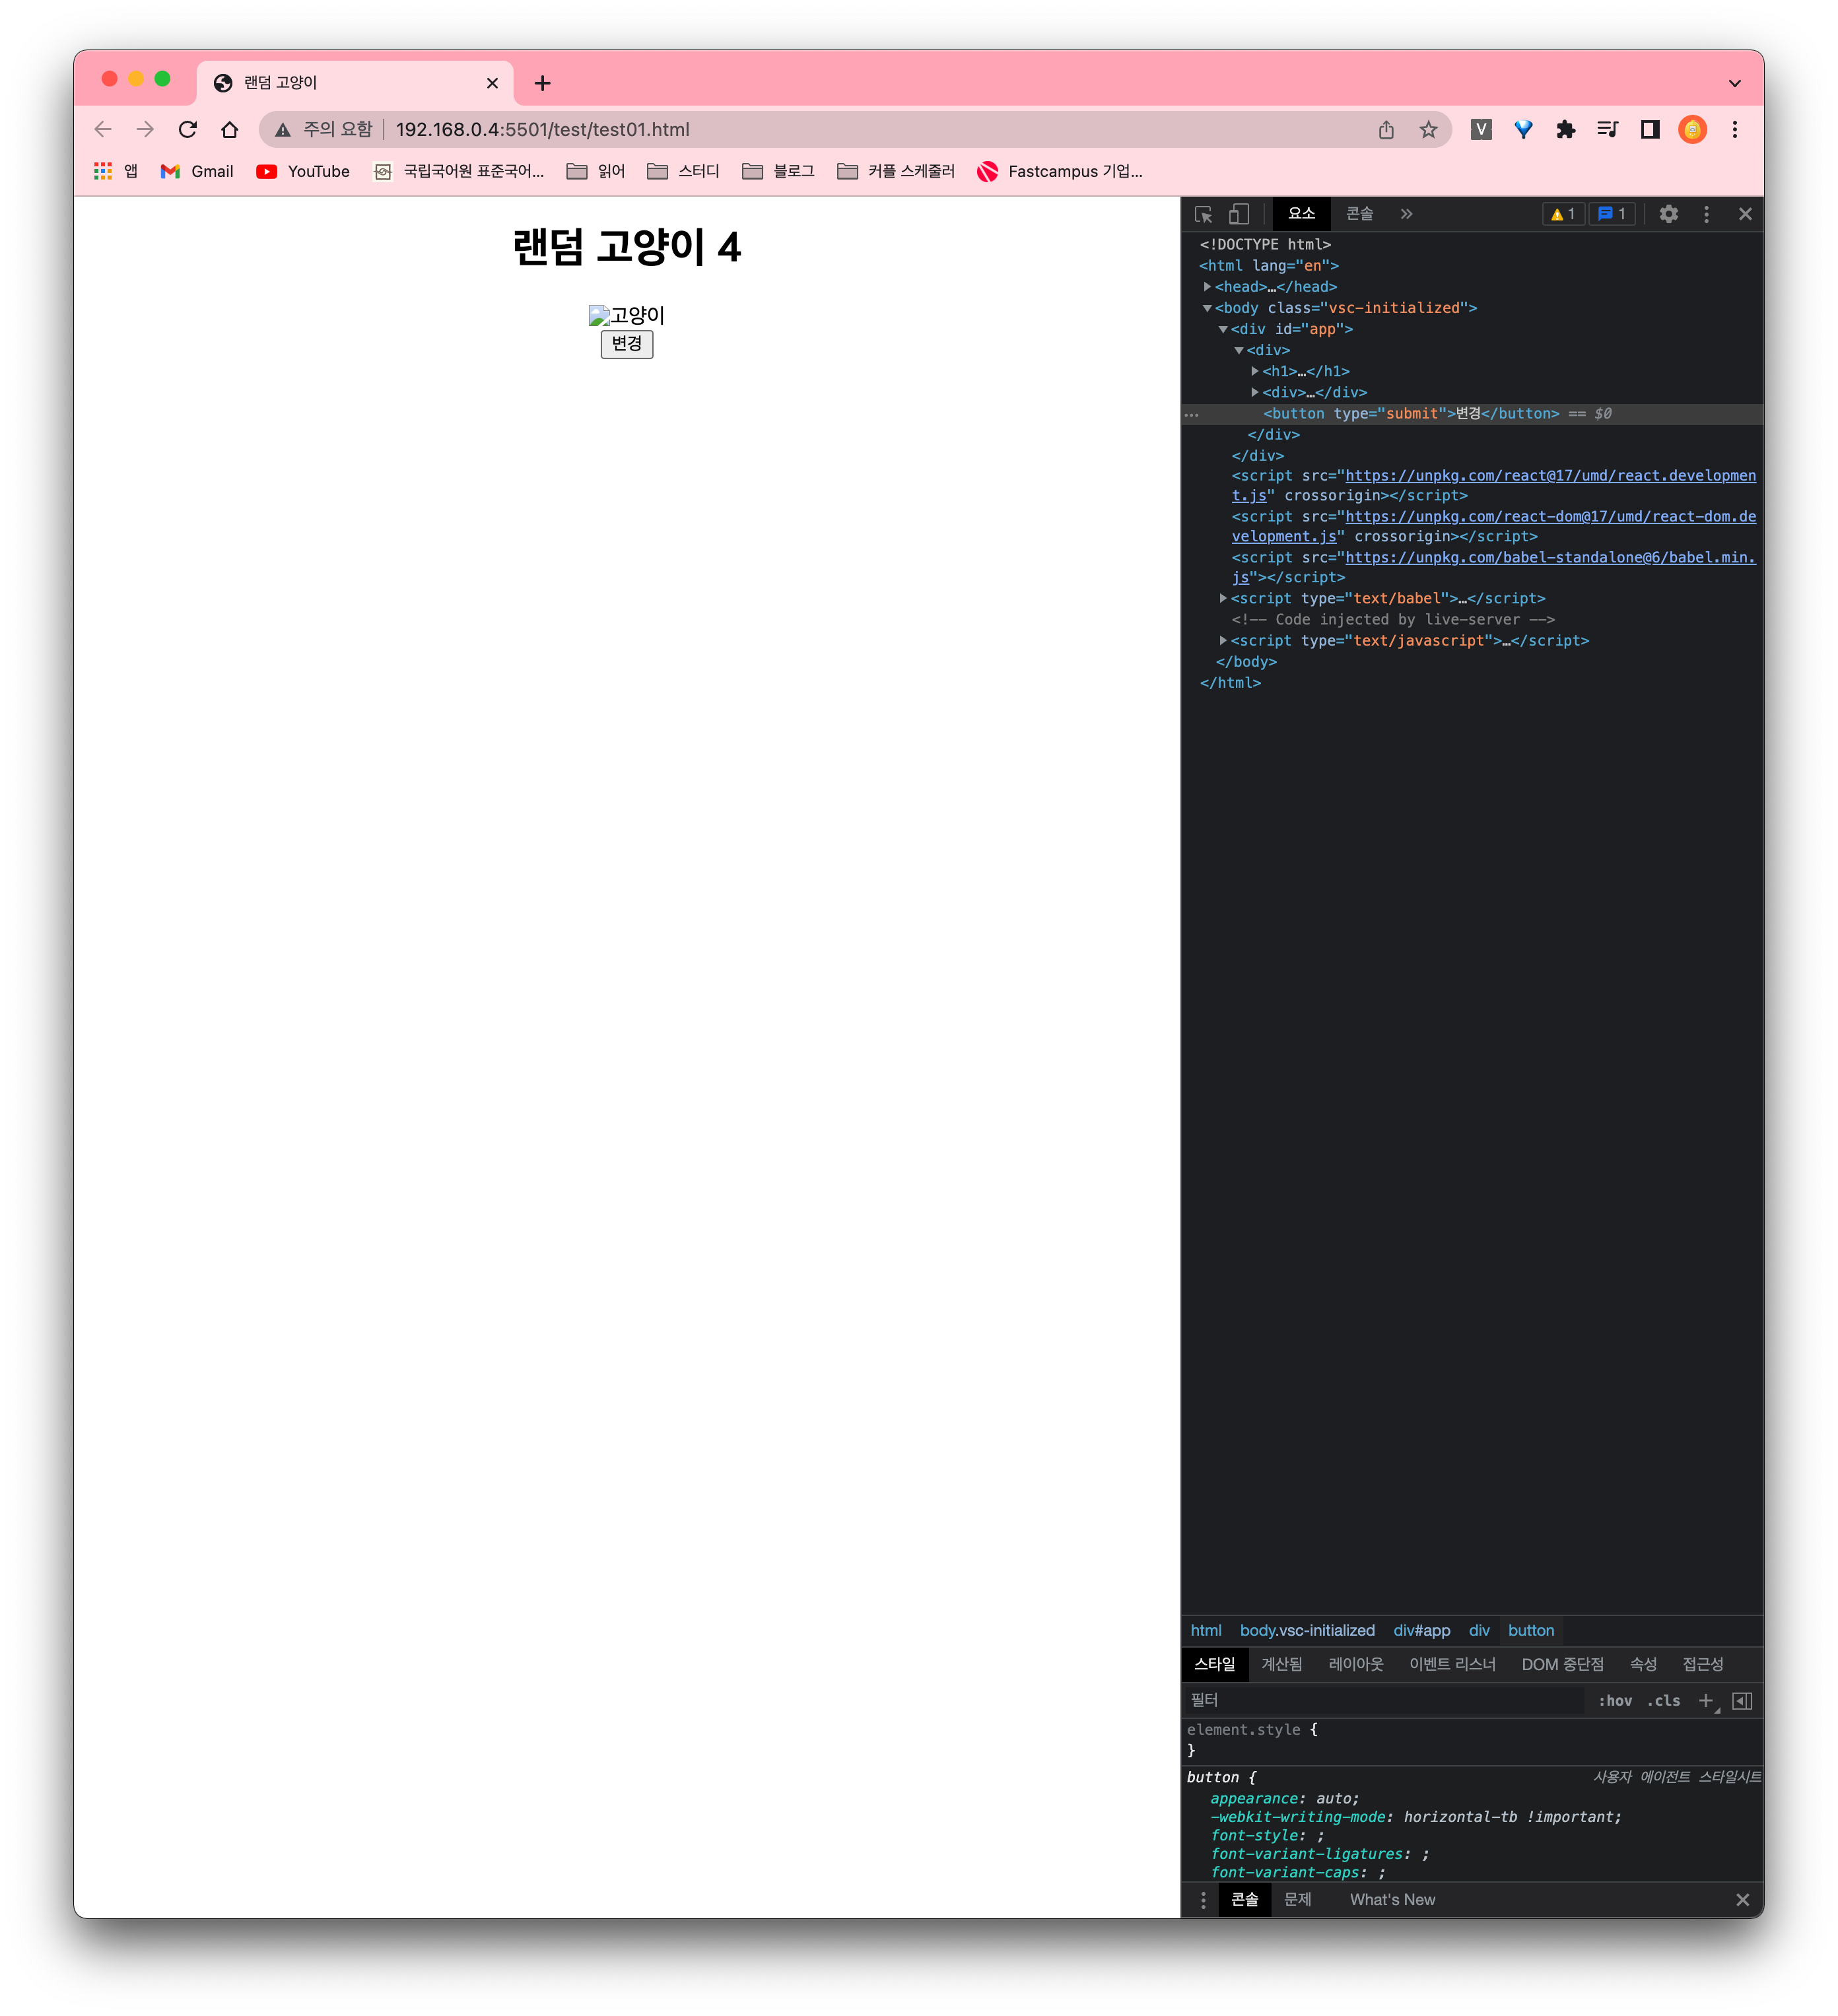
4는 당연히 안 된다. 4에는 고양이 사진이 없기 때문이다..
그래도 고양이 사진 url이 잔뜩 있는 배열에서는 잘 동작할 것이다.
!!! 만약 사진을 더 추가하지 않고 그냥 있는 사진으로만 계속 돌게 하고 싶다면!
setCatImg(cats[counter % cats.length]);
counter 를 cats 배열의 길이로 나누어 주면 된다.
1 % 3 = 1
2 % 3 = 2
3 % 3 = 0
4 % 3 = 1
5 % 3 = 2
6 % 3 = 0
.
.
.
이렇게 배열요소를 꺼내게 되어 있는 사진으로 계속 돌게 된다.
