front end setup
원하는 곳에 my-slack 폴더를 만들고 하위 폴더로 front 폴더를 만듭니다.
제일 처음 해줘야하는 것
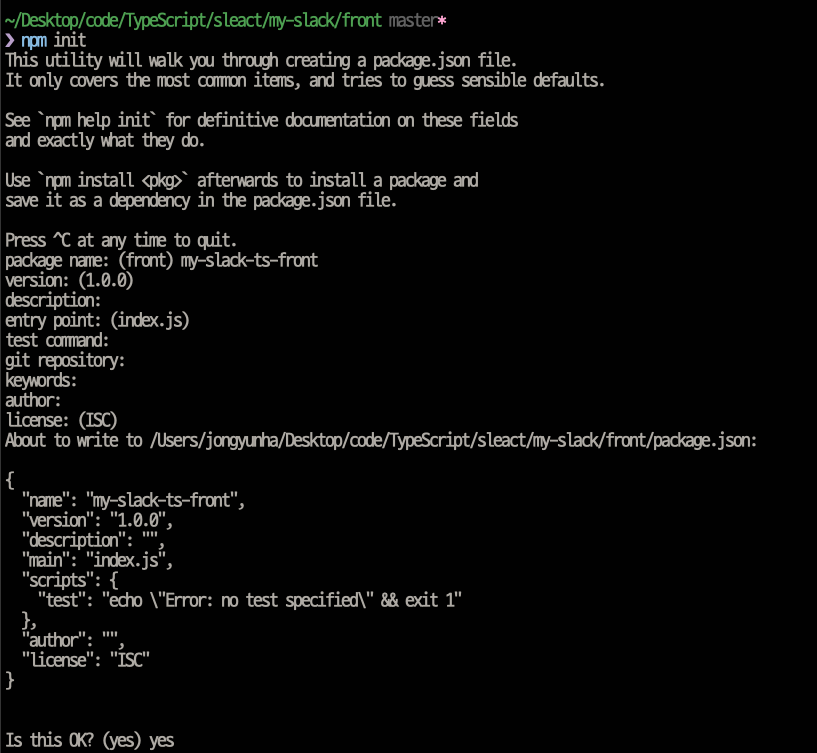
npm init
name 은 웬만하면 npm 에 설치한 패키지와 겹치지 않게 주의!
react로 작업하기 때문에 다음과 같이 설치합니다.
$ npm i react react-domtypescript 도 설치합니다.
$ npm i typescript @types/react @types/react-domeslint 와 prettier setup
$ npm i -D eslint
$ npm i -D prettier eslint-plugin-prettier eslint-config-prettier
eslint 와 prettier 를 연결 해줍니다.
* rc setup
.prettierrc.js
{
  "printWidth": 120,
  "tabWidth": 2,
  "singleQuote": true,
  "trailingComma": "all",
  "semi": true
}
.eslintrc.js
{
  "extends": ["plugin:prettier/recommended"]
}
eslint 의 설정에 따르겠다는 뜻입니다
ts.config setup
{
  "compilerOptions": {
    "esModuleInterop": true,
    "sourceMap": true,
    "lib": ["ES2020", "DOM"],
    "jsx": "react",
    "module": "esnext",
    "moduleResolution": "Node",
    "target": "es5",
    "strict": true,
    "resolveJsonModule": true,
    "baseUrl": ".",
    "paths": {
      "@hooks/*": ["hooks/*"],
      "@components/*": ["components/*"],
      "@layouts/*": ["layouts/*"],
      "@pages/*": ["pages/*"],
      "@utils/*": ["utils/*"],
      "@typings/*": ["typings/*"]
    }
  }
}
ts 파일도 결국 js 파일로 변환이 됩니다.
변환될때 tsconfig 파일을 참고합니다.
babel and webpack setup
import path from 'path';
import ReactRefreshWebpackPlugin from '@pmmmwh/react-refresh-webpack-plugin';
import webpack from 'webpack';
import ForkTsCheckerWebpackPlugin from 'fork-ts-checker-webpack-plugin';
import { BundleAnalyzerPlugin } from 'webpack-bundle-analyzer';

const isDevelopment = process.env.NODE_ENV !== 'production';

const config: webpack.Configuration = {
  name: 'sleact',
  mode: isDevelopment ? 'development' : 'production',
  devtool: !isDevelopment ? 'hidden-source-map' : 'inline-source-map',
  resolve: {
    extensions: ['.js', '.jsx', '.ts', '.tsx', '.json'],
    alias: {
      '@hooks': path.resolve(__dirname, 'hooks'),
      '@components': path.resolve(__dirname, 'components'),
      '@layouts': path.resolve(__dirname, 'layouts'),
      '@pages': path.resolve(__dirname, 'pages'),
      '@utils': path.resolve(__dirname, 'utils'),
      '@typings': path.resolve(__dirname, 'typings'),
    },
  },
  entry: {
    app: './client',
  },
  module: {
    rules: [
      {
        test: /\.tsx?$/,
        loader: 'babel-loader',
        options: {
          presets: [
            [
              '@babel/preset-env',
              {
                targets: { browsers: ['last 2 chrome versions'] },
                debug: isDevelopment,
              },
            ],
            '@babel/preset-react',
            '@babel/preset-typescript',
          ],
          env: {
            development: {
              plugins: [['@emotion/babel-plugin', { sourceMap: true }], require.resolve('react-refresh/babel')],
            },
            production: {
              plugins: ['@emotion/babel-plugin'],
            },
          },
        },
        exclude: path.join(__dirname, 'node_modules'),
      },
      {
        test: /\.css?$/,
        use: ['style-loader', 'css-loader'],
      },
    ],
  },
  plugins: [
    new ForkTsCheckerWebpackPlugin({
      async: false,
      // eslint: {
      //   files: "./src/**/*",
      // },
    }),
    new webpack.EnvironmentPlugin({ NODE_ENV: isDevelopment ? 'development' : 'production' }),
  ],
  output: {
    path: path.join(__dirname, 'dist'),
    filename: '[name].js',
    publicPath: '/dist/',
  },
  devServer: {
    historyApiFallback: true,
    port: 3090,
    publicPath: '/dist/',
    proxy: {
      '/api/': {
        target: 'http://localhost:3095',
        changeOrigin: true,
        ws: true,
      },
    },
  },
};

if (isDevelopment && config.plugins) {
  config.plugins.push(new webpack.HotModuleReplacementPlugin());
  config.plugins.push(new ReactRefreshWebpackPlugin());
  config.plugins.push(new BundleAnalyzerPlugin({ analyzerMode: 'server', openAnalyzer: false }));
}
if (!isDevelopment && config.plugins) {
  config.plugins.push(new webpack.LoaderOptionsPlugin({ minimize: true }));
  config.plugins.push(new BundleAnalyzerPlugin({ analyzerMode: 'static' }));
}

export default config;
webpack 에 관련된 것들을 설치해줍니다.
npm i -D webpack @babel/core babel-loader @babel/preset-reactwebpack, node, babel에 타입을 입혀주기 위하여 다음과 같이 설치합니다.
npm i -D @types/webpack @types/node @babel/preset-typescriptcss 를 처리해주기 위해서 설치합니다.
npm i style-loader css-loaderwebpack 이 html까지는 만들어주지 않습니다!
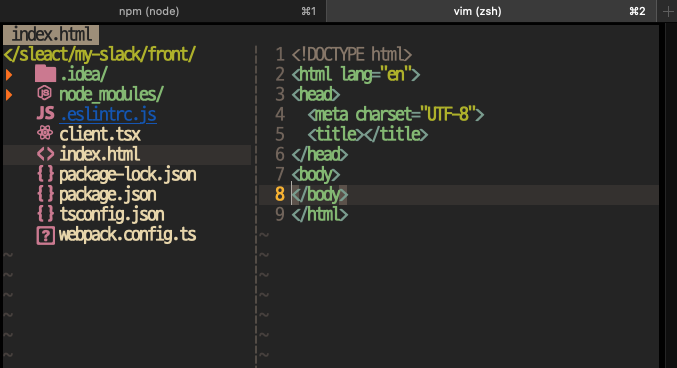
그래서 index.html 파일을 front 폴더에 만들어줍니다!
touch index.html
아주 예쁘게 세팅이 되어가고 있는 모습 흐뭇
코드가 너무 길거나 빠져있는 코드들은 맨마지막에 github주소를 링크 를 참고하시면 됩니다!
webpack을 실행하는 명령어는
$ npx webpacknpx 로 실행하게 되면 local 로 실행합니다.
npm i webpack -g전역으로 설치하고 전역으로 실행하기 (요즘 추세는 local)
지금 상태에서 npx webpack 하게되면 에러가 발생합니다.
tsconfig-for-webpack-configs.json
파일을 생성합니다.
 {
  "compilerOptions": {
    "module": "commonjs",
    "moduleResolution": "Node",
    "target": "es5",
    "esModuleInterop": true
  }
}
다음의 내용을 넣어줍니다.
다음과 같은 설정들은 webpack 공식문서를 참고 했습니다.
TS_NODE_PROJECT=\"tsconfig-for-webpack-config.json" webpack다음과 같은 명령어로 아까의 webapck 을 실행합니다.
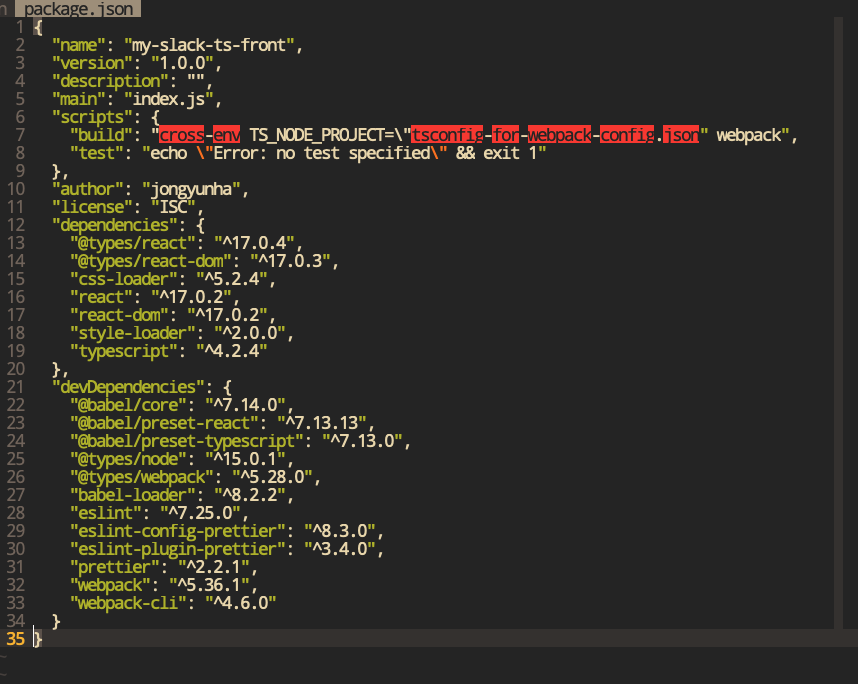
항상 이 긴 명령어를 외우고 다닐순 없으니 package.json 파일에 등록합니다.

windows 에서는 명령어가 실행되지 않기 때문에 cross-env 를 적어줘야 합니다.
그리고 cross-env 를 설치합니다.
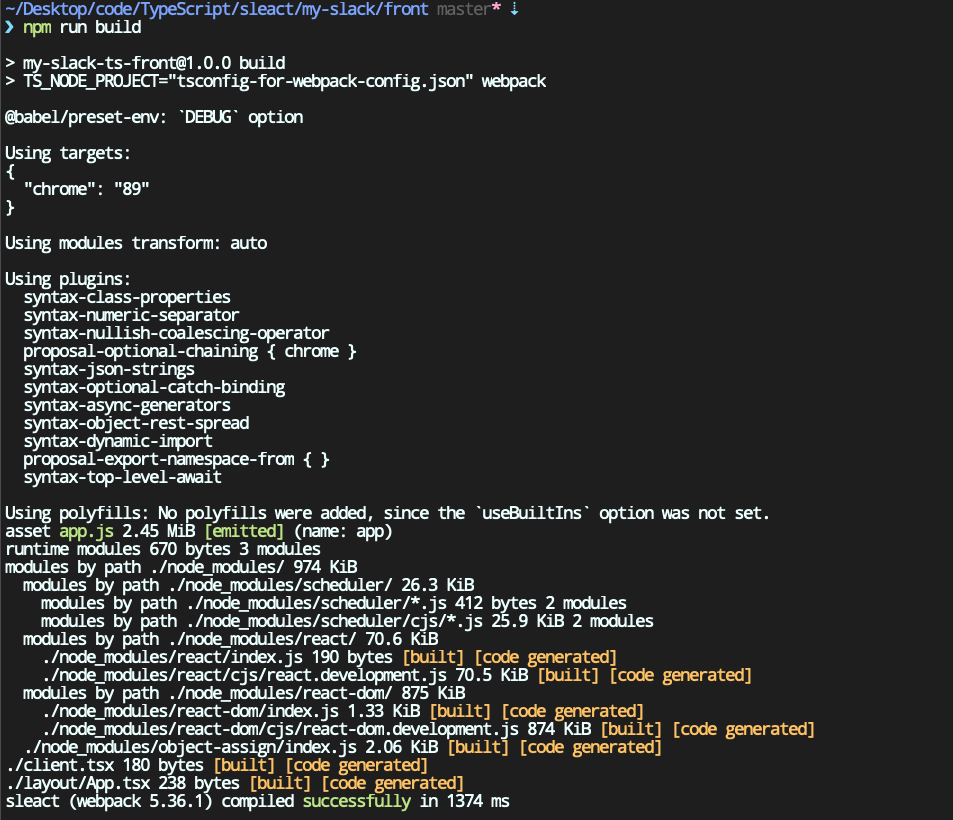
$ npm i cross-env$ npm run build를 하게되면
ts node 가 없다고 에러를 띄웁니다.
$ npm i ts-node설치합니다.

설치가 잘 되지 않고 에러가 난다면 해당 모듈이 설치가 되어있지 않아서 나는 에러니 npm i 로 설치하면됩니다.
그리고 index.html 을 실행하면 hello world 를 보실수 있습니다.
github 코드를 참고하세요
slack-hommage


