ETL, Google sheet 연동
Account 생성
- 새 프로젝트 생성 : https://console.cloud.google.com/welcome

- 구글 스프레드시트 API 활성화
: https://console.cloud.google.com/apis/library/sheets.googleapis.com - API 및 서비스 > 사용자 인증정보 > 서비스 계정 생성

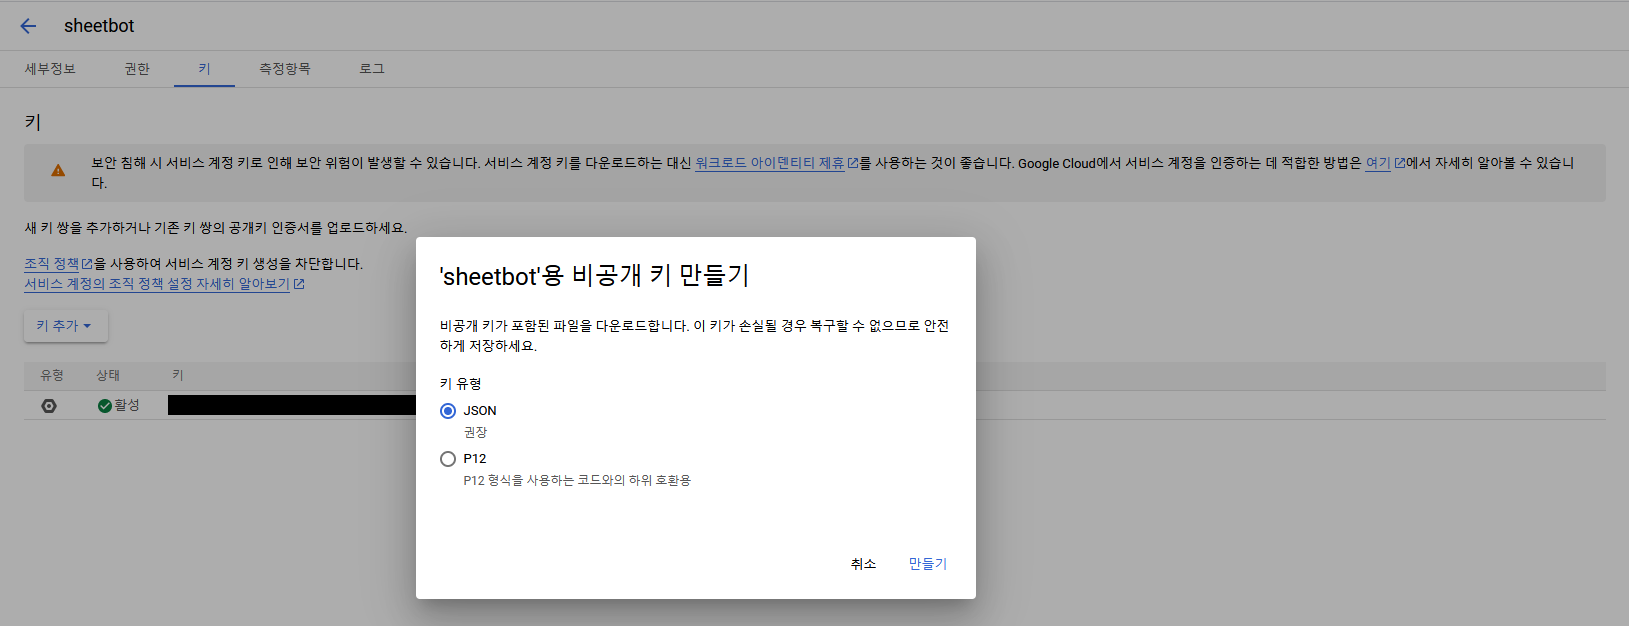
- 비공개 키 생성하기 : 생성한 서비스 계정에 들어가 키를 JSON 형태로 추가한다.
- Airflow Variable 설정 : 생성한 파일의 값들을 복사해서 Airflow Variable로 설정한다.
- Encrypted 설정 : secret, password, passwd, authorization, api_key, apikey, access_token 키워드 삽입.

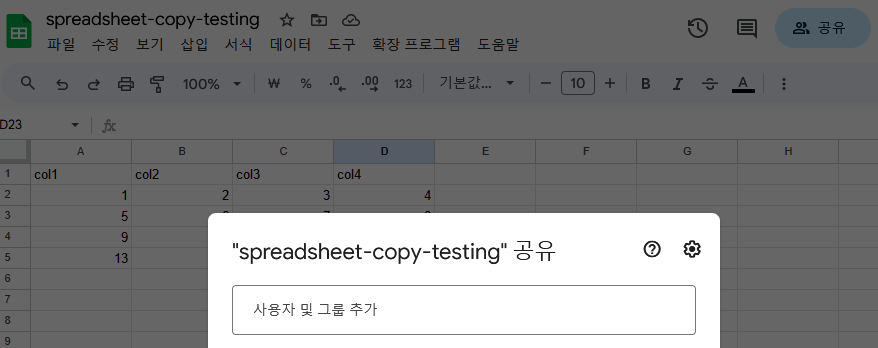
- 서비스 계정에 sheet 권한 부여 : 공유 기능을 활용해서 서비스 계정에 시트를 공유한다.
코드 수행 (sheet ⇒ Redshift)
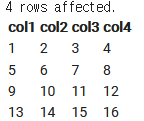
- 테이블 생성하기 : Redshift에 실습용 테이블을 생성해주었다.
CREATE TABLE my_schema.spreadsheet_copy_testing (
    col1 int,
    col2 int,
    col3 int,
    col4 int
);- 테스트 DAG 수행 : airflow scheduler에 들어가 dag test를 수행하였다.
a. scheduler shell 접속
b.airflow dags test Gsheet_to_Redshift 2023-12-12
c. Redshift에 접속해 결과 확인하기SELECT * FROM my_schema.spreadsheet_copy_testing;
코드 수행 (Redshift ⇒ sheet)
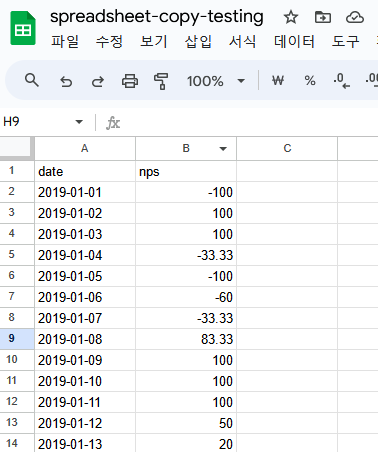
- 동일 시트에 새로운 탭 생성 (RedshiftToSheet)
- Redshift의 데이터를 Select 한 sql 결과를 복사.
API
API 활성화
- airflow.cfg의 api에서 auth_backend 값 변경하기
:auth_backend = airflow.api.auth.backend.basic_auth - docker-compose.yaml에는 이미 설정되어있다.
:AIRFLOW__API__AUTH_BACKENDS: ‘airflow.api.auth.backend.basic_auth,airflow.api.auth.backend.session’
⇒ airflow.cfg에있는 값을 오버라이팅한다. (__를 활용) - api용 User 생성하기
- Security > List Users > +
- 사용자 정보 추가
[참고]
airflow UI나 api에 대한 접근은 VPN을 이용하여 액세스하는 방법이 좋다.
api전용 UID생성하는 것이 좋다.
ex) 사용 예시들
- /health API 호출하기 :
curl -X GET --user "user_name" http://localhost:8080/health1111- 정상 응답의 경우 JSON 형태로 응답된다.
- API 레퍼런스
- 특정 DAG를 API로 Trigger하기
- execution_date를 보내주어야하기 떄문에 POST로 전송해야한다.
cur -X POST --user "airflow:airflow" -H 'Content-Type: application/json' -d '{"execution_date":"2023-05-24T00:00:00Z"}'"http://localhost:8080/api/vi/dags/{dag_id}/dagRuns"
- 모든 DAG 리스트하기 : `
curl -X GET --user "airflow:airflow" http://localhost:8080/api/v1/dags - 모든 Variable 리스트하기 :
curl -X GET --user "airflow:airflow" http://localhost:8080/api/v1/variables - 모든 Config 리스트하기 :
curl -X GET --user "airflow:airflow" http://localhost:8080/api/v1/config- 숙제 config 권한 오버라이딩하기
- 참고) python으로 실행 시에는 request 모듈을 사용하여 진행하기
import requests
from requests.auth import HTTPBasicAuth

url = "http://localhost:8080/api/vi/dags"

dags = requests.get(url, auth=HTTPBasicAuth("airflow","airflow"))
print(dags.text) # dags.json()- HTTPBasicAuth
: 사용자 이름과 비밀번호를 Authorization 헤더에 포함하는 방식으로 동작한다.
Variables & Connections Import/Export
: web UI에 보이는 것들만 다음 명령을 통해서 볼 수 있다.
airflow variables export variables.json
airflow variables import variables.json
airflow connections export connections.json
airflow connections import connections.json