1. 새로운 expo 프로젝트 만들기
npx create-expo-app AwesomeProject

cd AwesomeProject
npx expo start
2. 웹뷰 라이브러리 설치하기
npx expo install react-native-webview
3. 웹뷰 표시
아래와 같이 코드를 작성한다.
source에는 웹뷰로 표시할 url을 넣으면 된다.
import * as React from 'react';
import { WebView } from 'react-native-webview';
import { StyleSheet } from 'react-native';
import Constants from 'expo-constants';

export default function App() {
  return (
    <WebView
      style={styles.container}
      source={{ uri: 'https://expo.dev' }}
    />
  );
}

const styles = StyleSheet.create({
  container: {
    flex: 1,
    marginTop: Constants.statusBarHeight,
  },
});
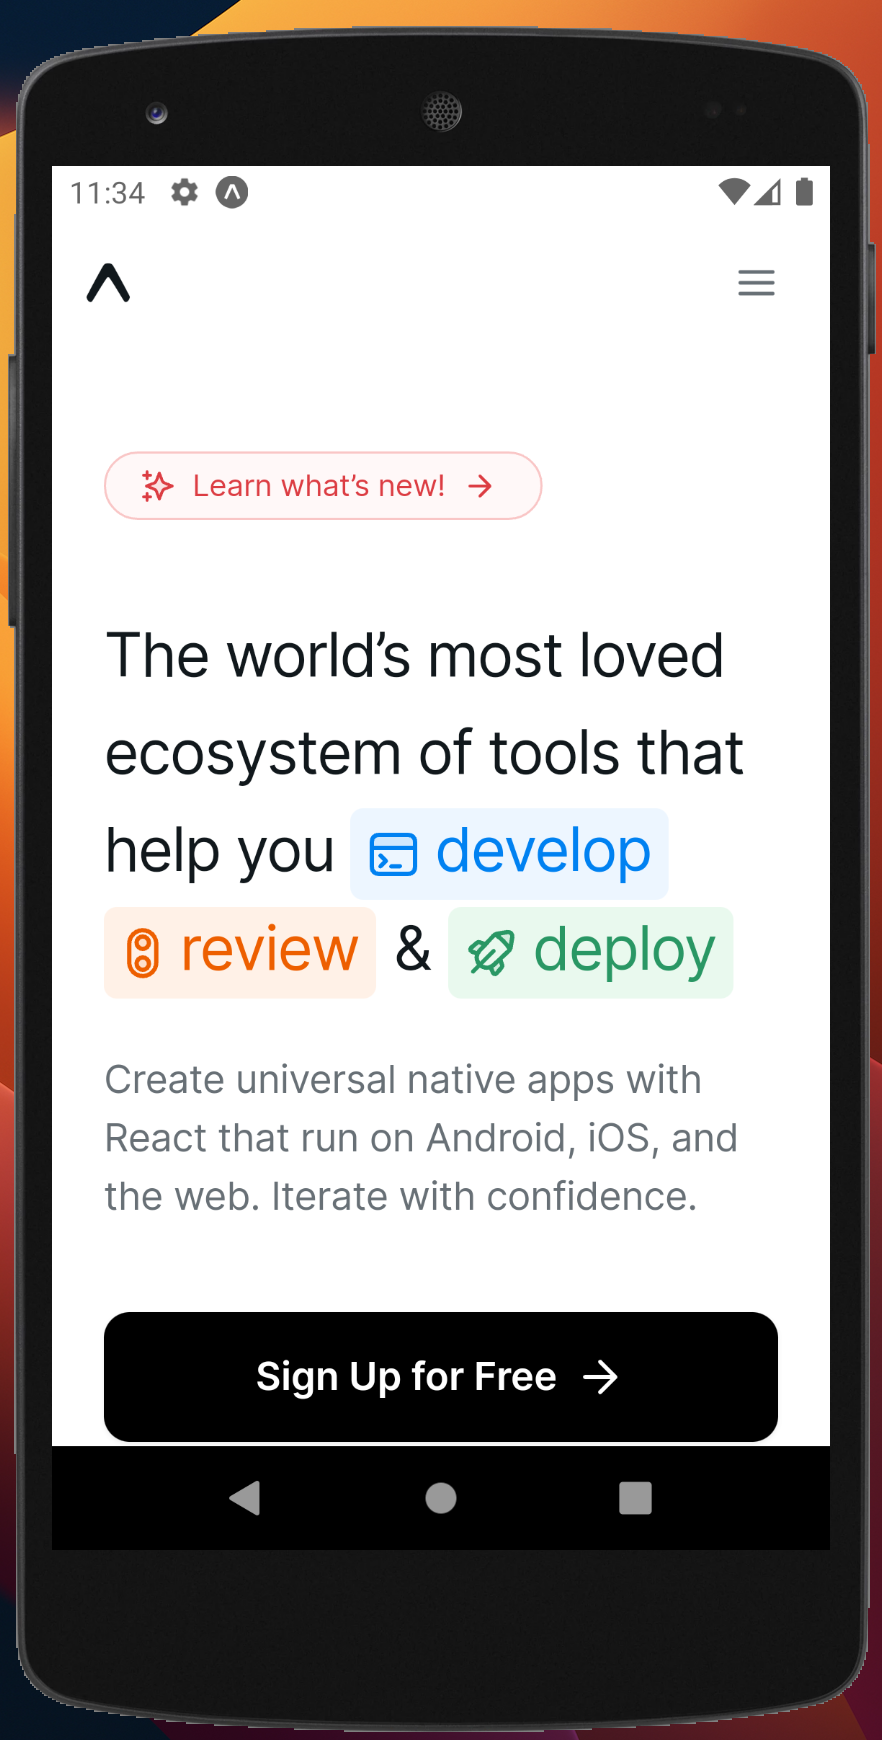
아래처럼 https://expo.dev 웹페이지가 웹뷰로 표시된다.
4. 모바일 탐색 제스쳐 및 버튼 추가
iOS에서는 앞으로/뒤로 스와이프 제스처, Android에서는 하드웨어 뒤로 버튼/제스처 등 기존 모바일 페이지 탐색 기능을 사용할 수 있게 다음과 같이 코드를 작성한다.
ios
iOS의 경우 allowsbackforwardnavigationgestures props를 사용한다.
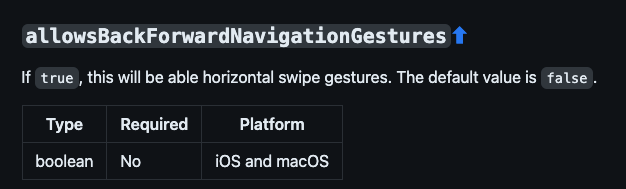
<WebView
  allowsbackforwardnavigationgestures={true}
/>
안드로이드
안드로이드의 경우 useRef, useEffect를 사용해야 한다.
아래와 같이 코드를 작성한다.
import React, {
    useEffect,
    useRef,
} from 'react';
import {
    BackHandler,
    Platform,
} from 'react-native';

const webViewRef = useRef(null);
const onAndroidBackPress = () => {
  if (webViewRef.current) {
    webViewRef.current.goBack();
    return true; // prevent default behavior (exit app)
  }
  return false;
};

useEffect(() => {
  if (Platform.OS === 'android') {
    BackHandler.addEventListener('hardwareBackPress', onAndroidBackPress);
    return () => {
      BackHandler.removeEventListener('hardwareBackPress', onAndroidBackPress);
    };
  }
}, []);
위 코드를 webview 구성요소에 추가한다
<WebView
  ref={webViewRef}
/>
5. 필요한 속성 추가
- startInLoadingState={true} : 웹뷰가 페이지를 로드하는 동안 로딩 상태를 표시할지 여부를 결정
- javaScriptEnabled={true} : 웹뷰에서 JavaScript 활성화 여부. 웹 페이지가 JavaScript로 동작하는 경우에는 이 속성을 활성화해야 함
- mixedContentMode="compatibility" : 웹뷰에서 혼합 콘텐츠(안전하지 않은 HTTP 콘텐츠)를 허용할지 여부를 결정
6. 출처

문제를 해결하고 가치를 제공합니다