1. 홈스크린 UI 생성하기
SafeAreaView
SafeAreaView 태그를 넣어 상단바가 겹치지 않게 한다
const Home = () => {
  return (
    <SafeAreaView>
      <Text>Home</Text>
    </SafeAreaView>
  );
};
상단바 변경하기
const Home = () => {
  return (
    <SafeAreaView>
      <StatusBar backgroundColor="white" barStyle="dark-content" />
    </SafeAreaView>
  );
};
변경 전
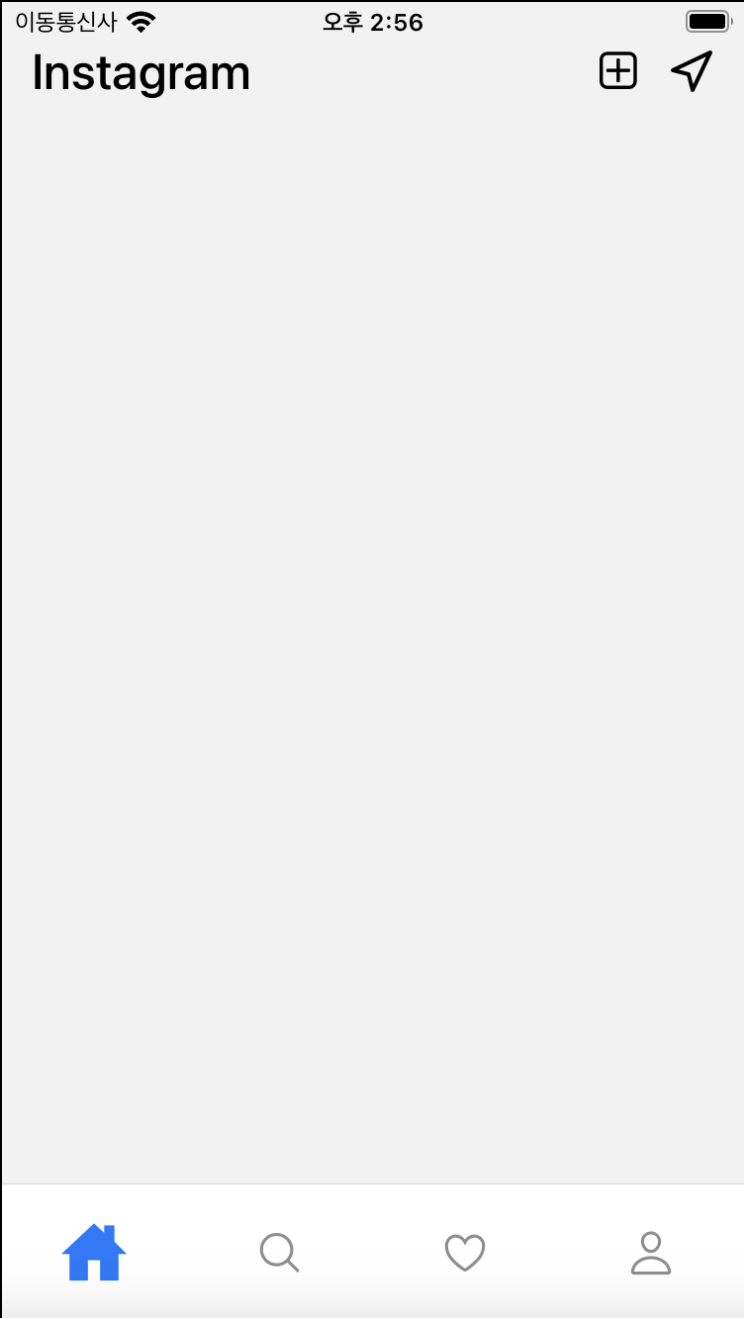
변경 후

.eslintrc.js
인라인으로 스타일코드를 작성하면 아래 노란 줄이 쳐진다.
이 부분을 없애기 위해 코드를 추가한다
module.exports = {
  root: true,
  extends: '@react-native-community',
  rules: {
    'prettire/prettire': 0,
    'react-native/no-inline-styles': 0, // 이부분 추가
  },
};
Home.js 코드 추가
import FontAwesome from 'react-native-vector-icons/FontAwesome';
import Feather from 'react-native-vector-icons/Feather';

const Home = () => {
  return (
    <SafeAreaView>
      <StatusBar backgroundColor="white" barStyle="dark-content" />
      <View
        style={{
          justifyContent: 'space-between',
          flexDirection: 'row',
          paddingHorizontal: 15,
          alignItems: 'center',
        }}>
        <Text style={{fontSize: 25, fontWeight: '500'}}>Instagram</Text>

        <View
          style={{
            justifyContent: 'space-between',
            flexDirection: 'row',
            alignItems: 'center',
          }}>
          <FontAwesome
            name="plus-square-o"
            style={{fontSize: 24, paddingHorizontal: 15}}
          />
          <Feather name="navigation" style={{fontSize: 24}} />
        </View>
      </View>
      {/* <ScrollView></ScrollView> */}
    </SafeAreaView>
  );
};
2. 스크린 UI 생성하기
Stories 컴포넌트 만들고 home.js에 넣어주기
<ScrollView>
   <Stories />
</ScrollView>
Stories.js에서 가로 스크롤 만들기
<ScrollView
      horizontal={true}
      showHorizontalScrollIndicator={false}
      style={{paddingVertical: 20}}>
      <Text>Stories</Text>
</ScrollView>
이미지 배열 변수 만들기
const storyInfo = [
    {
      id: 1,
      name: '나의 스토리',
      image: require('../../assets/images/userProfile.jpeg'),
    },
    {
      id: 2,
      name: 'john',
      image: require('../../assets/images/profile1.jpeg'),
    },
    {
      id: 3,
      name: 'tonny',
      image: require('../../assets/images/profile2.jpeg'),
    },
    {
      id: 4,
      name: 'daniel',
      image: require('../../assets/images/profile3.jpeg'),
    },
    {
      id: 5,
      name: 'suzy',
      image: require('../../assets/images/profile4.jpeg'),
    },
    {
      id: 6,
      name: 'jaeho',
      image: require('../../assets/images/profile5.jpeg'),
    },
  ];
UI 코드 작성하기
 <ScrollView
      horizontal={true}
      showHorizontalScrollIndicator={false}
      style={{paddingVertical: 20}}>
      {storyInfo.map((data, index) => {
        return (
          <TouchableOpacity key={index}>
            <View
              style={{
                flexDirection: 'column',
                paddingHorizontal: 8,
                position: 'relative',
              }}>
              {data.id === 1 ? (
                <View
                  style={{
                    position: 'absolute',
                    bottom: 15,
                    right: 10,
                    zIndex: 1,
                  }}>
                  <Entypo
                    name="circle-with-plus"
                    style={{
                      fontSize: 20,
                      color: '#405de6',
                      backgroundColor: 'white',
                      borderRadius: 10,
                      overflow: 'hidden',
                    }}
                  />
                </View>
              ) : null}
              <View
                style={{
                  width: 68,
                  height: 68,
                  backgroundColor: 'white',
                  borderWidth: 1.8,
                  borderRadius: 100,
                  justifyContent: 'center',
                  alignItems: 'center',
                  borderColor: '#c13584',
                }}>
                <Image
                  source={data.image}
                  style={{
                    resizeMode: 'cover',
                    width: '92%',
                    height: '92%',
                    borderRadius: 100,
                    backgroundColor: 'orange',
                  }}
                />
              </View>
              <Text
                style={{
                  textAlign: 'center',
                  fontSize: 10,
                  opacity: data.id === 0 ? 1 : 0.5,
                }}>
                {data.name}
              </Text>
            </View>
          </TouchableOpacity>
        );
      })}
    </ScrollView>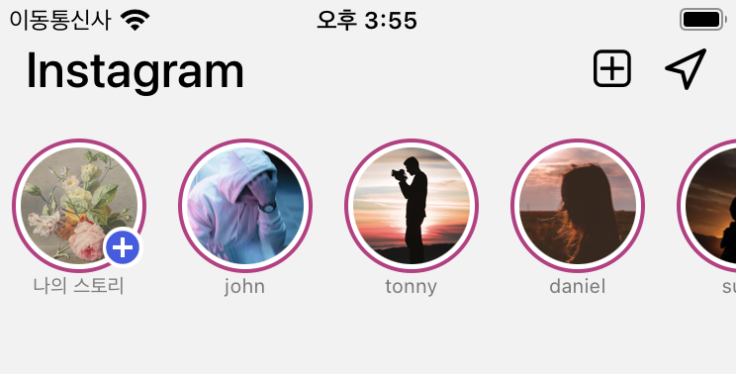
네비게이션 코드 추가
const navigation = useNavigation(); //리턴 전에 네비게이션 추가

<TouchableOpacity
  key={index}
  onPress={() =>
  navigation.push('Status', {name: data.name, image: data.image})
            }>
페이지를 이동할 때 넣어준 부분 {name: data.name, image: data.image} 도 전달할 수 있음
3. status UI 만들기
status 컴포넌트에서 이동해온 데이터 가져오기
const Status = ({ route, navigation }) => {
  const { name, image } = route.params
  return (
    <View>
      <Text>Status</Text>
    </View>
  );
};
status.js 전체 코드
import {
  View,
  Text,
  SafeAreaView,
  StatusBar,
  Image,
  TouchableOpacity,
} from 'react-native';
import React from 'react';
import Ionic from 'react-native-vector-icons/Ionicons';

const Status = ({route, navigation}) => {
  const {name, image} = route.params;
  return (
    <SafeAreaView
      style={{
        backgroundColor: 'black',
        height: '100%',
        justifyContent: 'center',
      }}>
      <StatusBar backgroundColor="black" barStyle="light-content" />
      <View
        style={{
          height: 3,
          width: '95%',
          borderWidth: 1,
          backgroundColor: 'gray',
          position: 'absolute',
          top: 18,
        }}
      />
      <View
        style={{
          padding: 15,
          flexDirection: 'row',
          alignItems: 'center',
          position: 'absolute',
          top: 12,
          left: 0,
          width: '90%',
        }}>
        <View
          style={{
            borderRadius: 100,
            width: 30,
            height: 30,
            justifyContent: 'center',
            alignItems: 'center',
          }}>
          <Image
            source={image}
            style={{
              borderRadius: 100,
              backgroundColor: 'orange',
              resizeMode: 'cover',
              width: '92%',
              height: '92%',
            }}
          />
        </View>
        <View
          style={{
            justifyContent: 'space-between',
            flexDirection: 'row',
            width: '100%',
          }}>
          <Text style={{color: 'white', fontSize: 15, paddingLeft: 10}}>
            {name}
          </Text>
          <TouchableOpacity onPress={() => navigation.goBack()}>
            <Ionic
              name="close"
              style={{fontSize: 20, color: 'white', opacity: 0.6}}
            />
          </TouchableOpacity>
        </View>
      </View>
      <Image
        source={image}
        style={{position: 'absolute', width: '100%', height: 500}}
      />
    </SafeAreaView>
  );
};

export default Status;
뒤로가기 연결
<TouchableOpacity onPress={() => navigation.goBack()}>

문제를 해결하고 가치를 제공합니다