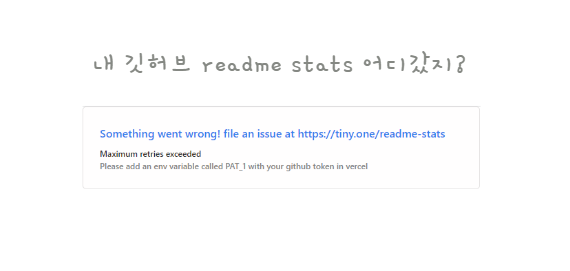
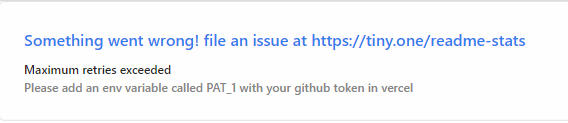
멀쩡하게 쓰던 readme-stat이 갑자기 안보이네?
보니까
개발 초에 했던 거라 vercel배포는 안해뒀을텐데..fork했던 리포지터리 가보자
Deploy on your own
On Vercel
📽️ Check Out Step By Step Video Tutorial By @codeSTACKr
Warning If you are on the hobby (i.e. free) Vercel plan, please make sure you change the maxDuration parameter in the vercel.json file from 30 to 10 (see #1416 for more information).
👩💻필수!! vercel에서 hobby 플랜 (무료)이라면 반드시 vercel.json에서 maxDuration 30 ➡️ 10으로 변경
Since the GitHub API only allows 5k requests per hour, my https://github-readme-stats.vercel.app/api could possibly hit the rate limiter. If you host it on your own Vercel server, then you do not have to worry about anything. Click on the deploy button to get started!
Note Since #58, we should be able to handle more than 5k requests and have fewer issues with downtime 😁.
Deploy to Vercel
🛠️ Step-by-step guide on setting up your own Vercel instance
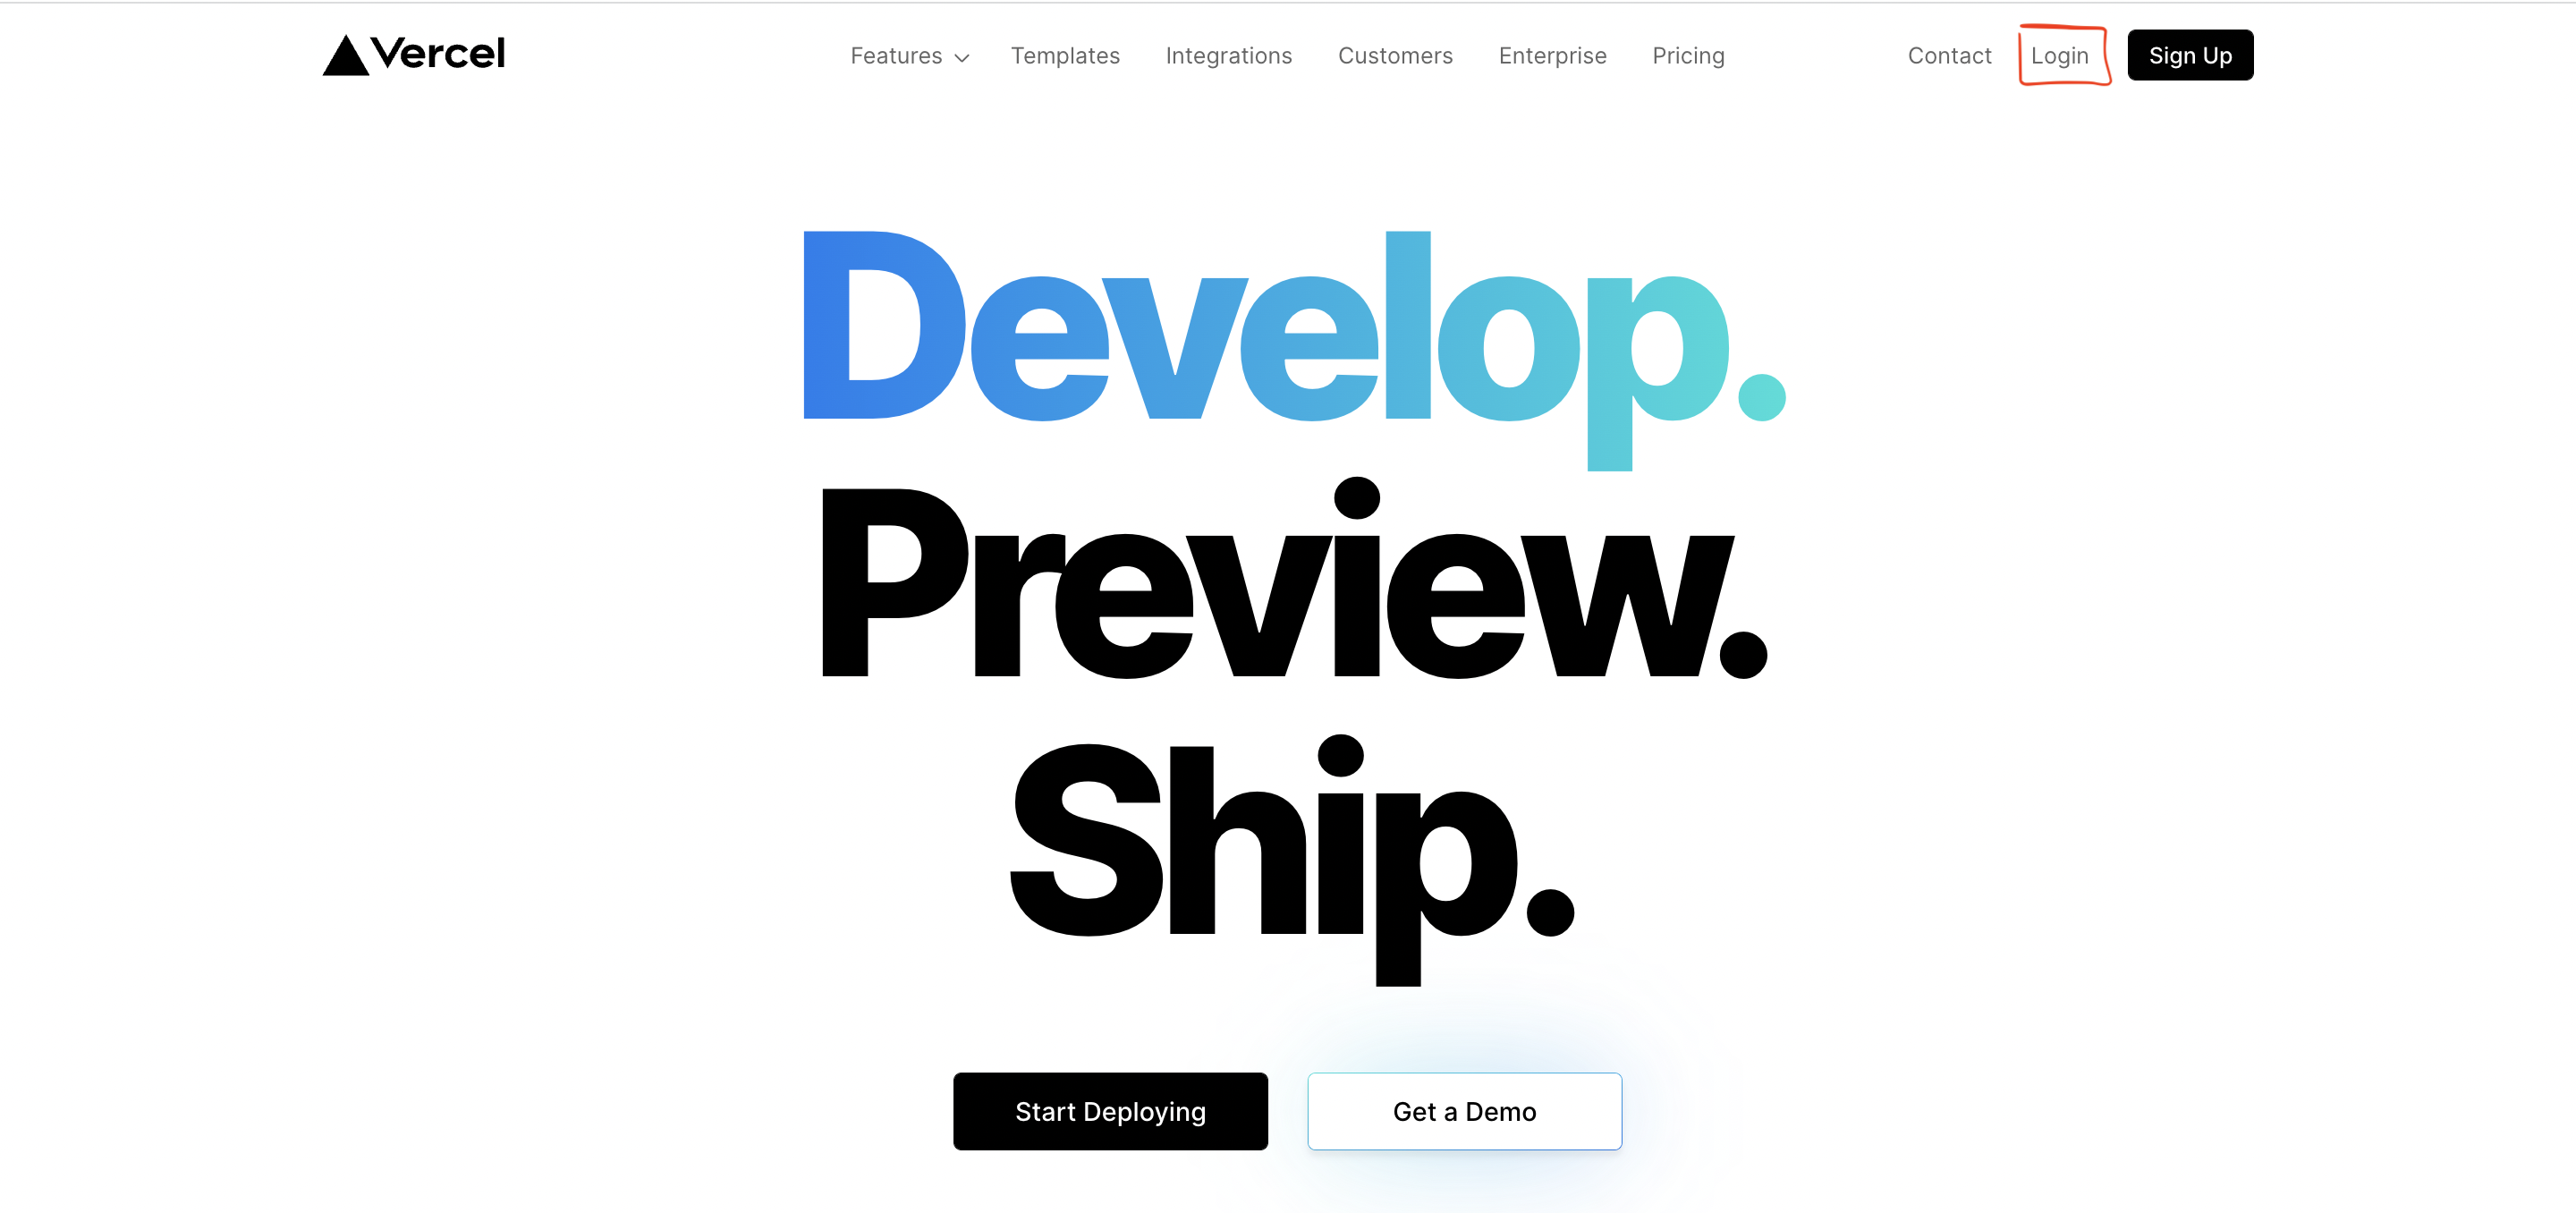
1. Go to vercel.com. 👉vercel 사이트 가기
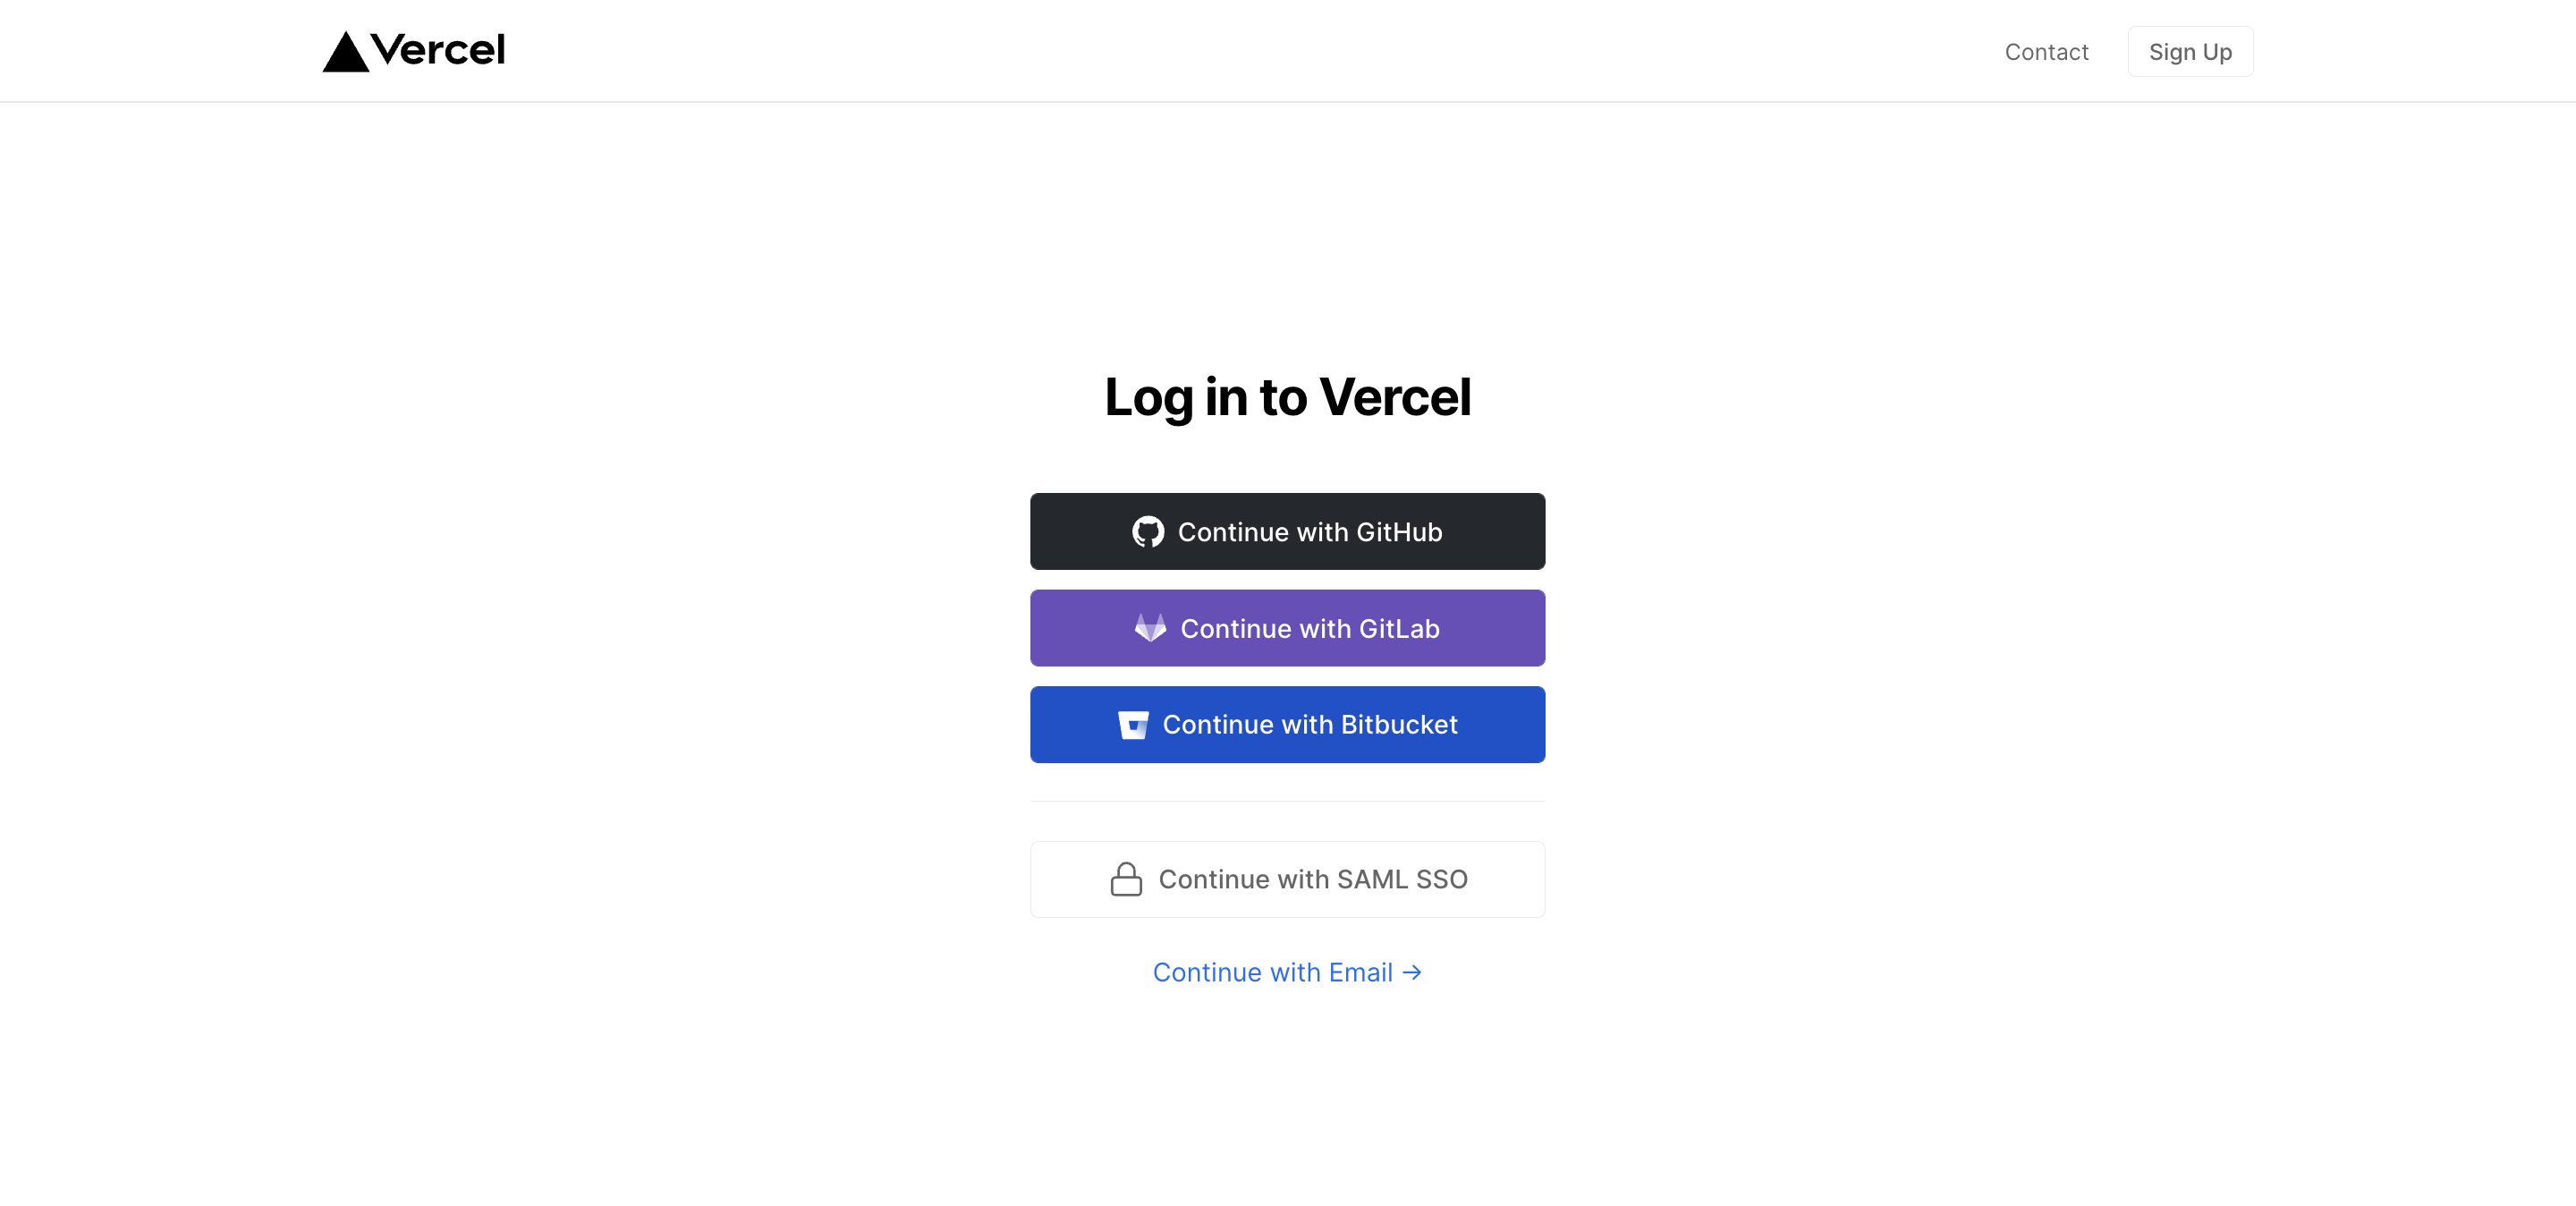
2. Click on Log in. 👉깃허브 계정으로 로그인
3. Sign in with GitHub by pressing Continue with GitHub.
4. Sign in to GitHub and allow access to all repositories if prompted.
5. Fork this repo. 👉 해당 리포지터리 fork하기
6. After forking the repo, open the vercel.json file and change the maxDuration field to 10. 👉vercel.json 파일을 열어 maxDuration 10으로 변경해주기
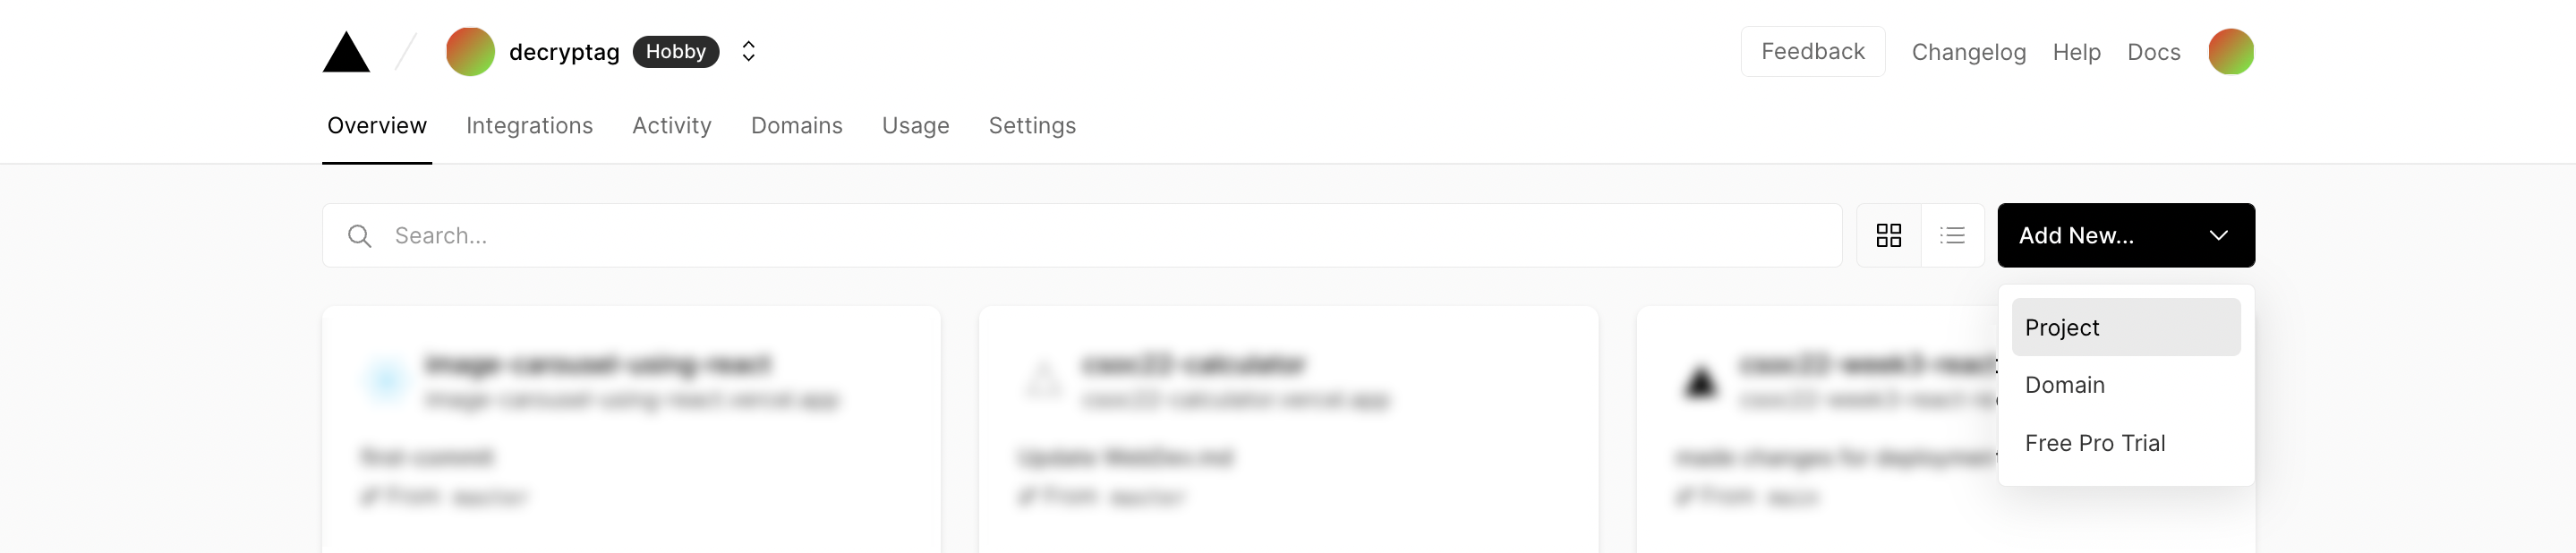
7. Go back to your Vercel dashboard. 👉vercel dashboard으로 이동
8. To import a project, click the Add New... button and select the Project option. 👉project 올려주기
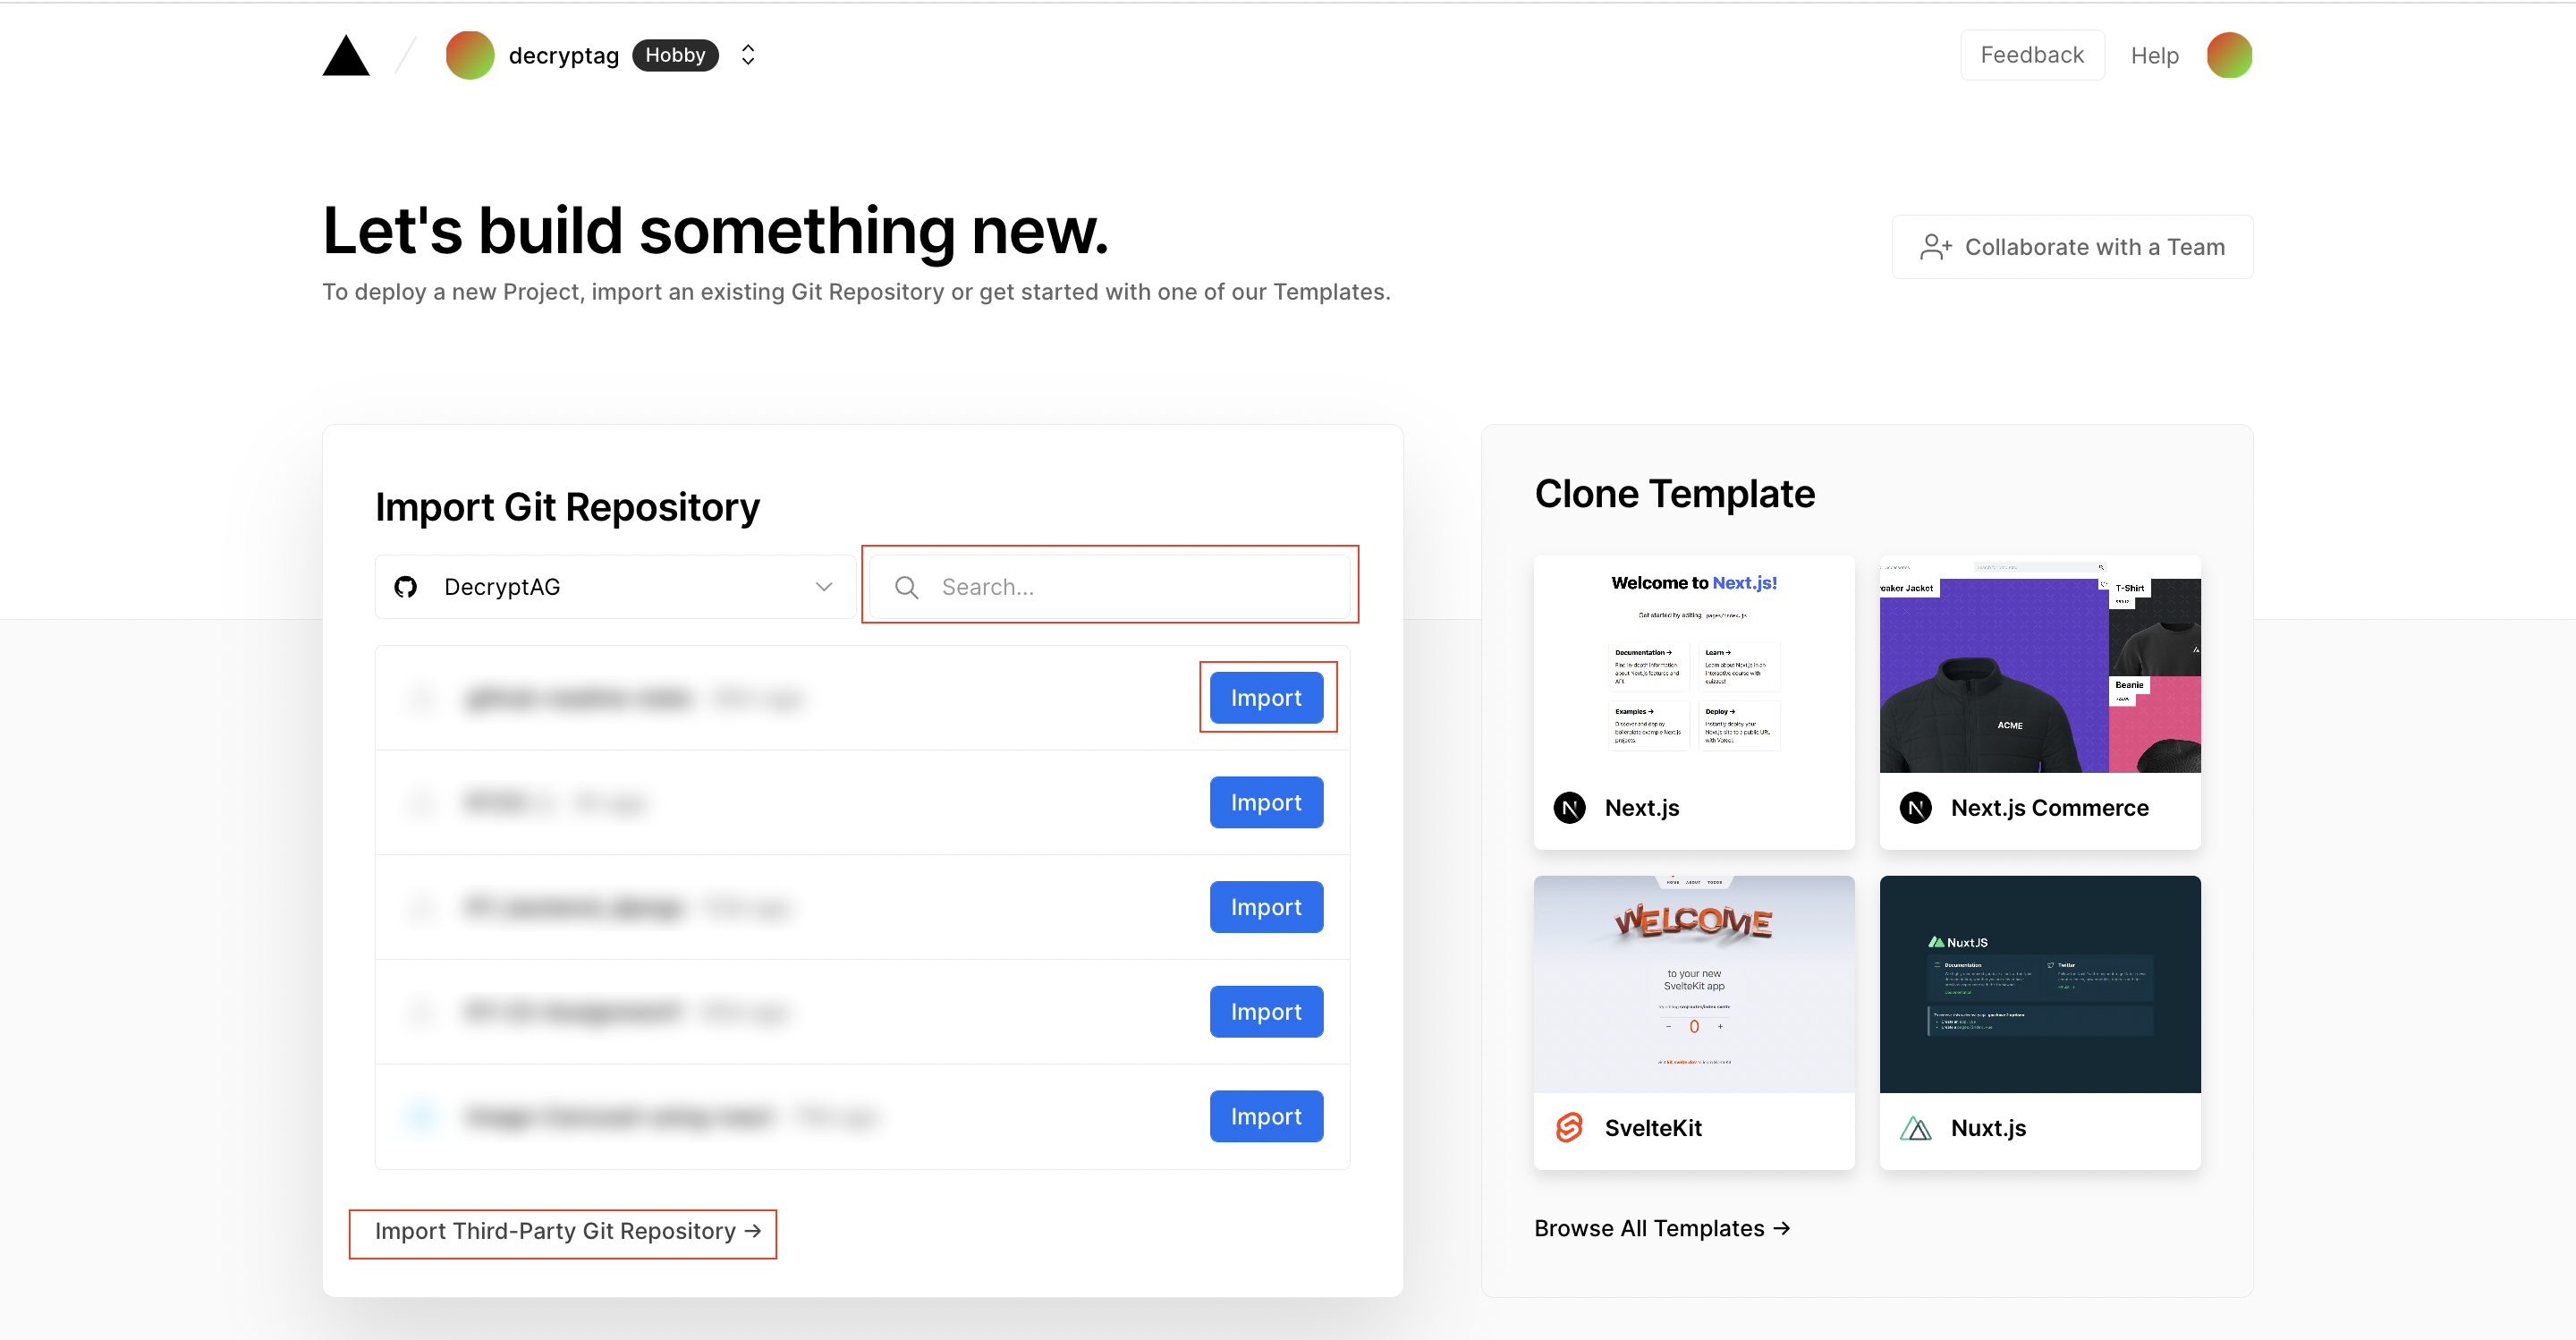
9. Click the Continue with GitHub button, search for the required Git Repository and import it by clicking the Import button. Alternatively, you can import a Third-Party Git Repository using the Import Third-Party Git Repository -> link at the bottom of the page.
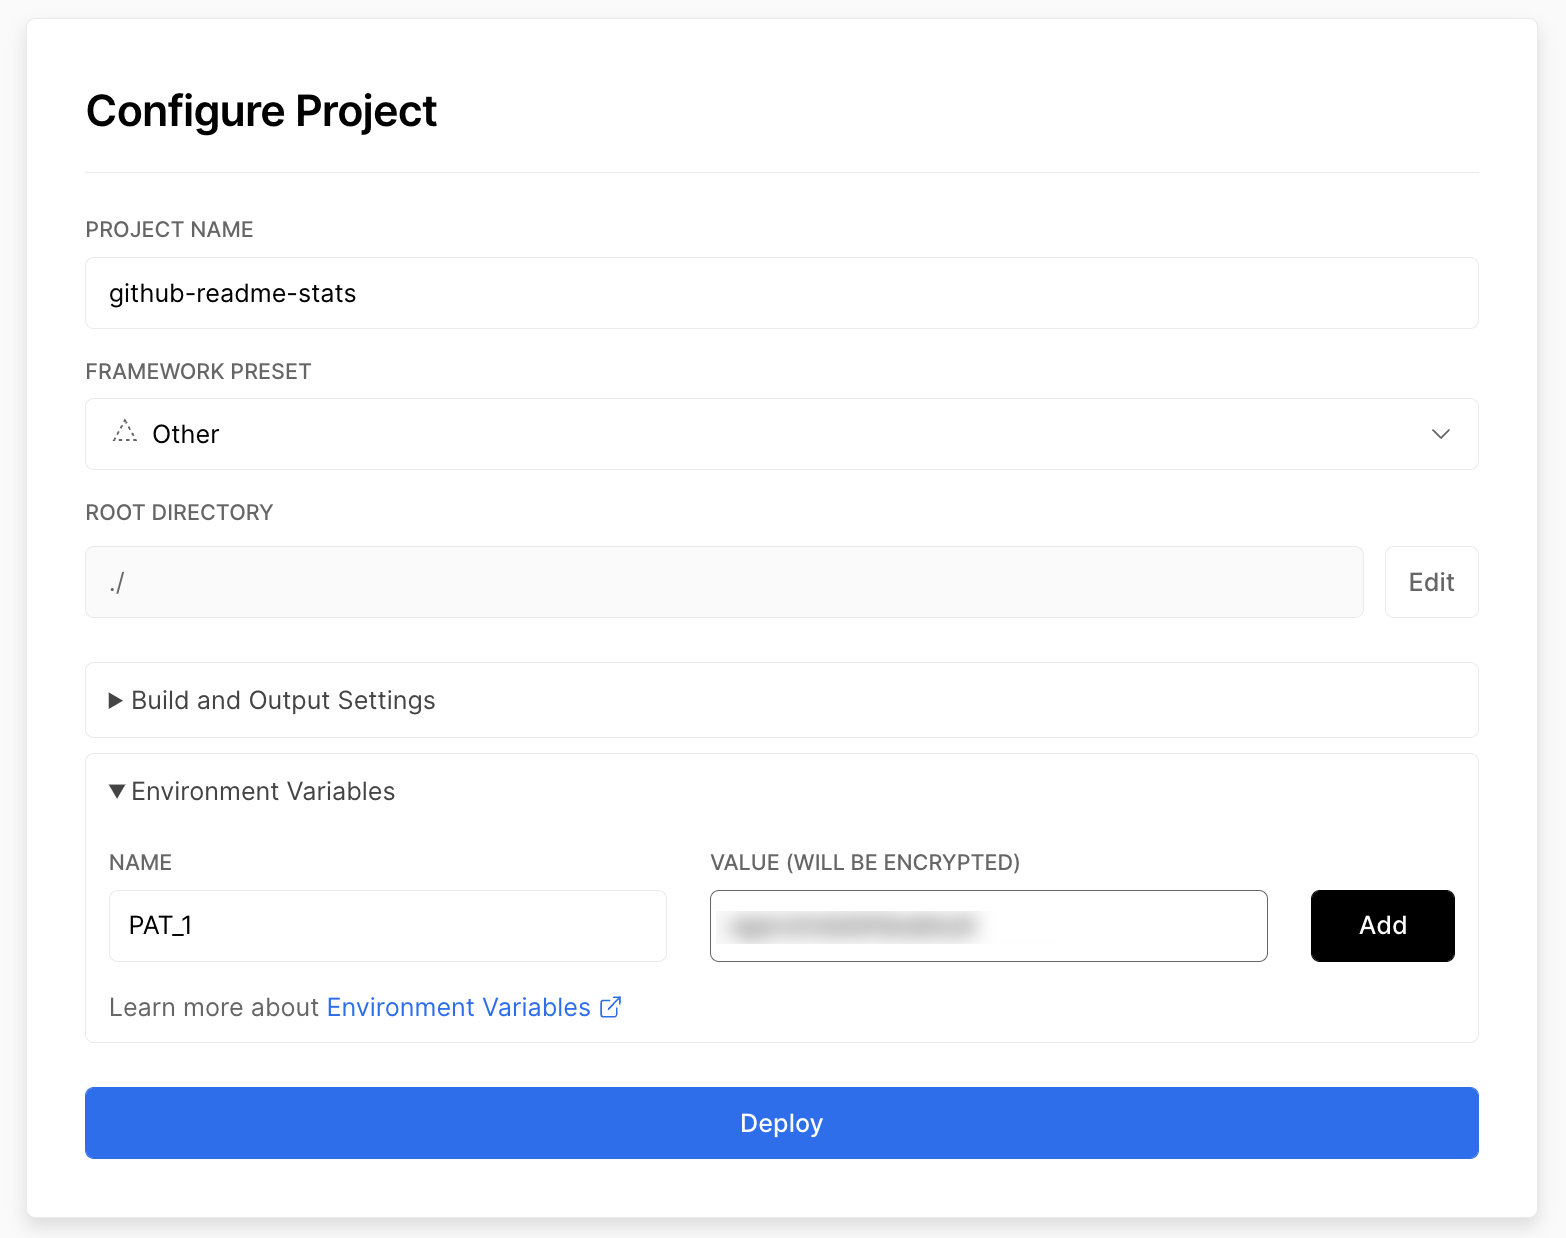
10. Create a personal access token (PAT) here and enable the repo permissions (this allows access to see private repo stats).
Add the PAT as an environment variable named PAT_1 (as shown). 👉PAT: 토큰발행를 만들어 리포 접근 허가
11. Click deploy, and you're good to go. See your domains to use the API! 👉 deploy 클릭! 하면 끝!