1. Repository 생성
우선 GitHub 페이지에서 repository를 생성한다. 임의로 'velog-github'라는 repository를 만든다.

GitHub에 업로드할 파일을 위해 임의로 데스크탑에 velog 디렉토리를 만든 뒤 github.txt로 만든다.
# Desktop 이동
cd Desktop

# velog 디렉토리 생성
mkdir velog

# velog 디렉토리 이동
cd velog

# github.txt 파일 생성
echo > github.txt
github.txt 파일을 repository에 업로드하고자 한다.
2. Command Line
윈도우에서는 명령 프롬프트 (Command Prompt, cmd.exe)를 통해 git을 사용하는 것은 불가능하였다. 따라서 gitbash를 설치하였다.
macOS에서는 터미널을 사용하는데, 별도의 gitbash 설치없이 git을 사용할 수 있다.
우선 터미널로 velog 디렉토리로 들어간다.
1. git init
현재 디렉토리에서 git repository를 생성하기 위해서 다음 명령어를 사용한다.
git init
kwangyoung@young-MacBookAir velog % git init
Initialized empty Git repository in /Users/kwangyoung/Desktop/velog/.git
2. git remote
GitHub 페이지에서 만든 원격 repository인 'velog-github'와 로컬 repository를 연결하기 위해서 다음 명령어를 사용한다.
git remote add origin <url>
(여기서 origin은 원격 저장소의 이름을 말한다.)
kwangyoung@young-MacBookAir velog % git remote add origin https://github.com/LimKwangyoung/velog-github.git연결된 원격 repository를 확인하기 위해서는 다음 명령어를 사용한다.
git remote -v
kwangyoung@young-MacBookAir velog % git remote -v
origin	https://github.com/LimKwangyoung/velog-github.git (fetch)
origin	https://github.com/LimKwangyoung/velog-github.git (push)
3. git status
작업 디렉토리와 Staging Area의 현재 상태를 보기 위해서는 다음 명령어를 사용한다.
git status
kwangyoung@young-MacBookAir velog % git status
On branch main

No commits yet

Untracked files:
  (use "git add <file>..." to include in what will be committed)
	github.txt

nothing added to commit but untracked files present (use "git add" to track)
4. git add
github.txt 파일을 Staging Area로 이동시키기 위해서는 다음 명령어를 사용한다.
git add <file>
kwangyoung@young-MacBookAir velog % git add github.txt

kwangyoung@young-MacBookAir velog % git status
On branch main

No commits yet

Changes to be committed:
  (use "git rm --cached <file>..." to unstage)
	new file:   github.txt
git add .vsgit add -A
파일의 모든 변경 내용을 Staging Area로 이동시키기 위해서는git add .또는git add -A명령어를 사용하면 된다.
다만,git add .명령어는 현재 디렉토리의 모든 변경 내용에 한해서 적용된다면,git add -A명령어는 작업 디렉토리의 모든 변경 내용에 적용이 된다.
5. git commit
Staging Area에 있는 파일을 commit하기 위해서는 다음 명령어를 사용한다.
git commit -m 'message'
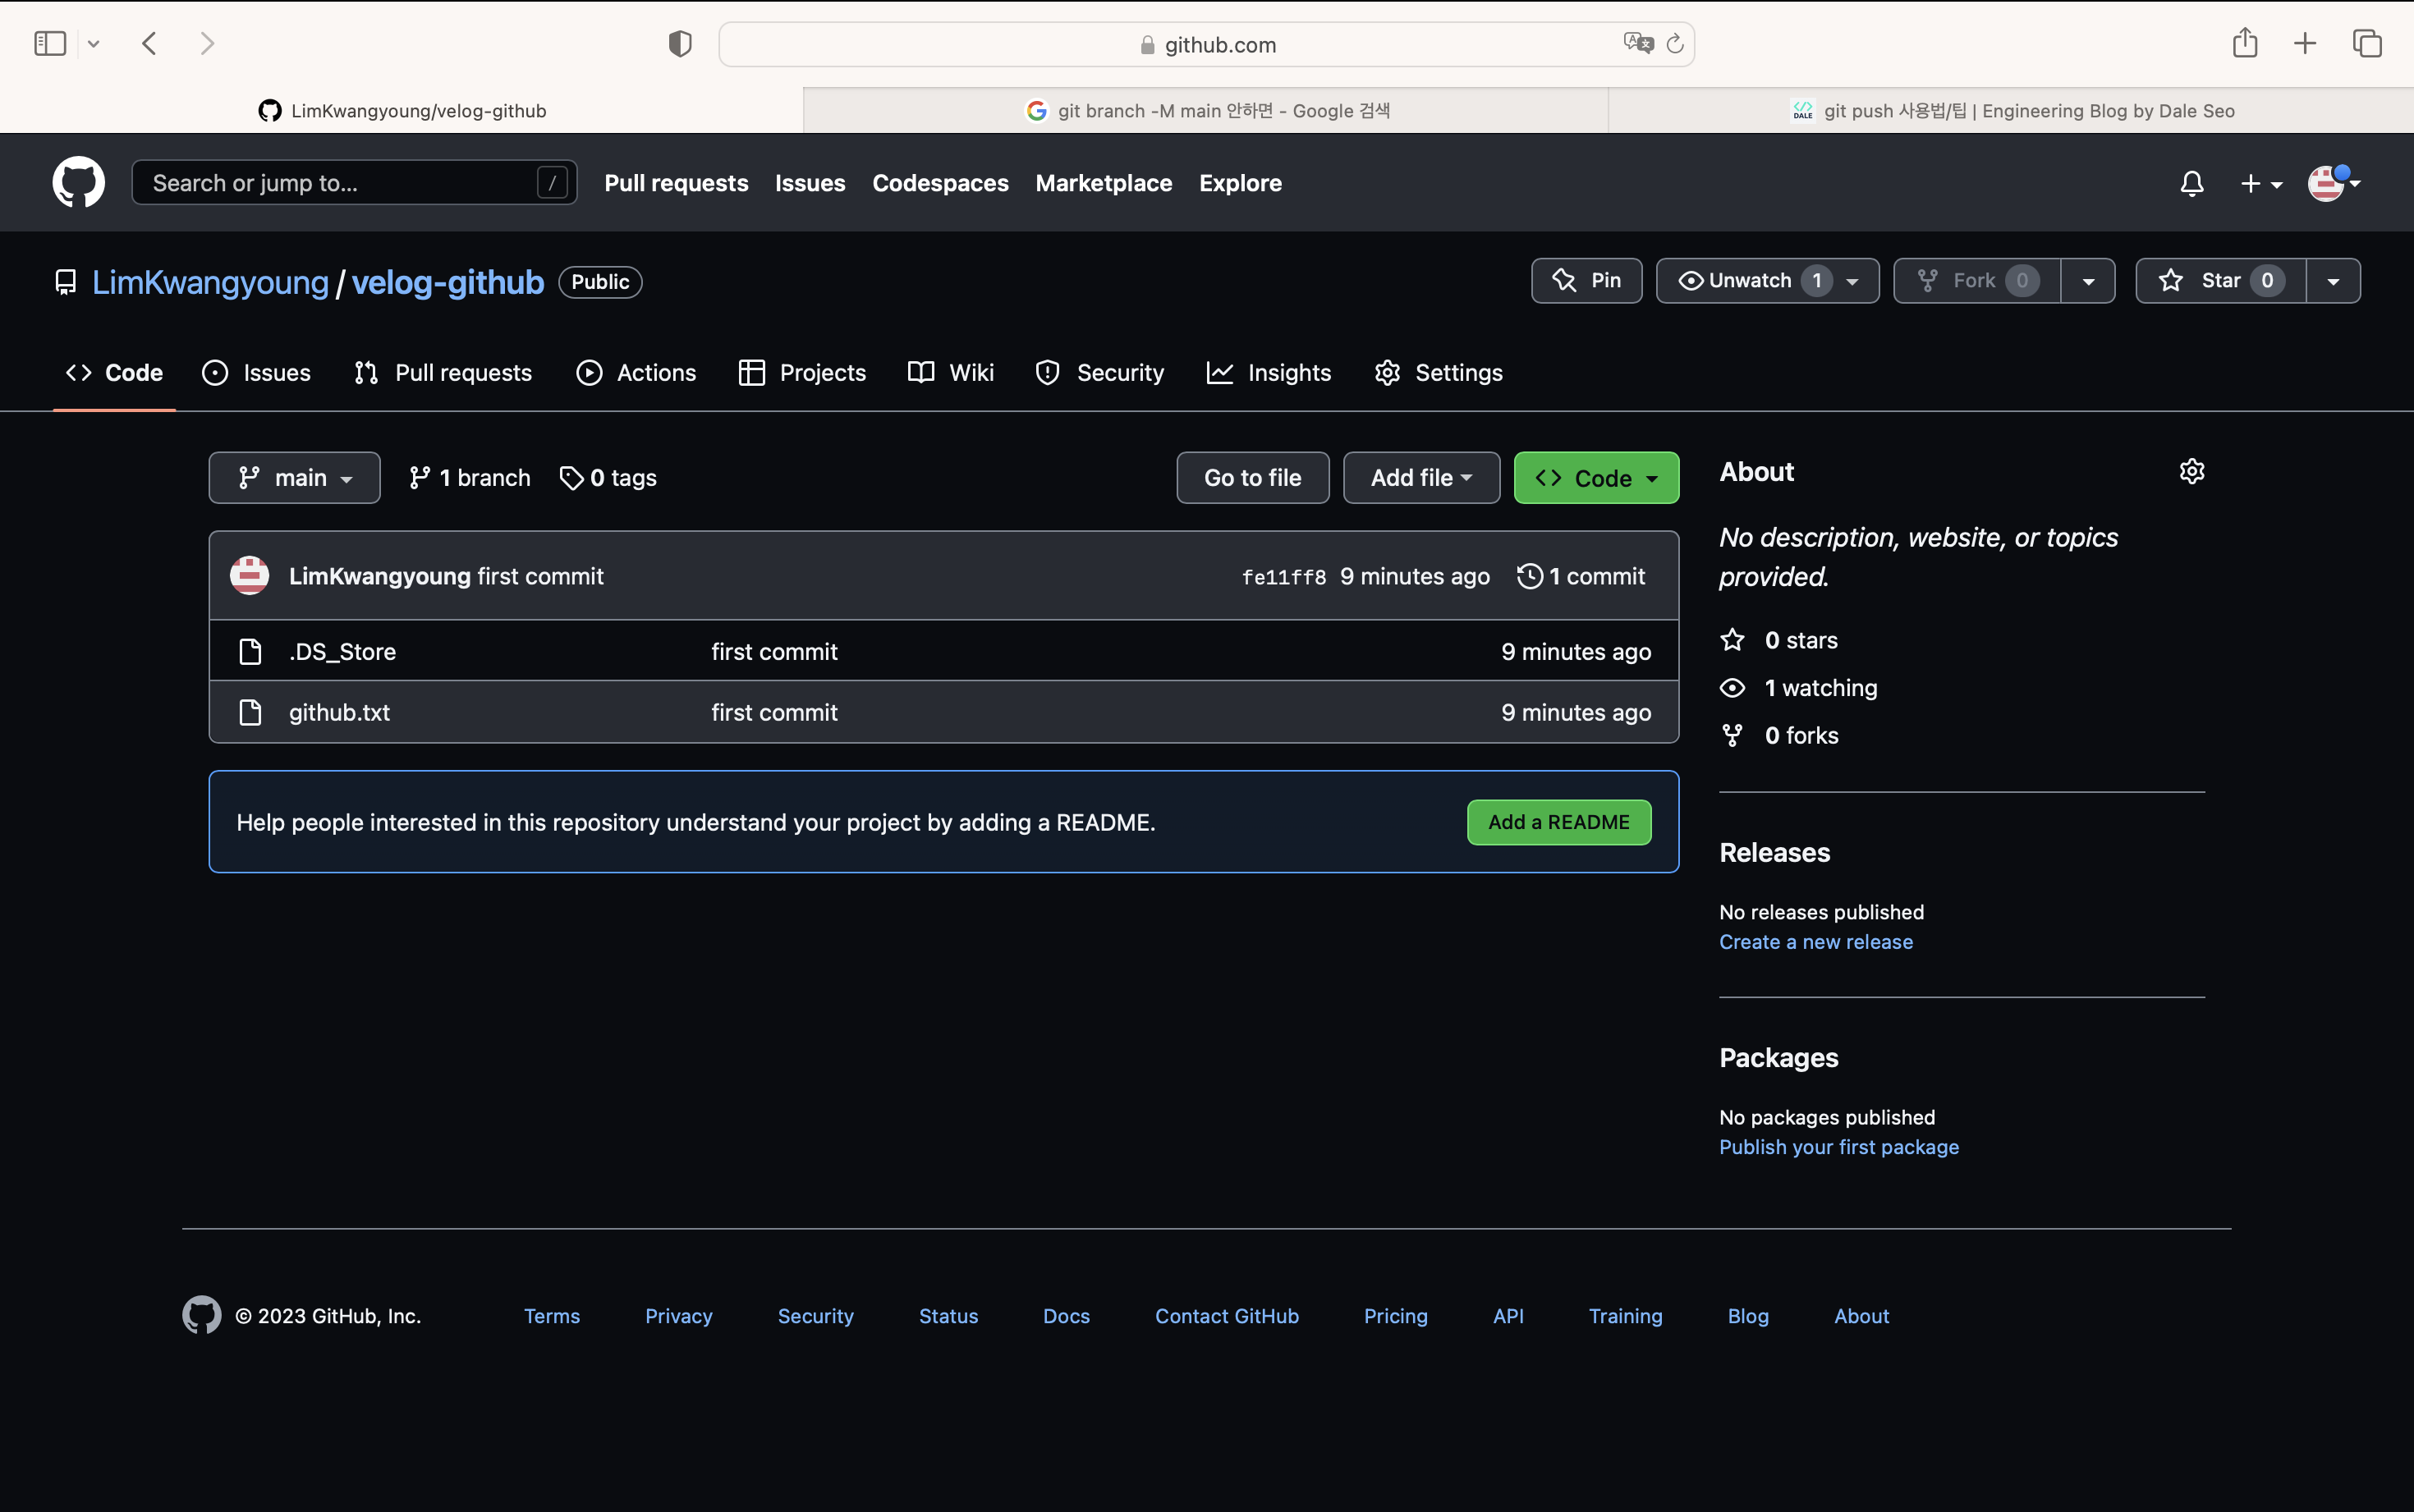
kwangyoung@young-MacBookAir velog % git commit -m 'first commit'
[main (root-commit) fe11ff8] first commit
 2 files changed, 1 insertion(+)
 create mode 100644 .DS_Store
 create mode 100644 github.txt

kwangyoung@young-MacBookAir velog % git status
On branch main
nothing to commit, working tree clean
Commit Message 요령
Type 키워드 사용 시점 ADD 초기 파일 작성 FEAT 새로운 기능 추가 FIX 버그 수정 DOCS 문서 수정 STYLE 코드 스타일 변경 (코드 포매팅, 세미콜론 누락 등) DESIGN 사용자 UI 디자인 변경 (CSS 등) TEST 테스트 코드, 리팩토링 테스트 코드 추가 REFACTOR 코드 리팩토링 BUILD 빌드 파일 수정 CI CI 설정 파일 수정 PERF 성능 개선 CHORE 빌드 업무 수정, 패키지 매니저 수정 (gitignore 수정 등) RENAME 파일 혹은 폴더명을 수정만 한 경우 REMOVE 파일을 삭제만 한 경우
6. git push
commit한 파일을 원격 repository에 최종적으로 올리기 위해서는 다음 명령어를 사용한다.
git push <repository> <branch>
kwangyoung@young-MacBookAir velog % git push origin main
Enumerating objects: 4, done.
Counting objects: 100% (4/4), done.
Delta compression using up to 8 threads
Compressing objects: 100% (3/3), done.
Writing objects: 100% (4/4), 437 bytes | 437.00 KiB/s, done.
Total 4 (delta 0), reused 0 (delta 0), pack-reused 0
To https://github.com/LimKwangyoung/velog-github.git
 * [new branch]      main -> main
해당 명령어를 입력할 때마다 원격 repository명과 branch명을 적기 귀찮다면 다음 명령어를 입력한다.
git push -u <repository> <branch>
이 후로부터는git push만 입력하더라도 정상적으로 작동한다.
다음과 같이 업로드가 정상적으로 되었음을 알 수 있다.
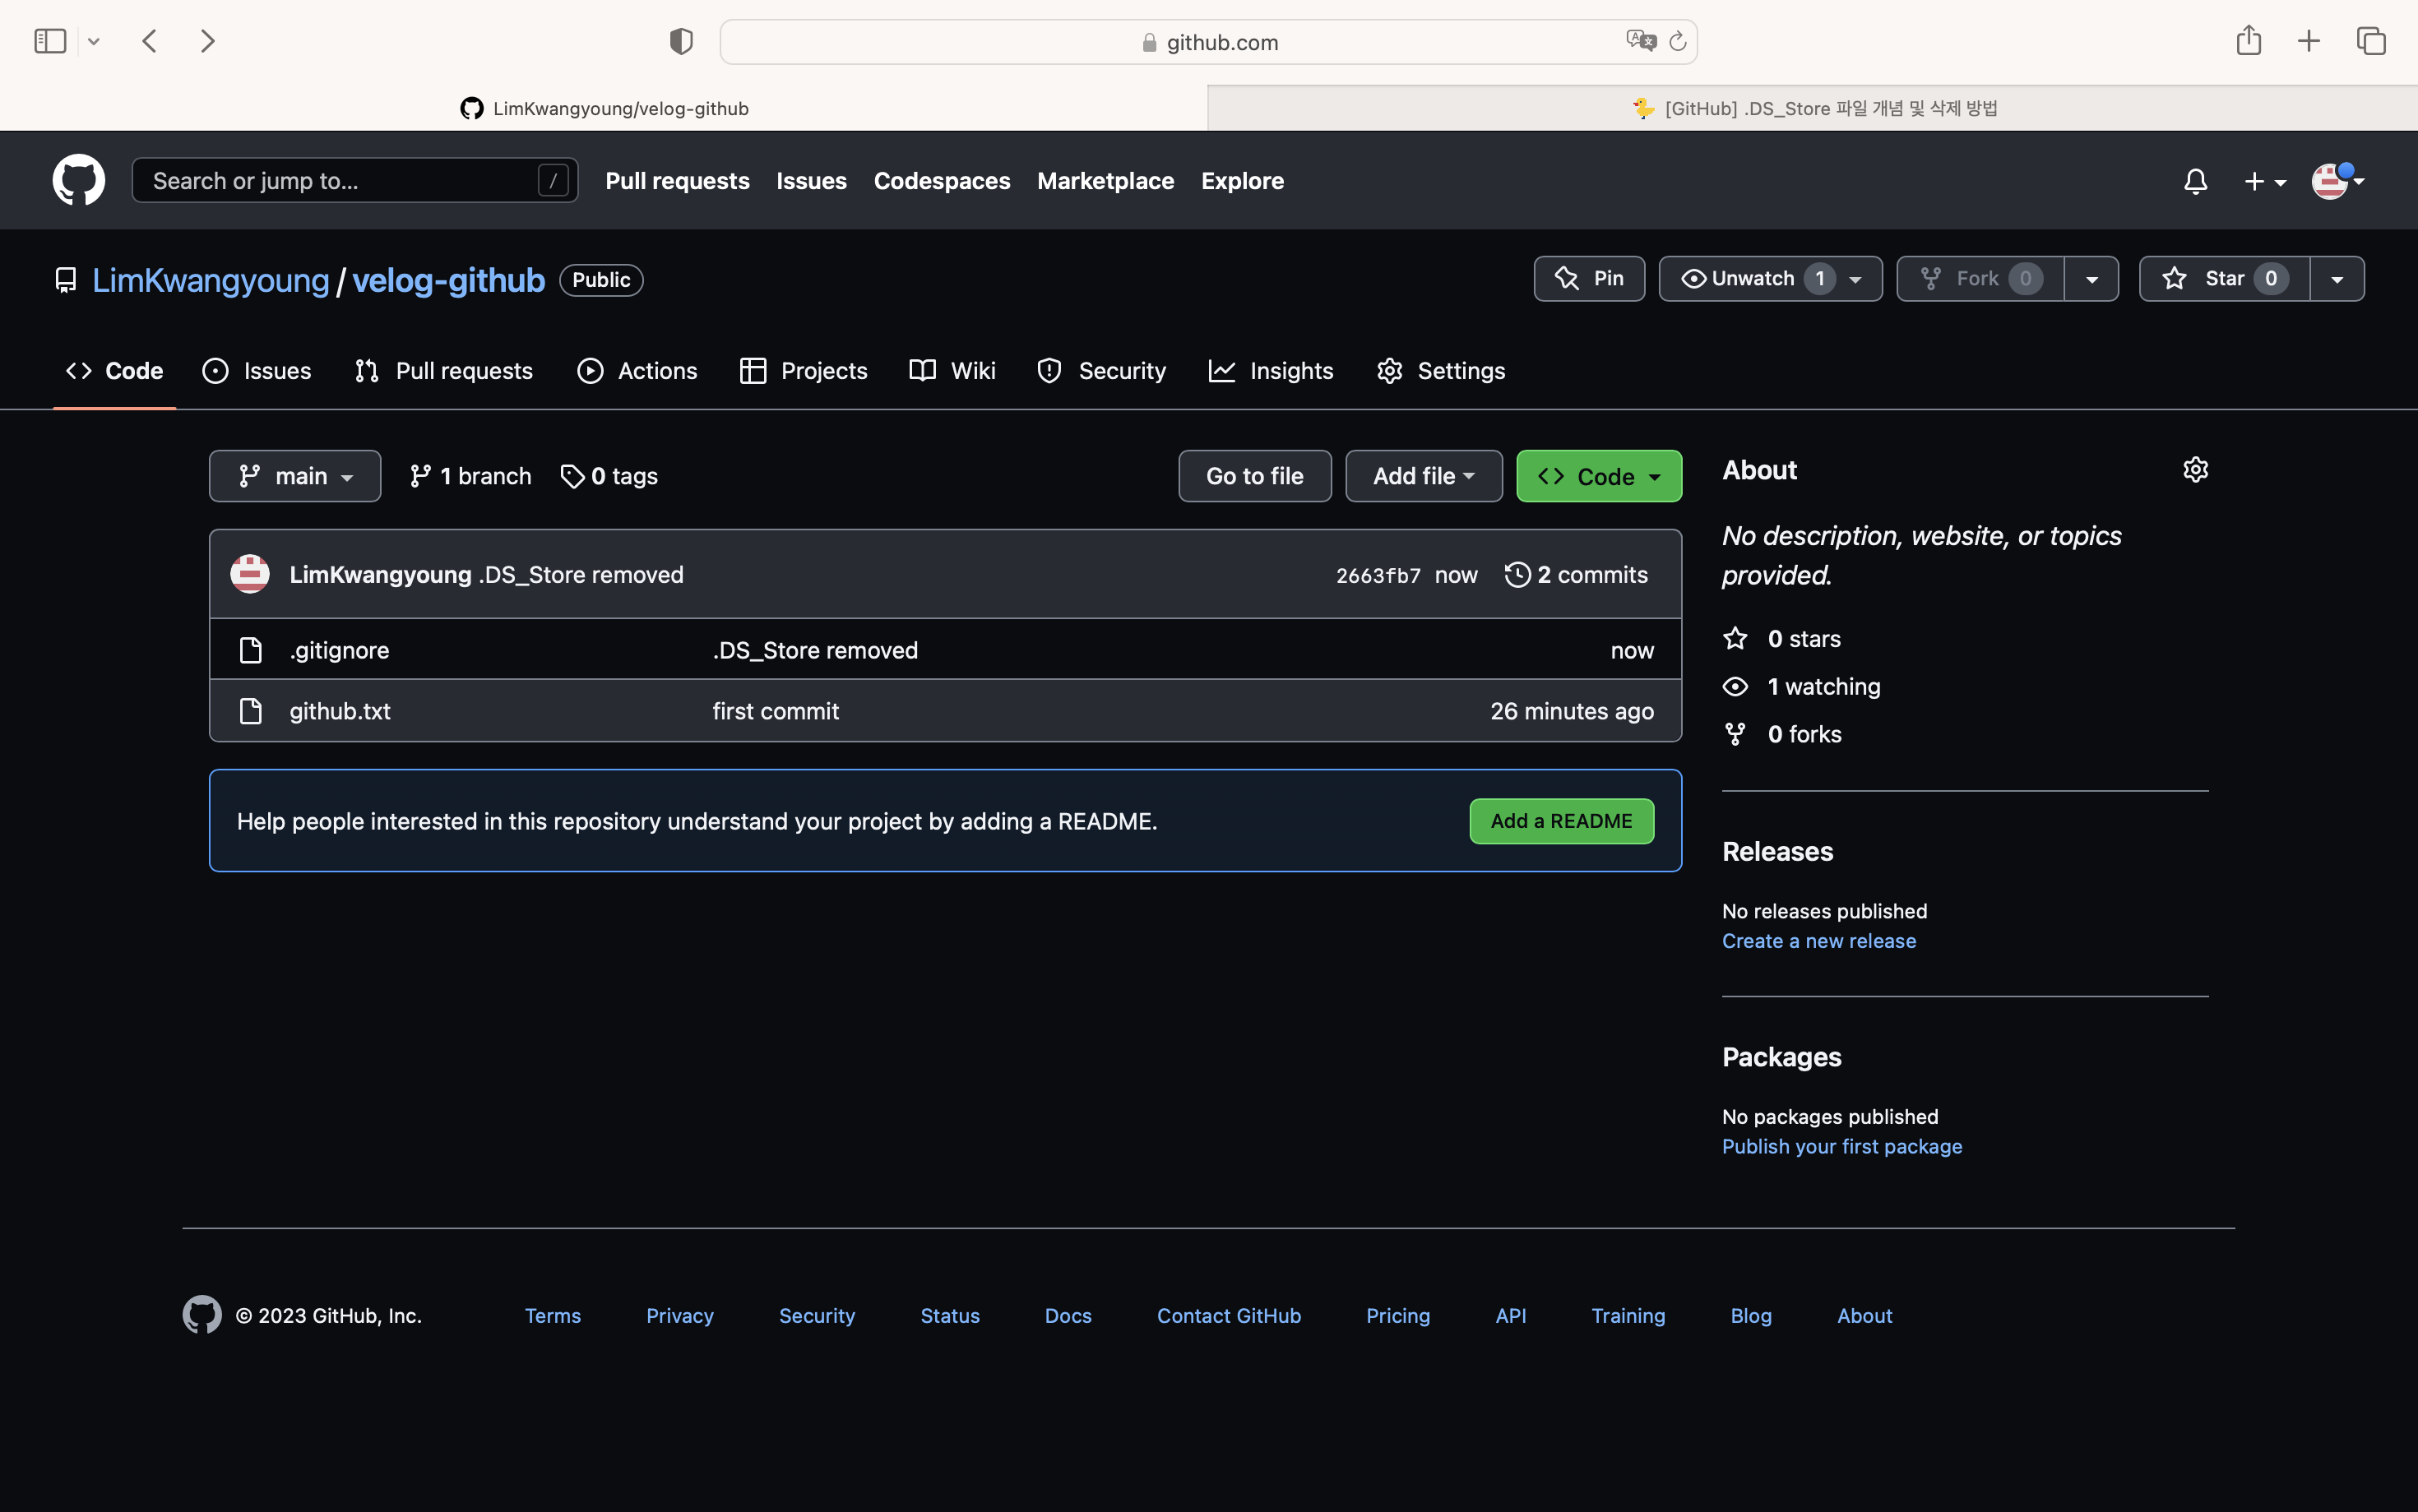
3. DS_Store
난 분명히 github.txt 파일만 생성하였는데 GitHub에 업로드된 파일 중 .DS_Store라는 파일도 있다.
DS_STORE란 Desktop Service STORE의 약자로, 애플에서 정의한 파일 포맷이다.
macOS의 Finder로 해당 디렉토리에 접근하였을 때 폴더에 대한 메타데이터를 저장하는 파일이다. 프로젝트와는 전혀 상관없는 파일이기 때문에, GitHub에 업로드하지말고 삭제해도 무방하다.
개인적으로는 삭제하는 것이 옳다고 생각이 드는 것이 이전에 업로드한 파일을 Finder로 접근한 뒤 프로젝트를 업로드하면, 이전 파일들도 새롭게 commit과 push가 될 수 있다.
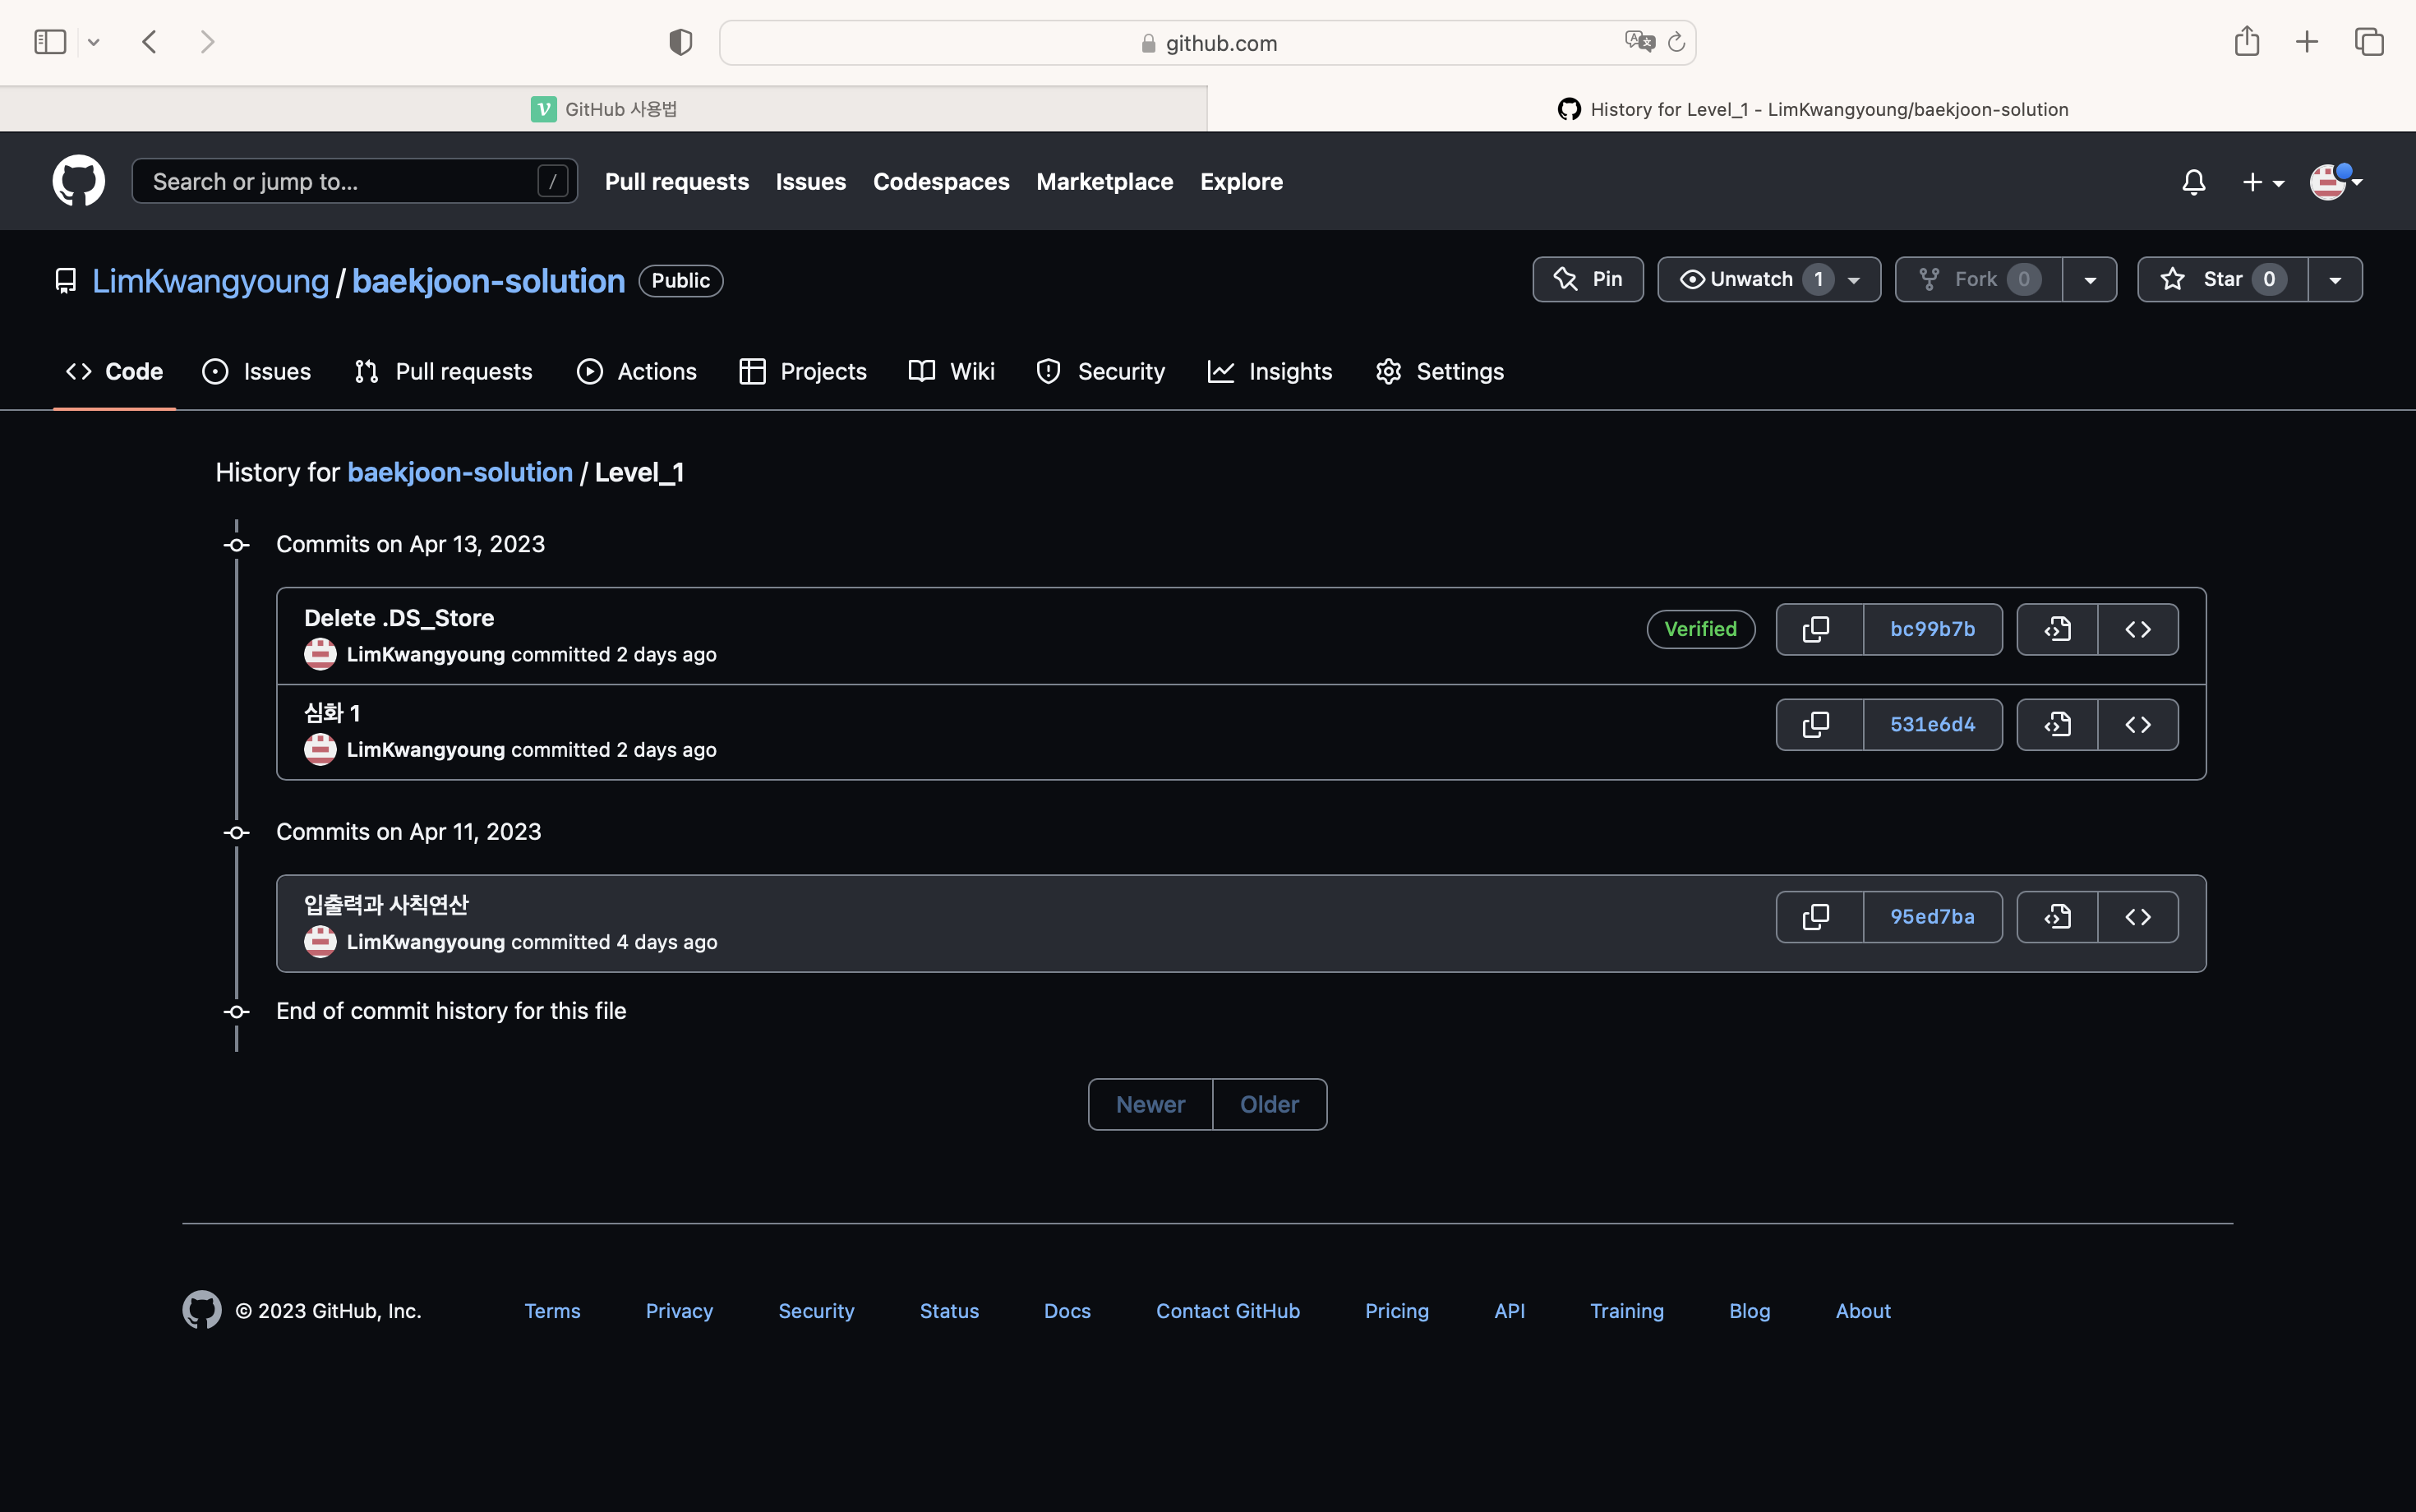
'입출력과 사칙연산'에 관한 파일이지만
.DS_Store파일이 commit되면서 commit 메세지가 '심화 1'로 변경되는 문제가 발생하였다. 현재는 'Delete .DS_Store' 상태이다.
.DS_Store 파일을 삭제하기 위해서 다음과 같이 한다.
1. 디렉토리 내 모든 .DS_Store 파일 삭제
find . -name .DS_Store -print0 | xargs -0 git rm -f --ignore-unmatch2. gitignore 파일 생성
.gitignore 파일은 repository나 staging area에 추가되지 말아야 할 파일들을 정의하는 파일이다. .gitignore 파일에 정의된 파일은 tracking 되지 않는다.
.DS_Store 파일을 .gitignore 파일에 추가한다.
echo .DS_Store >> .gitignore3. GitHub에 업로드
git add .
git commit -m '.DS_Store removed'
git push origin main
다음과 같이 .DS_Store 파일이 사라지고 .gitignore 파일이 만들어졌음을 알 수 있다.